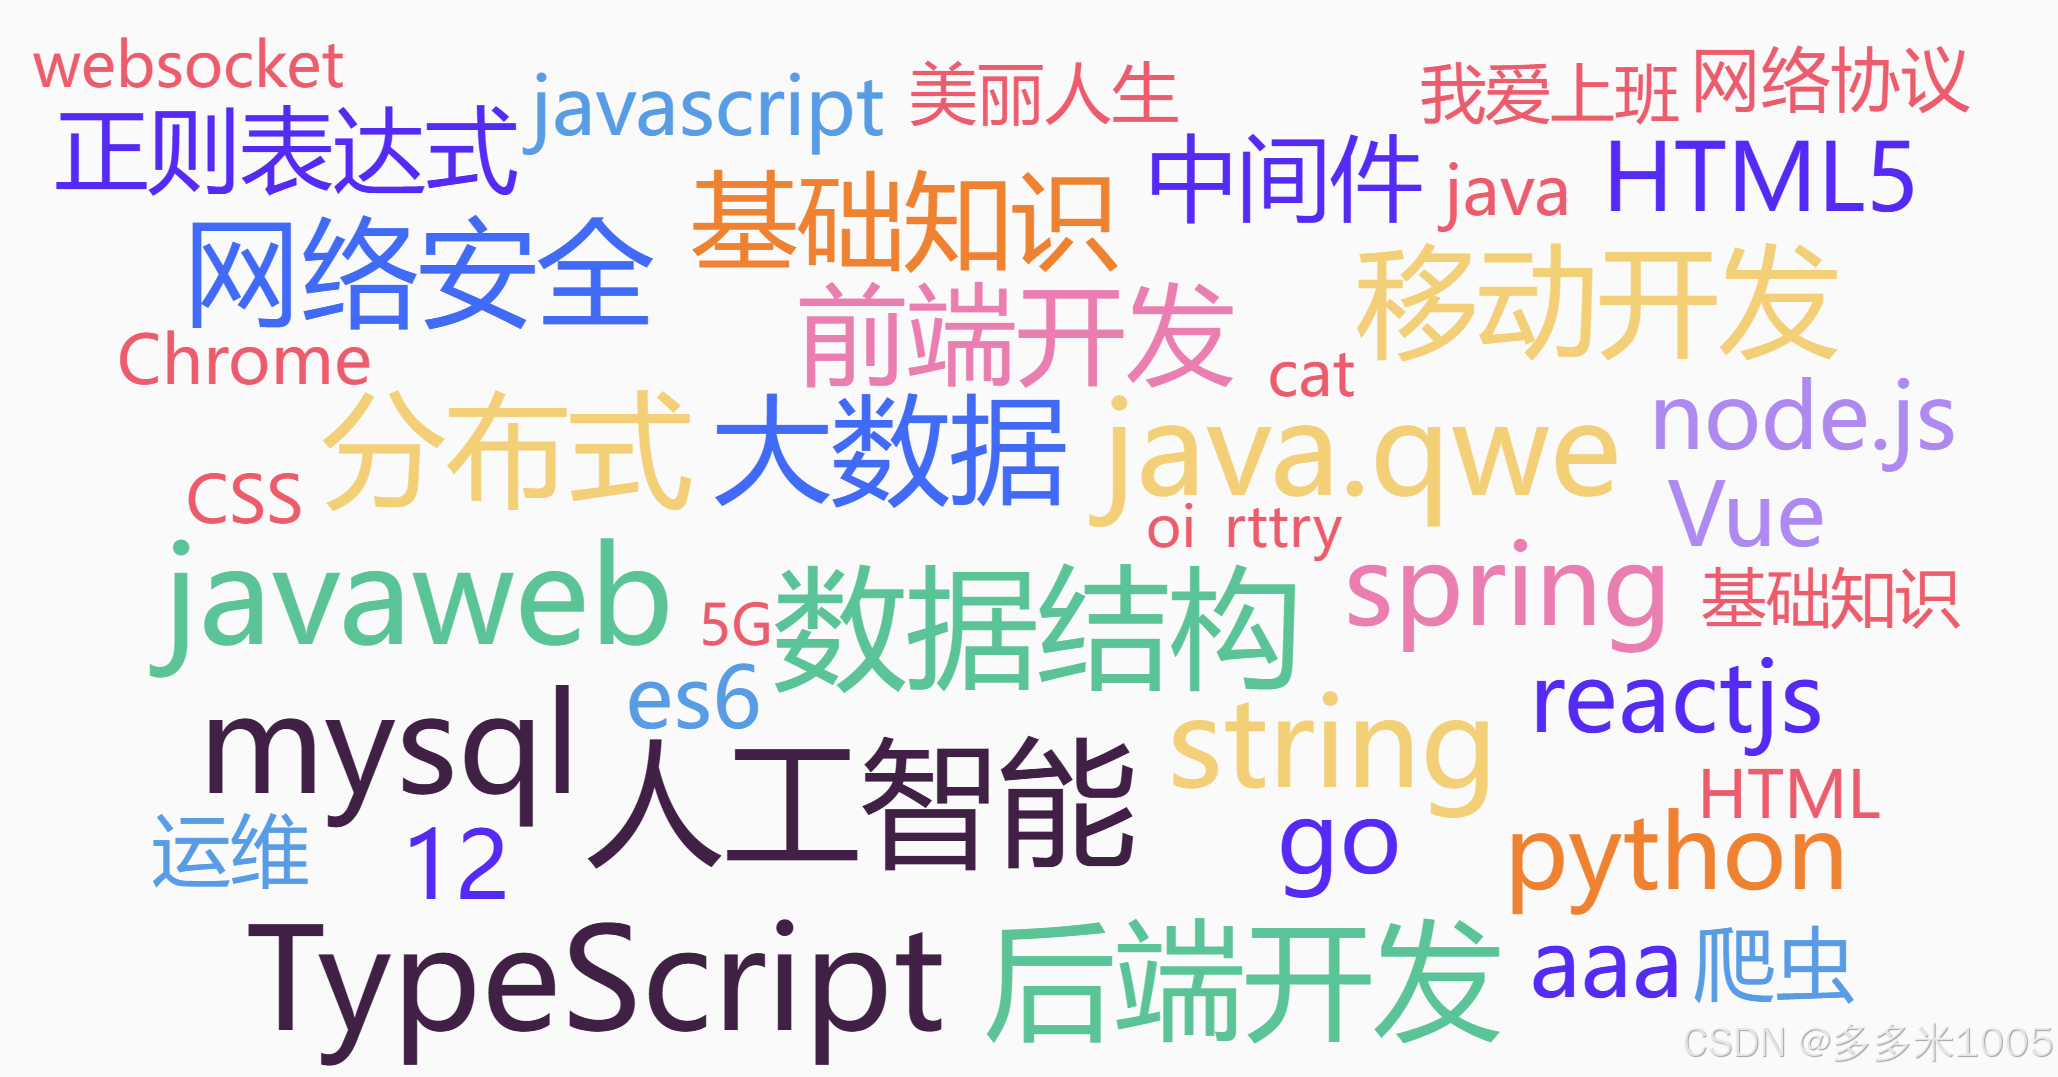
VueWordCloud学习总结
本次小组官网的项目中自己要负责标签模块,想要实现一个标签云的效果,搜索了很多,发现vue有一个VueWordCloud库,之前看的github仓库一直是老版本的不支持Vue3,今天搜到了新版本更新至支持Vue3的版本,仓库链接附上:VueWordCloud
安装
npm i vuewordcloud
初使用
在组件中注册该组件
import VueWordCloud from 'vuewordcloud';
简单使用
words:标签云展示的标签
color:不同的weight对应不同的颜色,根据weight来决定颜色
font-family:字体(官方文档中给了很多字体,详情可参考上方仓库链接)
<vue-word-cloud
  style="height: 480px;width: 640px;"
  :words="[['romance', 19], ['horror', 3], ['fantasy', 7], ['adventure', 3]]"
  :color="([, weight]) => weight > 10 ? 'DeepPink' : weight > 5 ? 'RoyalBlue' : 'Indigo'"
  font-family="Roboto"
/>
项目中实现
由于每个标签对应的都有一个详情页,所以标签云不仅要展示标签,还需要进行路由跳转,用到了另一个渲染方式(单词传递自定义渲染)
为了展示时颜色更加好看,weight范围可以取小一点,多种颜色
<vue-word-cloud :words="words"
   :color="([, weight]) => weight > 50 ? '#552af4' : weight > 47 ? '#412045' : weight > 45 ? '#5bc496' : weight > 42 ? '#f3cf77' : weight > 40 ? '#416af6' : weight > 38 ? '#eb7eb1' : weight > 35 ? '#ee8231' : weight > 32 ? '#552af4' : weight > 30 ? '#ae8af0' : weight > 25 ? '#579ce4' : '#ec5c6c'"
   font-family="微软雅黑,Microsoft YaHei" spacing="0.2">
   <template v-slot="{ text }">
       <div style="cursor: pointer;">
           <router-link active-class="active" :to="`/community/discussion/label/${text}`">
             {{ text }}</router-link>
       </div>
   </template>
</vue-word-cloud>
由于后端传来的words数组只有标签名,所以写了一个方法使每个标签都随机生成一个对应的数值,因为数值越小标签展示到页面上也就越小,为了防止标签过于小用户视觉体验不好,所以设置数值不会取太小的值
function assignRandomNumbers(strArray: string[]): [string, number][] {
    return strArray.map(str => [str, Math.floor(Math.random() * (30 + 1)) + 20]);
}
最终实现效果
官方仓库中还有很多的属性,可以设置更好看更高级的标签云,详情可看官方仓库
