在我的另一篇文章中(初识Spring-CSDN博客),讲述了Bean,以及通过xml方式定义Bean。接下来将讲解通过注解的方法管理Bean。
我们在创建具体的类的时候,可以直接在类的上面标明“注解”,以此来声明类。
1. 常用的Spring注解
Spring提供了多种注解来声明和管理Bean。以下是一些常用的注解:
@Component:通用注解,用于标记一个类为Spring的组件,表示该类是一个Bean。@Controller:用于标记控制器类,通常用于Spring MVC中。@Service:用于标记服务层类,表示该类是业务逻辑的实现。@Repository:用于标记数据访问层类,通常用于DAO(数据访问对象)实现。@Autowired:用于自动装配Bean,Spring会自动寻找匹配的Bean并注入到目标类中。@Qualifier:当有多个匹配的Bean时,用于指定具体的Bean。@Value:用于注入配置文件中的属性值。
2. 使用注解声明Bean
在使用注解声明Bean之前,首先需要在Spring配置文件中启用注解支持。通常可以通过以下方式实现:
<context:component-scan base-package="com.example"/>
上述配置表示Spring会扫描com.example包及其子包下的所有类,并根据注解将这些类注册为Spring的Bean。
3. 示例代码
假设我们有一个服务类UserService,我们希望将其声明为一个Spring的Bean。可以通过以下方式实现:
package com.example.service;

import org.springframework.stereotype.Service;

@Service
public class UserService {
    public void doSomething() {
        System.out.println("UserService is doing something!");
    }
}
在上述代码中,我们使用了@Service注解来声明UserService类为一个Bean。这样,Spring在启动时会自动扫描并注册这个Bean。
4. 自动装配Bean
假设我们有一个控制器类UserController,我们希望在其中自动装配UserService。可以通过以下方式实现:
package com.example.controller;

import org.springframework.beans.factory.annotation.Autowired;
import org.springframework.stereotype.Controller;

@Controller
public class UserController {

    @Autowired
    private UserService userService;

    public void handleRequest() {
        userService.doSomething();
    }
}
在上述代码中,我们使用了@Autowired注解来实现自动装配。这样,Spring会自动将UserService的实例注入到UserController中。
在Spring中,通过注解定义Bean时,默认情况下Bean的ID是根据类名自动生成的,通常是将类名的首字母小写作为Bean的ID。然而,在某些场景下,我们可能需要显式地指定Bean的ID,以便更好地管理和引用这些Bean。Spring提供了@Component、@Service、@Repository、@Controller等注解的属性来实现这一点。
5. 使用注解指定Bean的ID
使用@Component注解
@Component注解有一个属性value,可以用来指定Bean的ID。例如:
import org.springframework.stereotype.Component;

@Component("customBeanId")
public class MyComponent {
    public void doSomething() {
        System.out.println("MyComponent is doing something!");
    }
}
在上面的代码中,MyComponent类的Bean ID被显式地指定为customBeanId。
使用@Service、@Repository、@Controller注解
这些注解实际上是@Component的特化版本,因此它们也支持通过value属性来指定Bean的ID。例如:
import org.springframework.stereotype.Service;

@Service("customServiceId")
public class MyService {
    public void doSomething() {
        System.out.println("MyService is doing something!");
    }
}
import org.springframework.stereotype.Repository;

@Repository("customRepositoryId")
public class MyRepository {
    // 数据访问逻辑
}
import org.springframework.stereotype.Controller;

@Controller("customControllerId")
public class MyController {
    // 控制器逻辑
}
6.配置类的引入
注意:虽然我们上面已经用注解简化了对Bean的管理。但是我们还有一个xml配置文件,这样注解里面夹杂这xml让人很不舒服。因此,我们可以引入配置类。
在Spring应用中,使用注解来管理Bean确实可以简化配置,但仍然保留XML配置文件可能会让整个配置显得杂乱无章。为了进一步简化配置,Spring引入了配置类(Configuration Class)的概念。配置类允许我们使用Java代码来定义和管理Bean,从而完全摆脱XML配置文件的束缚。
6.1. 使用配置类管理Bean
配置类是一个普通的Java类,通过使用@Configuration注解来标识。这个类中的方法可以使用@Bean注解来定义Bean,方法的返回值就是Bean的实例。
假设我们有一个UserService类,我们希望将其定义为一个Bean。可以通过配置类来实现:
package com.example.config;

import com.example.service.UserService;
import org.springframework.context.annotation.Bean;
import org.springframework.context.annotation.Configuration;

@Configuration
public class AppConfig {

    @Bean
    public UserService userService() {
        return new UserService();
    }
}
在上面的代码中,AppConfig类被标记为配置类(@Configuration),userService方法上使用了@Bean注解,表示这个方法返回的UserService实例是一个Spring Bean。
6.2. 使用配置类替换XML配置
通过配置类,我们可以完全替代XML配置文件。为了使用配置类,我们不再需要<context:component-scan>标签,而是直接在Spring应用的启动类(通常是主类)上使用@ComponentScan注解来指定扫描的包。
假设我们有一个Spring Boot应用,启动类如下:
package com.example;

import org.springframework.boot.SpringApplication;
import org.springframework.boot.autoconfigure.SpringBootApplication;
import org.springframework.context.annotation.ComponentScan;

@SpringBootApplication
@ComponentScan(basePackages = "com.example")
public class Application {

    public static void main(String[] args) {
        SpringApplication.run(Application.class, args);
    }
}
在上述代码中,@SpringBootApplication注解包含了@Configuration、@EnableAutoConfiguration和@ComponentScan注解的功能,因此我们不再需要显式地使用@Configuration和@ComponentScan。
扫描多个包的配置类示例
假设我们有三个包需要扫描:com.example.service、com.example.repository和com.example.controller,我们可以在配置类中这样配置:
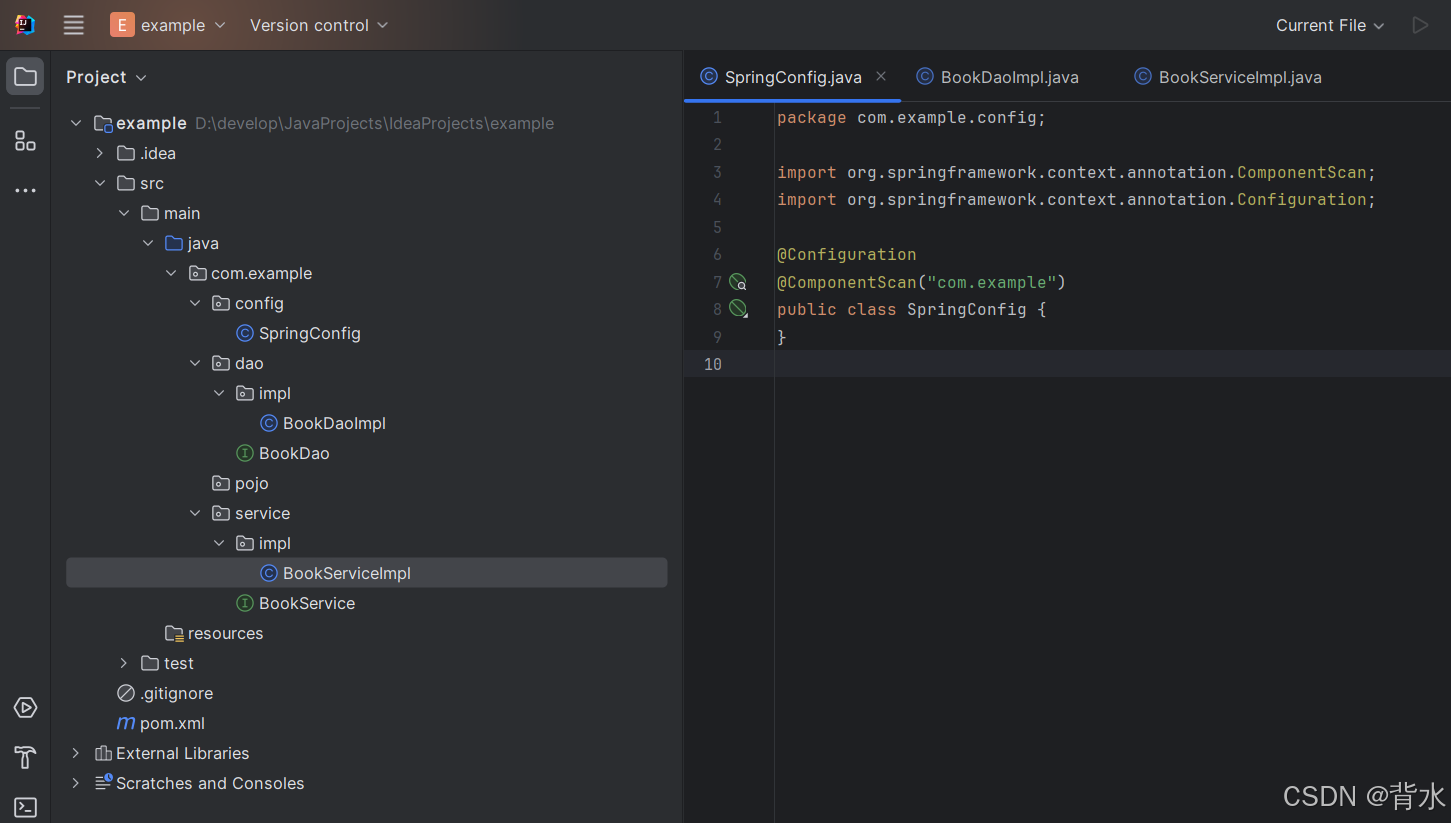
package com.example.config;

import org.springframework.context.annotation.ComponentScan;
import org.springframework.context.annotation.Configuration;

@Configuration
@ComponentScan(basePackages = {"com.example.service", "com.example.repository", "com.example.controller"})
public class SpringConfig {
}
6.3. 在配置类中自动装配Bean
在配置类中,我们同样可以使用@Autowired注解来自动装配Bean。例如,假设我们有一个UserRepository类,我们希望在UserService中使用它:
package com.example.service;

import com.example.repository.UserRepository;
import org.springframework.beans.factory.annotation.Autowired;

public class UserService {

    @Autowired
    private UserRepository userRepository;

    public void doSomething() {
        userRepository.doSomething();
        System.out.println("UserService is doing something!");
    }
}
配置类AppConfig可以调整为如下:
package com.example.config;

import com.example.repository.UserRepository;
import com.example.service.UserService;
import org.springframework.context.annotation.Bean;
import org.springframework.context.annotation.Configuration;

@Configuration
public class AppConfig {

    @Bean
    public UserRepository userRepository() {
        return new UserRepository();
    }

    @Bean
    public UserService userService(UserRepository userRepository) {
        UserService userService = new UserService();
        userService.setUserRepository(userRepository); // 手动装配
        return userService;
    }
}
注意,我们有以下结构: