实验三:用Java拷贝文件到HDFS
- 目的和要求
- 掌握自主创建maven项目
- 启动Hadoop
- 创建linux文件
- 用java拷贝文件到hdfs
- 验证上传成功
- 实验设备与准备
环境:三台装有Centos 7的服务器
- 实验内容
1.启动Hadoop服务
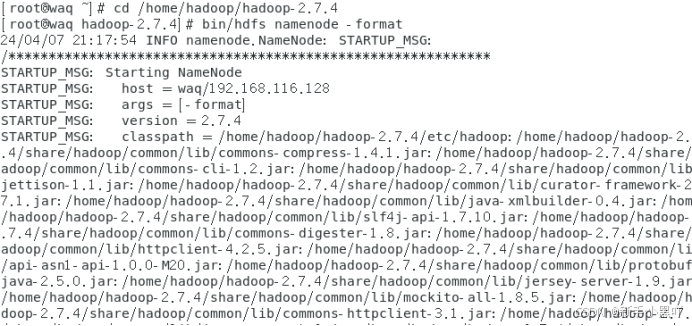
到hadoop安装目录下:cd /home/hadoop/hadoop-2.7.4
格式化:bin/hdfs namenode -format
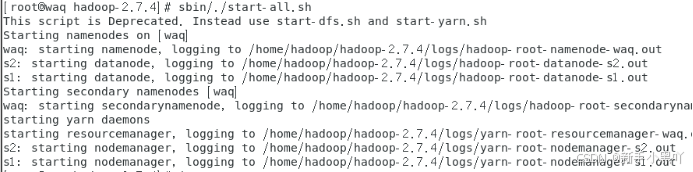
启动hadoop集群:sbin/./start-all.sh
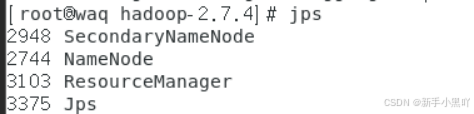
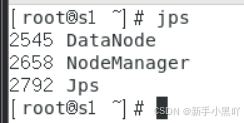
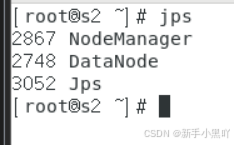
jps命令查看服务是否启动成功:jps
2.使用Eclipse新建Maven项目
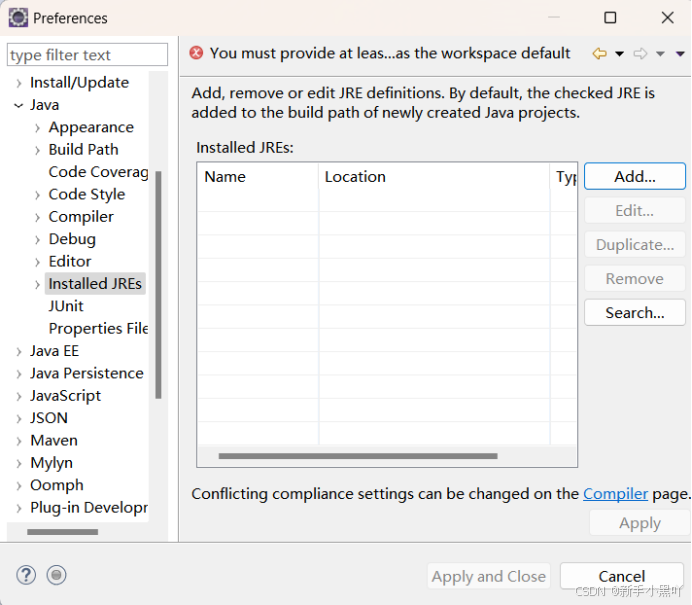
- 设置JDK
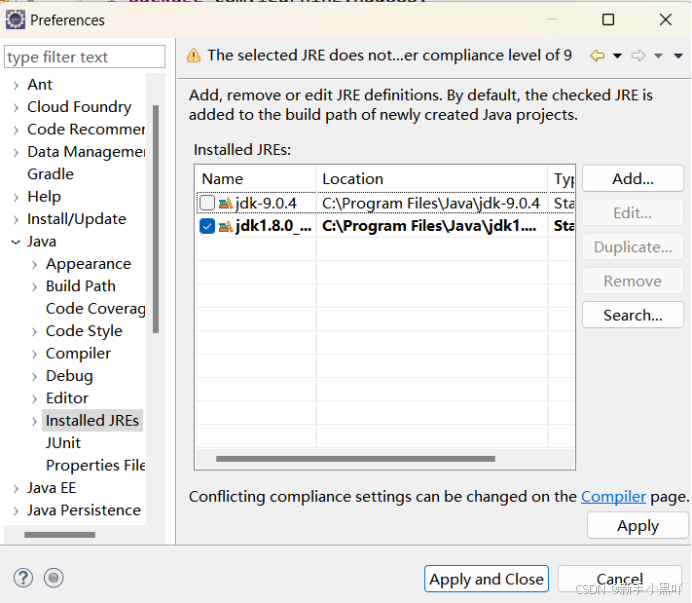
打开Eclipse开发工具,选择Eclipse菜单栏windows菜单下的Preference 选项,打开Preference窗口,并选择Java下面的Installed JRE
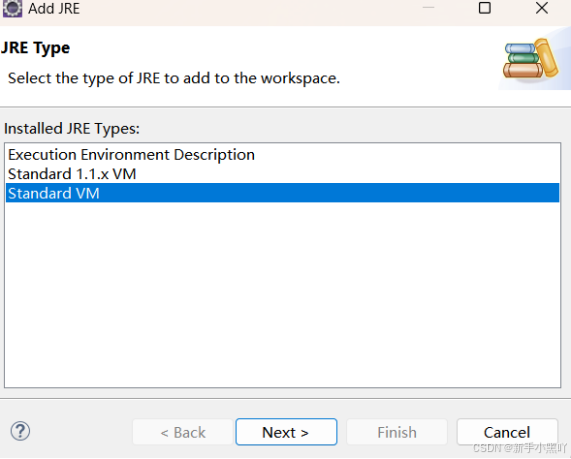
点击add按钮,弹出的Add JRE窗口 选择 Standard VM 。
点击 Next 按钮,在弹出的窗口里 ,点击JRE home 后面的 Directory按钮,选择jdk安装的目录
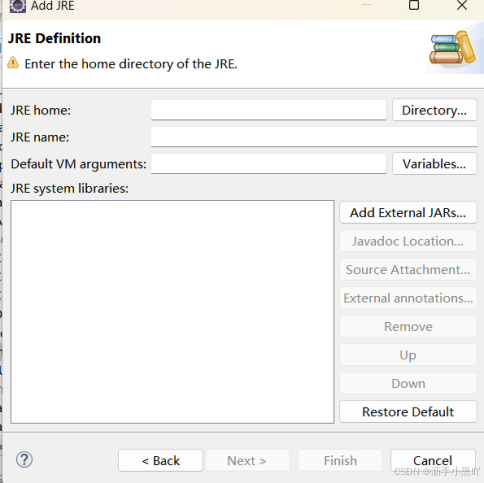
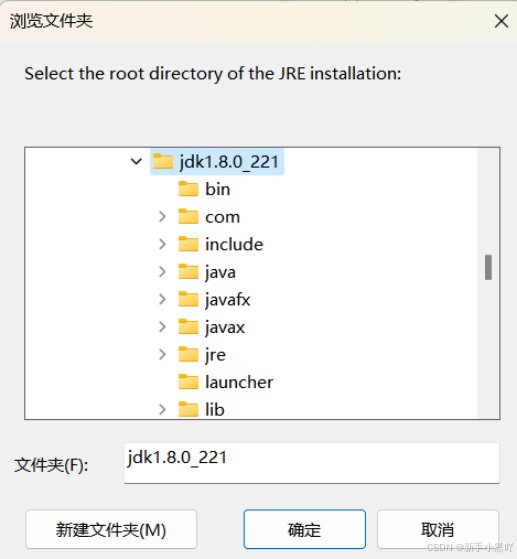
选择后点击确定,再点击Finish 按钮
点击apply按钮,再点击Apply and Close,此时Eclipse jdk安装完毕。
- 新建Maven项目
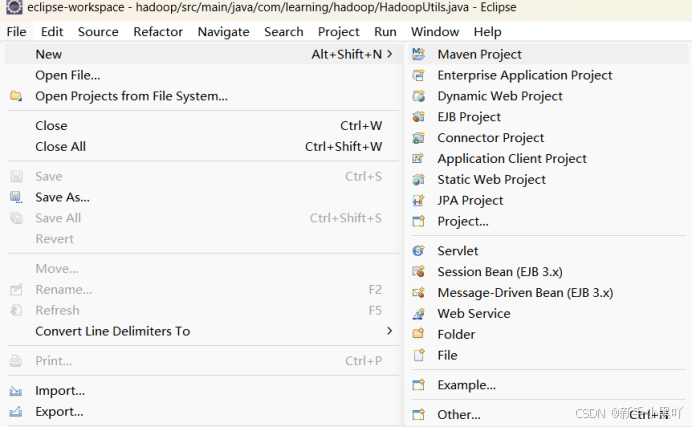
选择Eclipse菜单栏 File菜单里的New 下的Maven Project 选项
点击next,在弹出的窗口中,勾选中Create a simple project 选项

点击Next按钮,在弹出的窗口中,Group id (一般为公司组织名称)填写 :learning ,Artifact Id(项目名称) 填写:hadoop
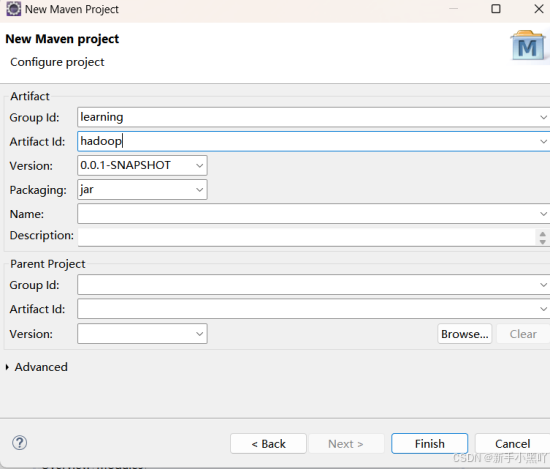
点击finish 按钮。
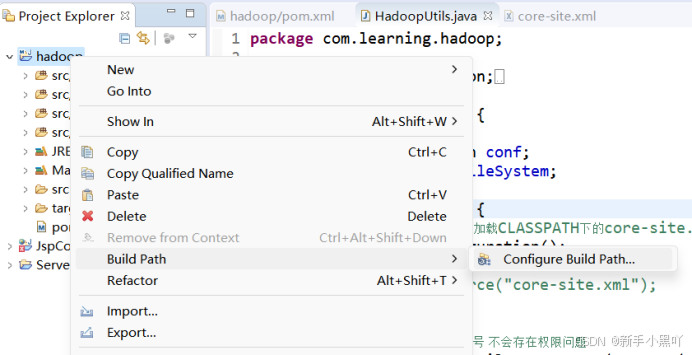
在建好的项目hadoop上 右键,选择Build Path à Configure Build Path...
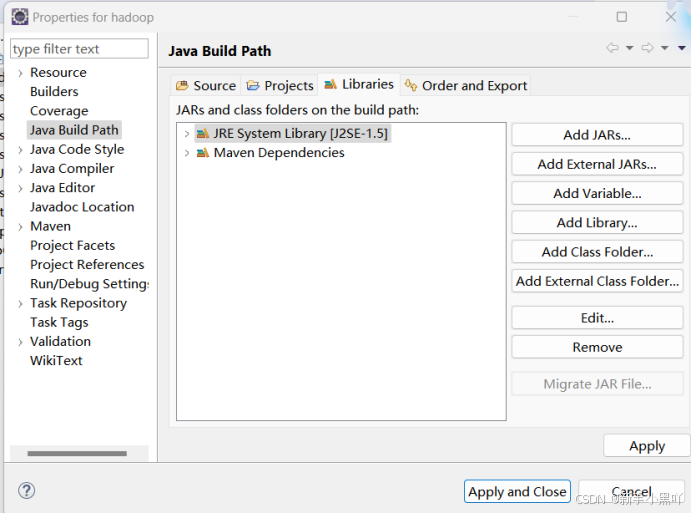
在弹出的窗口中左边窗口选择Java Build Path,右边选择Libraries 下的JRE System Libray选项后,点击 Edit 按钮
在弹出的窗口中,选择我们安装的1.8版本的jdk
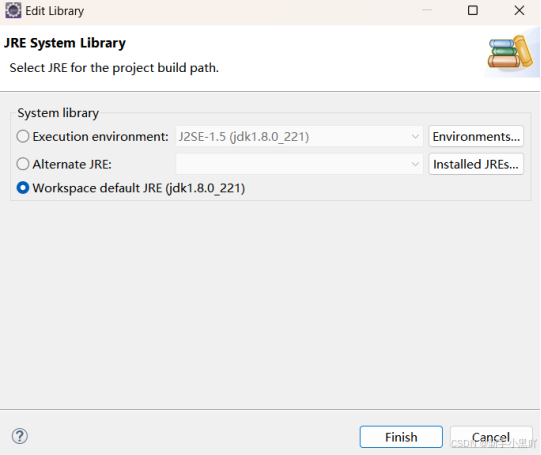
点击Finish按钮,然后将设置保存。
再选择左边Java Compiler选项,将右边的Compiler compliance level: 设置为1.8
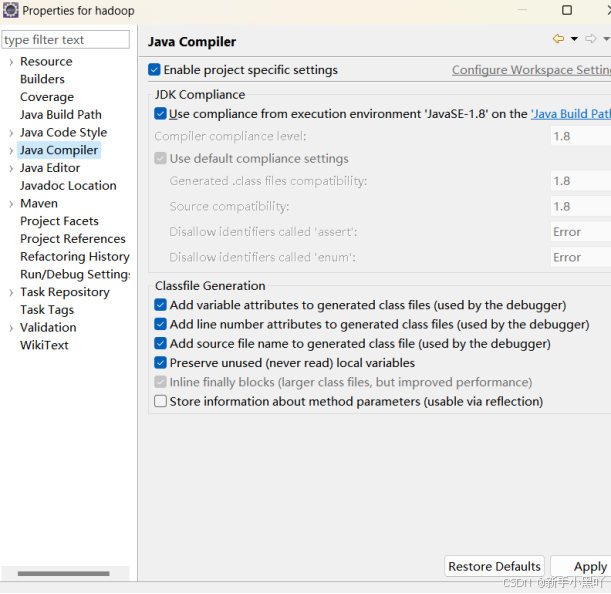
点击Apply按钮,并在弹出的确认窗口点击Yes。
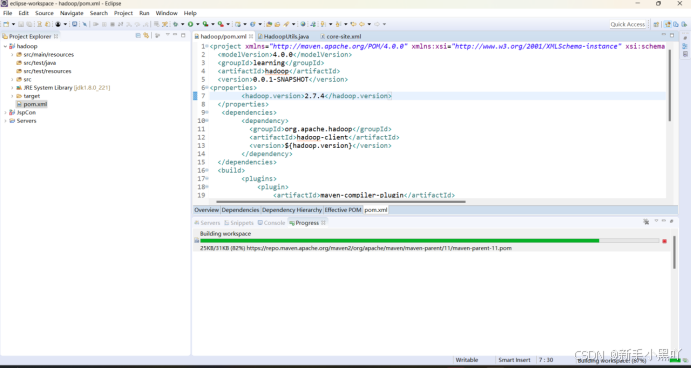
3.编写pom.xml文件
打开pom.xml文件,增加如下内容:
<properties>
<hadoop.version>2.7.4</hadoop.version>
</properties>
<dependencies>
<dependency>
<groupId>org.apache.hadoop</groupId>
<artifactId>hadoop-client</artifactId>
<version>${hadoop.version}</version>
</dependency>
</dependencies>
<build>
<plugins>
<plugin>
<artifactId>maven-compiler-plugin</artifactId>
<version>3.0</version>
<configuration>
<source>1.8</source>
<target>1.8</target>
</configuration>
</plugin>
<plugin>
<groupId>org.apache.maven.plugins</groupId>
<artifactId>maven-surefire-plugin</artifactId>
<configuration>
<skip>true</skip>
</configuration>
</plugin>
</plugins>
</build>
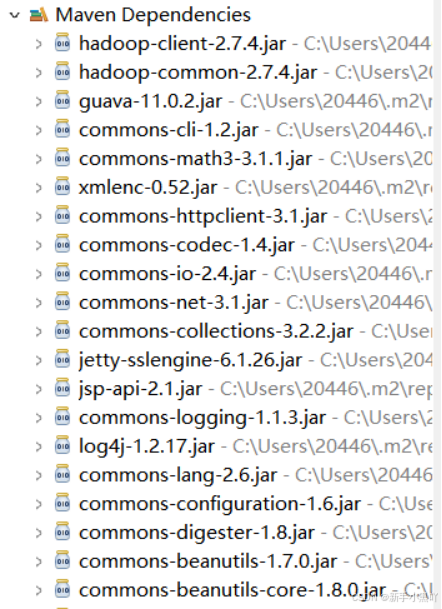
保存之后,Eclipse应该会自动开始下载依赖jar包
4.开发读取hdfs系统里的文件的代码
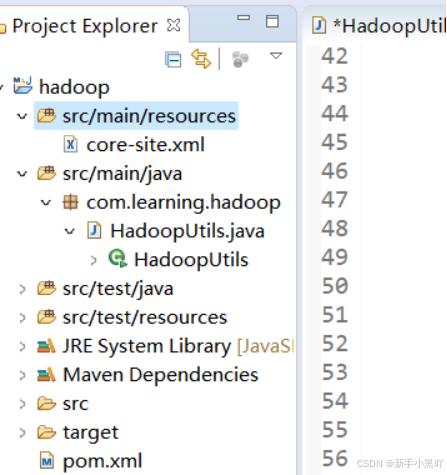
在src/main/java上点击右键新建Package
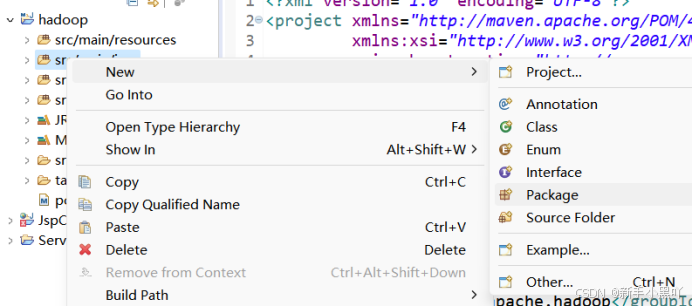
在弹出的窗口中Name: 里填写 com.learning.hadoop
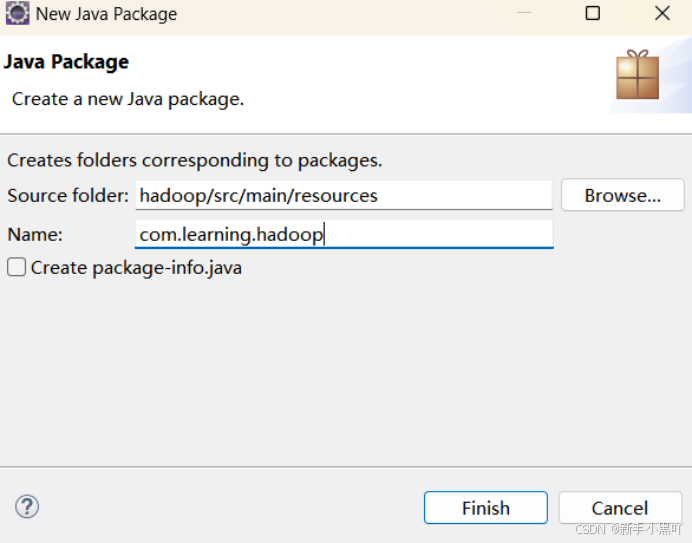
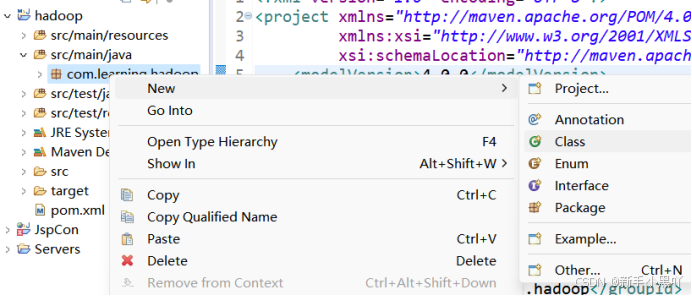
点击Finish按钮。
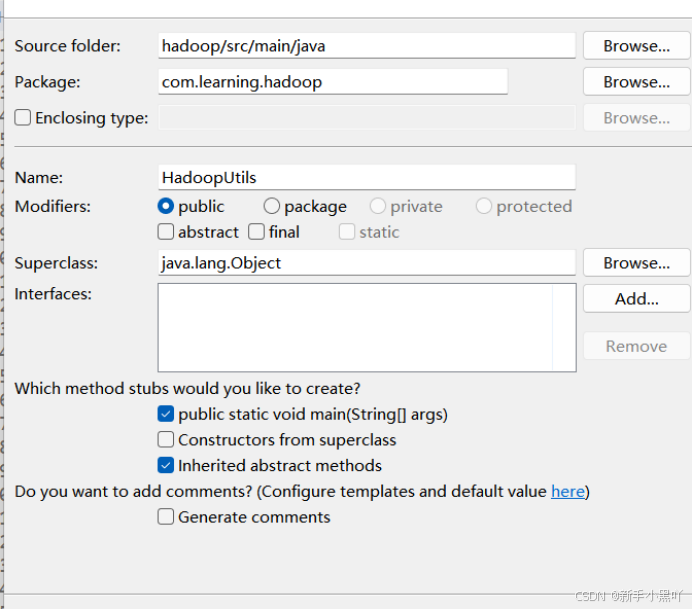
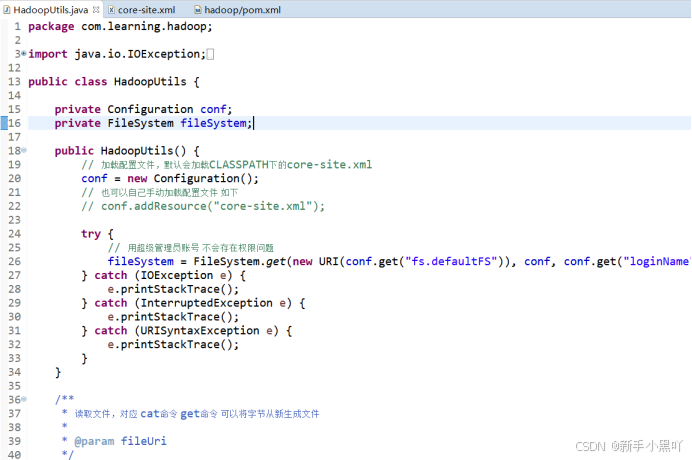
编辑HadoopUtils.java ,参考代码如下:
package com.learning.hadoop;
import java.io.IOException;
import java.net.URI;
import java.net.URISyntaxException;
import org.apache.hadoop.conf.Configuration;
import org.apache.hadoop.fs.FSDataInputStream;
import org.apache.hadoop.fs.FileStatus;
import org.apache.hadoop.fs.FileSystem;
import org.apache.hadoop.fs.Path;
public class HadoopUtils {
private Configuration conf;
private FileSystem fileSystem;
public HadoopUtils() {
// 加载配置文件,默认会加载CLASSPATH下的core-site.xml
conf = new Configuration();
// 也可以自己手动加载配置文件 如下
// conf.addResource("core-site.xml");
try {
// 用超级管理员账号 不会存在权限问题
fileSystem = FileSystem.get(new URI(conf.get("fs.defaultFS")), conf, conf.get("loginName"));
} catch (IOException e) {
e.printStackTrace();
} catch (InterruptedException e) {
e.printStackTrace();
} catch (URISyntaxException e) {
e.printStackTrace();
}
}
/**
* 读取文件,对应 cat命令 get命令 可以将字节从新生成文件
*
* @param fileUri
*/
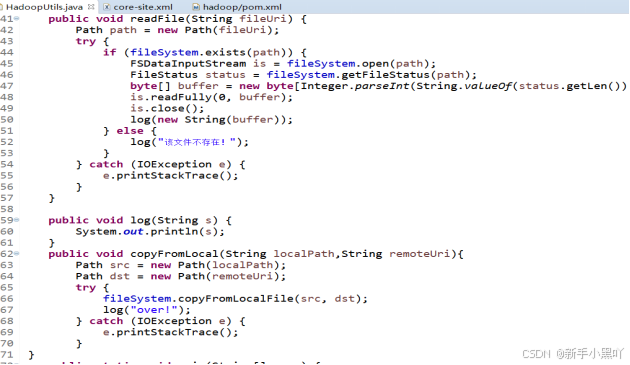
public void readFile(String fileUri) {
Path path = new Path(fileUri);
try {
if (fileSystem.exists(path)) {
FSDataInputStream is = fileSystem.open(path);
FileStatus status = fileSystem.getFileStatus(path);
byte[] buffer = new byte[Integer.parseInt(String.valueOf(status.getLen()))];
is.readFully(0, buffer);
is.close();
log(new String(buffer));
} else {
log("该文件不存在!");
}
} catch (IOException e) {
e.printStackTrace();
}
}
public void log(String s) {
System.out.println(s);
}
public static void main(String[] args) {
HadoopUtils hdfsFileSystem = new HadoopUtils();
hdfsFileSystem.readFile("/readhadoop.txt");
}
}

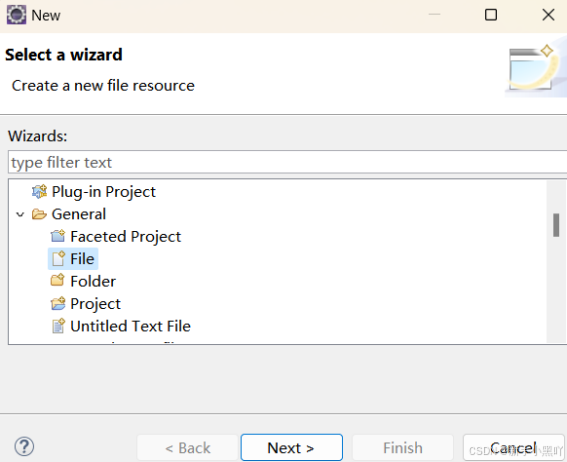
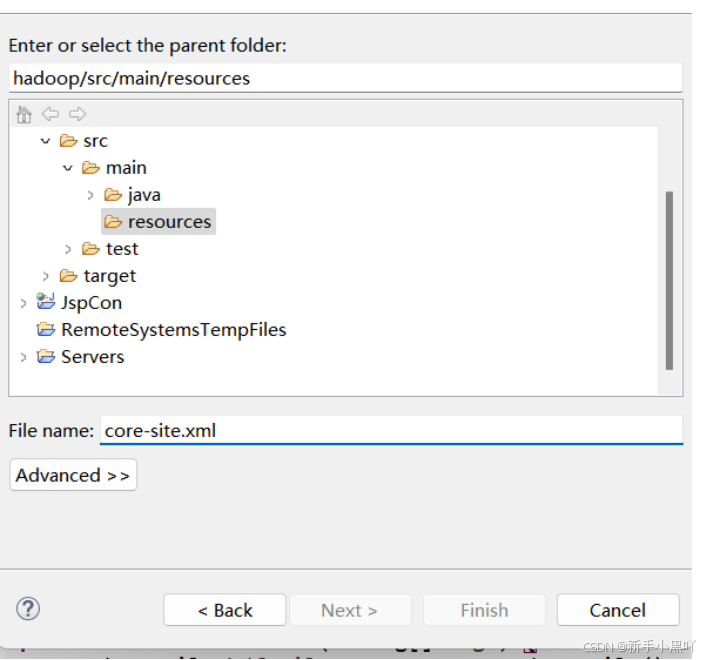
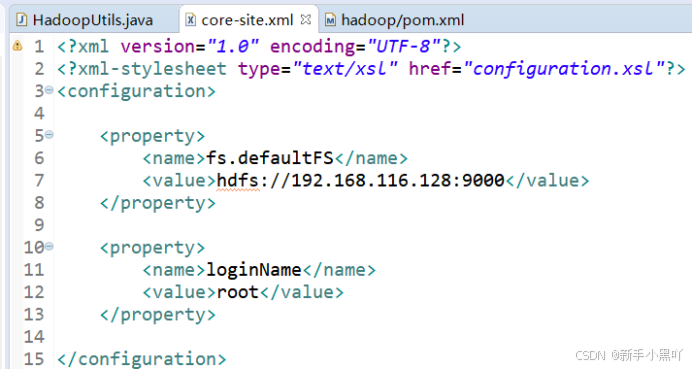
在src/main/resources/ 目录下新建core-site.xml文件
<?xml version="1.0" encoding="UTF-8"?>
<?xml-stylesheet type="text/xsl" href="configuration.xsl"?>
<configuration>
<property>
<name>fs.defaultFS</name>
<value>hdfs://192.168.26.201:9000</value>
</property>
<property>
<name>loginName</name>
<value>root</value>
</property>
</configuration>
使用ssh工具登陆到hadoop集群的master服务器上,在目录/home/hadoop/ 目录下创建一个readhadoop.txt文件,并输入内容为:
Hello hadoop ,
this is my first hadoop program!
命令:
echo 'Hello hadoop,'>>/home/hadoop/readhadoop.txt
echo 'this is my first hadoop program!'>>/home/hadoop/readhadoop.txt
之前已经添加过了,直接查看一下吧


再使用命令bin/hdfs dfs -put 将文件上传到hdfs系统的根目录下,并使用bin/hdfs dfs -cat命令查看文件内容,命令参考如下:
bin/hdfs dfs -put /home/hadoop/readhadoop.txt /
bin/hdfs dfs -cat /readhadoop.txt
之前已经添加过了,直接查看一下吧

运行刚刚编写的HadoopUtils.java,在HadoopUtils.java文件上点击右键,选择Run As à Java Application

查看运行结果:
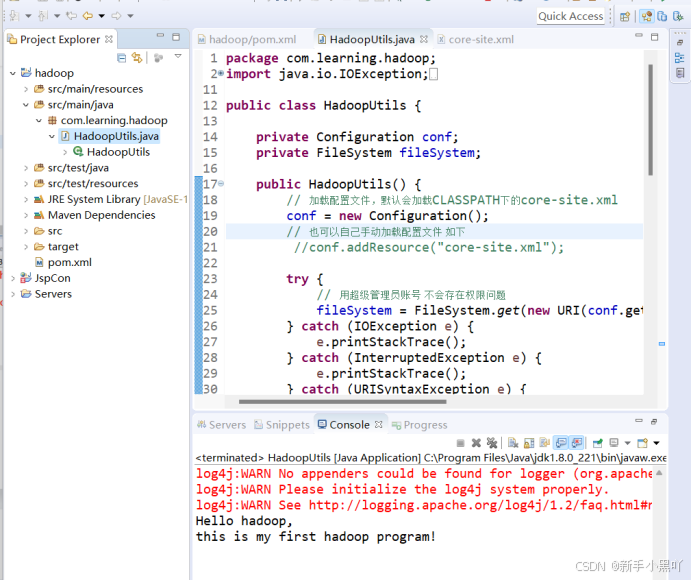
可以查看到已经成功将hdfs系统里的文件读取出来了。
5.开发上传本地文件到hdfs系统里的代码
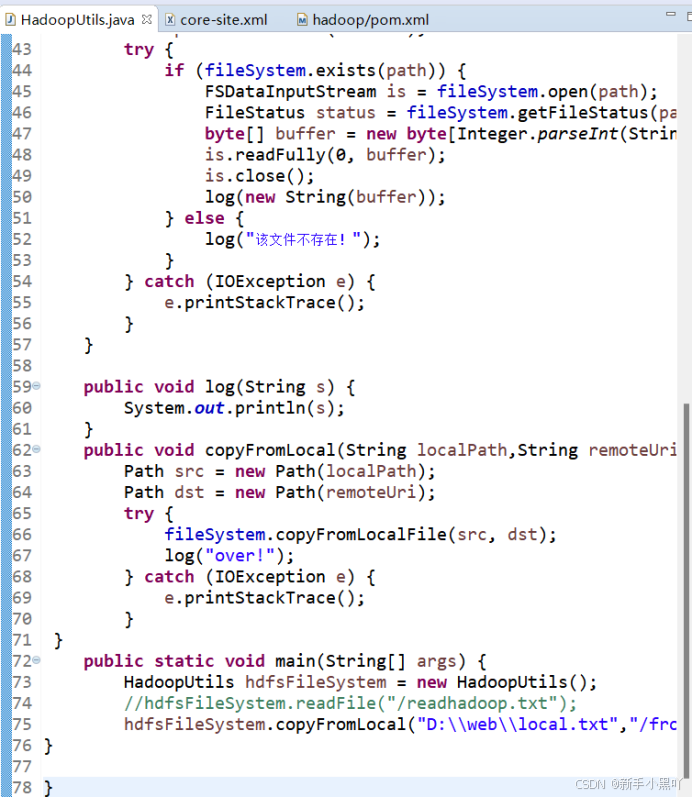
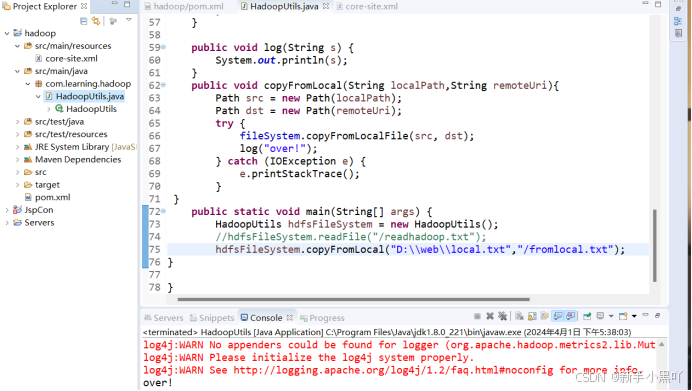
在上一步中的HadoopUtils.java文件里 新增copyFromLocal(String localPath,String remoteUri) 方法,内容如下:
public void copyFromLocal(String localPath,String remoteUri){
Path src = new Path(localPath);
Path dst = new Path(remoteUri);
try {
fileSystem.copyFromLocalFile(src, dst);
log("over!");
} catch (IOException e) {
e.printStackTrace();
}
}
并将main方法修改为如下:
public static void main(String[] args) {
HadoopUtils hdfsFileSystem = new HadoopUtils();
//hdfsFileSystem.readFile("/readhadoop.txt"); hdfsFileSystem.copyFromLocal("/root/local.txt","/fromlocal.txt");
}
如下图:
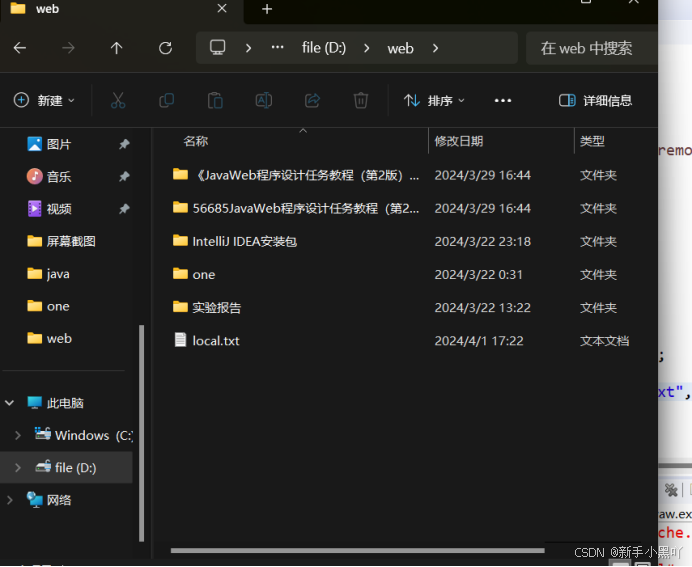
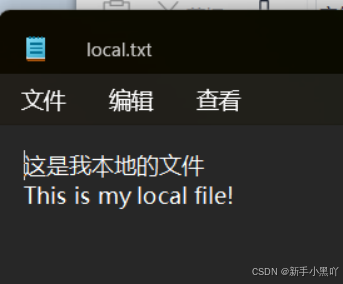
在D:/web/目录下新建local.txt文件,添加内容如下:
这是我本地的文件
This is my local file!
再次运行HadoopUtils.java
此时文件应该是已经上传到hdfs系统里了,我们可以在master服务器上使用hdfs命令查看,
命令:
bin/hdfs dfs -ls /
bin/hdfs dfs -cat /fromlocal.txt

- 实验总结
学到了:用java拷贝文件到hdfs
不足:在保存pom.xml文件时网不好,始终出不来
Hadoop项目右键->Maven->Update project…在弹出的窗口中把下面这个
努力的方向:多动手,实操出经验