本文基于之前内容列表如下:
【图文指引】5分钟搭建Django轻量级框架服务
【实战案例】Django框架基础之上编写第一个Django应用之基本请求和响应
【实战案例】Django框架连接并操作数据库MySQL相关API
【实战案例】Django框架使用模板渲染视图页面及异常处理
更新编写的投票详细页面的模板"polls/detail.html"让它包含一个 form表单元素:
(超详细注释版)
<!DOCTYPE html>
<!DOCTYPE html>
<html lang="en">
<head>
    <meta charset="UTF-8">
    <title>这是detail的模板渲染</title>
</head>
<body>
<!--action属性使用{\% url %}模板标签动态生成投票处理的URL。'polls:vote'是命名的URL模式,question.id是传递给该URL的参数(问题的ID)。-->
<!--method="post"指明表单数据通过POST请求提交,适合用于修改服务器端数据(这里是投票)-->
<form action="{% url 'polls:vote' question.id %}" method="post">
    <!--Django的跨站请求伪造(CSRF)保护机制。它在表单中插入一个隐藏字段,确保请求来自同一个站点,以防止恶意攻击。-->
    {% csrf_token %}
    <!--<fieldset>用于分组相关元素,通常与<legend>结合使用,提升可读性和可访问性。-->
    <fieldset>
        <legend><h1>{{ question.question_text }}</h1></legend>
        <!--如果存在错误消息(如用户未选择选项),会显示在表单中。error_message是从视图传递到模板的上下文变量。-->
        {% if error_message %}<p><strong>{{ error_message }}</strong></p>{% endif %}
        <!--这个循环遍历当前问题的所有选择项(choice_set是Django为一对多关系生成的反向关系管理器)。-->
        <!--对于每个选择项,生成一个单选框(<input type="radio">)和对应的标签(<label>)。-->
        <!--id="choice{\{ forloop.counter }}"为每个单选框生成唯一的ID,forloop.counter是Django模板中的内置变量,从1开始计数。-->
        <!--value="{\{ choice.id }}"将每个单选框的值设置为选择项的ID,以便在提交表单时识别所选的选择项。-->
        {% for choice in question.choice_set.all %}
            <input type="radio" name="choice" id="choice{{ forloop.counter }}" value="{{ choice.id }}">
            <label for="choice{{ forloop.counter }}">{{ choice.choice_text }}</label><br>
        {% endfor %}
    </fieldset>
    <!--提交按钮,用于提交表单数据。-->
    <input type="submit" value="Vote">
</form>
</body>
</html>
之前创建的URLconf位于polls/urls.py中
path("<int:question_id>/vote/", views.vote, name="vote"),
在polls/views.py中更新如下代码:
from django.db.models import F
from django.http import HttpResponse, HttpResponseRedirect
from django.shortcuts import get_object_or_404, render
from django.urls import reverse

from .models import Choice, Question


# ...
def vote(request, question_id):
    # 使用 get_object_or_404 函数获取指定问题对象。如果未找到,则返回404错误页面。
    question = get_object_or_404(Question, pk=question_id)

    try:
        # 从POST请求中获取选中的选择项ID,并在该问题的选择集中查找对应的选择项。
        selected_choice = question.choice_set.get(pk=request.POST["choice"])
    except (KeyError, Choice.DoesNotExist):
        # 如果在POST请求中没有找到选择项,或选择项不存在,执行以下操作:
        # Redisplay the question voting form with an error message.
        return render(
            request,  # 当前请求对象
            "polls/detail.html",  # 渲染的模板
            {
                "question": question,  # 重新传递问题对象,以便在模板中显示
                "error_message": "You didn't select a choice.",  # 错误消息,提示用户未选择任何选项
            },
        )
    else:
        # 如果成功找到选中的选择项,则增加其票数
        selected_choice.votes = F("votes") + 1  # 使用 F 表达式进行原子操作,避免竞争条件
        selected_choice.save()  # 保存更新后的选择项

        # 返回一个 HttpResponseRedirect,以防止用户在提交后刷新页面导致重复提交
        return HttpResponseRedirect(reverse("polls:results", args=(question.id,)))

# 当有人对 Question 进行投票后, vote() 视图将请求重定向到 Question 的结果界面
def results(request, question_id):
    question = get_object_or_404(Question, pk=question_id)
    return render(request, "polls/results.html", {"question": question})
接下来创建polls/results.html模板:
<!DOCTYPE html>
<html lang="en">
<head>
    <meta charset="UTF-8">
    <title>这是results的模板渲染</title>
</head>
<body>
<h1>{{ question.question_text }}</h1>
<!--<ul>标签用于创建一个无序列表-->
<!--{\% for choice in question.choice_set.all %}:这是一个循环,遍历当前问题的所有选择项。question.choice_set.all是Django的反向关系管理器,用于获取与该问题相关的所有选择项。-->
<!--vote{\{ choice.votes|pluralize }}:使用pluralize过滤器来处理单复数形式。如果得票数为1,显示“vote”,否则显示“votes”。这使得文本更自然,适应不同的得票数。-->
<ul>
    {% for choice in question.choice_set.all %}
        <li>{{ choice.choice_text }} -- {{ choice.votes }} vote{{ choice.votes|pluralize }}</li>
    {% endfor %}
</ul>
<!--再次投票链接-->
<a href="{% url 'polls:detail' question.id %}">Vote again?</a>
</body>
</html>
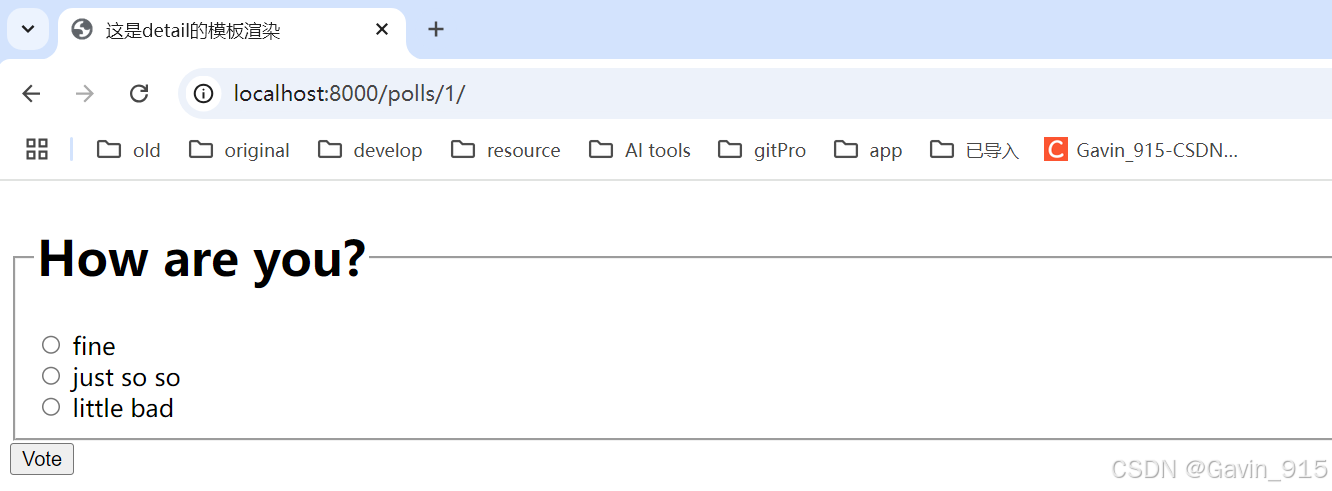
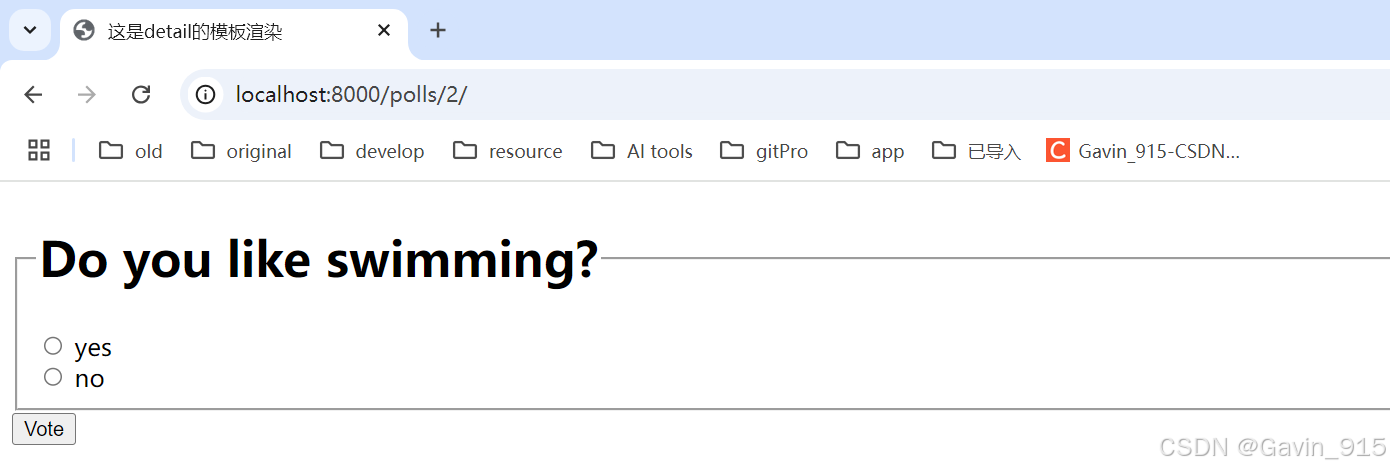
通过上述更新,访问http://localhost:8000/polls/可见如下页面:
投票页面如下所示:
选择选项并点击vote按钮可进行投票,投票后显示票数页面且可再次投票
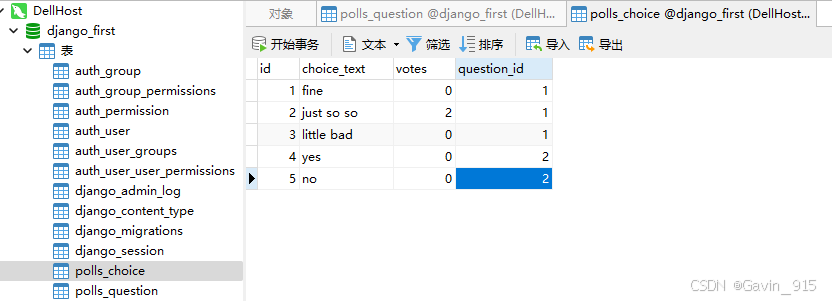
对应数据库的数据也会更新


