原理
上一篇文章,已经说过了,大家可以参考一下,Faster-Rcnn进行目标检测(原理篇)
实验
我使用的代码是python版本的Faster Rcnn,官方也有Matlab版本的,链接如下:
环境配置
按照官方的README进行配置就好,不过在这之前大家还是看下硬件要求吧
For training smaller networks (ZF, VGG_CNN_M_1024) a good GPU (e.g., Titan, K20, K40, …) with at least 3G of memory suffices
For training Fast R-CNN with VGG16, you’ll need a K40 (~11G of memory)
For training the end-to-end version of Faster R-CNN with VGG16, 3G of GPU memory is sufficient (using CUDNN)
我的是环境是Ubuntu 14.04 + Titan X(12GB) + cuda 7.0 + cudnn V3
1 Caffe环境配置
Caffe环境需要python layer的支持,在你的Caffe的Makefile.config中去掉以下的注释
- WITH_PYTHON_LAYER := 1
- USE_CUDNN := 1
2 安装python库依赖
cython,python-opencv和easydict
pip install cython
pip install python-opencv
pip install easydict
3 克隆py-faster-rcnn源代码
git clone --recursive https://github.com/rbgirshick/py-faster-rcnn.git4 编译cython模块
cd $FRCN_ROOT/lib
make
5 编译Caffe和pycaffe
cd $FRCN_ROOT/caffe-fast-rcnn
make -j8 && make pycaffe-j8的选项是进行多核编译,可以加速编译过程,推荐使用
数据集
参考VOC2007的数据集格式,主要包括三个部分:
JPEGImages
Annotations
ImageSets/Main
JPEGImages —> 存放你用来训练的原始图像
Annotations —> 存放原始图像中的Object的坐标信息,XML格式
ImageSets/Main —> 指定用来train,trainval,val和test的图片的编号
这部分非常重要,数据集做不好直接导致代码出现异常,无法运行,或者出现奇怪的错误,我也是掉进了很多坑,爬上来之后才写的这篇博客,希望大家不要趟我趟过的浑水!每一个部分我都会细说的!
JPEGImages
这个没什么,直接把你的图片放入就可以了,但是有三点注意:
编号要以6为数字命名,例如000034.jpg
图片要是JPEG/JPG格式的,PNG之类的需要自己转换下
图片的长宽比(width/height)要在0.462-6.828之间,就是太过
瘦长的图片不要
0.462-6.828是我自己实验得出来的,就我的数据集而言是这个比例,总之长宽比太大或者太小的,你要注意将其剔除,否则可能会出现下面我实验时候出的错:
Traceback (most recent call last):
File “/usr/lib/python2.7/multiprocessing/process.py”, line 258, in _bootstrap
self.run()
File “/usr/lib/python2.7/multiprocessing/process.py”, line 114, in run
self._target(*self._args, **self._kwargs)
File “./tools/train_faster_rcnn_alt_opt.py”, line 130, in train_rpn
max_iters=max_iters)
File “/home/work-station/zx/py-faster-rcnn/tools/../lib/fast_rcnn/train.py”, line 160, in train_net
model_paths = sw.train_model(max_iters)
File “/home/work-station/zx/py-faster-rcnn/tools/../lib/fast_rcnn/train.py”, line 101, in train_model
self.solver.step(1)
File “/home/work-station/zx/py-faster-rcnn/tools/../lib/rpn/anchor_target_layer.py”, line 137, in forward
gt_argmax_overlaps = overlaps.argmax(axis=0)
ValueError: attempt to get argmax of an empty sequence
Google给出的原因是 Because the ratio of images width and heights is too small or large,这个非常重要
Annotations
faster rcnn训练需要图像的bounding box信息作为监督(ground truth),所以你需要将你的所有可能的object使用框标注,并写上坐标,最终是一个XML格式的文件,一个训练图片对应Annotations下的一个同名的XML文件
参考官方VOC的Annotations的格式:
<annotation>
    <folder>VOC2007</folder> #数据集文件夹
    <filename>000105.jpg</filename> #图片的name
    <source> #注释信息,无所谓有无
        <database>The VOC2007 Database</database>
        <annotation>PASCAL VOC2007</annotation>
        <image>flickr</image>
        <flickrid>321862192</flickrid>
    </source>
    <owner> #注释信息,无所谓有无
        <flickrid>Eric T. Johnson</flickrid>
        <name>?</name>
    </owner>
    <size> #图片大小
        <width>500</width>
        <height>333</height>
        <depth>3</depth>
    </size>
    <segmented>0</segmented>
    <object> #多少个框就有多少个object标签
        <name>boat</name> #bounding box中的object的class name
        <pose>Frontal</pose>
        <truncated>1</truncated>
        <difficult>0</difficult>
        <bndbox>
            <xmin>22</xmin> #框的坐标
            <ymin>1</ymin>
            <xmax>320</xmax>
            <ymax>314</ymax>
        </bndbox>
    </object>
    <object>
        <name>person</name>
        <pose>Frontal</pose>
        <truncated>1</truncated>
        <difficult>0</difficult>
        <bndbox>
            <xmin>202</xmin>
            <ymin>71</ymin>
            <xmax>295</xmax>
            <ymax>215</ymax>
        </bndbox>
    </object>
    <object>
        <name>person</name>
        <pose>Frontal</pose>
        <truncated>1</truncated>
        <difficult>0</difficult>
        <bndbox>
            <xmin>170</xmin>
            <ymin>107</ymin>
            <xmax>239</xmax>
            <ymax>206</ymax>
        </bndbox>
    </object>
</annotation>这里有一个非常好用的工具VOC框图工具,可以自动帮你生成需要的XML格式,实际中发现格式基本无误,只有小的地方需要改动下,大家对比下就知道怎么改了,我是在linux下借助sed修改的,这个不难
Imagesets/Main
因为VOC的数据集可以做很多的CV任务,比如Object detection, Semantic segementation, Edge detection等,所以Imageset下有几个子文件夹(Layout, Main, Segementation),我们只要修改下Main下的文件就可以了(train.txt, trainval.txt, val.txt, test.txt),里面写上你想要进行任务的图片的编号
将上述你的数据集放在py-faster-rcnn/data/VOCdevkit2007/VOC2007下面,替换原始VOC2007的JPEGIMages,Imagesets,Annotations
原始VOC2007下载地址: VOC20007数据集
代码修改
工程目录介绍
caffe-fast-rcnn —> caffe框架
data —> 存放数据,以及读取文件的cache
experiments —>存放配置文件以及运行的log文件,配置文件
lib —> python接口
models —> 三种模型, ZF(S)/VGG1024(M)/VGG16(L)
output —> 输出的model存放的位置,不训练此文件夹没有
tools —> 训练和测试的python文件
修改源文件
faster rcnn有两种各种训练方式:
Alternative training(alt-opt)
Approximate joint training(end-to-end)
推荐使用第二种,因为第二种使用的显存更小,而且训练会更快,同时准确率差不多,两种方式需要修改的代码是不一样的,同时faster rcnn提供了三种训练模型,小型的ZFmodel,中型的VGG_CNN_M_1024和大型的VGG16,论文中说VGG16效果比其他两个好,但是同时占用更大的GPU显存(~11GB)
我使用的是VGG model + alternative training,需要检测的类别只有一类,加上背景所以总共是两类(background + captcha)
1 py-faster-rcnn/models/pascal_voc/VGG16/faster_rcnn_alt_opt/stage1_fast_rcnn_train.pt
layer {
  name: 'data'
  type: 'Python'
  top: 'data'
  top: 'rois'
  top: 'labels'
  top: 'bbox_targets'
  top: 'bbox_inside_weights'
  top: 'bbox_outside_weights'
  python_param {
    module: 'roi_data_layer.layer'
    layer: 'RoIDataLayer'
    param_str: "'num_classes': 2" #按训练集类别改,该值为类别数+1
  }
}
layer {
name: "cls_score"
type: "InnerProduct"
bottom: "fc7"
top: "cls_score"
param {
lr_mult: 1.0
}
param {
lr_mult: 2.0
}
inner_product_param {
num_output: 2 #按训练集类别改,该值为类别数+1
weight_filler {
type: "gaussian"
std: 0.01
}
bias_filler {
type: "constant"
value: 0
}
}
} layer {
name: "bbox_pred"
type: "InnerProduct"
bottom: "fc7"
top: "bbox_pred"
param {
lr_mult: 1.0
}
param {
lr_mult: 2.0
}
inner_product_param {
num_output: 8 #按训练集类别改,该值为(类别数+1)*4,四个顶点坐标
weight_filler {
type: "gaussian"
std: 0.001
}
bias_filler {
type: "constant"
value: 0
}
}
}
2 py-faster-rcnn/models/pascal_voc/VGG16/faster_rcnn_alt_opt/stage1_rpn_train.pt
layer {
  name: 'input-data'
  type: 'Python'
  top: 'data'
  top: 'im_info'
  top: 'gt_boxes'
  python_param {
    module: 'roi_data_layer.layer'
    layer: 'RoIDataLayer'
    param_str: "'num_classes': 2" #按训练集类别改,该值为类别数+1
  }
}
3 py-faster-rcnn/models/pascal_voc/VGG16/faster_rcnn_alt_opt/stage2_fast_rcnn_train.pt
layer {
  name: 'data'
  type: 'Python'
  top: 'data'
  top: 'rois'
  top: 'labels'
  top: 'bbox_targets'
  top: 'bbox_inside_weights'
  top: 'bbox_outside_weights'
  python_param {
    module: 'roi_data_layer.layer'
    layer: 'RoIDataLayer'
    param_str: "'num_classes': 2" #按训练集类别改,该值为类别数+1
  }
}
layer {
name: "cls_score"
type: "InnerProduct"
bottom: "fc7"
top: "cls_score"
param {
lr_mult: 1.0
}
param {
lr_mult: 2.0
}
inner_product_param {
num_output: 2 #按训练集类别改,该值为类别数+1
weight_filler {
type: "gaussian"
std: 0.01
}
bias_filler {
type: "constant"
value: 0
}
}
} layer {
name: "bbox_pred"
type: "InnerProduct"
bottom: "fc7"
top: "bbox_pred"
param {
lr_mult: 1.0
}
param {
lr_mult: 2.0
}
inner_product_param {
num_output: 8 #按训练集类别改,该值为(类别数+1)*4,四个顶点坐标
weight_filler {
type: "gaussian"
std: 0.001
}
bias_filler {
type: "constant"
value: 0
}
}
} 4 py-faster-rcnn/models/pascal_voc/VGG16/faster_rcnn_alt_opt/stage2_rpn_train.pt
layer {
  name: 'input-data'
  type: 'Python'
  top: 'data'
  top: 'im_info'
  top: 'gt_boxes'
  python_param {
    module: 'roi_data_layer.layer'
    layer: 'RoIDataLayer'
    param_str: "'num_classes': 2" #按训练集类别改,该值为类别数+1
  }
}
5 py-faster-rcnn/models/pascal_voc/VGG16/faster_rcnn_alt_opt/faster_rcnn_test.pt
layer {
  name: "cls_score"
  type: "InnerProduct"
  bottom: "fc7"
  top: "cls_score"
  inner_product_param {
    num_output: 2 #按训练集类别改,该值为类别数+1
  }
}
6 py-faster-rcnn/lib/datasets/pascal_voc.py
class pascal_voc(imdb):
    def __init__(self, image_set, year, devkit_path=None):
        imdb.__init__(self, 'voc_' + year + '_' + image_set)
        self._year = year
        self._image_set = image_set
        self._devkit_path = self._get_default_path() if devkit_path is None \
                            else devkit_path
        self._data_path = os.path.join(self._devkit_path, 'VOC' + self._year)
        self._classes = ('__background__', # always index 0
                         captcha' # 有几个类别此处就写几个,我是两个
                      )
line 212
cls = self._class_to_ind[obj.find('name').text.lower().strip()] 如果你的标签含有大写字母,可能会出现KeyError的错误,所以建议全部使用小写字母
7 py-faster-rcnn/lib/datasets/imdb.py
将append_flipped_images函数改为如下形式:
def append_flipped_images(self):
        num_images = self.num_images
        widths = [PIL.Image.open(self.image_path_at(i)).size[0]
                  for i in xrange(num_images)]
        for i in xrange(num_images):
            boxes = self.roidb[i]['boxes'].copy()
            oldx1 = boxes[:, 0].copy()
            oldx2 = boxes[:, 2].copy()
            boxes[:, 0] = widths[i] - oldx2 - 1
            print boxes[:, 0]
            boxes[:, 2] = widths[i] - oldx1 - 1
            print boxes[:, 0]
            assert (boxes[:, 2] >= boxes[:, 0]).all()
            entry = {'boxes' : boxes,
                     'gt_overlaps' : self.roidb[i]['gt_overlaps'],
                     'gt_classes' : self.roidb[i]['gt_classes'],
                     'flipped' : True}
            self.roidb.append(entry)
        self._image_index = self._image_index * 2
到此代码修改就搞定了
训练
训练前还需要注意几个地方
1 cache问题
假如你之前训练了官方的VOC2007的数据集或其他的数据集,是会产生cache的问题的,建议在重新训练新的数据之前将其删除
(1) py-faster-rcnn/output
(2) py-faster-rcnn/data/cache
2 训练参数
py-faster-rcnn/models/pascal_voc/VGG16/faster_rcnn_alt_opt/stage_fast_rcnn_solver*.pt
base_lr: 0.001
lr_policy: 'step'
step_size: 30000
display: 20
....迭代次数在文件py-faster-rcnn/tools/train_faster_rcnn_alt_opt.py中进行修改
line 80
max_iters = [80000, 40000, 80000, 40000]分别对应rpn第1阶段,fast rcnn第1阶段,rpn第2阶段,fast rcnn第2阶段的迭代次数,自己修改即可,不过注意这里的值不要小于上面的solver里面的step_size的大小,大家自己修改吧
开始训练:
cd py-faster-rcnn
./experiments/scripts/faster_rcnn_alt_opt.sh 0 VGG16 pascal_voc
指明使用第一块GPU(0),模型是VGG16,训练数据是pascal_voc(voc2007),没问题的话应该可以迭代训练了
结果
训练完毕,得到我们的训练模型,我们就可以使用它来进行我们的object detection了,具体是:
1 将py-faster-rcnn/output/faster_rcnn_alt_opt/voc_2007_trainval/VGG16_faster_rcnn_final.caffemodel,拷贝到py-faster-rcnn/data/faster_rcnn_models下
2 将你需要进行test的images放在py-faster-rcnn/data/demo下
3 修改py-faster-rcnn/tools/demo.py文件
CLASSES = ('_background_', 'captcha') #参考你自己的类别写
 NETS = {'vgg16': ('VGG16',
 'VGG16_faster_rcnn_final.caffemodel'), #改成你训练得到的model的name
 'zf': ('ZF',
 'ZF_faster_rcnn_final.caffemodel')
 }
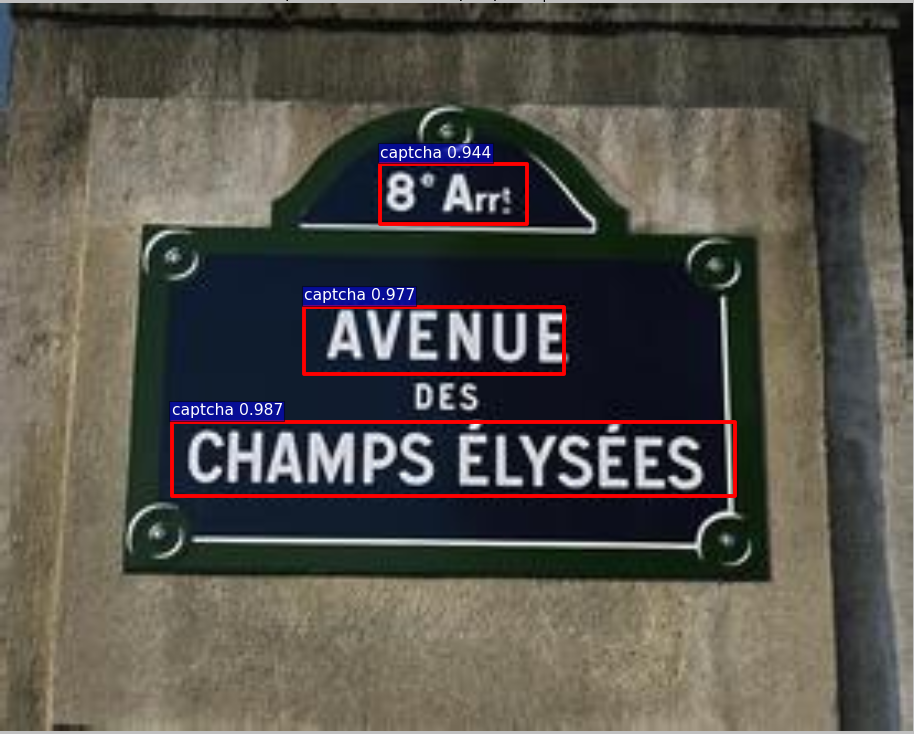
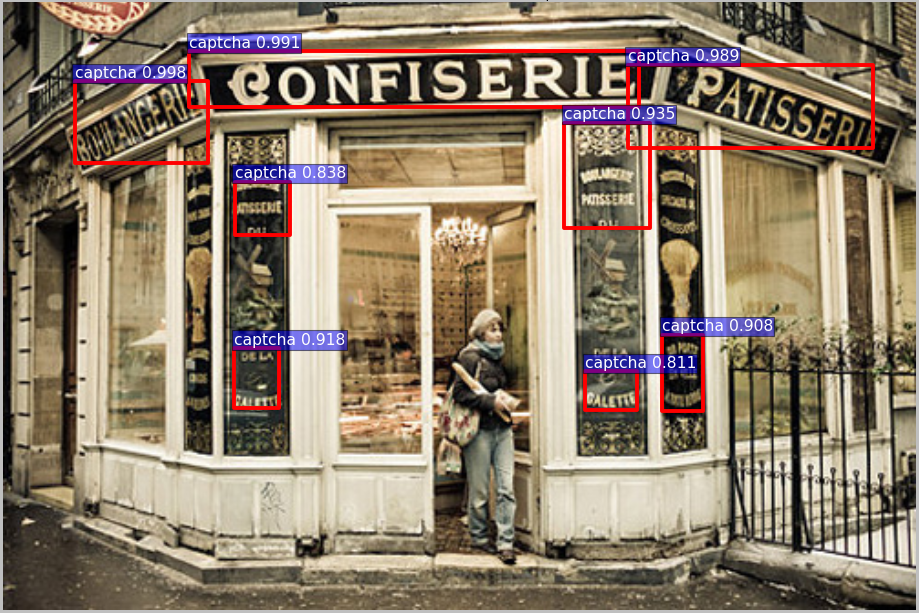
im_names = ['1559.jpg','1564.jpg'] # 改成自己的test image的name上几张我的检测结果吧


