Gitlab官网: https://about.gitlab.com/
Gitlab安装: https://gitlab.cn/install/
1. 创建GitLab目录
- 为了数据的操作安全,建议创建
data、config、logs三个数据卷。
mkdir -p /data/gitlab/config /data/gitlab/logs /data/gitlab/data
2. 下载GitLab镜像
docker pull registry.gitlab.cn/omnibus/gitlab-jh:latest #官方镜像 (3G+,耐心等候...)
3. 运行GitLab容器
- 主要暴露
HTTP(80)、SSL(443)、SSH(22)三个端口,并指定与第一步一致的三个volume。
docker run \
--detach \
--hostname 192.168.xxx.xxx \
--publish 9443:443 \
--publish 9080:80 \
--publish 9022:22 \
--name gitlab \
--restart always \
--volume /data/gitlab/config:/etc/gitlab \
--volume /data/gitlab/logs:/var/log/gitlab \
--volume /data/gitlab/data:/var/opt/gitlab \
registry.gitlab.cn/omnibus/gitlab-jh:latest
192.168.xxx.xxx 指的是宿主机IP
4. 配置GitLab服务
- 由于
22端口已经被宿主机占用,所以我们必须另指定一个端口(9022)映射到gitlab上。
vim /data/gitlab/config/gitlab.rb
#************************gitlab配置************************
# 配置http协议
external_url 'http://192.168.xxx.xxx'    #宿主机

# 配置ssh协议
gitlab_rails['gitlab_ssh_host'] = '192.168.xxx.xxx'
gitlab_rails['gitlab_shell_ssh_port'] = 9022
#*************************************************************
# 重启GitLab
docker restart gitlab
重新指定端口后项目的
clone地址就变成了ssh://[email protected]:9022/dev/demo.git格式(原生格式是[email protected]:golang/go.git),强迫症的也就将就着用吧
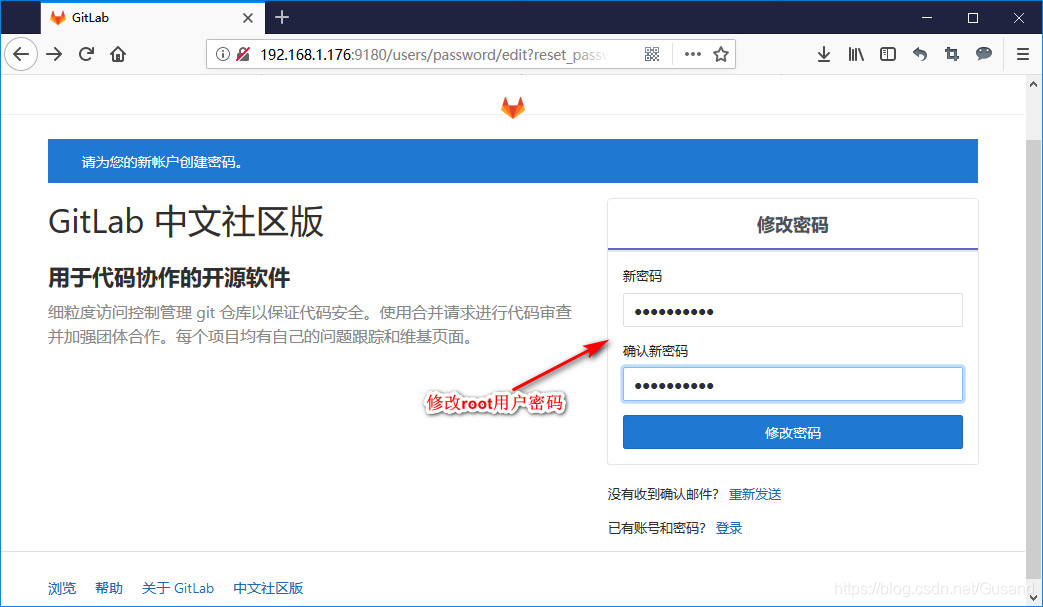
5. 初始化root账号
-
访问:http://192.168.xxx.xxx:9080/ ( 超过一分钟的等待吧,如果遇到
502错误,请继续刷新等待…)
-
然后用root账号登录…
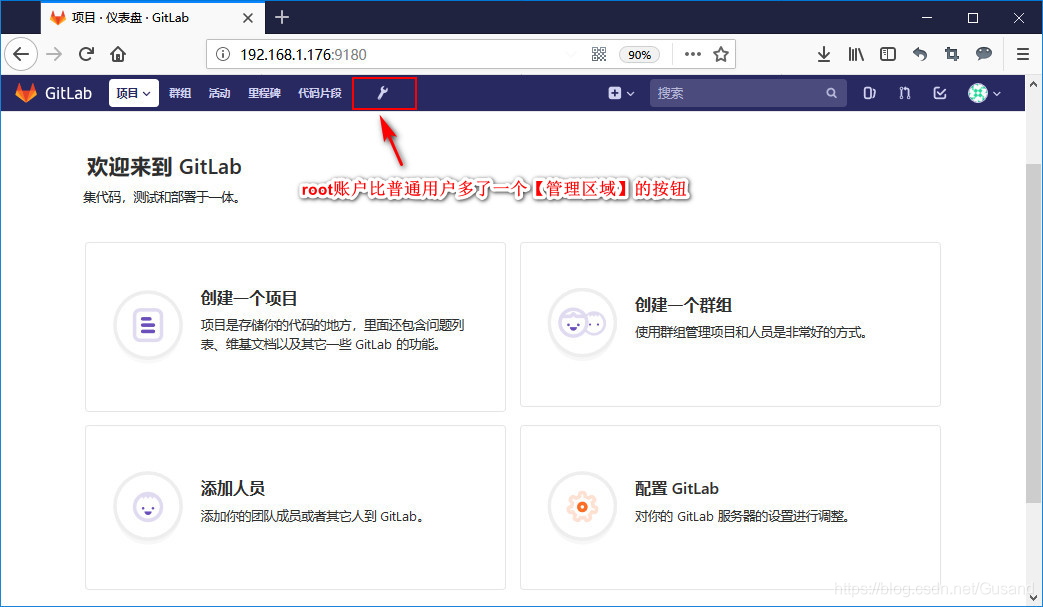
现在就可以开始你伟大的代码工程了…
参考:
[推荐]https://blog.csdn.net/michael_base/article/details/77966647
https://blog.csdn.net/u014258541/article/details/79224492/
http://blog.51cto.com/8456082/2090423
https://www.cnblogs.com/zsxneil/p/9814524.html
[CI/CD服务]:https://github.com/bravist/gitlab-ci-docker