签名:但行好事,莫问前程。
SpringBoot+Vue 博客系统(连载系列)
YangCunle`s Blog 博客网址:http://www.yangcunle.com
SpringBoot+Vue 博客系统(一):个人网站的由来
SpringBoot+Vue 博客系统(二):个人博客的搭建
SpringBoot+Vue 博客系统(三):个人博客的设计
SpringBoot+Vue 博客系统(五):整合阿里云OSS
SpringBoot+Vue 博客系统(六):整合Redis
SpringBoot+Vue 博客系统(七):Blog前端Vue项目的搭建
SpringBoot+Vue 博客系统(八):前端项目引入Element-UI
SpringBoot+Vue 博客系统(九):安装Axios处理跨域
SpringBoot+Vue 博客系统(十):VUE路由 vue-route
SpringBoot+Vue 博客系统(十一):博客后台管理
SpringBoot+Vue 博客系统(十二):博客前台展示
SpringBoot+Vue 博客系统(十三):项目打包部署到服务器
一、安装vue-route
npm i [email protected]
index.js
import VueRouter from 'vue-router';

const routes = [
  {
    path: '/',
    name: 'login',
    component:()=>import('../components/Login')
  },
  {
    path: '/Index',
    name: 'index',
    component:()=>import('../components/Index')
  }
]
const router =new VueRouter({
  mode: 'history',
  routes
})

export default router;
导入
// 引入vue-router
import VueRouter from 'vue-router';
import router from './router';

Vue.use(VueRouter);
二、登录跳转首页
<template>
  <div id="loginForm"
       style="margin: auto;
       margin-top: 15%;
       width: 20%;
       border: dimgrey 1px">
    <!--      表单-->
    <el-form ref="form" :rules="rules" :model="user" label-width="80px"
             style="border: 1px;
             background-color: blanchedalmond;
             border-radius: 10px;
             padding-top: 20px">
      <div style="padding-left: 140px; margin-bottom: 10px;">
        <span style="font-size: 20px;">登  录</span>
      </div>
      <hr>
      <div style="margin-top: 10px">
        <el-form-item label="姓名:" prop="userName">
          <el-col :span="20">
            <el-input v-model="user.userName"></el-input>
          </el-col>
        </el-form-item>
        <el-form-item label="密码:" prop="passWord">
          <el-col :span="20">
            <el-input v-model="user.passWord" type="password"></el-input>
          </el-col>
        </el-form-item>
      </div>
      <div style="padding-left: 100px; padding-bottom: 15px">
        <el-button type="primary" style="width: 130px" size="small" @click="login" :disabled="login_disable">登 录</el-button>
      </div>
    </el-form>
  </div>
</template>

<script>
export default {
  name: 'Login',
  data () {
    return {
      login_disable :false,
      // user对象
      user: {
        userName: '',
        passWord: '',
      },
      rules: {
        userName: [
          {required: true, message: '请输入姓名', trigger: 'blur'},
        ],
        passWord: [
          {required: true, message: '请输入密码', trigger: 'blur'},
        ],
      }
    }
  },
  methods: {
    login () {
      this.login_disable = true
      this.$refs.form.validate((valid) => {
        if (valid) {
          this.$axios.post(this.$httpUrl + '/user/login', this.user).then(res => res.data).then(res => {
            if (res.code == 200) {
              // 保存用户token
              sessionStorage.setItem('user', JSON.stringify(res.data))
              console.log('user:' + JSON.stringify(res.data))
              // 跳转到后台管理首页
              this.$router.replace('/Index');
            } else {
              this.login_disable = false
              // 提示错误信息
              this.$message({
                message: res.message,
                type: 'warning'
              })
            }
          })
        } else {
          return false
        }
      })
    }
  }
}
</script>

<style scoped>

</style>
登录成功跳转首页
跳转成功
三、退出登录
loginOut () {
      console.log('退出')
      this.$confirm('是否退出系统?', '退出', {
        confirmButtonText: '确定',
        cancelButtonText: '取消',
        type: 'warning'
      }).then(() => {
        this.$message({
          type: 'success',
          message: '退出登录成功'
        })
        // 跳转到登录页面
        this.$router.push('/')
        // 清空sessionStorage缓存
        sessionStorage.clear()
      }).catch(()=>{
        this.$message({
          type: 'info',
          message: '取消操作'
        })
      })
    },
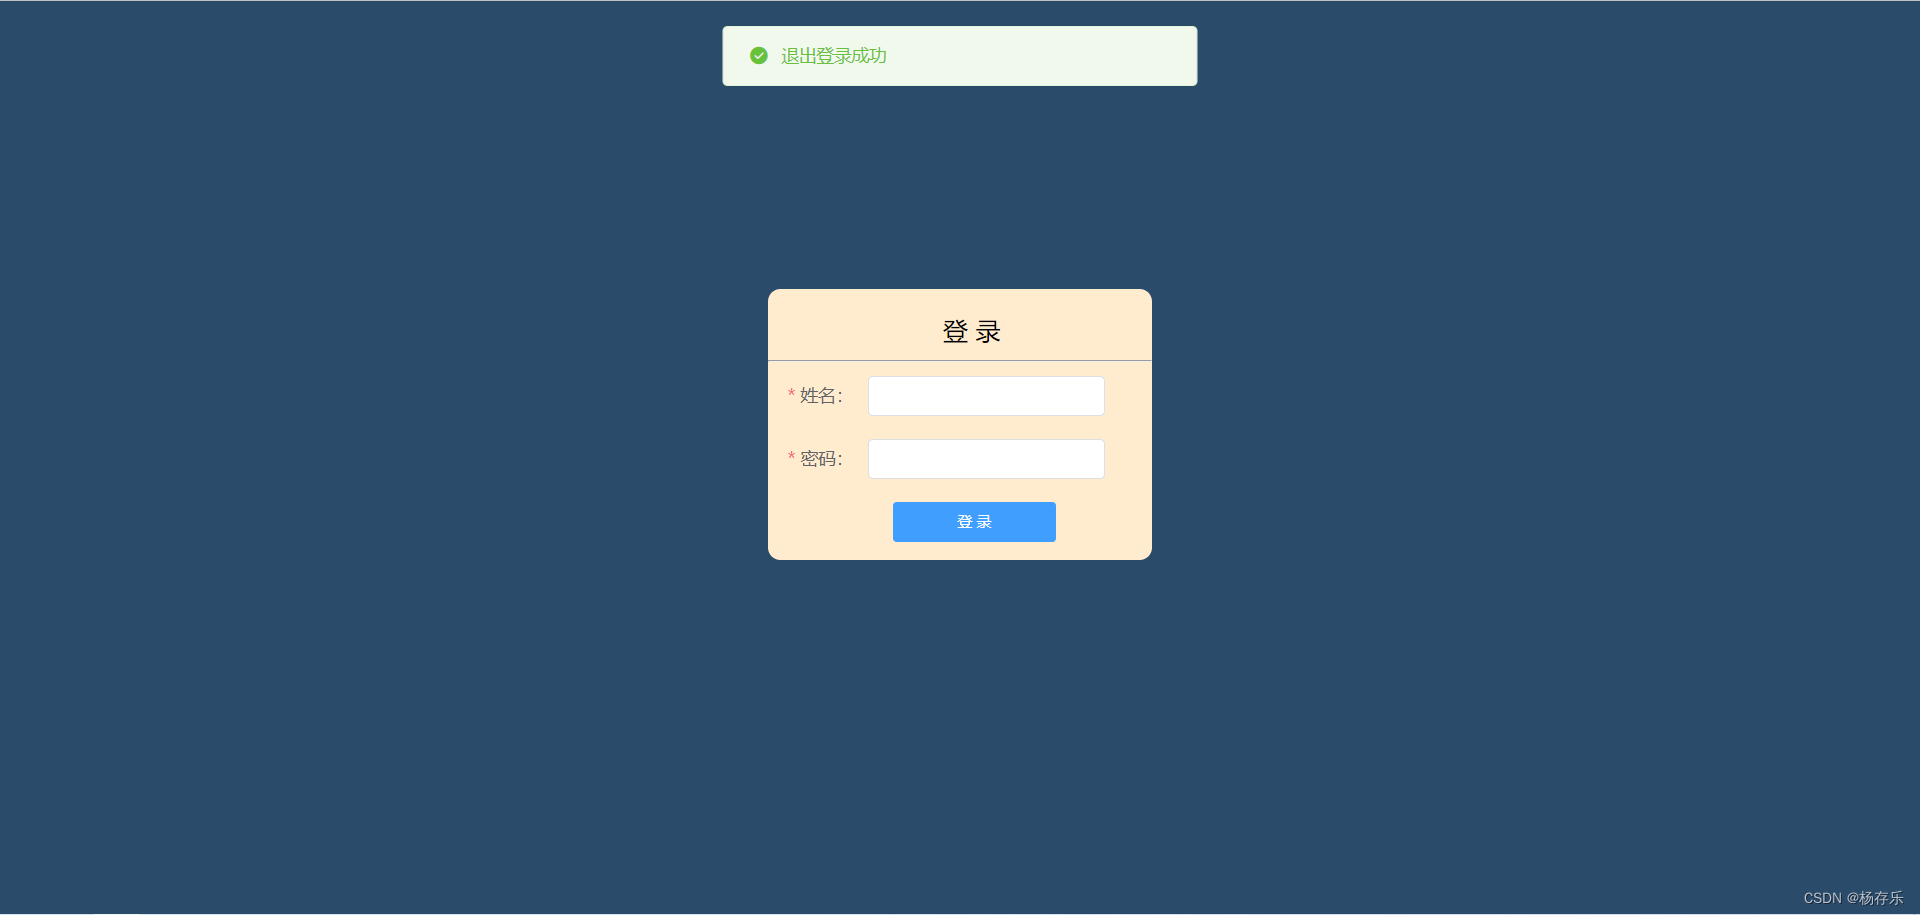
效果:
退出成功
总结
以上记录了VUE路由 vue-route的使用,如果对你有所帮助,请一键三连。


