日常天气预报业务和科研工作,都离不开高空环流分析,尤其是一些比较重要的天气过程,都需要我们绘制850hPa、700hPa、500hPa等常见等压面的高度场、温度场、风场、湿度场等一个要素或多个要素的叠加图,来分析天气形势。
我比较喜欢把绘图代码以类class()的形式写出来,后面如果有要修改升级的,就可以直接通过类的继承来写新的代码。这样,原先的代码也会继续保存,有需要时也能挖出来顶一顶
写代码第一步,把需要的包都import进来:
import matplotlib.pyplot as plt
import xarray as xr    #读取nc文件
import numpy as np
import os
import cartopy.crs as ccrs   #投影方式
import cartopy.feature as cfeat   #使用shp文件
from cartopy.io.shapereader import Reader  #读取自定的shp文件
from cartopy.mpl.ticker import LongitudeFormatter,LatitudeFormatter  #将x,y轴换成经纬度
import meteva
import meteva.base as meb
import meteva.product as mpd
from meteva.base.tool.plot_tools import add_china_map_2basemap
from cal_time import delta_time, cal_time_target
import cmaps
import metpy.calc as mpcalc
plt.rcParams['font.sans-serif']=['SimHei'] #用来正常显示中文标签
plt.rcParams['axes.unicode_minus']=False #用来正常显示负号
然后,写我最喜欢的类:
class draw_plevel(object):
    def __init__(self,level='500',save_path='./高空天气图',title='高空天气图',\
                 lon = np.linspace(0.0,359.75,1440), lat = np.linspace(-90.0,90.0,721),\
                 z=None, rh=None, t=None, u=None, v=None,map_extend=None,add_minmap='right',dpi=300):
        '''
        z: 位势高度
        rh: 相对湿度
        t: 温度
        u: 纬向风
        v: 经向风
        map_extend: 绘图区域,[lon_min, lon_max, lat_min, lat_max]
        add_minmap: 是否绘制南海小图。False: 不画; 'right': 画在右下角,'left': 画在左下角
        '''
        self.level = level
        self.save_path = save_path
        self.title = title
        self.lon = lon
        self.lat = lat
        self.z = z
        self.rh = rh
        self.t = t
        self.u = u
        self.v = v
        self.map_extend = map_extend
        self.add_minmap = add_minmap
        self.dpi = dpi
下面开始写具体的函数:
    def draw_circulation(self):
        lons, lats = np.meshgrid(self.lon,self.lat)
        proj = ccrs.PlateCarree()
        # 通过经纬度范围设置画幅
        hight = 5.6
        title_hight = 0.3
        legend_hight = 0.6
        left_plots_width = 0
        right_plots_width = 0
        width = (hight - title_hight - legend_hight) * len(self.lon) / len(self.lat) + left_plots_width + right_plots_width
        map_width = width - left_plots_width - right_plots_width

        fig = plt.figure(figsize=(width, hight),dpi=self.dpi)
        # 设置画幅的布局方式
        rect = [left_plots_width / width, 0.05, (width - right_plots_width - left_plots_width) / width, 0.95]  # 左下宽
高

        ax = fig.subplots(1, 1, subplot_kw={'projection':proj})
        # 设置绘图区域
        if self.map_extend is None:
            ax.set_extent(self.map_extend, proj) # 设置绘图区域
下面,进行地图属性的设置:
 country_shp = Reader('./shp/CHN_adm1.shp')
        pro_shp = Reader('./shp/provinces.shp')
        fea_country = cfeat.ShapelyFeature(country_shp.geometries(), proj,
                                           edgecolor='darkolivegreen', facecolor='ivory')

        ax.add_feature(fea_country, linewidth=0.2, alpha=0.2)
        fea_pro = cfeat.ShapelyFeature(pro_shp.geometries(), proj,
                                       edgecolor='darkolivegreen', facecolor='none')
        ax.add_feature(fea_pro, linewidth=0.3, alpha=0.5)
        ax.add_feature(cfeat.OCEAN, alpha=0.5)


        # 设置地图属性:加载国界、海岸线、河流、湖泊
        ax.add_feature(cfeat.BORDERS.with_scale('50m'), linewidth=0.8, zorder=1)
        ax.add_feature(cfeat.COASTLINE.with_scale('50m'), linewidth=0.6, zorder=1)
        ax.add_feature(cfeat.RIVERS.with_scale('50m'), zorder=1)
        ax.add_feature(cfeat.LAKES.with_scale('50m'), zorder=1)

        # 绘制中国省界
        ax.add_geometries(Reader('./shp/CHN_adm1.shp').geometries(), ccrs.PlateCarree(), \
                          facecolor = 'none', edgecolor = 'gray', linewidth = 0.8)
接下来是经纬度设置:
# 打开绘图边框及经纬度。'on'为打开,'off'为关闭
        ax.axis('on')

        # 设置经纬度格式,指定标出的经纬度
        ax.set_xticks([80,90,100,110,120,130])
        ax.set_yticks([10,20,30,40,50])
        ax.xaxis.set_major_formatter(LongitudeFormatter())
        ax.yaxis.set_major_formatter(LatitudeFormatter())
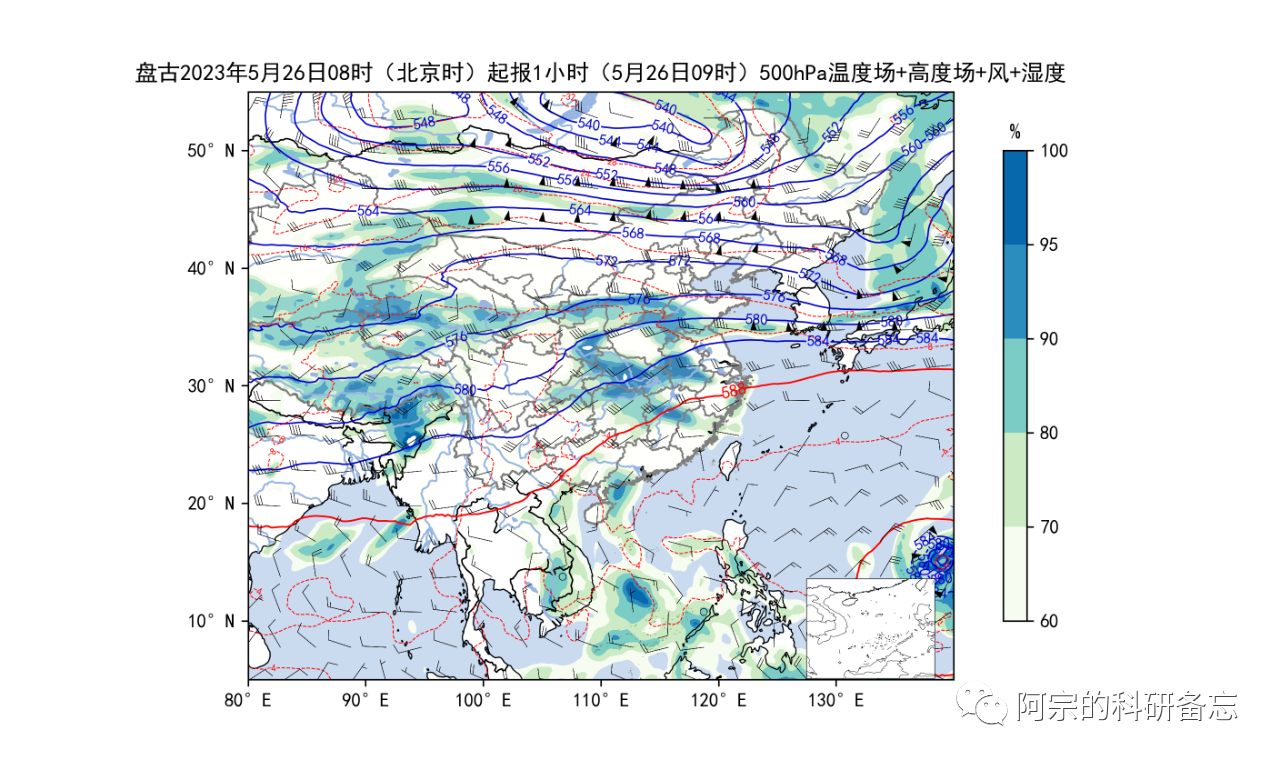
下面,就开始绘制等高线、等温线、风向杆、湿度填色图啦。其中,等高线除了588线用红色并加粗表示外,其他都为蓝色曲线:
 # 画等高线
        z_levels = np.arange(0, 2000+10, 4)
        z_levels = np.delete(z_levels, np.where(z_levels==588))

        ac = ax.contour(lons[lat_id1:lat_id2,lon_id1:lon_id2], lats[lat_id1:lat_id2,lon_id1:lon_id2],\
                        self.z[lat_id1:lat_id2,lon_id1:lon_id2],
                        levels=z_levels, extent='both',
                        colors='mediumblue', linewidths=0.8)
        plt.clabel(ac, inline=True, fontsize=8, fmt='%.0f')
        ac588 = ax.contour(lons[lat_id1:lat_id2,lon_id1:lon_id2], lats[lat_id1:lat_id2,lon_id1:lon_id2],\
                        self.z[lat_id1:lat_id2,lon_id1:lon_id2],
                        levels=np.arange(588,590,4), extent='both',
                        colors='red', linewidths=0.9)
        plt.clabel(ac588, inline=True, fontsize=9, fmt='%.0f')

        # 画等温线(虚线)
        t_levels = np.arange(-40, 30, 4)
        at = ax.contour(lons[lat_id1:lat_id2,lon_id1:lon_id2], lats[lat_id1:lat_id2,lon_id1:lon_id2],\
                        self.t[lat_id1:lat_id2,lon_id1:lon_id2],
                        levels=t_levels, extent='both',
                        colors='red', linewidths=0.5, linestyle=np.where(self.t>=0,'-','--'))
        plt.clabel(at, inline=True, fontsize=5, fmt='%.0f')

        # 画风向杆
        ax.barbs(lons[lat_id1:lat_id2:12,lon_id1:lon_id2:12], lats[lat_id1:lat_id2:12,lon_id1:lon_id2:12],
                 self.u[lat_id1:lat_id2:12,lon_id1:lon_id2:12],self.v[lat_id1:lat_id2:12,lon_id1:lon_id2:12],
                 barb_increments={'half':2,'full':4,'flag':20}, zorder=5, length=5, linewidth=0.2)

        ax.set_title(self.title,fontsize=12)

        # 画湿度
        rh_levels = (60,70,80,90,95,100)
        aq = ax.contourf(lons[lat_id1:lat_id2,lon_id1:lon_id2], lats[lat_id1:lat_id2,lon_id1:lon_id2],\
                        self.rh[lat_id1:lat_id2,lon_id1:lon_id2],levels=rh_levels,transform=ccrs.PlateCarree(),
                        cmap=cmaps.CBR_wet[:-2])
        cbar = fig.colorbar(aq,shrink=0.8)
        cbar.ax.set_title('%')
        cbar.set_ticks((60,70,80,90,95,100))
        plt.clabel(ac, inline=True, fontsize=8, fmt='%.0f')
绘图区域如果涵盖了南海九段线覆盖区域,则需要绘制南海小图。这里,绘图函数最早计算的图形相关参数就都用上了,用以保证南海小图在整个图片的右下角:
 # 画南海小图
        if self.add_minmap is not False:
            draw_minmap(self.add_minmap, rect, hight, width)
保存图片:
   # 保存图片
        fig.savefig(self.title+'.png',dpi=self.dpi)
        fig.show()
这里贴一下绘制南海小图的函数,绘图的时候直接调用就可以:
def draw_minmap(add_minmap,rect1, height, width):
    minmap_lon_lat = [103, 123, 0, 25]
    minmap_height_rate = 0.27
    height_bigmap = rect1[3]
    height_minmap = height_bigmap * minmap_height_rate
    width_minmap = height_minmap * (minmap_lon_lat[1] - minmap_lon_lat[0]) * height / (
    minmap_lon_lat[3] - minmap_lon_lat[2]) / width

    width_between_two_map = height_bigmap * 0.01

    width_minmap = 0.2
    width_between_two_map = 0.1
    sy_minmap = width_between_two_map + rect1[1]
    if add_minmap == "left":
        sx_minmap = rect1[0] + width_between_two_map
    else:
        sx_minmap = rect1[0] + rect1[2] - width_minmap - width_between_two_map
    rect_min = [sx_minmap, sy_minmap, width_minmap, height_minmap]
    rect_min = [0.63, 0.112, 0.1, 0.13]
    ax_min = plt.axes(rect_min)
    plt.xticks([])
    plt.yticks([])
    ax_min.set_xlim((minmap_lon_lat[0], minmap_lon_lat[1]))
    ax_min.set_ylim((minmap_lon_lat[2], minmap_lon_lat[3]))
    ax_min.spines["top"].set_linewidth(0.3)
    ax_min.spines["bottom"].set_linewidth(0.3)
    ax_min.spines["right"].set_linewidth(0.3)
    ax_min.spines["left"].set_linewidth(0.3)
    add_china_map_2basemap(ax_min, name="world", edgecolor='k', lw=0.2, encoding='gbk', grid0=None)  # "国界"
    add_china_map_2basemap(ax_min, name="nation", edgecolor='k', lw=0.2, encoding='gbk', grid0=None)  # "省界"
这样,就实现了高空环流图的绘制。我们可以根据需要注释掉部分绘图模块,比如注释掉温度场,只留高度场、风场和湿度场的叠加。以500hPa为例,绘图效果如下:
感兴趣的小伙伴,赠送全套Python学习资料,包含面试题、简历资料等具体看下方。
一、Python所有方向的学习路线
Python所有方向的技术点做的整理,形成各个领域的知识点汇总,它的用处就在于,你可以按照下面的知识点去找对应的学习资源,保证自己学得较为全面。
二、Python必备开发工具
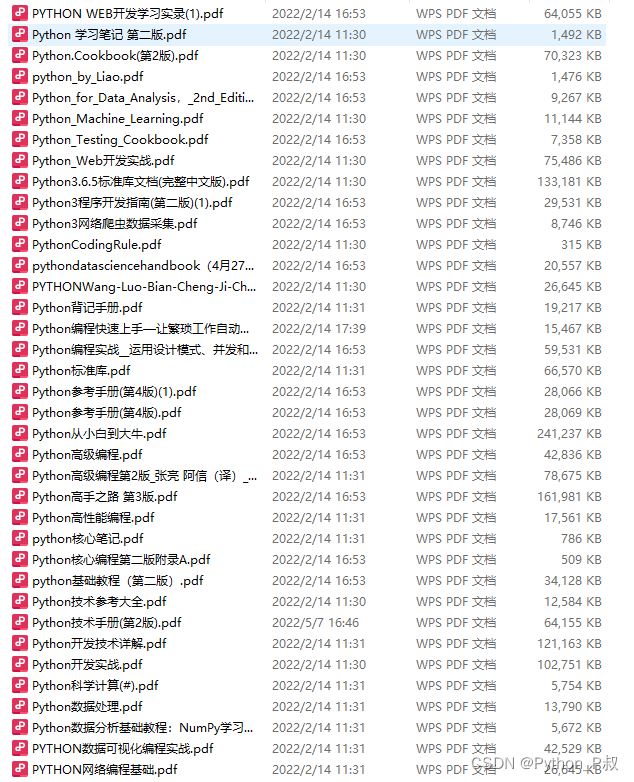
工具都帮大家整理好了,安装就可直接上手!
三、最新Python学习笔记
当我学到一定基础,有自己的理解能力的时候,会去阅读一些前辈整理的书籍或者手写的笔记资料,这些笔记详细记载了他们对一些技术点的理解,这些理解是比较独到,可以学到不一样的思路。
四、Python视频合集
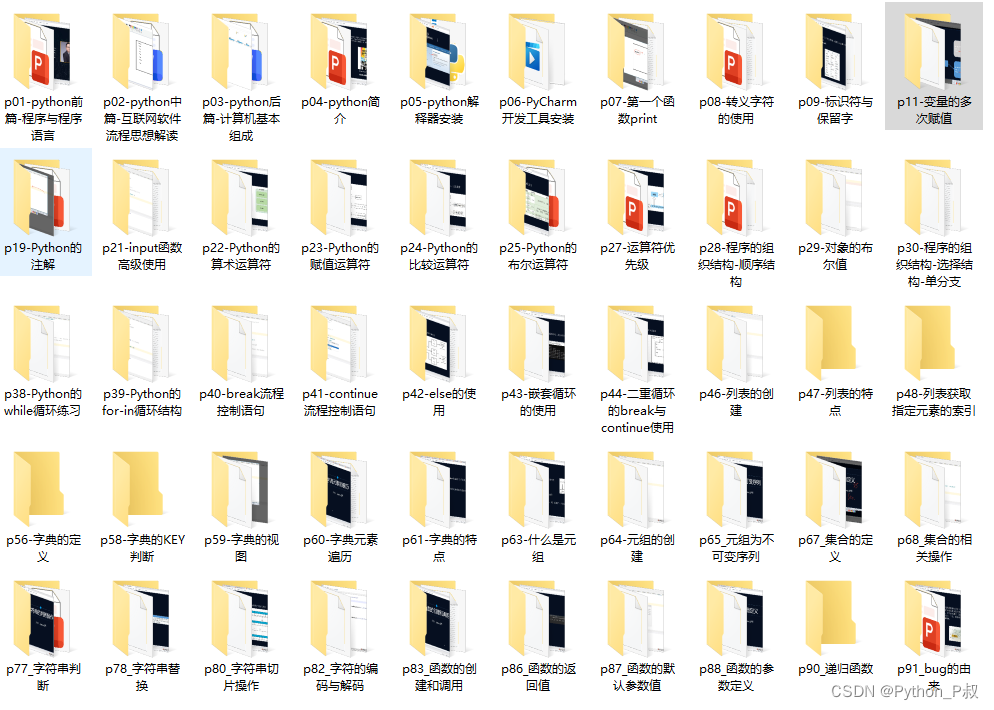
观看全面零基础学习视频,看视频学习是最快捷也是最有效果的方式,跟着视频中老师的思路,从基础到深入,还是很容易入门的。
五、实战案例
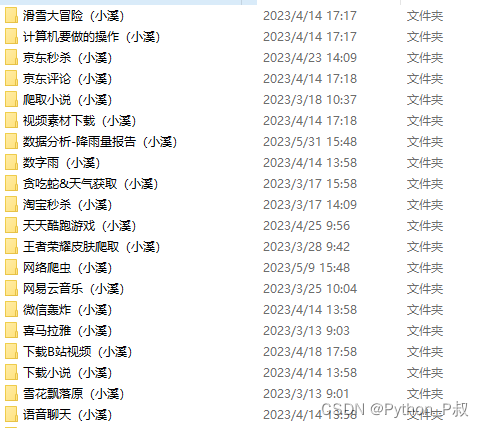
纸上得来终觉浅,要学会跟着视频一起敲,要动手实操,才能将自己的所学运用到实际当中去,这时候可以搞点实战案例来学习。
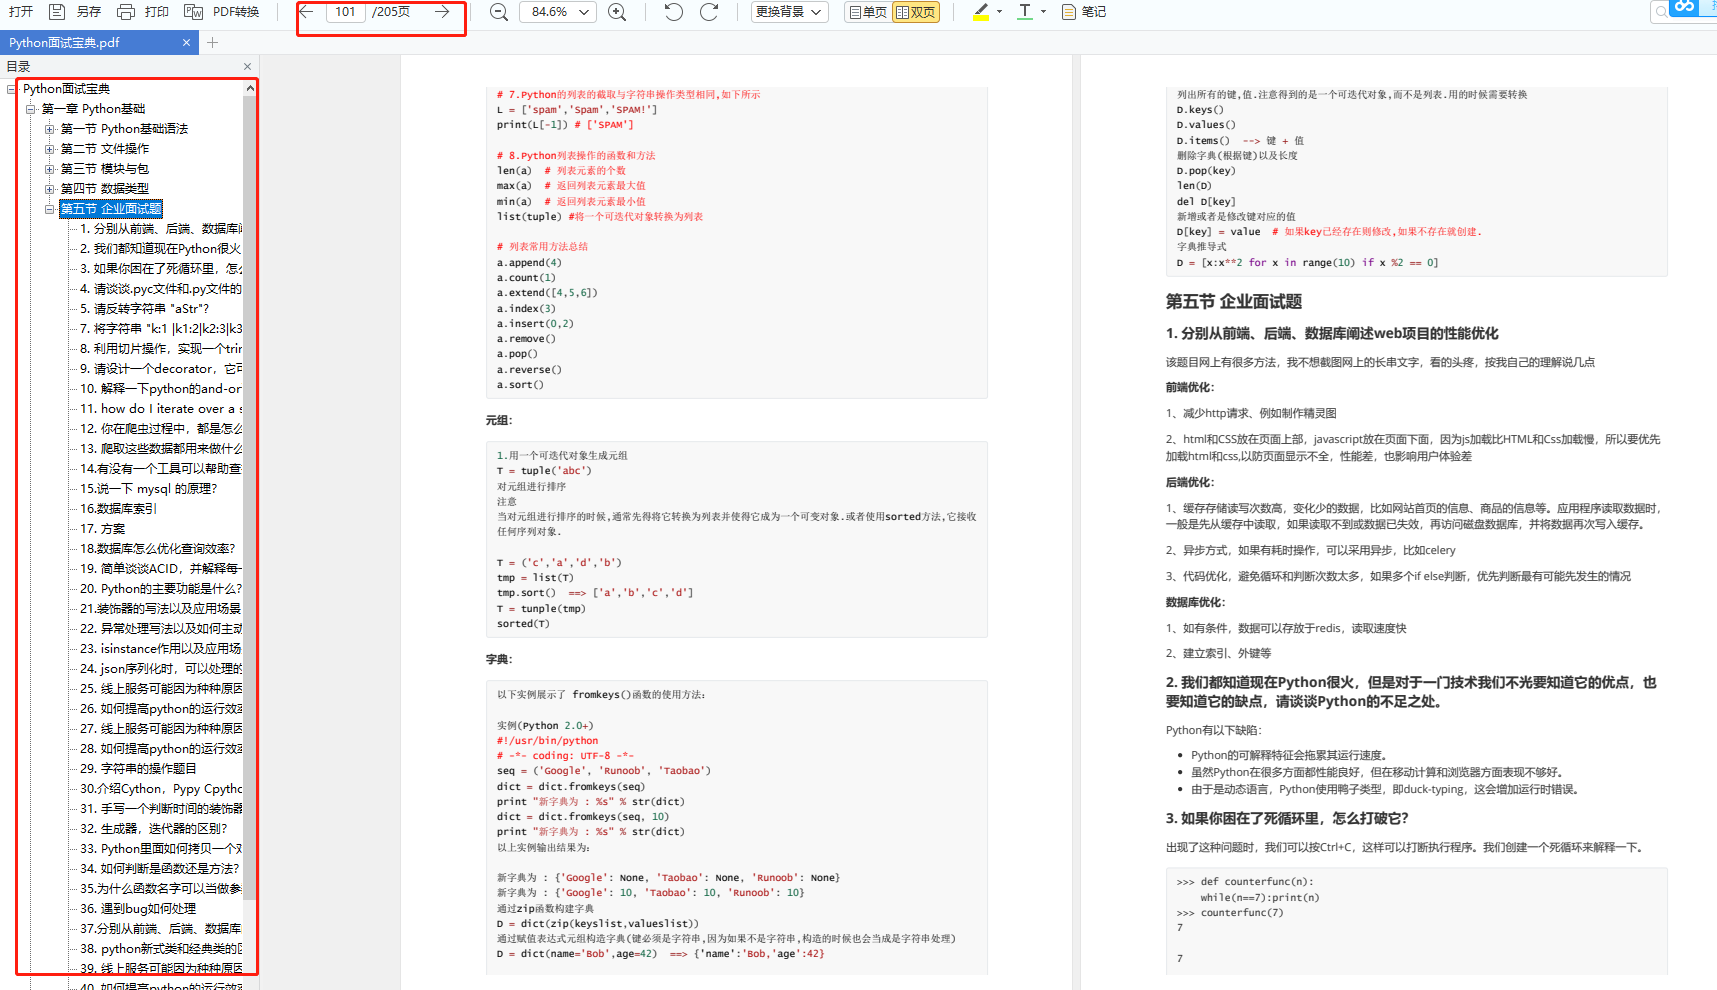
六、面试宝典
简历模板
 若有侵权,请联系删除
