JDK下载:https://www.oracle.com/java/technologies/downloads/#java8
选择自己的对应的版本下载。

下载完文件之后打开文件,就会出现安装向导,一般是一路next点击下去。
JDK相关的环境变量。
Mac配置JDK:
配置环境之前我们必须要清楚这个JDK的安装路径,这个是配置环境变量的关键,如果不知道,请在terminal输入以下字符串来查询:
/usr/libexec/java_home -V

输入以上字符串,就会输出JDK的安装路径,将这个路径复制暂且复制下来,一会儿用。
然后接下来我们在terminal输入相应的语句:如果我们是第一次配置环境变量,请输入touch .bash_profile,会创建一个 .bash_profile的隐藏文件,但是如果你不是第一次配置环境变量的话,请直接使用open -e .bash_profile 或者open ~/.bash_profile命令打开。
**注意:**文件名必须是 .bash_profile, 并且 touch .bash_profile, open .bash_profile, source .bash_profile 这类命令行必须在Home路径下面进行。 Terminal 程序在被打开的时候就默认在Home路径下面。但是如果当前不在Home路径下面,需要返回到Home路径下面进行。
系统在最开始的时候会自动读取~/.bash_profile 也就是Home文件下的指定文件。所以这要求我们必须写在Home文件下,且名字必须是bash_profile。
open ~/.bash_profile打开是这样:

首先,第一个参数,JAVA_HOME,这句要自己写
JAVA_HOME=jdk路径
JAVA_HOME 就是JDK的安装路径,这个路径因为每个人安装JDK时设置的安装目录不同而有所不同。将刚才复制的文字粘贴到这里来,基本上就是正确的。但是如果当前的安装路径出现空格之类的特殊字符,记住一定要加上转义字符!
然后其他的几句,复制以下内容:
PATH=$JAVA_HOME/bin:$PATH:.
CLASSPATH=$JAVA_HOME/lib/tools.jar:$JAVA_HOME/lib/dt.jar:.
export JAVA_HOME
export PATH
export CLASSPATH
写完后保存文件并关闭。
然后回到terminal, 使用source .bash_profile 使刚刚写的配置生效。
最后我们可以在终端中输入 java -version语句来确认配置是否生效:
Windows配置JDK:
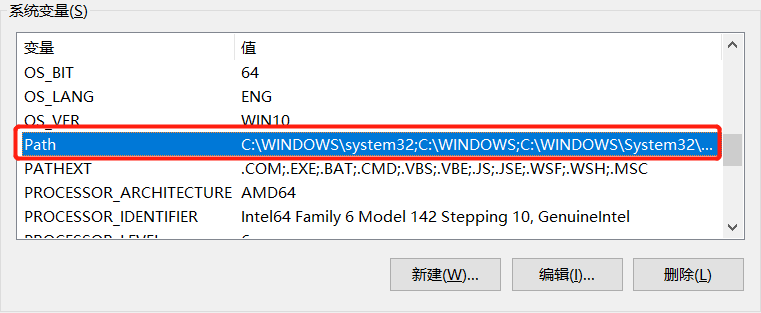
1.Windows环境变量修改:点击计算机图标 - 属性 - 高级系统设置 - 高级 - 环境变量

2.新建一个变量名叫:JAVA_HOM :值是jdk路径。

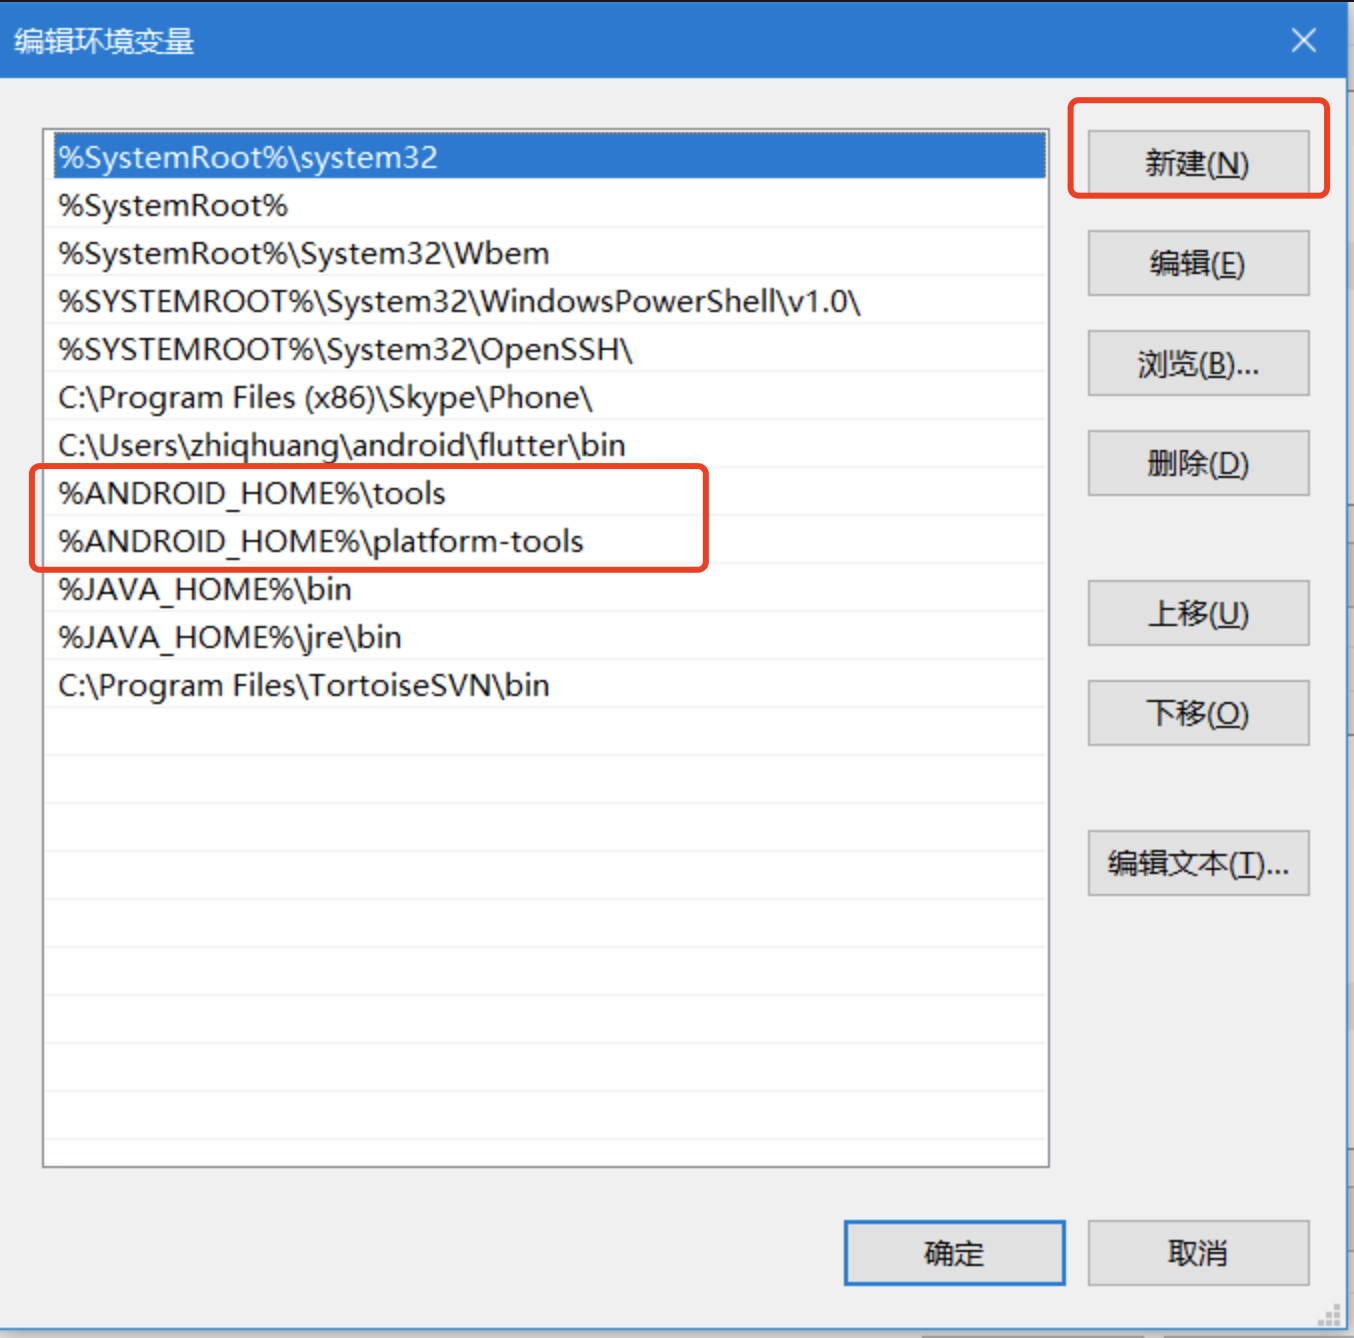
3.双击打开path。

4.新建2个以下的路径。
%JAVA_HOME%\bin
%JAVA_HOME%\jre\bin

5.点击确认退出,再次确认保存当前环境变量。
Android Studio环境的配置:
macOS AS环境变量

- open ~/.bash_profile文件
- ANDROID_HOME需要写上本地的android sdk文件路径
- 直接复制以下代码并保存
- 新建终端输入 source .bash_profile
export ANDROID_HOME= android sdk文件路径
export PATH=$PATH:$ANDROID_HOME/tools
export PATH=$PATH:$ANDROID_HOME/platform-tools
Windows AS环境变量
1.Windows环境变量修改:点击计算机图标 - 属性 - 高级系统设置 - 高级 - 环境变量

2.新建一个变量名叫:ANDROID_HOME :值是Android SDK路径。

3.双击打开path。
4.新建2个以下的路径。
%ANDROID_HOME%\tools
%JAVA_HOME%\jre\bin
5.点击确认退出,再次确认保存当前环境变量。
Android Studio的下载 :
安装

一路next就好 傻瓜式安装 安装路径不要带中文

基本设置
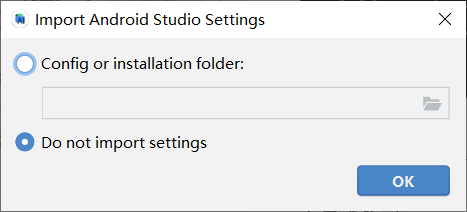
接下来,正常操作。出现下面报错
这里报错原因是你电脑没有SDK而且你下载的android studio又是不带SDK的
这里我们先选cancel 跳过一下 后面在设置添加SDK

选择jdk 这里AS自带了一个内部的jdk 也可以选择本地已有的jdk。
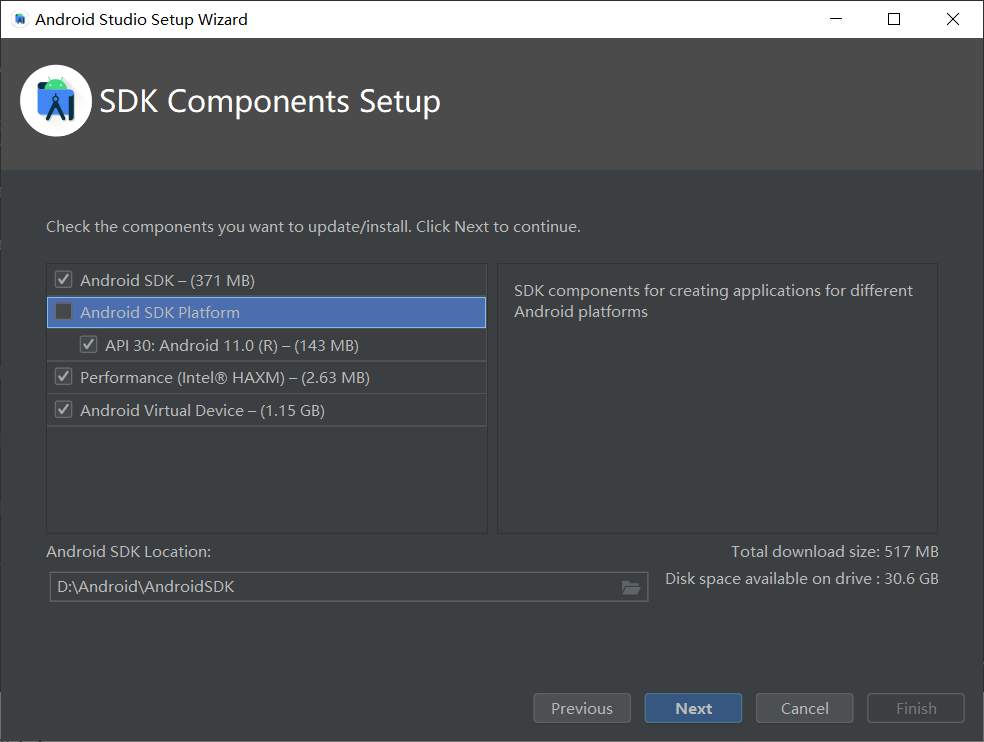
安装SDK默认全选
安装路径不要带中文和空格
分配内存 默认2GB
最好不要低于2GB 内存大的可以多分配一点

点击finish开始下载 下载有点慢

创建一个工程 demo 写一个hello world

根据需要选择模板,这里演示选择空白模板

项目名称,域名,语言,API等级,根据需要选择就好

由于第一次安装不能运行,需要配置一个新的模拟器,或者使用真机。

创建一个新的虚拟设备

选择一个型号进行下载


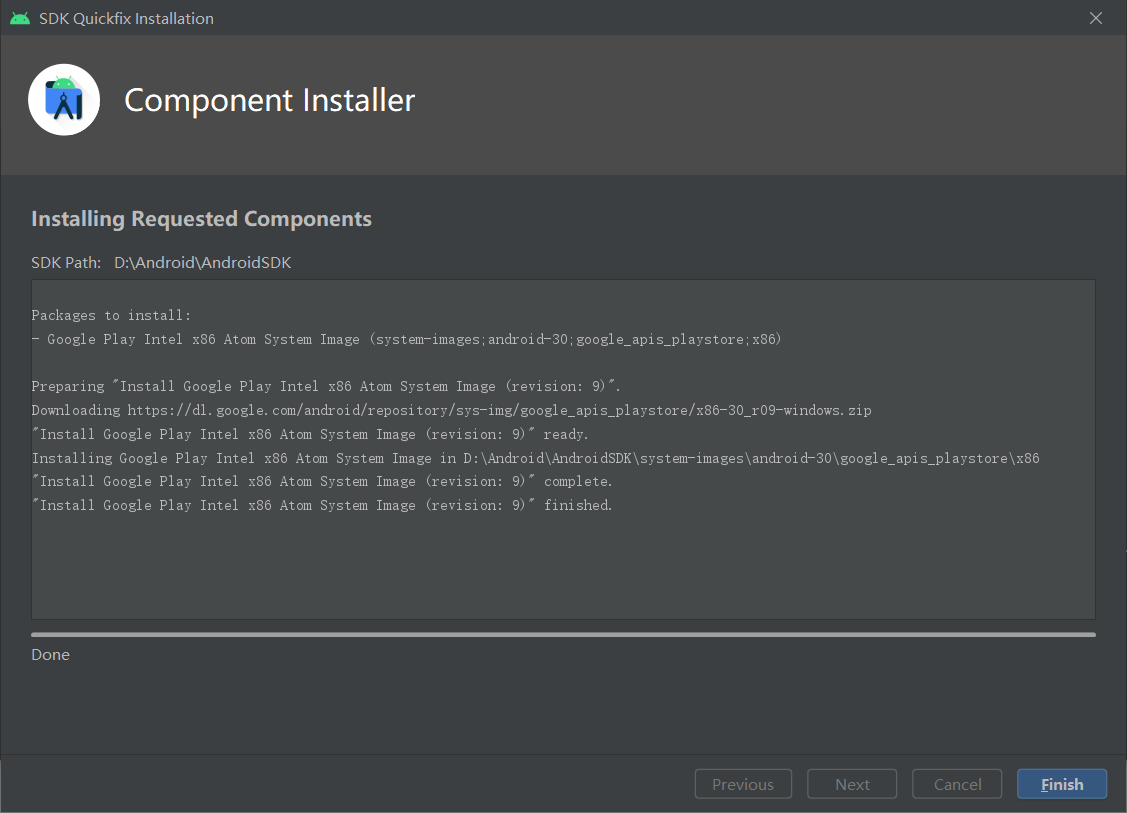
完成安装
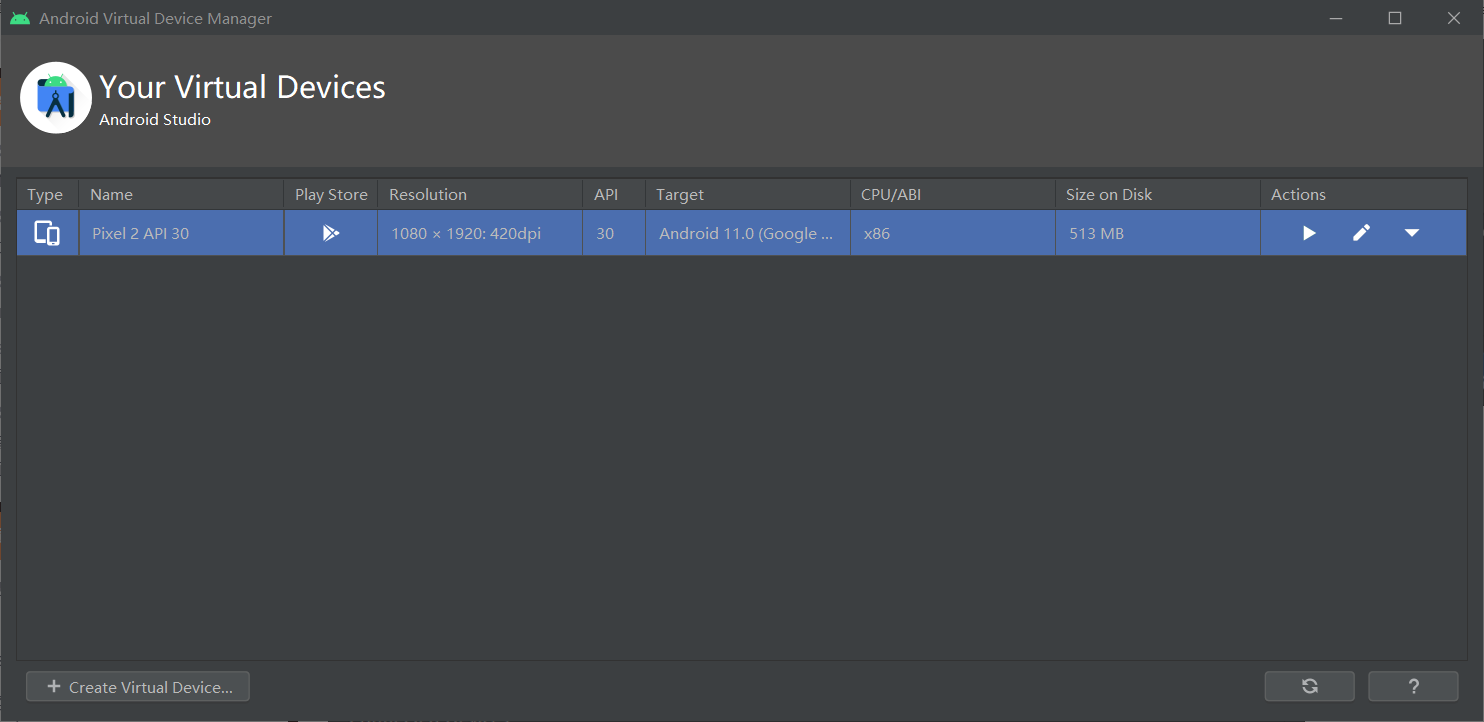
运行虚拟设备

运行我们的程序成功出现 hello world

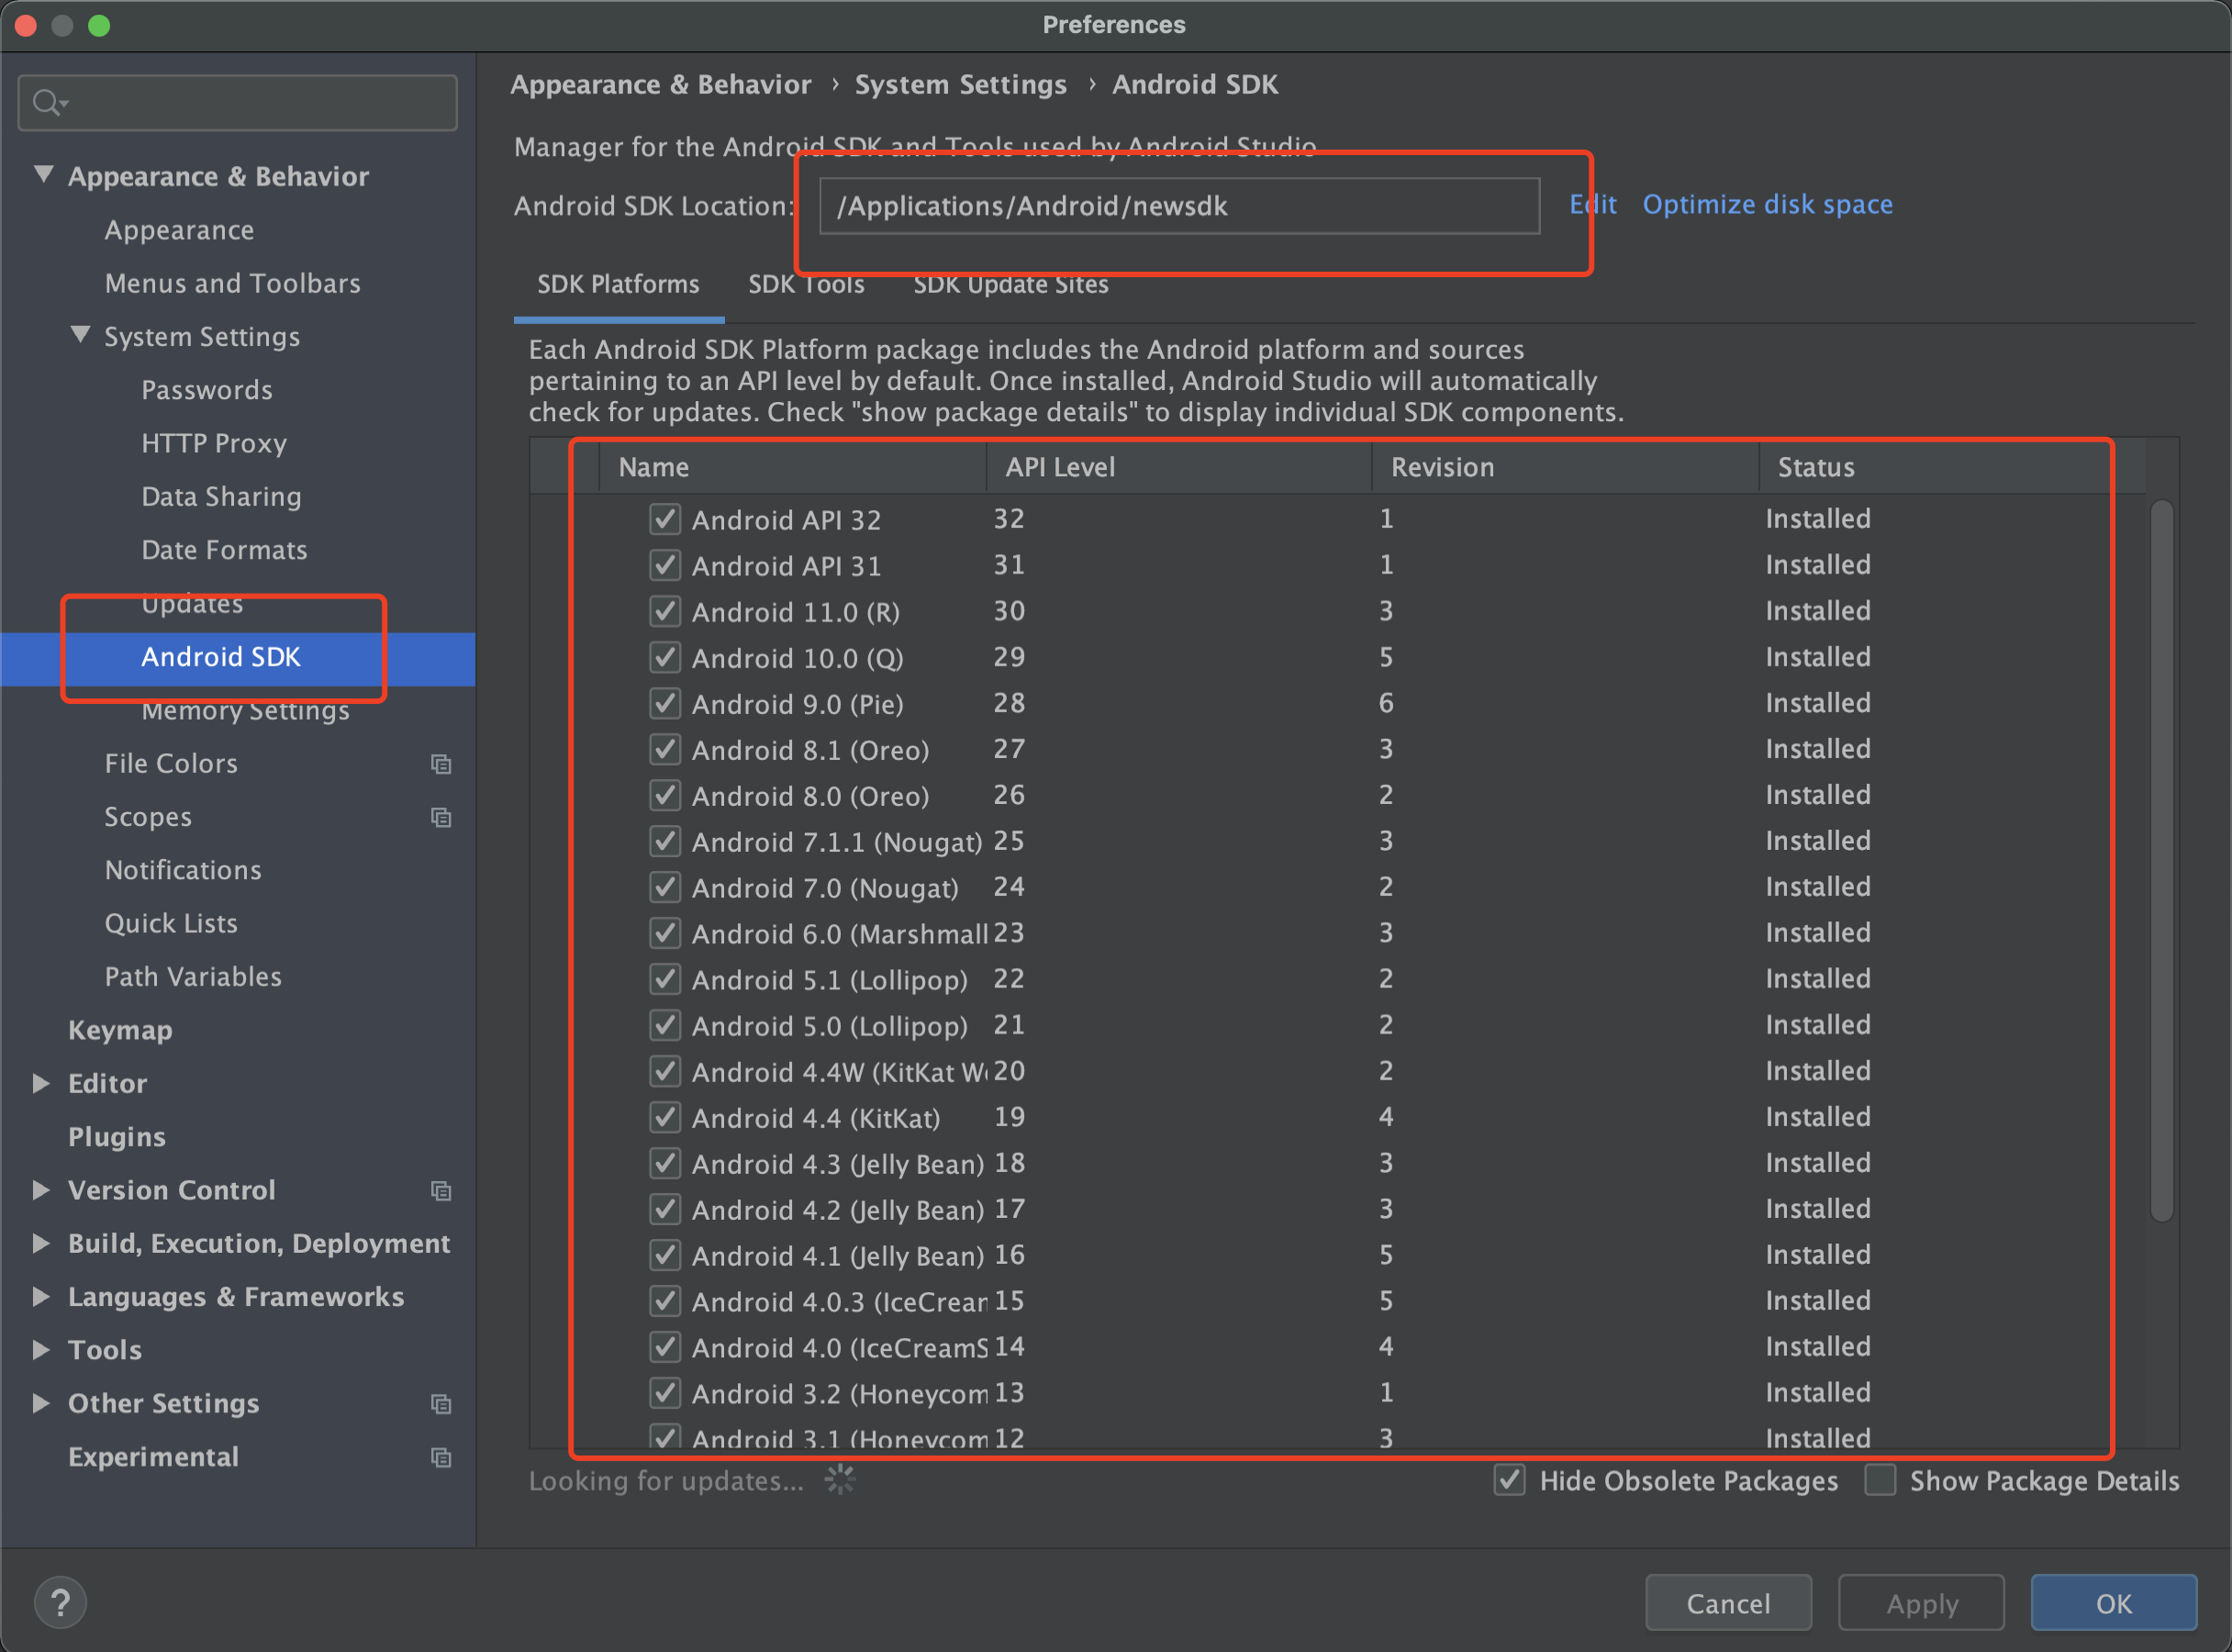
Android SDK下载:
配置Flutter SDk路径。
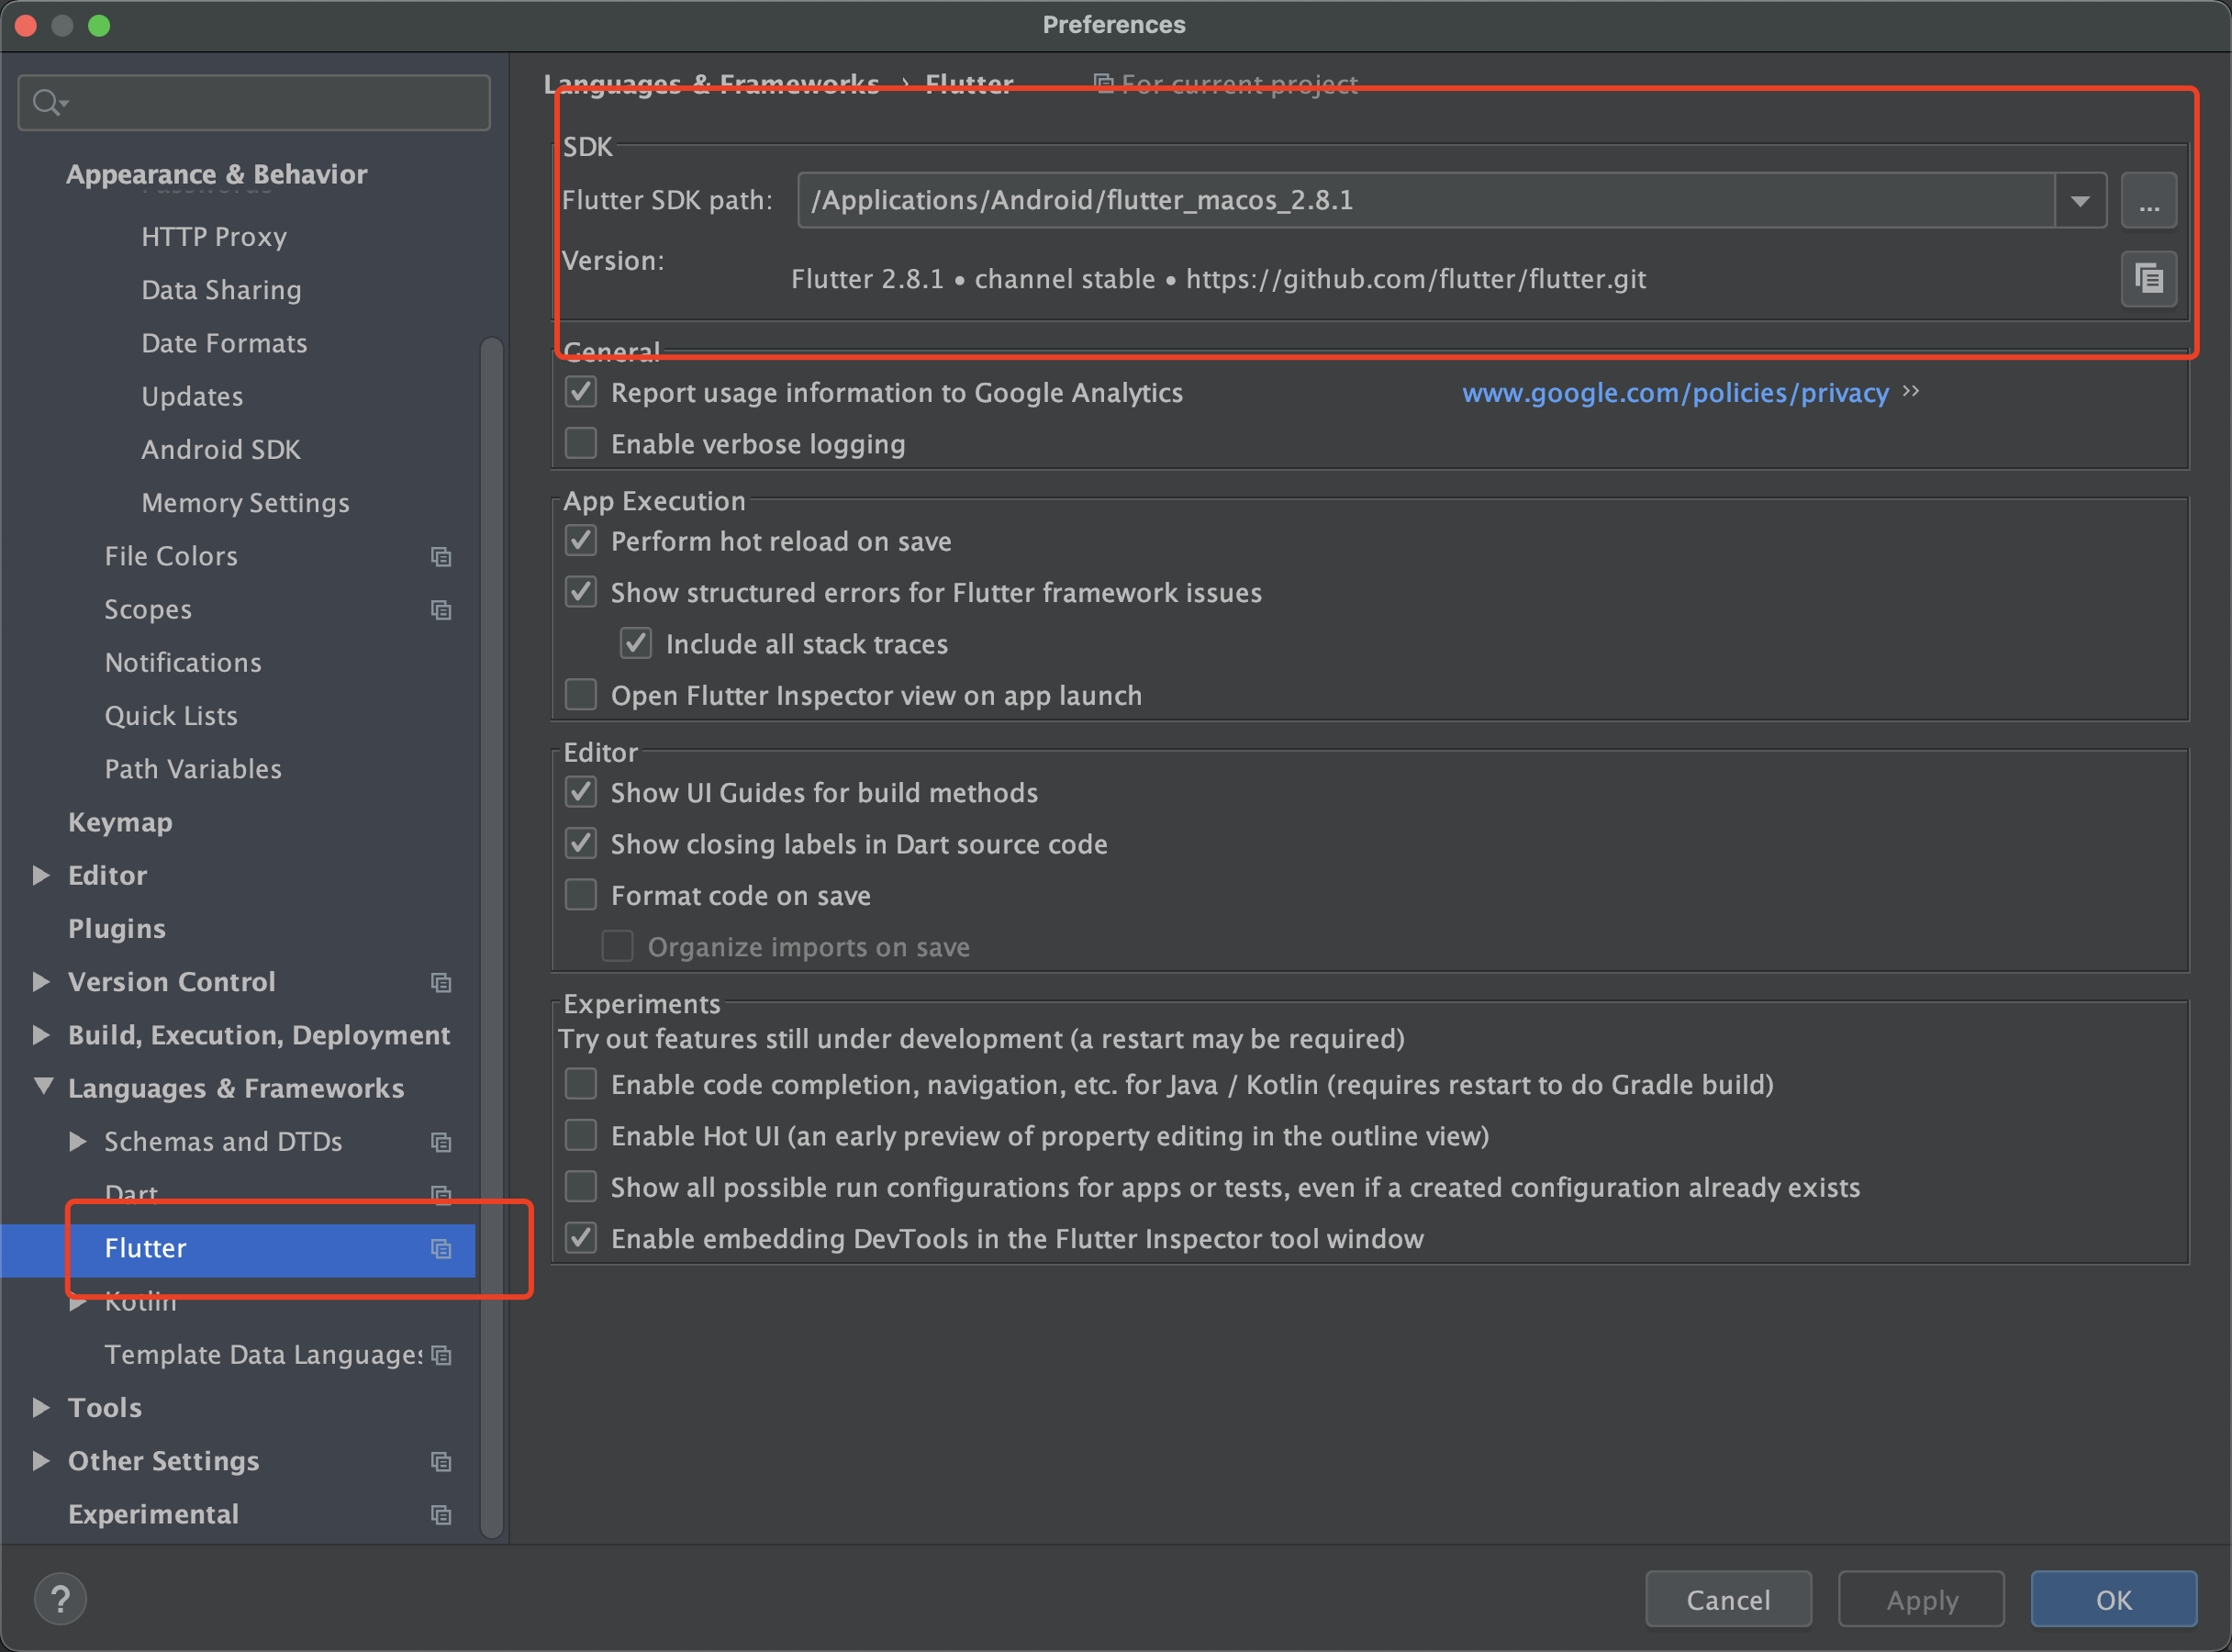
配置Dart SDK路径。

插件的安装:

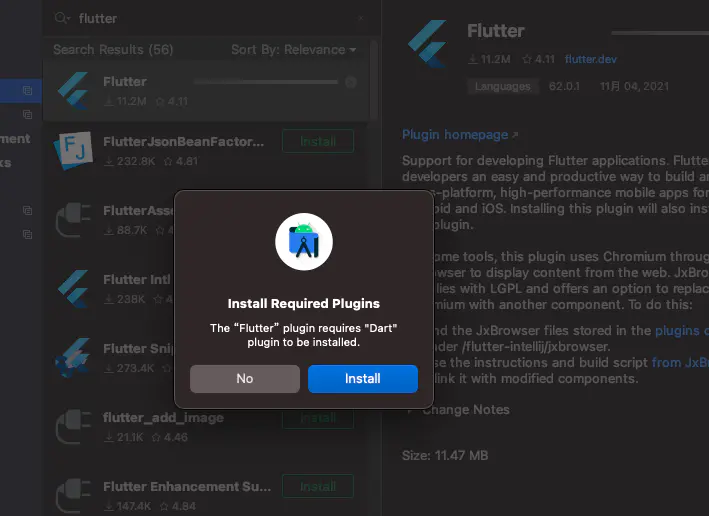
安装好后重启
