自定义表头有两种方式:一种是使用render-header 一种是通过设置 Scoped slot 来自定义表头
一、render-header方式
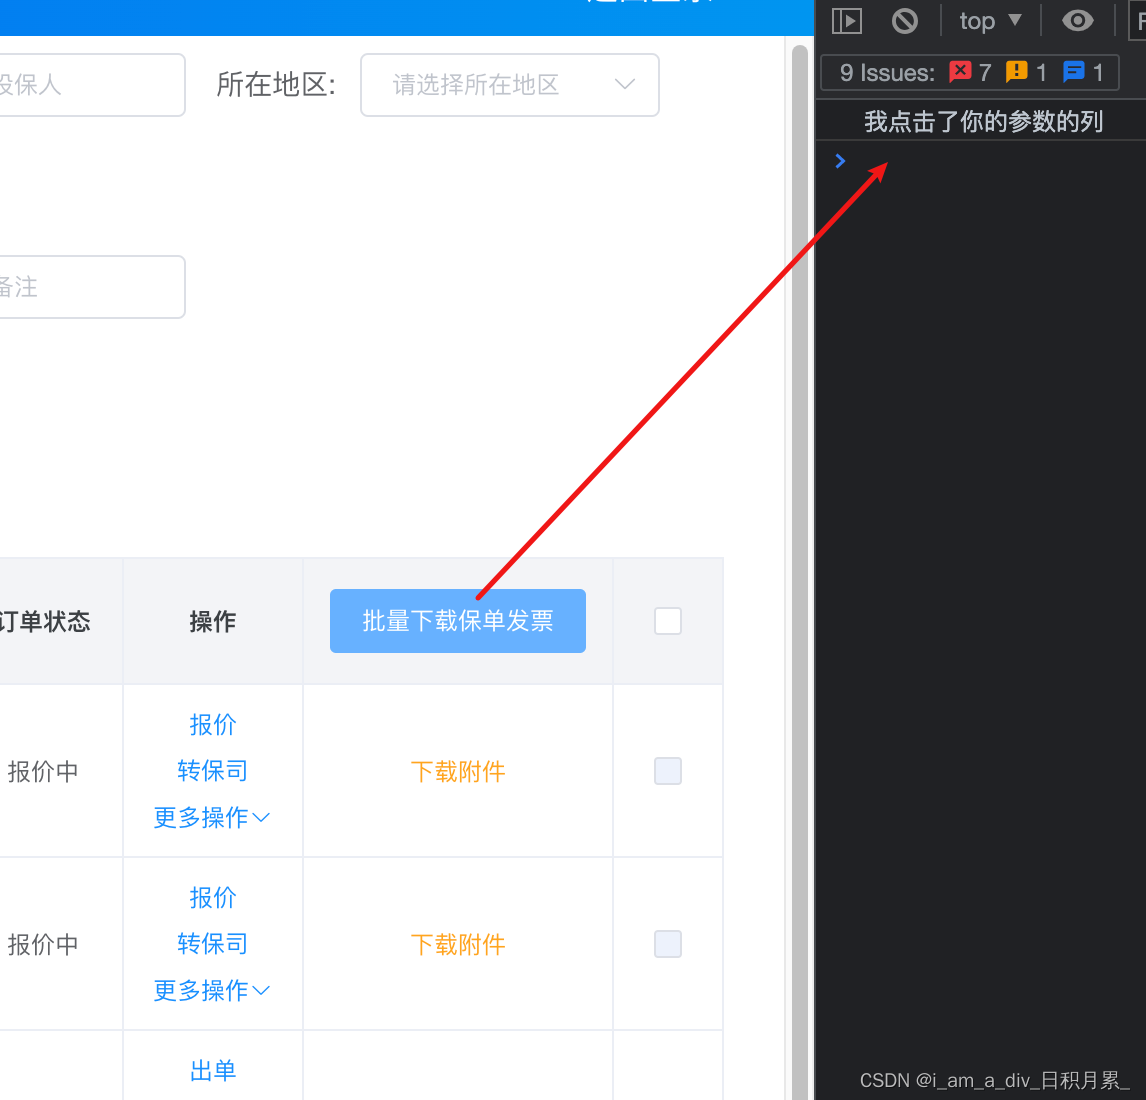
场景:给表头设置自定义按钮,点击时候 批量下载或做其他事件
给当前的那列设置 :render-header
          <el-table-column align="center" :render-header="(h, obj) => renderHeader(h, obj, '你的参数')" width="155">
            <template slot-scope="scope">

            </template>
          </el-table-column>
methods设置事件
    // 自定义表头
    renderHeader (h, { column, $index }, type) {
      console.log('列表加载就会触发', h, { column, $index }, type)
      let that = this
      // 逻辑是 h() 括号里包裹标签 第一个参数是标签名 第二个是属性  第三个是标签内容  如果是多个标签需要包裹数组
      return h(
        'div', [
        // 列名称
        h('span', column.label),
        // 按钮
        h('el-button', {
          props: {
            type: 'primary',
            size: 'small',
          },
          style: 'color:#fff;',
          // class: "{ active: showSelectMore }",
          // class: 'className',
          on: {
          	// 各种事件触发
            click: function () {
              that.clickButton(type)
            }
          }
        }, '批量下载保单发票')
      ],
      )


    },
    // 按钮点击事件
    clickButton (type) {
      console.log('我点击了' + type + '的列')
      // this.downLoad()
    },
二、Scoped slot 方式
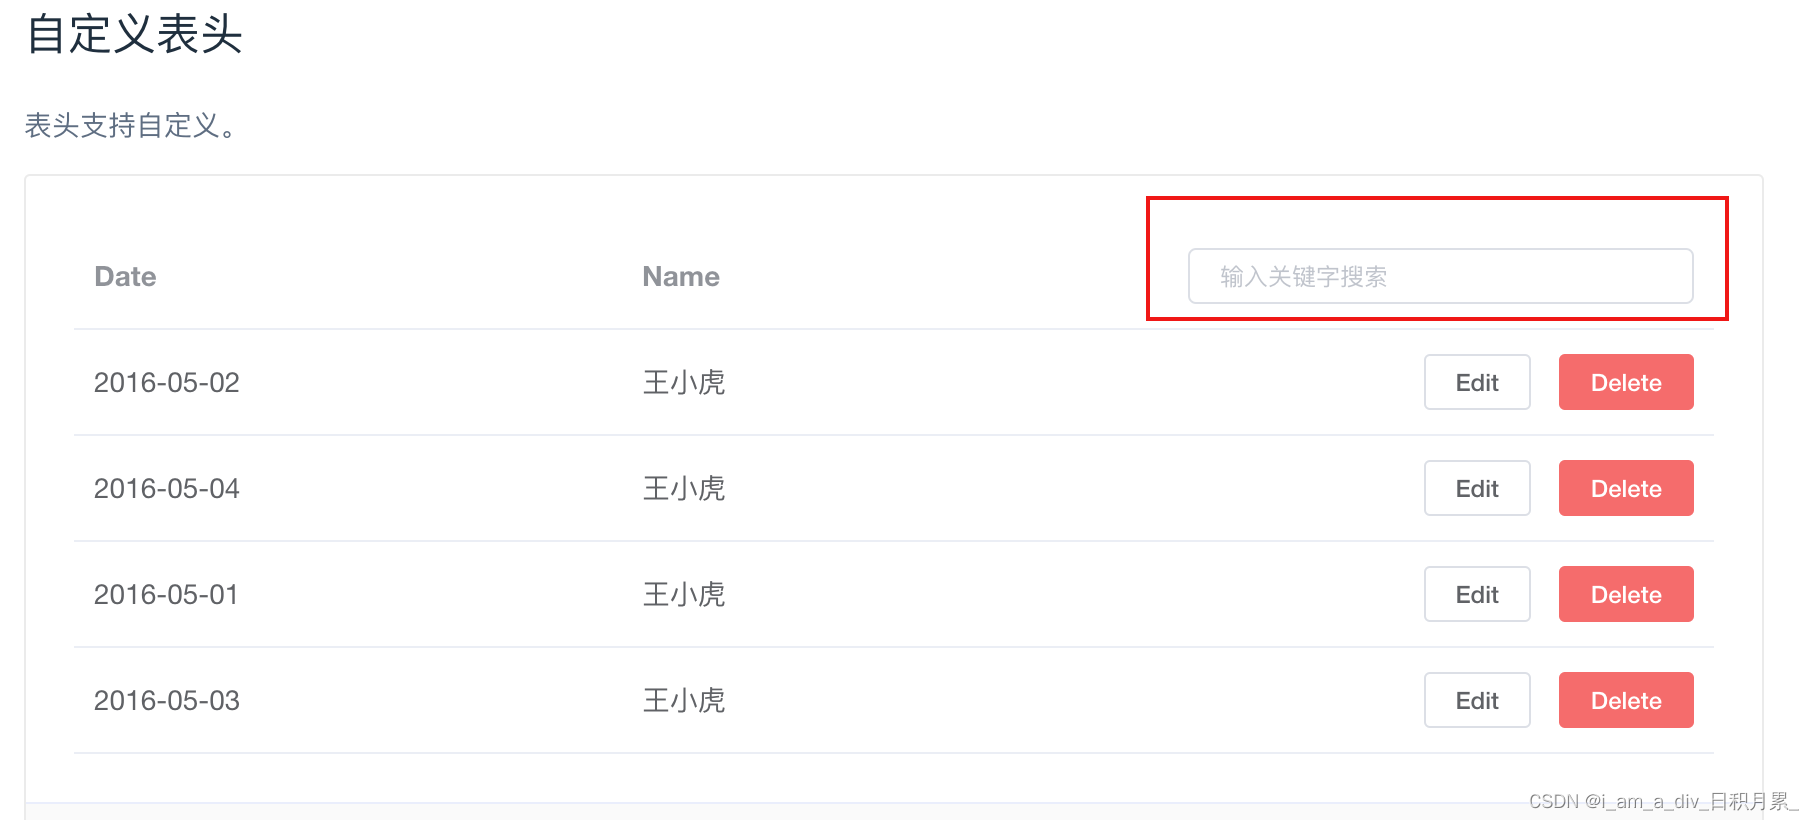
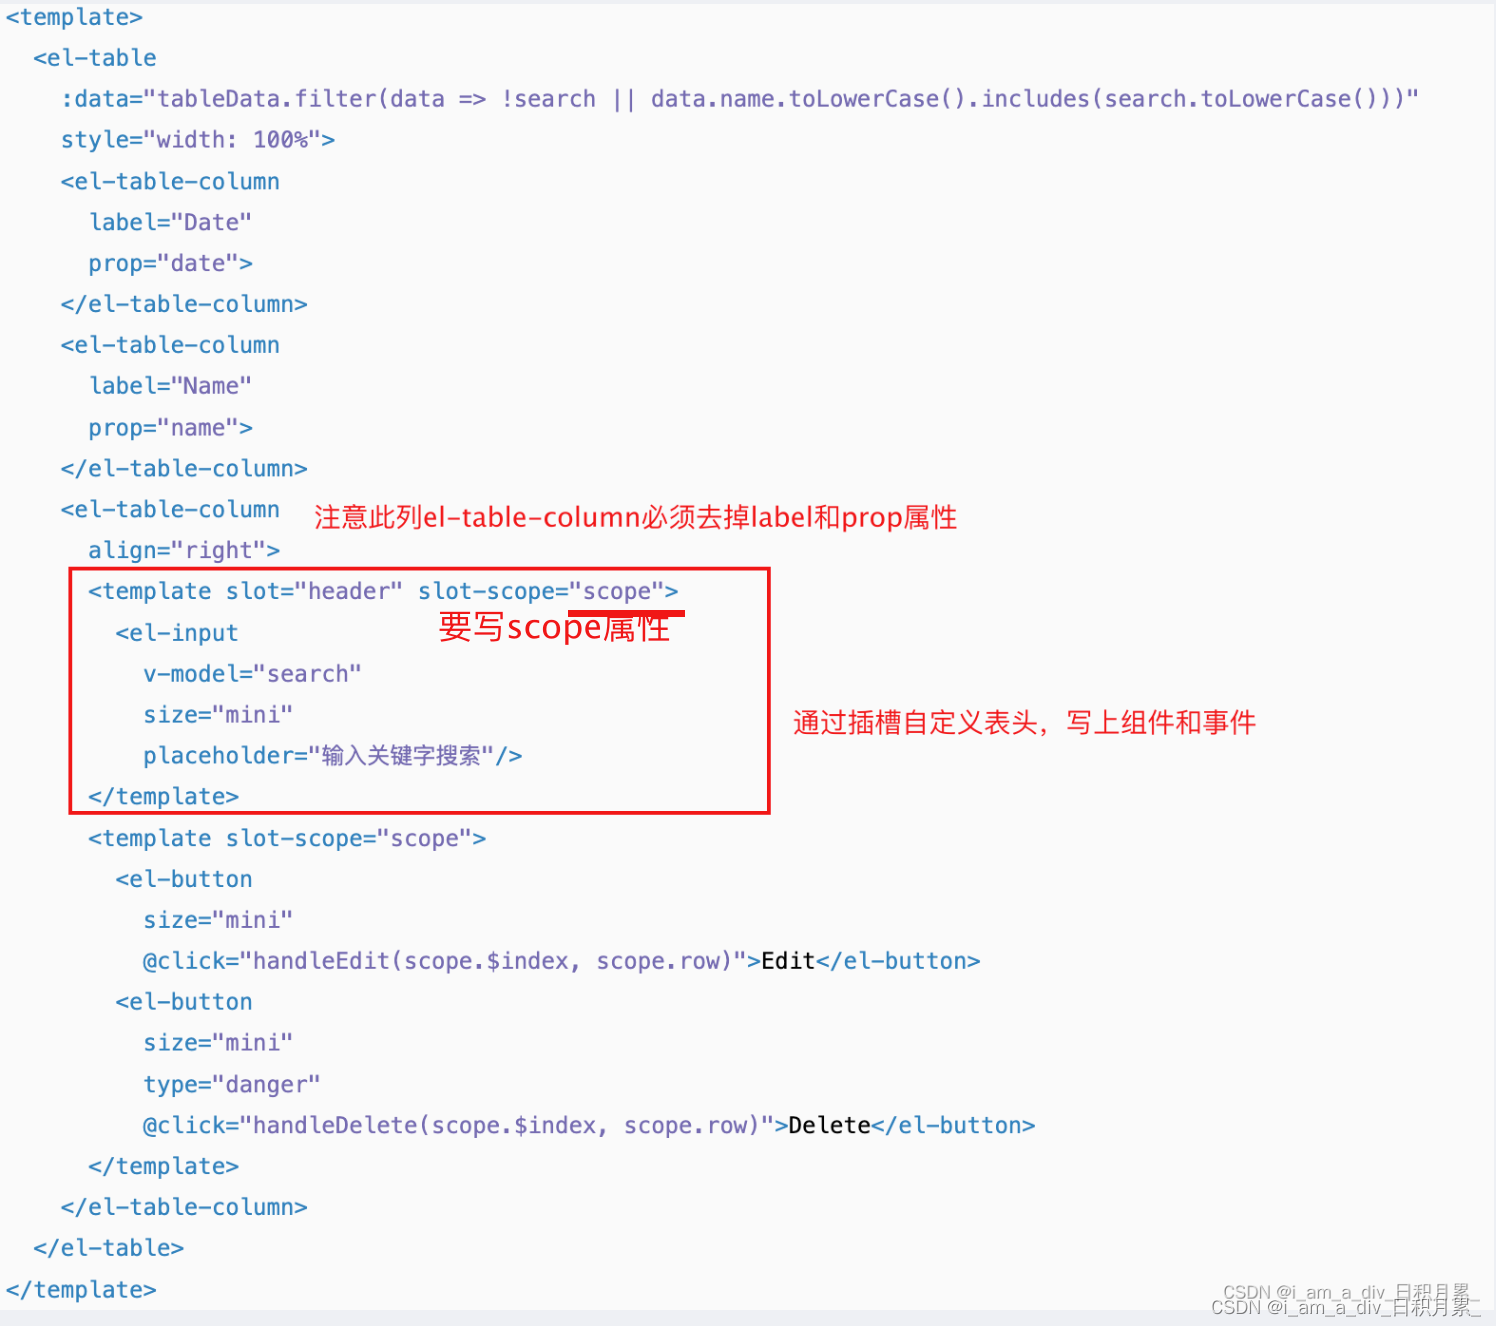
注意:el-table-column需要去掉label和prop属性 然后使用插槽 slot
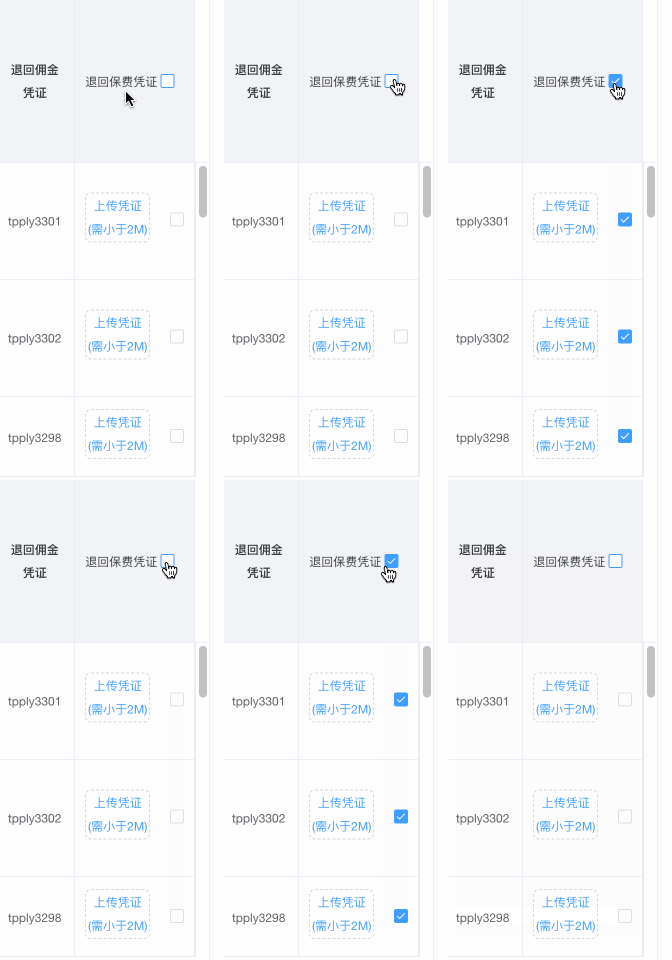
三、实例:多选
        <el-table-column width="120">
          <template slot="header" slot-scope="scope">
            <!-- 必须有这个scope 否则多选框不渲染 -->
            <span>退回保费凭证</span>
            <el-checkbox v-model="allCheckFlag" @change="changeAllsect($event)"></el-checkbox>
          </template>

          <template slot-scope="scope">
              <span style="display: inline-block;float: right;margin-top:15px;">
                <el-checkbox v-model="scope.row.selectUploadFlag" @change="changeSelect"></el-checkbox>
              </span>
          </template>
        </el-table-column>


    changeAllsect (event) {
      console.log(event)
      this.$nextTick(() => {
        this.allCheckFlag = event
      })
      if (this.allCheckFlag) {
        this.tableData2.forEach(ele => {
          ele.selectUploadFlag = true
        })
      } else {
        this.tableData2.forEach(ele => {
          ele.selectUploadFlag = false
        })
      }
    },
    changeSelect () {
      let flag = false
      this.tableData2.forEach(ele => {
        if (ele.selectUploadFlag) {
          flag = true
        }
      })

      // 当没有一个是选中时候 清空最上方选中
      if (flag == false) {
        this.allCheckFlag = false
      }
    },


