前言:这段时间AI周边比较火爆,我们想随时了解人工智能领域的最新趋势、更新突破和热门大事件。但又不想自己去时刻刷新闻,只想新闻来找我们,于是就有了这个想法!
# 目标URL
https://ai-bot.cn/daily-ai-news/
这个几个站点对于人工智能领域的信息更新还是比较全面及时
一、钉钉侧相关准备工作
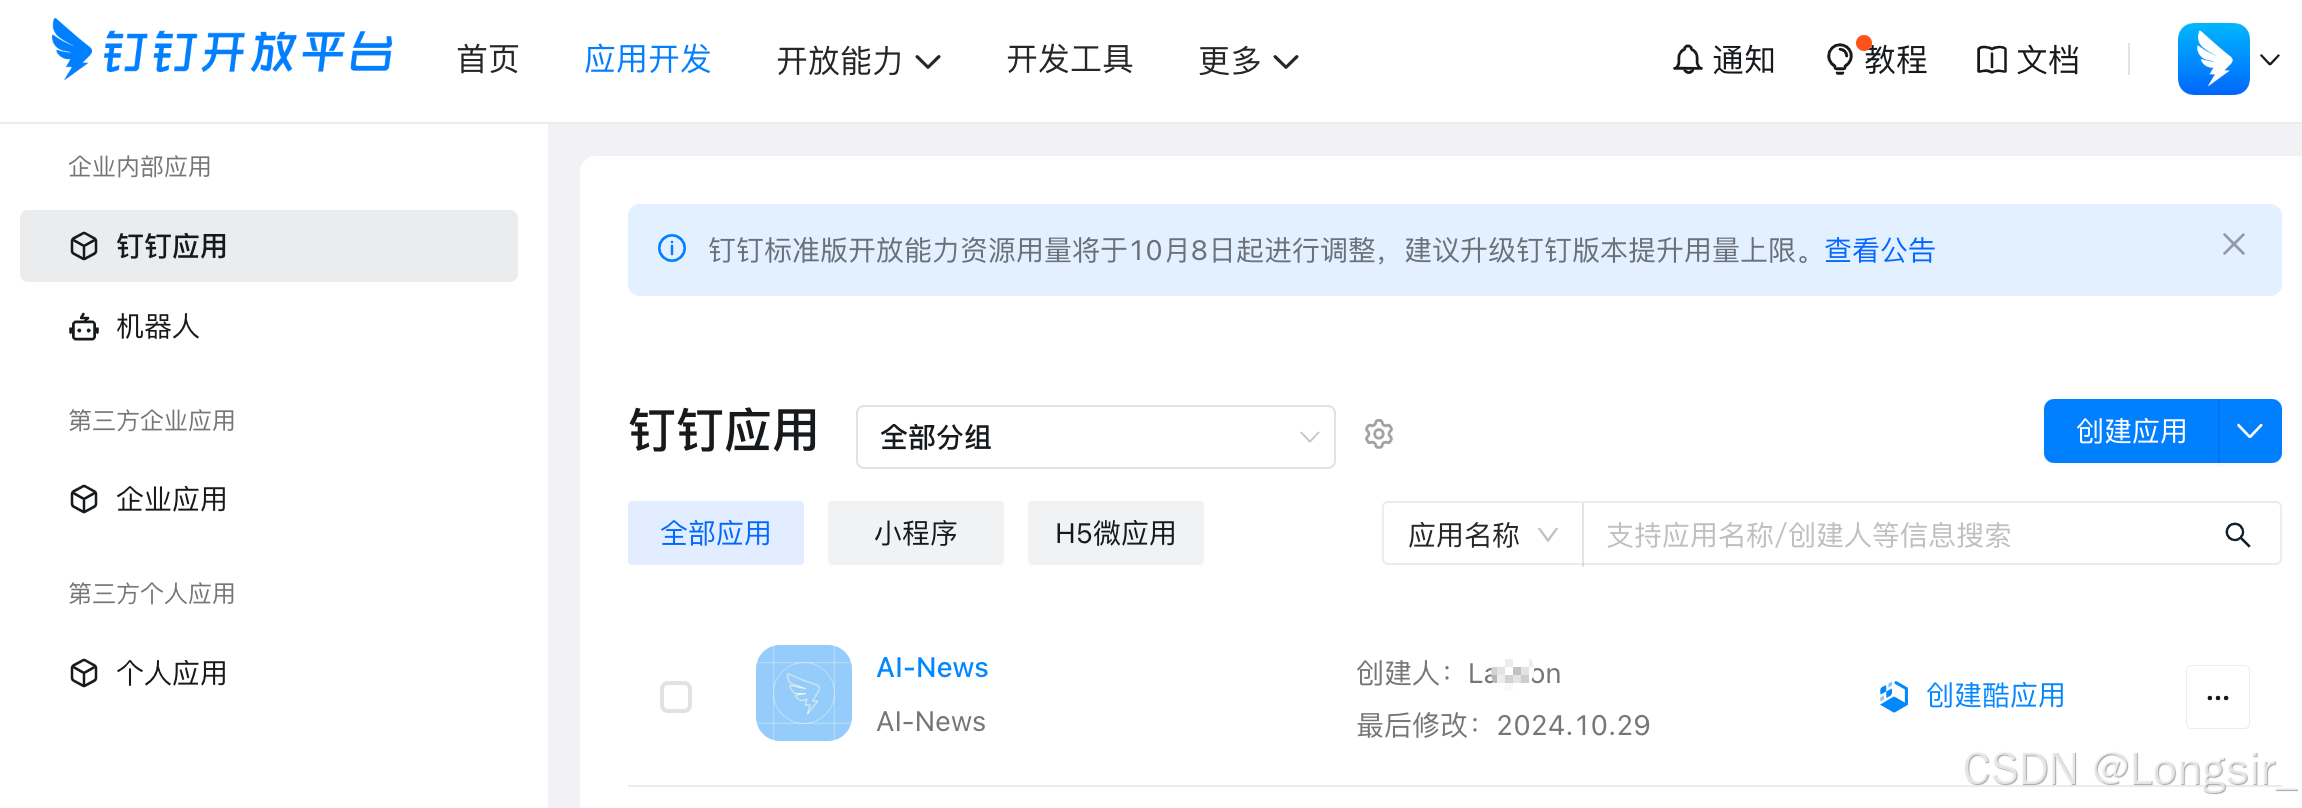
首先“推送到钉钉群”这个动作,需要到钉钉开发者后台创建一个应用:
PS:此处以陈述实现代码为主,钉钉相关能力的开发文档非常详细不赘述,推送到群消息所需要的诸如:
创建应用、添加|发布机器人、RobotCode获取、CorpId获取、API Token获取、企业内机器人发送消息权限申请等操作,请移步下方钉钉开发者文档链接
1、关键数据存储与管理
将要用到的API密钥、token等数据,专门建个.env文件存放
.env文件
X_ACS_DINGTALK_ACCESS_TOKEN=d1847c8e566b1231231230b33f5e2f03
ROBOT_CODE=dingz40j123123kxgdkbm
OPEN_CONVERSATION_ID=cidb6OQYP123123123mgYoCdVcw==
APP_KEY=dingz40jqw4dakxgdkbm
APP_SECRET=wWMdkcJ3jN865A7xZ46BKi123123123-sRiV1231236q_mqBgDMZngodi7dw2、获取应用的 Access Token - 钉钉开放平台
token_manager.py文件:
import requests
from dotenv import load_dotenv
import os

def get_access_token(app_key, app_secret):
    """
    使用应用的app key和secret从钉钉API获取新的访问令牌。
    """
    url = 'https://oapi.dingtalk.com/gettoken'
    params = {
        'appkey': app_key,
        'appsecret': app_secret
    }
    response = requests.get(url, params=params)
    data = response.json()

    if data['errcode'] == 0:
        print("访问令牌:", data['access_token'])
        return data['access_token']
    else:
        print("错误:", data['errmsg'])
        raise Exception(f"获取访问令牌失败: {data['errmsg']}")

def update_env_file(token):
    """
    更新.env文件中的访问令牌。
    """
    with open('/Python/Dingding/.env', 'r') as file:
        data = file.readlines()

    print(data)
    with open('/Python/Dingding/.env', 'w') as file:
        for line in data:
            if line.startswith("X_ACS_DINGTALK_ACCESS_TOKEN"):
                file.write(f"X_ACS_DINGTALK_ACCESS_TOKEN={token}\n")
            else:
                file.write(line)
3、发送新闻消息到钉钉
此处我用的是sampleLink消息模版,可以选择多个消息模版,详情请移步这里:企业机器人发送消息的消息类型 - 钉钉开放平台

4、开始创建钉钉客户端并发送新闻数据
messenger.py文件:
from alibabacloud_dingtalk.robot_1_0.client import Client as dingtalkrobot_1_0Client
from alibabacloud_tea_openapi import models as open_api_models
from alibabacloud_dingtalk.robot_1_0 import models as dingtalkrobot__1__0_models
from alibabacloud_tea_util import models as util_models
from alibabacloud_tea_util.client import Client as UtilClient
import os

def create_client() -> dingtalkrobot_1_0Client:
    """
    创建一个钉钉客户端实例。
    """
    config = open_api_models.Config()
    config.protocol = 'https'
    config.region_id = 'central'
    return dingtalkrobot_1_0Client(config)

def send_news(client, news_details):
    """
    发送新闻到钉钉。
    """
    org_group_send_headers = dingtalkrobot__1__0_models.OrgGroupSendHeaders()
    org_group_send_headers.x_acs_dingtalk_access_token = os.getenv('X_ACS_DINGTALK_ACCESS_TOKEN')
    org_group_send_request = dingtalkrobot__1__0_models.OrgGroupSendRequest(
        msg_param=f'{{ "text": "{news_details["content"]}", "title": "{news_details["title"]}", "picUrl": "{news_details["imgUrl"]}", "messageUrl": "{news_details["news_url"]}" }}',
        msg_key='sampleLink',
        robot_code=os.getenv('ROBOT_CODE'),
        open_conversation_id=os.getenv('OPEN_CONVERSATION_ID')
    )
    client.org_group_send_with_options(org_group_send_request, org_group_send_headers, util_models.RuntimeOptions())
二、消息数据侧准备工作
1、新闻html内容解析
需要获取的新闻链接html内容解析,获取最新的新闻标题、封面图、简介、日期等内容,此处节约篇幅,请自行根据要采集的链接html结构处理。
news_fetcher.py文件:
import os
import requests
from bs4 import BeautifulSoup
from io import BytesIO

def fetch_news_from_ai_bot():
    """
    从 ai-bot.cn 获取新闻详情。
    """
    url = 'https://ai-bot.cn/daily-ai-news/'
    response = requests.get(url)
    if response.status_code == 200:
        soup = BeautifulSoup(response.content, 'html.parser')
        first_news_item = soup.find('div', class_='news-item')

        if first_news_item:
            a_tag = first_news_item.find('h2').find('a')
            news_url = a_tag['href']
            title = a_tag.get_text(strip=True)
            content = first_news_item.find('p').get_text(strip=True)
            img_url = 'https://gwtest.joowill.com/ai-img/ai.png'
            return {
                'title': title,
                'content': content,
                'news_url': news_url,
                'imgUrl': img_url
            }
        else:
            return None
    else:
        return None

def fetch_news_from_xiaohu():
    """
    从 xiaohu.ai 获取新闻详情。
    """
    url = 'https://xiaohu.ai/c/ainews'
    response = requests.get(url)
    if response.status_code == 200:
        #此处是解析html,获取新闻标题、简介、封面图、日期等内容的代码,需要根据要采集的html结构处理
        return {
           'title': title,
           'content': description,
           'news_url': link,
            'imgUrl': img_url
        }
    return None

def fetch_news_from_toolify():
    """
    从 toolify.ai 获取新闻详情。
    """
    url = 'https://www.toolify.ai/zh/'
    response = requests.get(url)
    if response.status_code == 200:
        #此处是解析html,获取新闻标题、简介、封面图、日期等内容的代码,需要根据要采集的html结构处理
        return {
           'title': title,
           'content': description,
           'news_url': link,
            'imgUrl': img_url
        }
    return None

def fetch_news_details():
    """
    从多个新闻来源获取新闻详情。
    """
    news_list = []
    # 添加来自不同网站的新闻
    news_detail = fetch_news_from_ai_bot()
    if news_detail:
        news_list.append(news_detail)

    news_detail = fetch_news_from_xiaohu()
    if news_detail:
        news_list.append(news_detail)

    news_detail = fetch_news_from_toolify()
    if news_detail:
        news_list.append(news_detail)

    return news_list
2、防止发送重复数据
为了防止发送重复数据,需要自建一个保存已发送数据的库,用mysql等数据库貌似没必要,有拿高射炮打蚊子的大材小用之嫌,所以直接建立一个txt文本来记录已发送过的URL链接,简单方便。
sent_url.txt文件:
https://ai-bot.cn/qingyan-ppt/
https://mp.weixin.qq.com/s/gWfH-oj_Z-aiISSybzxSjg
https://www.pingwest.com/w/299823
https://ai-bot.cn/animode/
https://ai-bot.cn/chatglm-video/
https://xiaohu.ai/p/15340
三、整合
钉钉侧、消息数据侧的准备工作已经做好,接下来就是整合这些写好的功能了,以下是主函数执行脚本逻辑,包含了避免重复发送逻辑、将已发送的URL保存、获取新闻列表、将获取到的新闻数据推送到钉钉群、令牌过期时获取新令牌等处理:
main.py文件:
from dotenv import load_dotenv
from news_fetcher import fetch_news_details
from token_manager import get_access_token, update_env_file
from messenger import create_client, send_news
from alibabacloud_tea_util.client import Client as UtilClient
import os

def load_sent_urls(filepath):
    """
    从文件加载已发送新闻的URL,以避免重复发送。
    """
    if not os.path.exists(filepath):
        return set()
    with open(filepath, 'r') as f:
        return set(line.strip() for line in f)

def save_sent_url(filepath, url):
    """
    将已发送的URL保存到文件中。
    """
    with open(filepath, 'a') as f:
        f.write(f'{url}\n')

def main():
    """
    主函数执行脚本逻辑。
    """
    load_dotenv()
    sent_urls_filepath = '/Python/Dingding/sent_urls.txt'
    sent_urls = load_sent_urls(sent_urls_filepath)

    news_list = fetch_news_details()  # 获取新闻列表
    client = create_client()
    for news_details in news_list:
        if news_details['news_url'] not in sent_urls:
            try:
                send_news(client, news_details)
                save_sent_url(sent_urls_filepath, news_details['news_url'])
            except Exception as err:
                if not UtilClient.empty(err.code) and err.code == 'InvalidAuthentication':
                    print("令牌过期。获取新令牌...")
                    app_key = os.getenv('ROBOT_CODE')
                    app_secret = os.getenv('APP_SECRET')  # 确保APP_SECRET存储在.env中
                    new_token = get_access_token(app_key, app_secret)
                    update_env_file(new_token)
                    print("令牌已更新在.env文件中...")
                elif not UtilClient.empty(err.message):
                    print(f"错误: {err.code} - {err.message}")

if __name__ == '__main__':
    main()
四、定时机制的实现
此处执行的命令是使用的python虚拟环境,使用虚拟环境有助于隔离主系统环境,相当于创建一个干净的仅用于执行当前项目的python环境,避免与系统中其它环境相冲突,类似的还有docker
task.py文件:
import subprocess
import time
import random

def run_command():
    # 定义你要执行的命令
    command = ["/Python/Dingding/dingding_env/bin/python", "/Project/Dingding/main.py"]

    try:
        # 使用 subprocess.run 执行命令
        result = subprocess.run(command, capture_output=True, text=True)
        # 输出命令执行的结果
        print("Command output:", result.stdout)
        if result.stderr:
            print("Command error:", result.stderr)
    except Exception as e:
        print(f"An error occurred while executing the command: {e}")

def main():
    while True:
        # 随机生成一个 1 到 5 分钟的时间间隔(以秒为单位)
        wait_time = random.randint(300, 1200)
        print(f"Waiting for {wait_time // 60} minutes...")

        # 等待随机时间间隔
        time.sleep(wait_time)

        # 执行命令
        run_command()

if __name__ == "__main__":
    main()
五、需要安装的一些依赖
requirements.in文件:
alibabacloud-dingtalk==1.0.0
alibabacloud-tea-openapi==0.3.12
alibabacloud-tea-util>=0.3.13,<1.0.0
requests==2.26.0
beautifulsoup4==4.10.0
python-dotenv==0.19.0
六、服务器部署
开始让程序定时执行你的想法吧
nohup /Python/Dingding/dingding_env/bin/python3.11 /Project/Dingding/task.py &