通过 Redis 的 GEO 功能完成地理位置的相关操作
以下是北京几个地区的经纬度:
北京站:116.42803 39.903738
北京南站:116.378248 39.865275
北京西站:116.322287 39.893729
在 redis 中添加一个位置的命令
geoadd key 经度 维度 地区名查询两个点之间的距离
geodist key 地区1 地区2 km查看某个地点附近的商铺
geosearch key fromlonlat 经度 维度 byradius(半径) 10 km withdist(返回值带距离)附近店铺查询功能(未测试):
请求路径:/shop/of/type
请求类型:get
携带参数:typeId: 商户类型,current : 页码,滚动查询,x:经度,y:维度
返回值:List<shop>:所有符合要求的商户信息
java代码:将店铺按照店铺类型分类作为key,写入 redis 中
opsForGeo.add(key,point(x,y),shopId) 添加一个 Geo 类型的 key第一步:将 redis 版本换为 6 版本
        <dependency>
            <groupId>org.springframework.boot</groupId>
            <artifactId>spring-boot-starter-data-redis</artifactId>
            <exclusions>
                <exclusion>
                    <artifactId>spring-data-redis</artifactId>
                    <groupId>org.springframework.data</groupId>
                </exclusion>
                <exclusion>
                    <artifactId>lettuce-core</artifactId>
                    <groupId>io.lettuce</groupId>
                </exclusion>
            </exclusions>
        </dependency>
        <dependency>
            <groupId>org.springframework.data</groupId>
            <artifactId>spring-data-redis</artifactId>
            <version>2.6.2</version>
        </dependency>
        <dependency>
            <groupId>io.lettuce</groupId>
            <artifactId>lettuce-core</artifactId>
            <version>6.1.6.RELEASE</version>
        </dependency>
第二步,Controller
    /**
     * 根据商铺类型分页查询商铺信息
     * @param typeId 商铺类型
     * @param current 页码
     * @return 商铺列表
     */
    @GetMapping("/of/type")
    public Result queryShopByType(
            @RequestParam("typeId") Integer typeId,
            @RequestParam(value = "current", defaultValue = "1") Integer current,
            @RequestParam(value = "x", required = false) Double x,
            @RequestParam(value = "y", required = false) Double y
    ) {
       return shopService.queryShopByType(typeId, current, x, y);
    }
第三步,Service层
public interface ShopService extends IService<Shop> {

    Result queryById(Long id);

    Result update(Shop shop);

    Result queryShopByType(Integer typeId, Integer current, Double x, Double y);
}
@Override
public Result queryShopByType(Integer typeId, Integer current, Double x, Double y) {
// 1.判断是否需要根据坐标查询
if (x == null || y == null) {
// 不需要坐标查询,按数据库查询
Page<Shop> page = query()
.eq("type_id", typeId)
.page(new Page<>(current, SystemConstants.DEFAULT_PAGE_SIZE));
// 返回数据
return Result.ok(page.getRecords());
}
// 2.计算分页参数
int from = (current - 1) * SystemConstants.DEFAULT_PAGE_SIZE;
int end = current * SystemConstants.DEFAULT_PAGE_SIZE;
// 3.查询redis、按照距离排序、分页。结果:shopId、distance
String key = SHOP_GEO_KEY + typeId;
GeoResults<RedisGeoCommands.GeoLocation<String>> results = stringRedisTemplate.opsForGeo() // GEOSEARCH key BYLONLAT x y BYRADIUS 10 WITHDISTANCE
.search(
key,
GeoReference.fromCoordinate(x, y),
new Distance(5000),
RedisGeoCommands.GeoSearchCommandArgs.newGeoSearchArgs().includeDistance().limit(end)
);
// 4.解析出id
if (results == null) {
return Result.ok(Collections.emptyList());
}
List<GeoResult<RedisGeoCommands.GeoLocation<String>>> list = results.getContent();
if (list.size() <= from) {
// 没有下一页了,结束
return Result.ok(Collections.emptyList());
}
// 4.1.截取 from ~ end的部分
List<Long> ids = new ArrayList<>(list.size());
Map<String, Distance> distanceMap = new HashMap<>(list.size());
list.stream().skip(from).forEach(result -> {
// 4.2.获取店铺id
String shopIdStr = result.getContent().getName();
ids.add(Long.valueOf(shopIdStr));
// 4.3.获取距离
Distance distance = result.getDistance();
distanceMap.put(shopIdStr, distance);
});
// 5.根据id查询Shop
String idStr = StrUtil.join(",", ids);
List<Shop> shops = query().in("id", ids).last("ORDER BY FIELD(id," + idStr + ")").list();
for (Shop shop : shops) {
shop.setDistance(distanceMap.get(shop.getId().toString()).getValue());
}
// 6.返回
return Result.ok(shops);
}用户签到功能:
Redis 中(位图)BitMap 用法:
将一个用户,一个月的签到情况,按照二进制的形式来表示是否签到
BitMap 命令:
setbit 向指定位置 offset 存入 0 或 1
getbit 获取指定位置的 bit 值
bircount 统计 1 的数量
bitfield 操作 BitMap 中 bit 数组中指定位置的值(通常用于查询整个 bit 数组)
bitfield_ro 获取 bit 数组并以十进制形式返回
bitop 将多个 BitMap 的结果做位运算
bitpos 查找bit数组中指定范围内第一个 0 或 1 出现的位置
用户签到,连续签到功能实现:
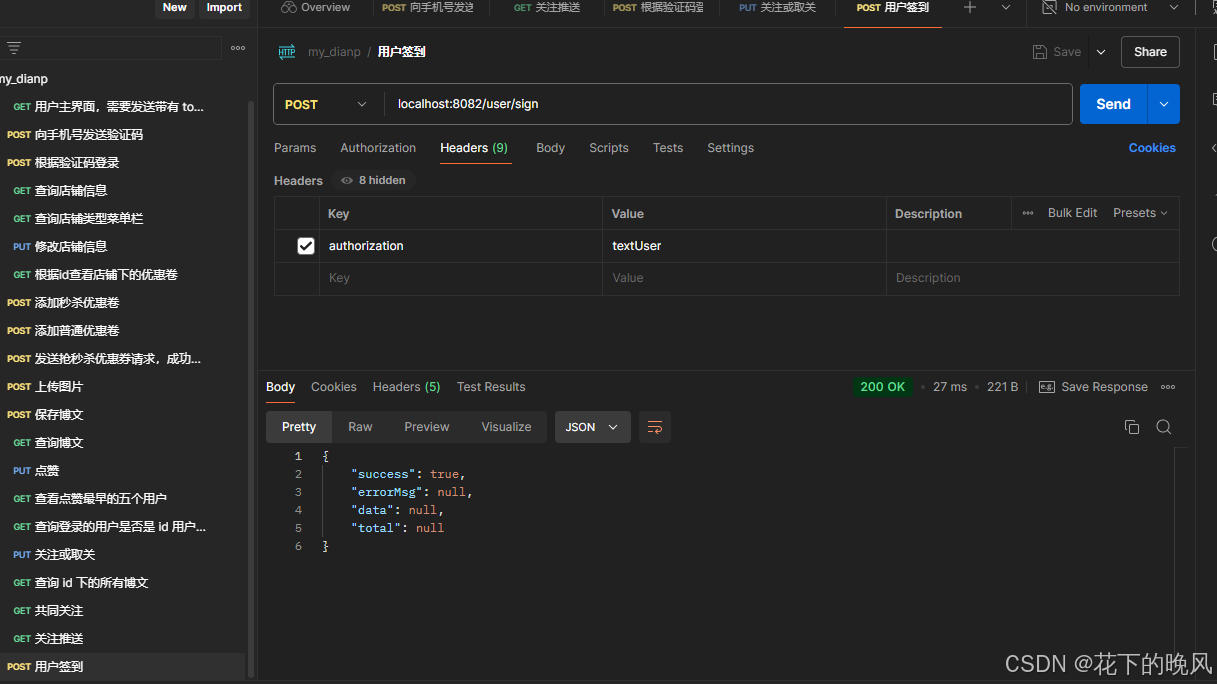
请求方式:Post
请求路径:/user/sign
携带信息:登录 token
对于连续签到,我们给每一个用户设置一个保存连续签到次数的Redis key,每次签到时,我们都查询前一天该用户是否签到,若是,则将连续签到次数 +1 ;若不是,则将连续签到次数重置为 0
Controller:
    //用户签到
    @PostMapping("sign")
    public Result userSign(){
        return userService.userSign();
    }
Service 实现类:
    @Override
    public Result userSign() {
        UserDTO user = UserHolder.getUser();
        if(user == null){
            return Result.fail("请先登录");
        }
        //获取年月作为 key
        LocalDateTime now = LocalDateTime.now();
        String yearAndMonth = now.format(DateTimeFormatter.ofPattern("yyyyMM"));
        String key = "sign:"+user.getId()+":"+yearAndMonth;
        //获取天数完成签到操作
        int dayOfMonth = now.getDayOfMonth();//起始值为 1
        stringRedisTemplate.opsForValue().setBit(key,dayOfMonth-1,true);
        updateLink(user.getId(),now);
        return Result.ok();
    }
    //更新连续签到天数
    public void updateLink(Long userId,LocalDateTime now){
        //先查询前一天是否成签到
        LocalDateTime yesterday = now.minusHours(24);//当前时间减去 24 小时
        String yearAndMonth = yesterday.format(DateTimeFormatter.ofPattern("yyyyMM"));
        String key = "sign:"+userId+":"+yearAndMonth;
        int dayOfMonth = yesterday.getDayOfMonth();
        Boolean isSing = stringRedisTemplate.opsForValue().getBit(key, dayOfMonth-1);//这里一定要记得 -1 我一开始忽略了导致程序出错,找了半天
        String saveKey = "user:sign:keep:"+userId;
        System.out.println(isSing + " "+yearAndMonth+" "+(dayOfMonth-1));
        if(isSing == null || !isSing){
            //当前用户第一次签到,或未连续签到
            stringRedisTemplate.opsForValue().set(saveKey,"1");
            return;
        }
        //昨天签到过,连续签到次数继续累加
        String s = stringRedisTemplate.opsForValue().get(saveKey);
        if(s != null){
            long save = Long.parseLong(s) + 1;//将原来的值加一
            stringRedisTemplate.opsForValue().set(saveKey,Long.toString(save));
        }
    }
测试:
我们将管理员 1 的今日签到请求发送
然后查询 redis 中管理员1的连续签到次数,预测为1
然后在 redis 中将管理员1昨天的签到点上,再次让管理员1发送签到请求,预测连续签到次数会变为2

UV统计:
UV:独立访客量,即浏览这个网页的自然人量
PV:页面访问量,即浏览页面的次数
HyperLogLog用法:
HyperLogLog 主要用户统计 UV
命令:
pfadd key e1 e2 e3 e4... 往 key 中添加批量元素(若已经有了则无效添加)
pfcount key 查询 key 中的所有元素个数
给项目添加 UV 统计:
    private User createUserByPhone(String phone) {
        User user = new User();
        user.setPhone(phone);
        user.setNickName("user_"+RandomUtil.randomString(10));
        //TODO 添加 UV 统计
        stringRedisTemplate.opsForHyperLogLog().add("UV",phone);//UV统计
        return user;
    }
测试:
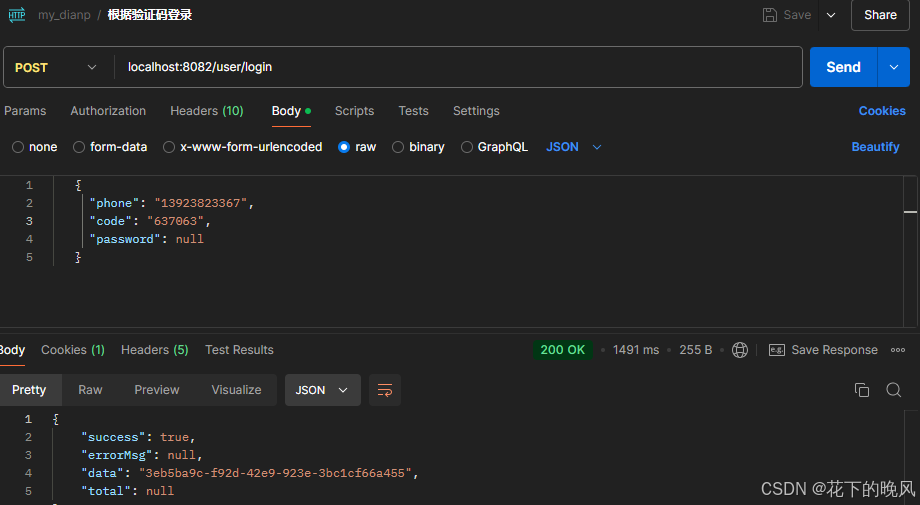
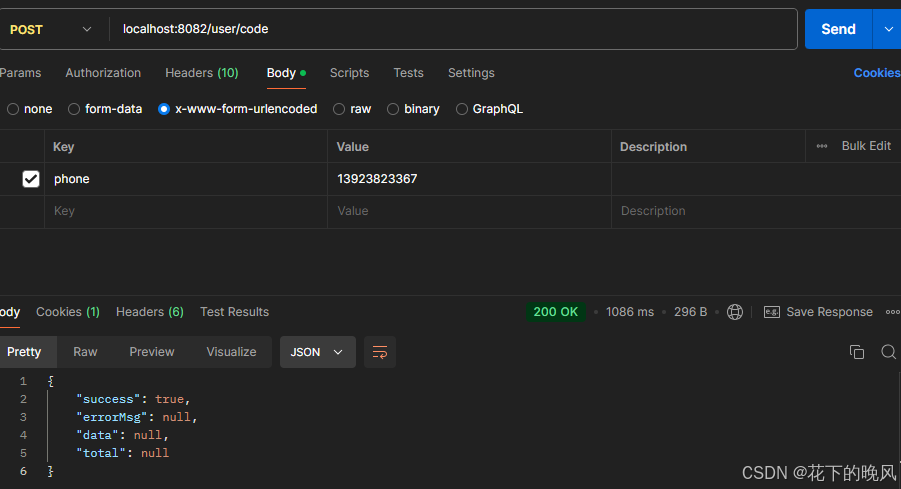
发送一个全新手机号的登录请求:


