YOLOv3的网络训练教程在网上都能找到,最重要是依赖于官网github上的issues解决,如果有些问题不清楚可以百度搜索到,这篇文章主要是针对于训练好自己的网络后的测试命令以及实现批量测试图片并保存的操作:
先说测试并返回评价指标的3个命令
1) ./darknet detector test cfg/voc.data cfg/yolo-voc.cfg ./svt/backup/yolo-voc_final.weights
/*不现实评价指标,输入图片路径,只显示框好后的图片和类别、置信率*/
2) ./darknet detector valid cfg/voc.data cfg/yolo-voc.cfg backup/yolo-voc_final.weights
/*在终端只返回用时,在./results/comp4_det_test_[类名].txt里保存测试结果*/
3) ./darknet detector recall cfg/voc.data cfg/yolo-voc.cfg backup/yolo-voc_final.weights(这个命令需修改dectector.c文件)
/*依次ID:图片序号从0开始,correct:累计检测正确的总框数,total:累计的总ground truth数,RPs/Img: 累计的总proposals/已检测图片数,IOU,Recall: correct / total,proposals:累计的总框数,Precision: correct / proposals*/
*************************************************************************************************
命令参数总结
- 训练模型
- 单GPU训练:
./darknet -i <gpu_id> detector train <data_cfg> <train_cfg> <weights> 举例:./darknet detector train cfg/voc.data cfg/yolov3-voc.cfg darknet53.conv.74 - 多GPU训练,格式为
0,1,2,3:./darknet detector train <data_cfg> <model_cfg> <weights> -gpus <gpu_list> 举例./darknet detector train cfg/voc.data cfg/yolov3-voc.cfg darknet53.conv.74 -gpus 0,1,2,3 - CPU训练:
./darknet -nogpu detector train <data_cfg> <model_cfg> <weights>
- 单GPU训练:
- 测试图片
- 测试单张图片,需要编译时有OpenCV支持:
./darknet detector test <data_cfg> <test_cfg> <weights> <image_file> <test_cfg>文件中batch和subdivisions两项必须为1。- 测试时还可以用
-thresh和-hier选项指定对应参数。
- 测试单张图片,需要编译时有OpenCV支持:
- 生成预测结果
./darknet detector valid <data_cfg> <test_cfg> <weights> <out_file><test_cfg>文件中batch和subdivisions两项必须为1。- 结果生成在
<data_cfg>的results指定的目录下以<out_file>开头的若干文件中,若<data_cfg>没有指定results,那么默认为<darknet_root>/results。
- 计算recall(执行这个命令需要修改detector.c文件,修改信息请参考“detector.c修改”)
./darknet detector recall <data_cfg> <test_cfg> <weights><test_cfg>文件中batch和subdivisions两项必须为1。- 输出在stderr里,重定向时请注意。
RPs/Img、IOU、Recall都是到当前测试图片的均值。detector.c中对目录处理有错误,可以参照validate_detector对validate_detector_recall最开始几行的处理进行修改。
- 执行这些命令的时候在
<darknet-root>下进行。
**************************************************************************************************************
detector.c修改(example文件夹下)
validate_detector_recall函数定义和调用改为:
void validate_detector_recall(char *datacfg, char *cfgfile, char *weightfile)
validate_detector_recall(datacfg, cfg, weights);
validate_detector_recall内的plist和paths的如下初始化代码:
list *plist = get_paths("data/voc.2007.test");
char **paths = (char **)list_to_array(plist);
修改为:
list *options = read_data_cfg(datacfg);
char *valid_images = option_find_str(options, "valid", "data/train.list");
list *plist = get_paths(valid_images);
char **paths = (char **)list_to_array(plist);
上述修改完之后务必记住要在darknet下重新make一下就可以进行recall命令了,
./darknet detector recall cfg/voc.data cfg/yolo-voc.cfg backup/yolo-voc_final.weights
***************************************正文如下*********************************************************
批量测试图片并保存在自定义文件夹下
1.用下面代码替换detector.c文件(example文件夹下)的void test_detector函数(注意有3处要改成自己的路径)
void test_detector(char *datacfg, char *cfgfile, char *weightfile, char *filename, float thresh, float hier_thresh, char *outfile, int fullscreen)
{
    list *options = read_data_cfg(datacfg);
    char *name_list = option_find_str(options, "names", "data/names.list");
    char **names = get_labels(name_list);

    image **alphabet = load_alphabet();
    network *net = load_network(cfgfile, weightfile, 0);
    set_batch_network(net, 1);
    srand(2222222);
    double time;
    char buff[256];
    char *input = buff;
    float nms=.45;
    int i=0;
    while(1){
        if(filename){
            strncpy(input, filename, 256);
            image im = load_image_color(input,0,0);
            image sized = letterbox_image(im, net->w, net->h);
        //image sized = resize_image(im, net->w, net->h);
        //image sized2 = resize_max(im, net->w);
        //image sized = crop_image(sized2, -((net->w - sized2.w)/2), -((net->h - sized2.h)/2), net->w, net->h);
        //resize_network(net, sized.w, sized.h);
            layer l = net->layers[net->n-1];


            float *X = sized.data;
            time=what_time_is_it_now();
            network_predict(net, X);
            printf("%s: Predicted in %f seconds.\n", input, what_time_is_it_now()-time);
            int nboxes = 0;
            detection *dets = get_network_boxes(net, im.w, im.h, thresh, hier_thresh, 0, 1, &nboxes);
            //printf("%d\n", nboxes);
            //if (nms) do_nms_obj(boxes, probs, l.w*l.h*l.n, l.classes, nms);
            if (nms) do_nms_sort(dets, nboxes, l.classes, nms);
                draw_detections(im, dets, nboxes, thresh, names, alphabet, l.classes);
                free_detections(dets, nboxes);
            if(outfile)
             {
                save_image(im, outfile);
             }
            else{
                save_image(im, "predictions");
#ifdef OPENCV
                cvNamedWindow("predictions", CV_WINDOW_NORMAL);
                if(fullscreen){
                cvSetWindowProperty("predictions", CV_WND_PROP_FULLSCREEN, CV_WINDOW_FULLSCREEN);
                }
                show_image(im, "predictions");
                cvWaitKey(0);
                cvDestroyAllWindows();
#endif
            }
            free_image(im);
            free_image(sized);
            if (filename) break;
         }
        else {
            printf("Enter Image Path: ");
            fflush(stdout);
            input = fgets(input, 256, stdin);
            if(!input) return;
            strtok(input, "\n");

            list *plist = get_paths(input);
            char **paths = (char **)list_to_array(plist);
             printf("Start Testing!\n");
            int m = plist->size;
            if(access("/home/FENGsl/darknet/data/out",0)==-1)//"/home/FENGsl/darknet/data"修改成自己的路径
            {
              if (mkdir("/home/FENGsl/darknet/data/out",0777))//"/home/FENGsl/darknet/data"修改成自己的路径
               {
                 printf("creat file bag failed!!!");
               }
            }
            for(i = 0; i < m; ++i){
             char *path = paths[i];
             image im = load_image_color(path,0,0);
             image sized = letterbox_image(im, net->w, net->h);
        //image sized = resize_image(im, net->w, net->h);
        //image sized2 = resize_max(im, net->w);
        //image sized = crop_image(sized2, -((net->w - sized2.w)/2), -((net->h - sized2.h)/2), net->w, net->h);
        //resize_network(net, sized.w, sized.h);
        layer l = net->layers[net->n-1];


        float *X = sized.data;
        time=what_time_is_it_now();
        network_predict(net, X);
        printf("Try Very Hard:");
        printf("%s: Predicted in %f seconds.\n", path, what_time_is_it_now()-time);
        int nboxes = 0;
        detection *dets = get_network_boxes(net, im.w, im.h, thresh, hier_thresh, 0, 1, &nboxes);
        //printf("%d\n", nboxes);
        //if (nms) do_nms_obj(boxes, probs, l.w*l.h*l.n, l.classes, nms);
        if (nms) do_nms_sort(dets, nboxes, l.classes, nms);
        draw_detections(im, dets, nboxes, thresh, names, alphabet, l.classes);
        free_detections(dets, nboxes);
        if(outfile){
            save_image(im, outfile);
        }
        else{

             char b[2048];
            sprintf(b,"/home/FENGsl/darknet/data/out/%s",GetFilename(path));//"/home/FENGsl/darknet/data"修改成自己的路径

            save_image(im, b);
            printf("save %s successfully!\n",GetFilename(path));
#ifdef OPENCV
            cvNamedWindow("predictions", CV_WINDOW_NORMAL);
            if(fullscreen){
                cvSetWindowProperty("predictions", CV_WND_PROP_FULLSCREEN, CV_WINDOW_FULLSCREEN);
            }
            show_image(im, "predictions");
            cvWaitKey(0);
            cvDestroyAllWindows();
#endif
        }

        free_image(im);
        free_image(sized);
        if (filename) break;
        }
      }
    }
}
2,在前面添加*GetFilename(char *p)函数(注意后面的注释)
#include "darknet.h"
#include <sys/stat.h>
#include<stdio.h>
#include<time.h>
#include<sys/types.h>
static int coco_ids[] = {1,2,3,4,5,6,7,8,9,10,11,13,14,15,16,17,18,19,20,21,22,23,24,25,27,28,31,32,33,34,35,36,37,38,39,40,41,42,43,44,46,47,48,49,50,51,52,53,54,55,56,57,58,59,60,61,62,63,64,65,67,70,72,73,74,75,76,77,78,79,80,81,82,84,85,86,87,88,89,90};

char *GetFilename(char *p)
{
    static char name[20]={""};
    char *q = strrchr(p,'/') + 1;
    strncpy(name,q,6);//注意后面的6,如果你的测试集的图片的名字字符(不包括后缀)是其他长度,请改为你需要的长度(官方的默认的长度是6)
    return name;
}
3.在darknet下重新make
4.执行批量测试命令如下
./darknet detector test cfg/voc.data cfg/yolov3-voc.cfg backup/yolov3-voc_final.weights
layer     filters    size              input                output
    0 conv     32  3 x 3 / 1   416 x 416 x   3   ->   416 x 416 x  32  0.299 BFLOPs
    1 conv     64  3 x 3 / 2   416 x 416 x  32   ->   208 x 208 x  64  1.595 BFLOPs
    .......
  104 conv    256  3 x 3 / 1    52 x  52 x 128   ->    52 x  52 x 256  1.595 BFLOPs
  105 conv    255  1 x 1 / 1    52 x  52 x 256   ->    52 x  52 x 255  0.353 BFLOPs
  106 detection
Loading weights from yolov3.weights...Done!
Enter Image Path:
Enter Image Path:后面输入你的txt文件路径(你准备好的所有测试图片的路径全部存放在一个txt文件里),你可以复制voc.data文件里的valid后面的路径,就可以了,如下
classes= 3
train  =/home/FENGsl/darknet/data/train.txt
valid  = /home/FENGsl/darknet/data/2007_test.txt
names = data/voc.names
backup = backup
你就可以看到如下结果:
  101 conv    128  1 x 1 / 1    52 x  52 x 256   ->    52 x  52 x 128  0.177 BFLOPs
  102 conv    256  3 x 3 / 1    52 x  52 x 128   ->    52 x  52 x 256  1.595 BFLOPs
  103 conv    128  1 x 1 / 1    52 x  52 x 256   ->    52 x  52 x 128  0.177 BFLOPs
  104 conv    256  3 x 3 / 1    52 x  52 x 128   ->    52 x  52 x 256  1.595 BFLOPs
  105 conv     24  1 x 1 / 1    52 x  52 x 256   ->    52 x  52 x  24  0.033 BFLOPs
  106 detection
Loading weights from backup/yolov3-voc_final.weights...Done!
Enter Image Path: /home/FENGsl/darknet/data/2007_test.txt
Start Testing!
Try Very Hard:/home/FENGsl/darknet/data/VOCdevkit/VOC2007/JPEGImages/000013.jpg: Predicted in 0.085814 seconds.
PED: 100%
save 000013 successfully!
Try Very Hard:/home/FENGsl/darknet/data/VOCdevkit/VOC2007/JPEGImages/000016.jpg: Predicted in 0.084692 seconds.
save 000016 successfully!
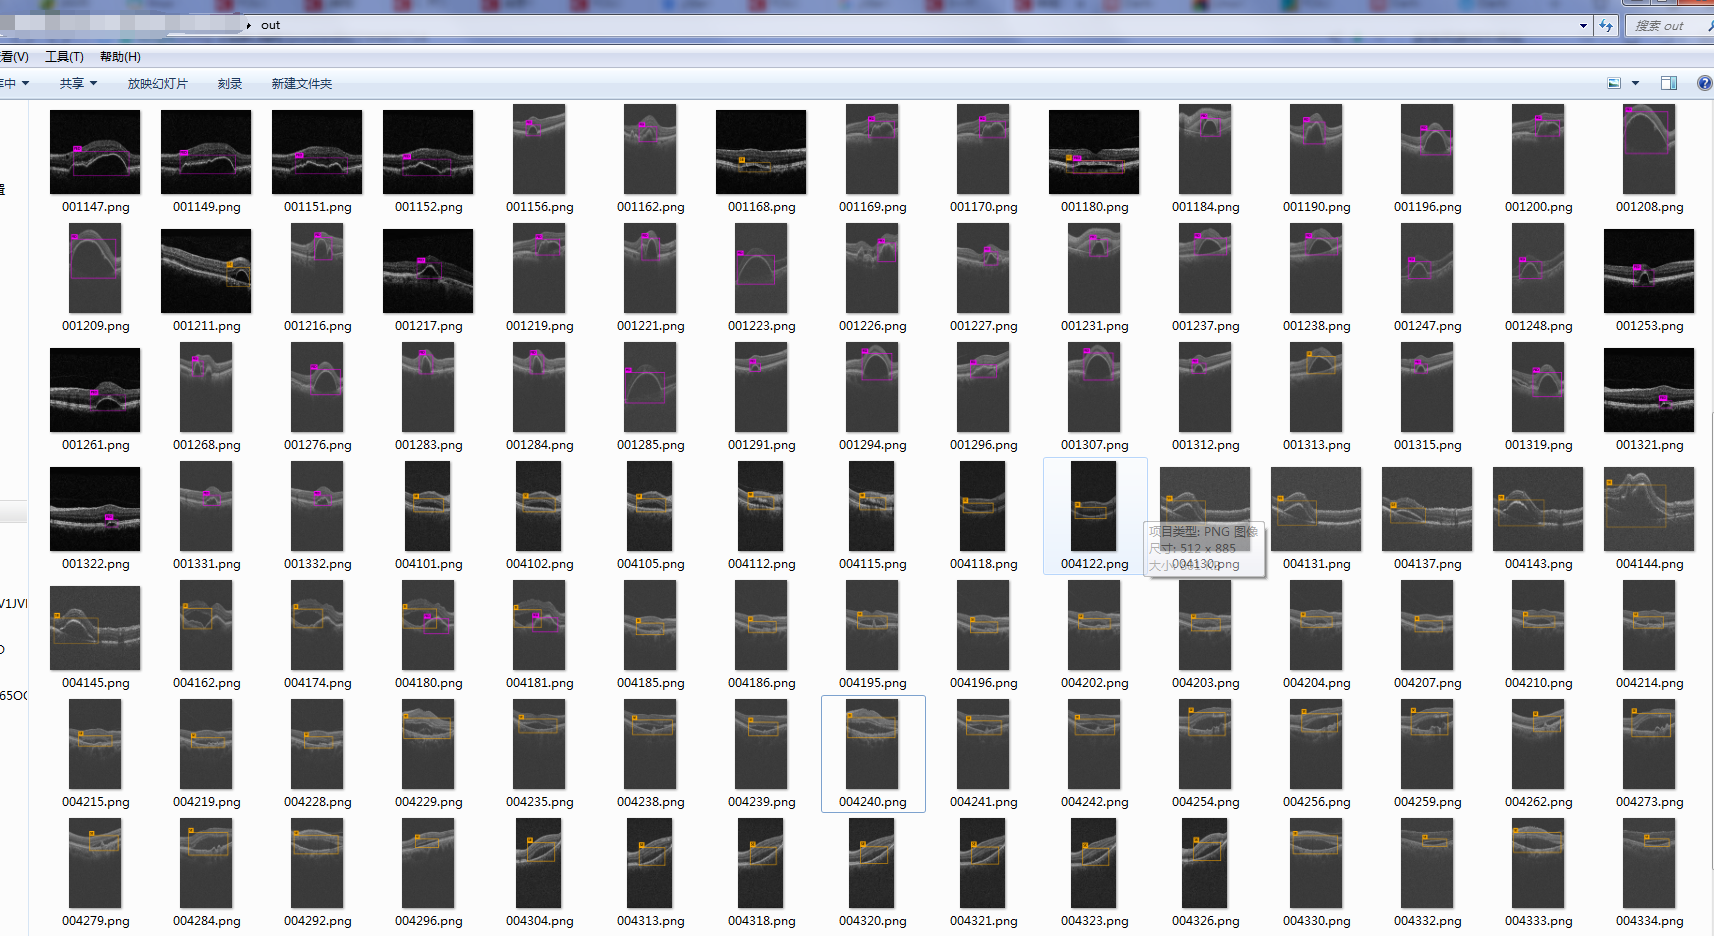
然后你所有的图片都保存在了data/out文件夹下,你可以打开看看,展示一下我的结果
谢谢大家!我的表演结束!
参考文献:
1.https://clavichord93.wordpress.com/2017/05/11/darknetyolo-shi-yong-zhi-nan/
2.https://blog.csdn.net/eloise_29/article/details/70215338
说明:
经过很多人测试会发现保存的图片的名字是(null).png,这个问题我现在已经解决了,就是在*GetFilename(char *p)函数里面的char name[20]={""}前面加上static,也就是将name声明成静态的就可以了,之前没有加会出现null的错误,现在已经修改过了,可以放心粘贴了。
如果大家有爱好深度学习,爱好人工智能,还有YOLO,可以加下我创建的群825524664(深度学习交流),仅供学习交流,没有广告,谢谢大家捧场!
