视频流除了rtmp、rtsp,还有一种是http的hls流,使用http协议传输hls格式的视频数据。
nginx支持推送hls视频流,使用的是rtmp模块,即rtmp流推送成功了,hls流也没问题。怎么推送rtmp流,请参考我的文章:ubuntu中使用ffmpeg和nginx推流rtmp视频-CSDN博客,在此基础上加一些配置就可以推送hls视频了。
1 修改/etc/nginx/nginx.conf,在rtmp配置中增加hls的配置:
rtmp {
    server {
        listen 1935; # Listen on standard RTMP port
        chunk_size 4000;

        application show {
            live on;

            # Turn on HLS
            hls on;
            hls_path /mnt/hls/;
            hls_fragment 3;
            hls_playlist_length 60;
        }
    }
}
其中,
# Turn on HLS
hls on;
hls_path /mnt/hls/;
hls_fragment 3;
hls_playlist_length 60;
是新增的,配置中/mnt/hls/是hls的播放列表和视频文件路径,可修改。
2 修改http服务器配置,新增如下配置:
server {
    listen 8080;

    location /hls {
        # Disable cache
        add_header Cache-Control no-cache;

        # CORS setup
        add_header 'Access-Control-Allow-Origin' '*' always;
        add_header 'Access-Control-Expose-Headers' 'Content-Length';

        # allow CORS preflight requests
        if ($request_method = 'OPTIONS') {
            add_header 'Access-Control-Allow-Origin' '*';
            add_header 'Access-Control-Max-Age' 1728000;
            add_header 'Content-Type' 'text/plain charset=UTF-8';
            add_header 'Content-Length' 0;
            return 204;
        }

        types {
            application/vnd.apple.mpegurl m3u8;
            video/mp2t ts;
        }

        root /mnt/;
    }
}具体什么意思可以查找帮助文档:Directives · arut/nginx-rtmp-module Wiki · GitHub
3 完整的nginx.conf内容:
user www-data;
worker_processes auto;
pid /run/nginx.pid;
include /etc/nginx/modules-enabled/*.conf;

events {
	worker_connections 768;
	# multi_accept on;
}

rtmp {
        server {
                listen 1935;
                chunk_size 4096;

                application live {
                        live on;
                        record off;

                        hls on;
                        hls_path /mnt/hls;
                        hls_fragment 3;
                        hls_playlist_length 60;

                        dash on;
                        dash_path /mnt/dash;
                }
        }
}


http {

	##
	# Basic Settings
	##

	sendfile on;
	tcp_nopush on;
	types_hash_max_size 2048;
	# server_tokens off;

	# server_names_hash_bucket_size 64;
	# server_name_in_redirect off;

	include /etc/nginx/mime.types;
	default_type application/octet-stream;

	##
	# SSL Settings
	##

	ssl_protocols TLSv1 TLSv1.1 TLSv1.2 TLSv1.3; # Dropping SSLv3, ref: POODLE
	ssl_prefer_server_ciphers on;

	##
	# Logging Settings
	##

	access_log /var/log/nginx/access.log;
	error_log /var/log/nginx/error.log;

	##
	# Gzip Settings
	##

	gzip on;

	# gzip_vary on;
	# gzip_proxied any;
	# gzip_comp_level 6;
	# gzip_buffers 16 8k;
	# gzip_http_version 1.1;
	# gzip_types text/plain text/css application/json application/javascript text/xml application/xml application/xml+rss text/javascript;

	##
	# Virtual Host Configs
	##

	include /etc/nginx/conf.d/*.conf;
	include /etc/nginx/sites-enabled/*;


	server {
		listen 8080;

		location / {
		    # Disable cache
		    add_header 'Cache-Control' 'no-cache';

		    # CORS setup
		    add_header 'Access-Control-Allow-Origin' '*' always;
		    add_header 'Access-Control-Expose-Headers' 'Content-Length';

		    # allow CORS preflight requests
		    if ($request_method = 'OPTIONS') {
		        add_header 'Access-Control-Allow-Origin' '*';
		        add_header 'Access-Control-Max-Age' 1728000;
		        add_header 'Content-Type' 'text/plain charset=UTF-8';
		        add_header 'Content-Length' 0;
		        return 204;
		    }

		    types {
		        application/dash+xml mpd;
		        application/vnd.apple.mpegurl m3u8;
		        video/mp2t ts;
		    }

		    root /mnt/;
		}
    	}

}


#mail {
#	# See sample authentication script at:
#	# http://wiki.nginx.org/ImapAuthenticateWithApachePhpScript
#
#	# auth_http localhost/auth.php;
#	# pop3_capabilities "TOP" "USER";
#	# imap_capabilities "IMAP4rev1" "UIDPLUS";
#
#	server {
#		listen     localhost:110;
#		protocol   pop3;
#		proxy      on;
#	}
#
#	server {
#		listen     localhost:143;
#		protocol   imap;
#		proxy      on;
#	}
#}
然后重启nginx
sudo service nginx restart4 推流和拉流测试
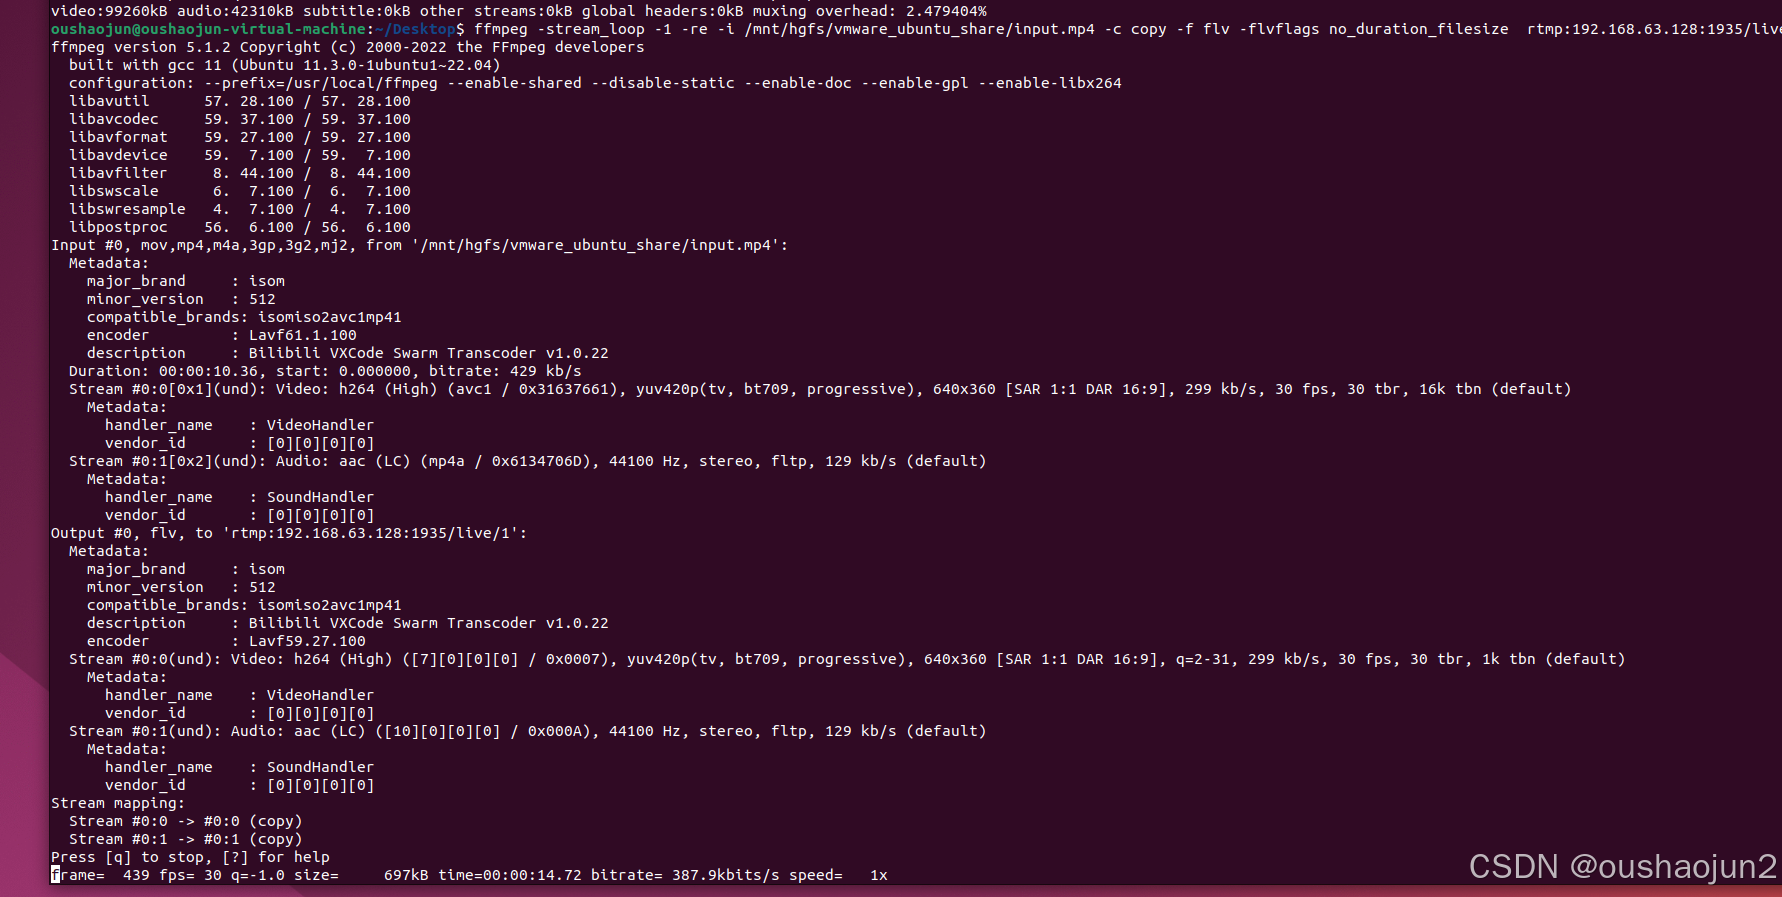
按照以前rtmp测试的文章,推流命令为:
ffmpeg -stream_loop -1 -re -i /mnt/hgfs/vmware_ubuntu_share/input.mp4 -c copy -f flv -flvflags no_duration_filesize rtmp:192.168.63.128:1935/live/1
推流成功。
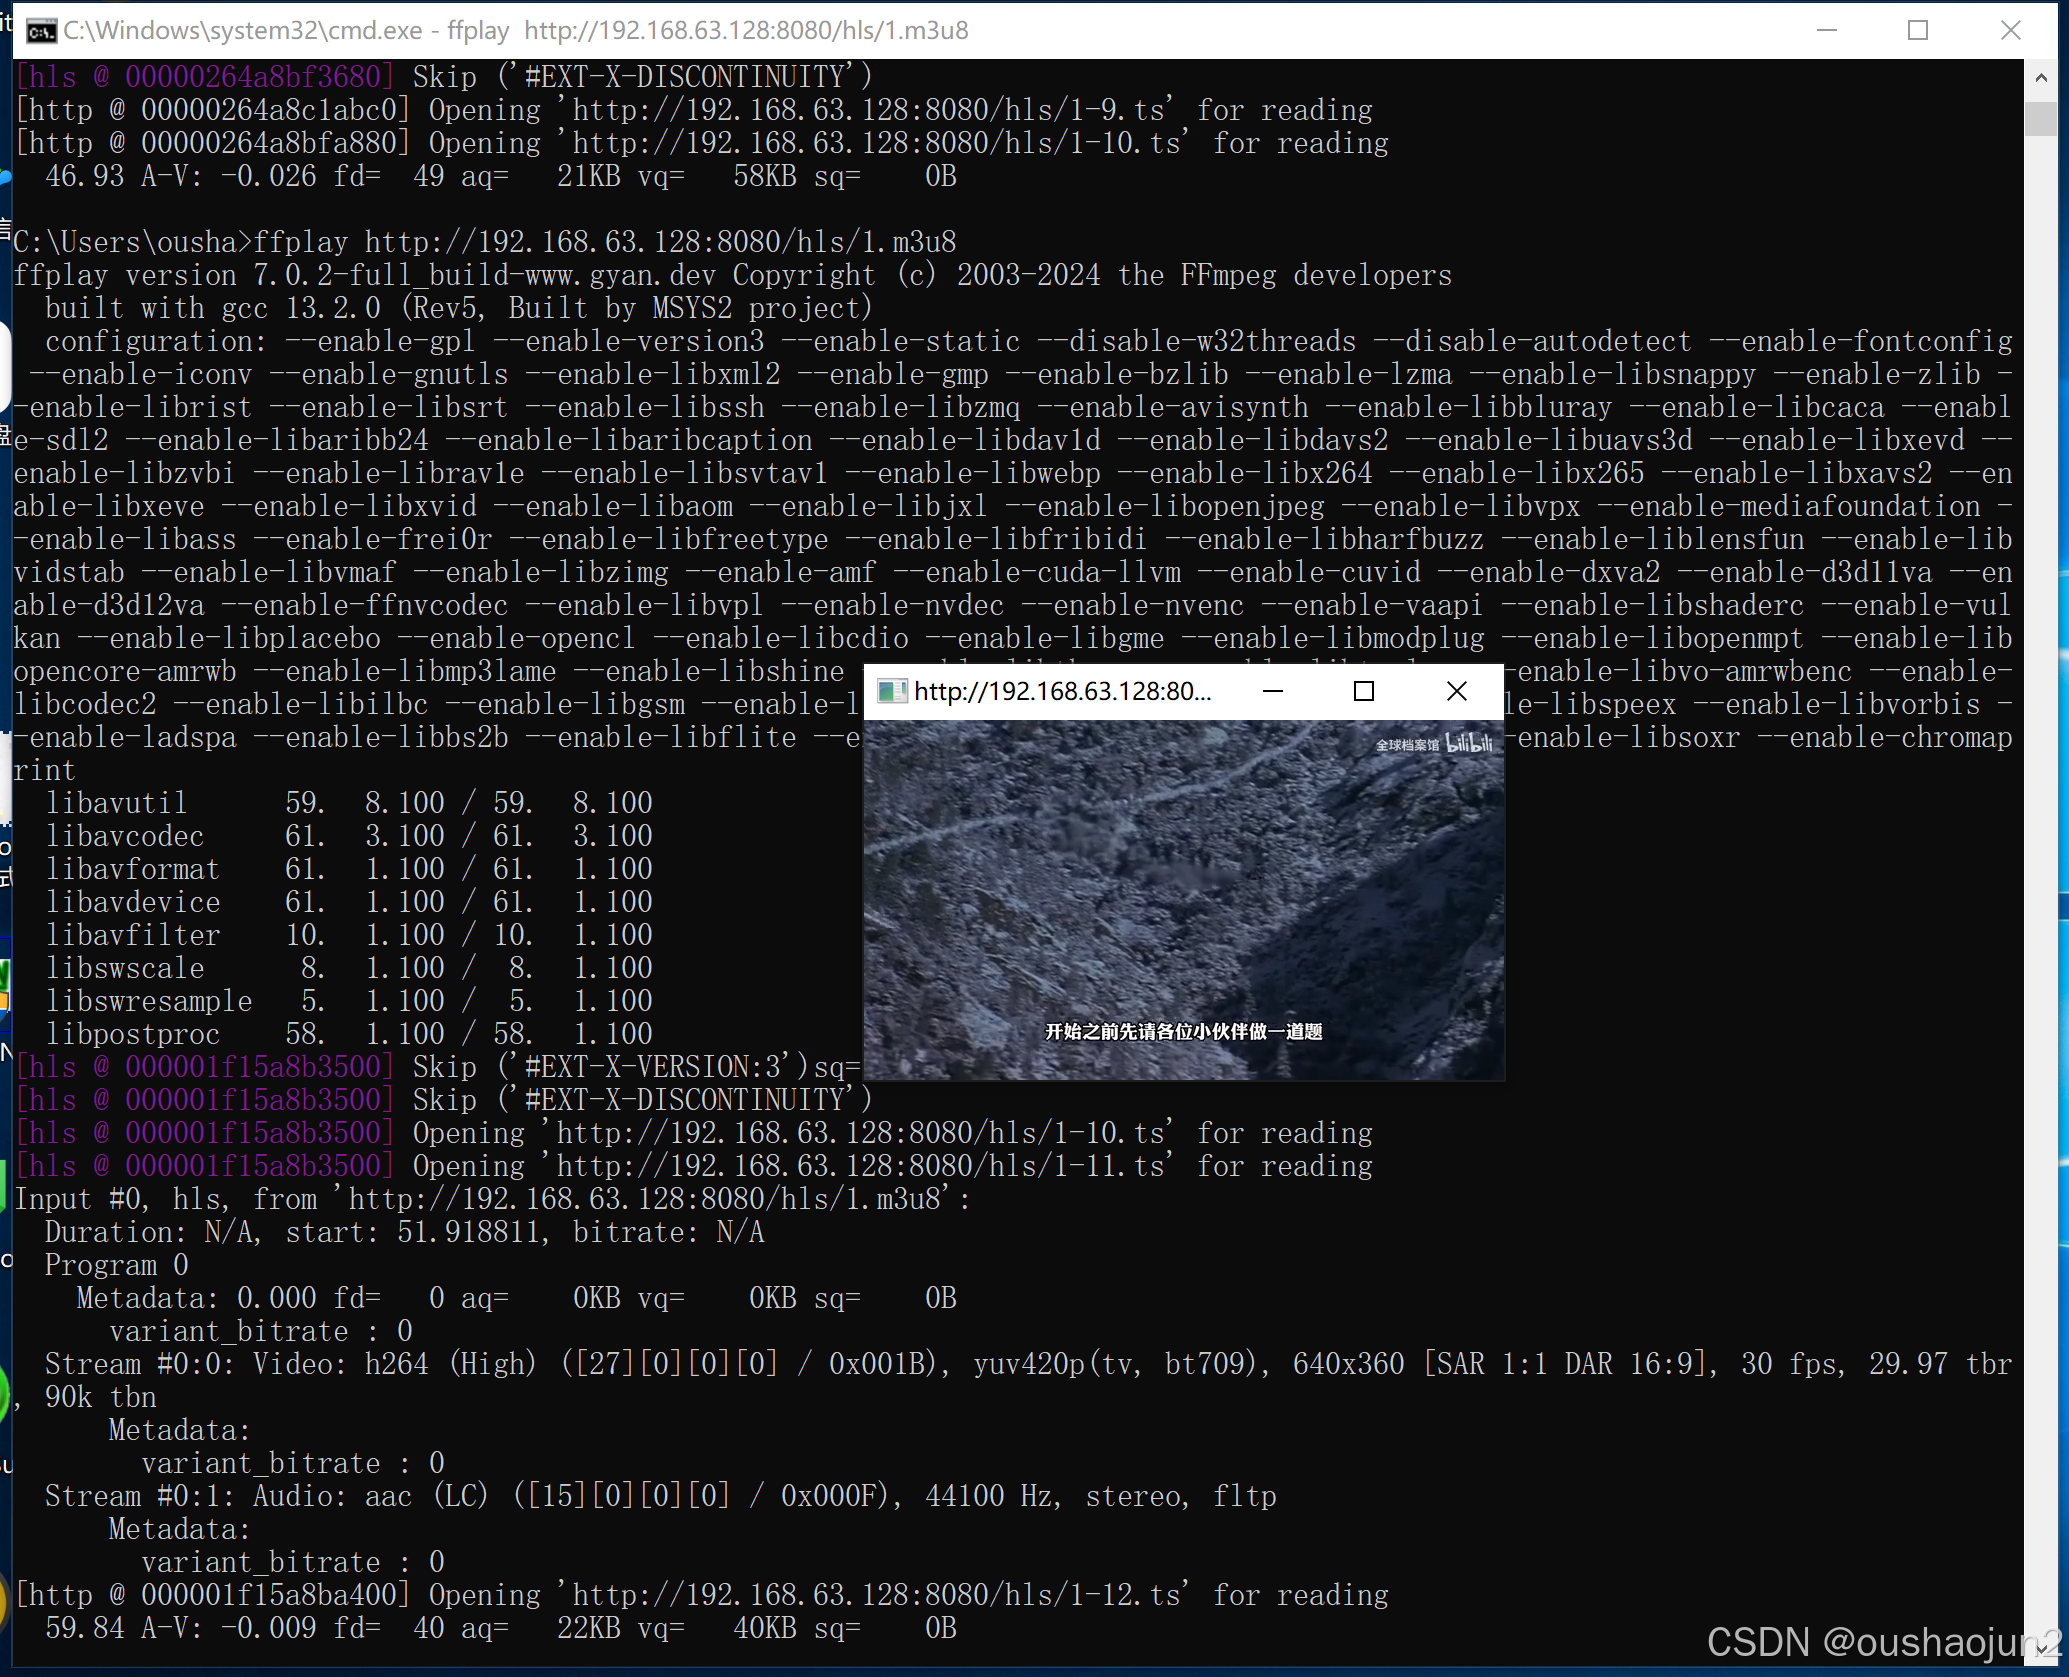
使用ffplay拉流,当然正规的是用浏览器播放,
ffplay http://192.168.63.128:8080/hls/1.m3u8命令中:
192.168.63.128:8080为ubuntu nginx服务器的地址和端口,8080端口在配置服务器的时候设置了,地址要改成自己的ubuntu地址。
/hls/1.m3u8中的"1"是推流命令中的最后那个"1",正规名称叫streamname,/hls是固定的。
拉流也是成功的。
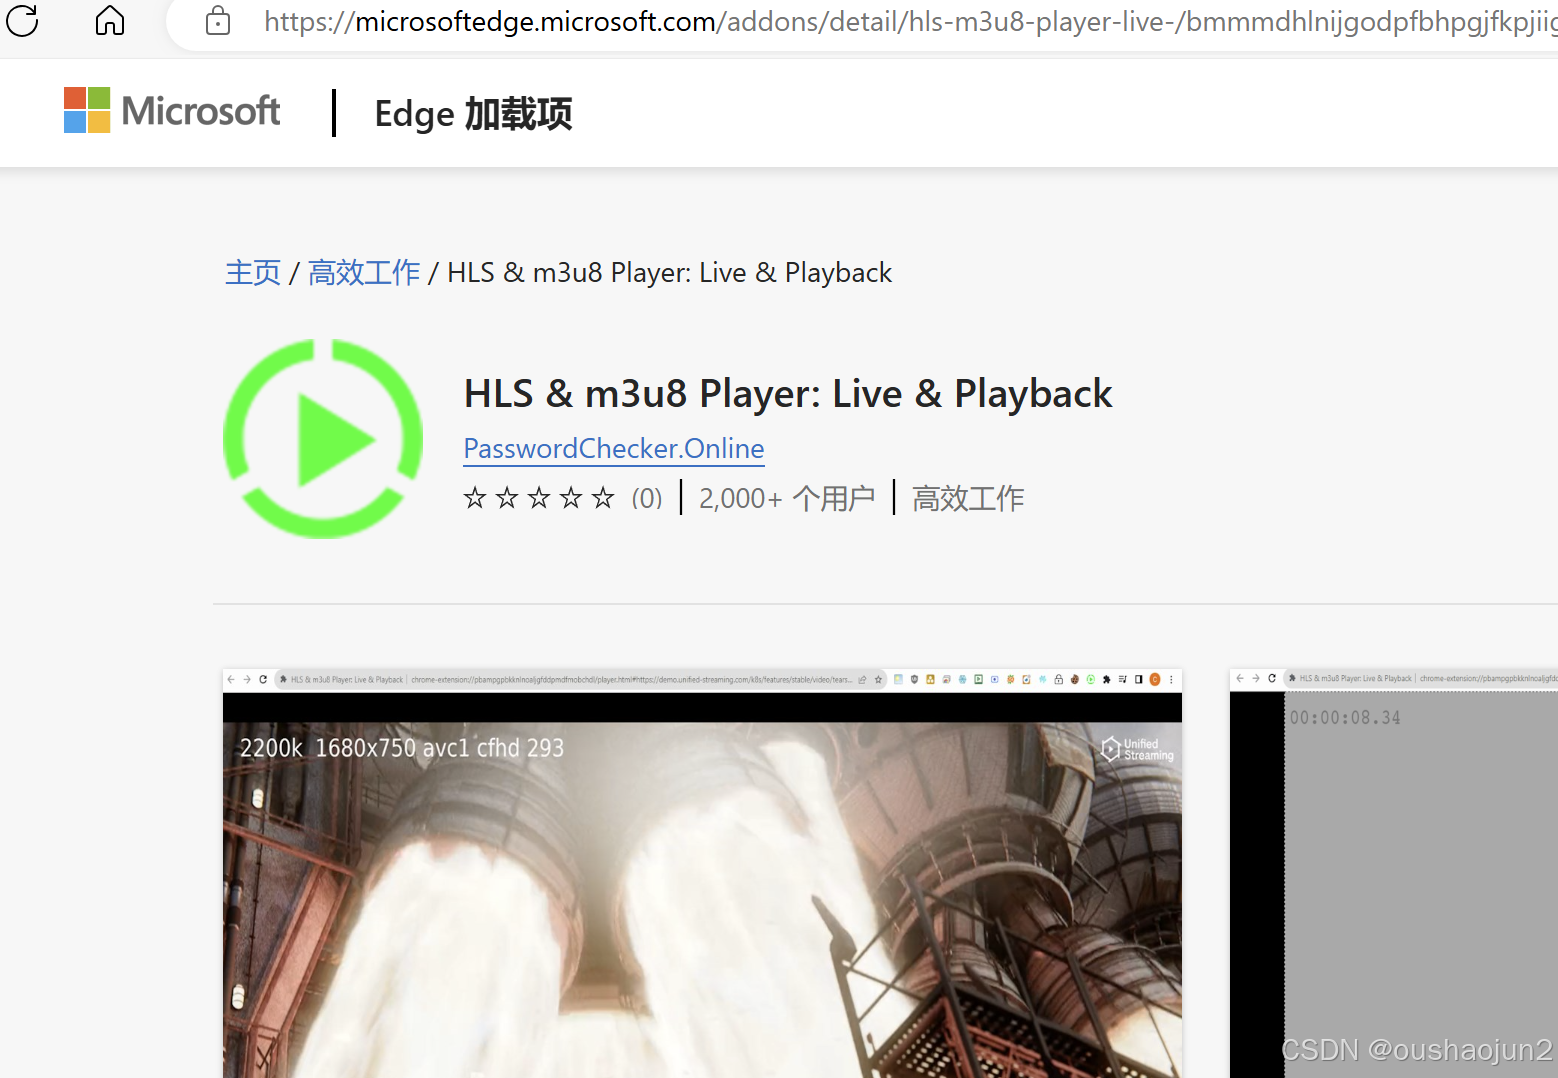
用浏览器测试下吧,edge中搜一个hls播放器插件,安装好:
把hls流地址复制到浏览器地址栏后就可以用浏览器看视频了:
引用:
Setting up HLS live streaming server using NGINX | by Peer5 | Medium
How To Set Up a Video Streaming Server using Nginx-RTMP on Ubuntu 20.04 | DigitalOcean


