Main程序
循环向UART串口打印 Hello World程序如下:
#include <stdio.h>
#include "pico/stdlib.h"

int main() {
    stdio_init_all();
    while (true) {
        printf("Hello, world!\n");
        sleep_ms(1000);
    }
}
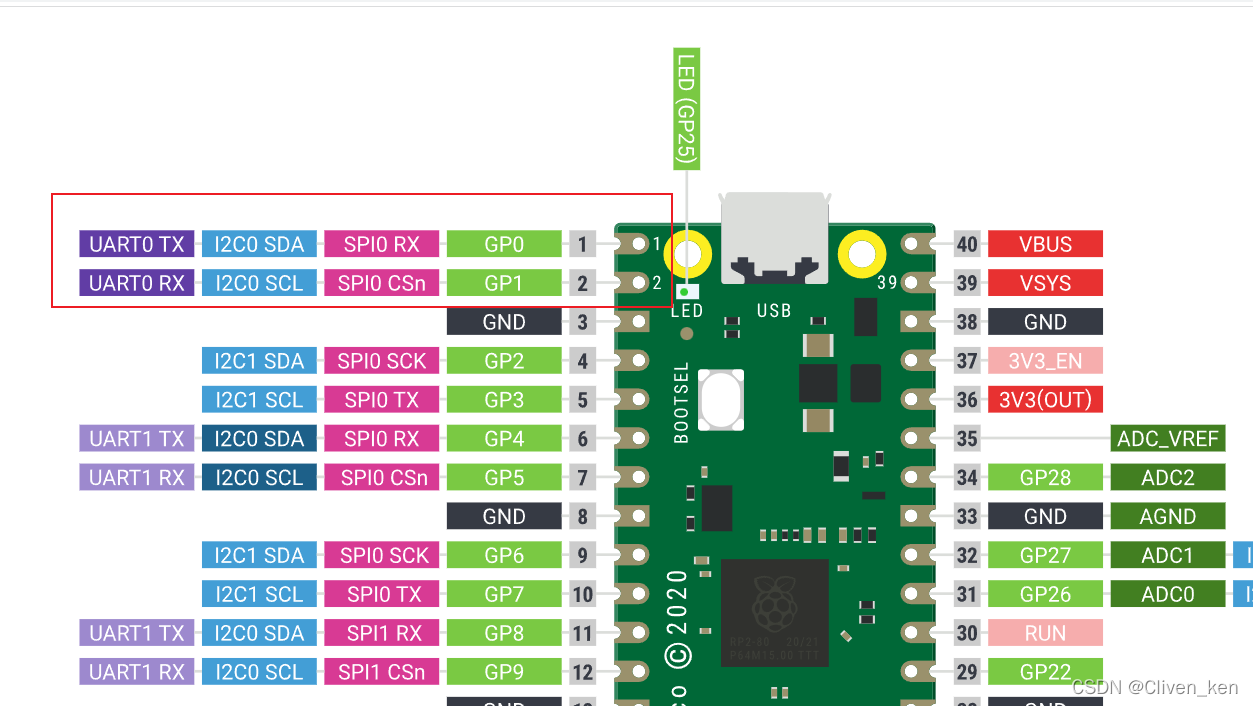
默认PICO stdio是 输出到UART0,也就是 PIN 1、PIN 2
为了使用 USB 作为串口,我们需要在Cmake文件中添加
pico_enable_stdio_usb(helloworld 1)标注输入输出 启用USB串口pico_enable_stdio_uart(helloworld 0)标注输入输出 关闭UART
CMakelists.txt 如下:
cmake_minimum_required(VERSION 3.21)

include(pico_sdk_import.cmake)
project(picoexp C CXX ASM)

set(CMAKE_C_STANDARD 11)

pico_sdk_init()

add_executable(helloworld main.c)
target_link_libraries(helloworld pico_stdlib)

pico_enable_stdio_usb(helloworld 1)
pico_enable_stdio_uart(helloworld 0)

pico_add_extra_outputs(helloworld)
启用TinyUSB
官方提供 pico-sdk 中并不含USB 串口实现,因此我们在Cmake Reload时候,会出现如下警告提示
编译后程序虽然能够运行,但是串口无任何输出。
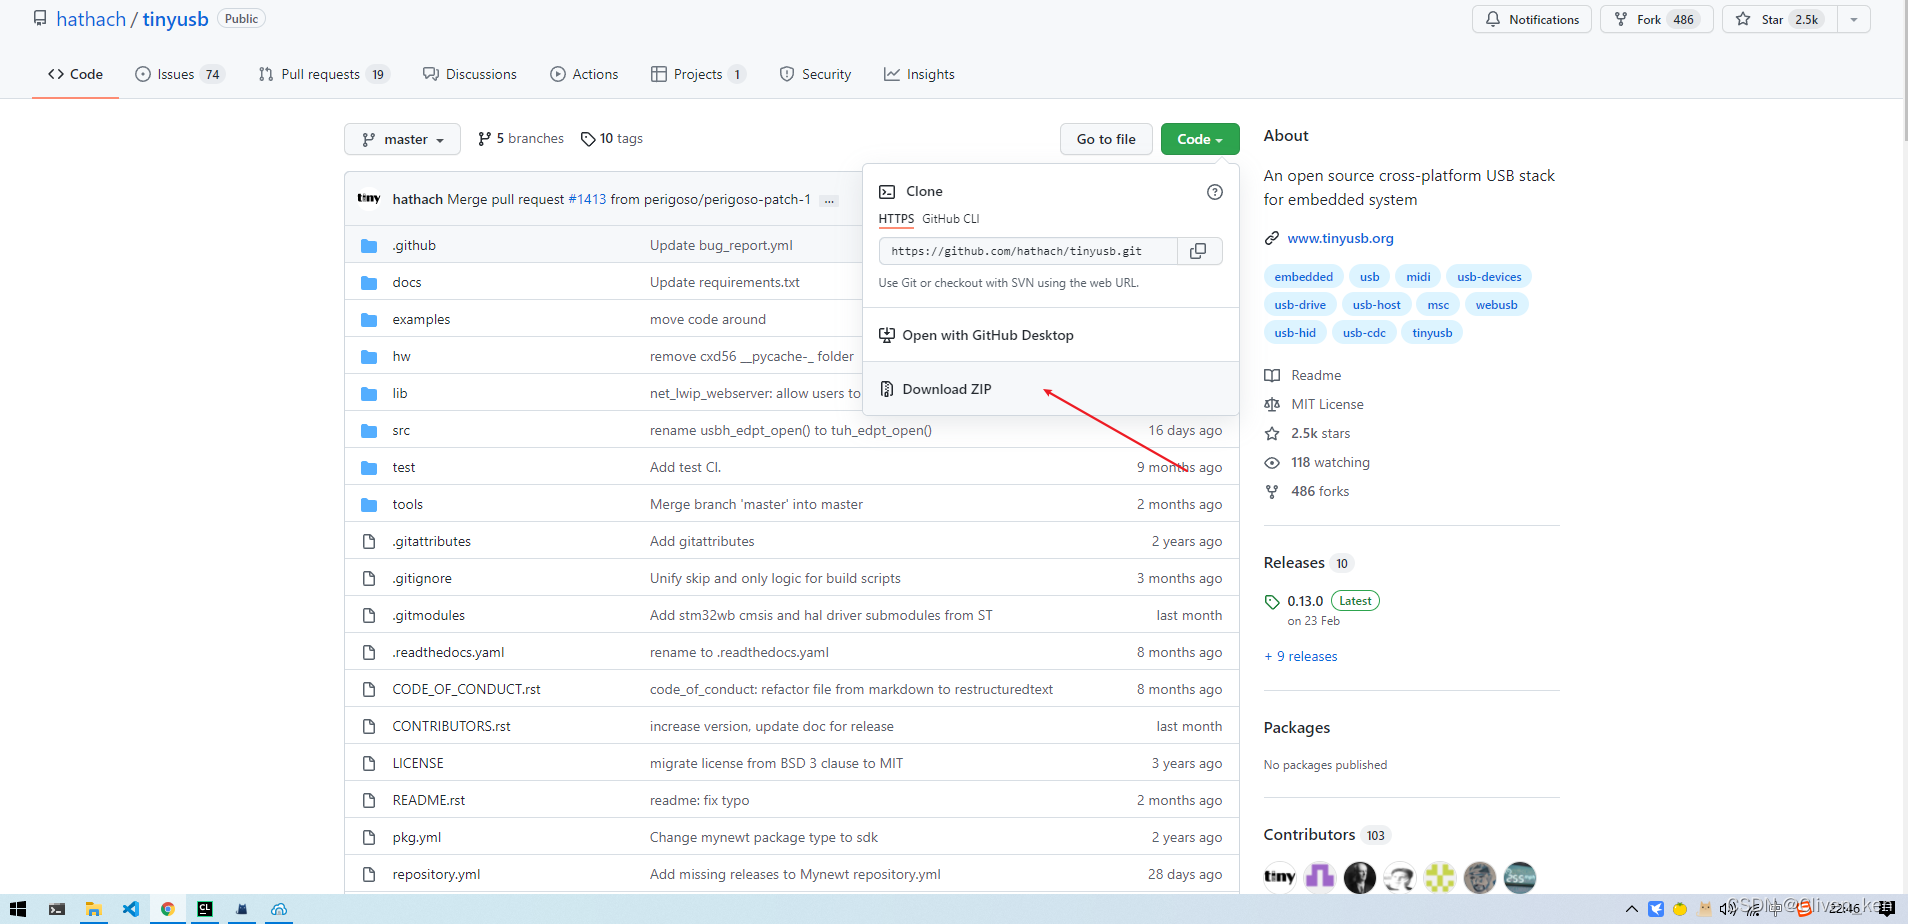
我们需要手动下载 tinyusb到我们 pico-sdk 内。
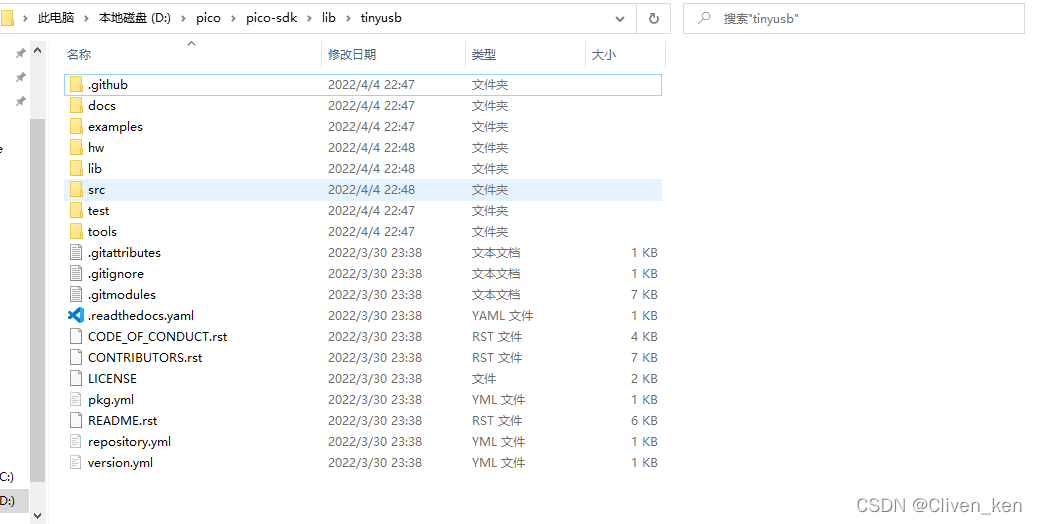
下载后解压文件,并将tinyusb目录中的文件复制到 pico-sdk/lib/tinyusb 目录下,如下所示:
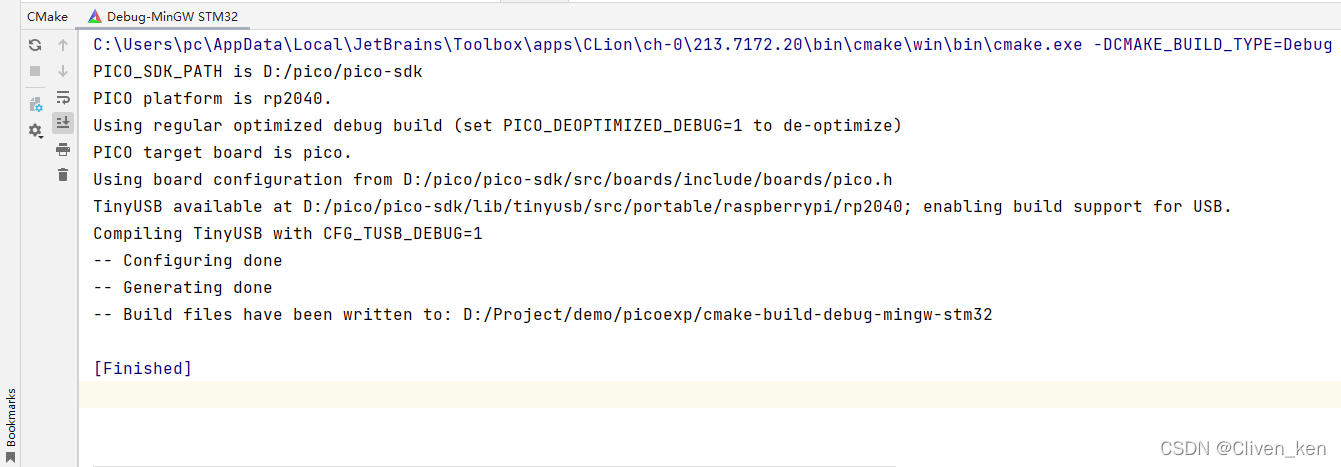
重新加载Cmake警告消失。
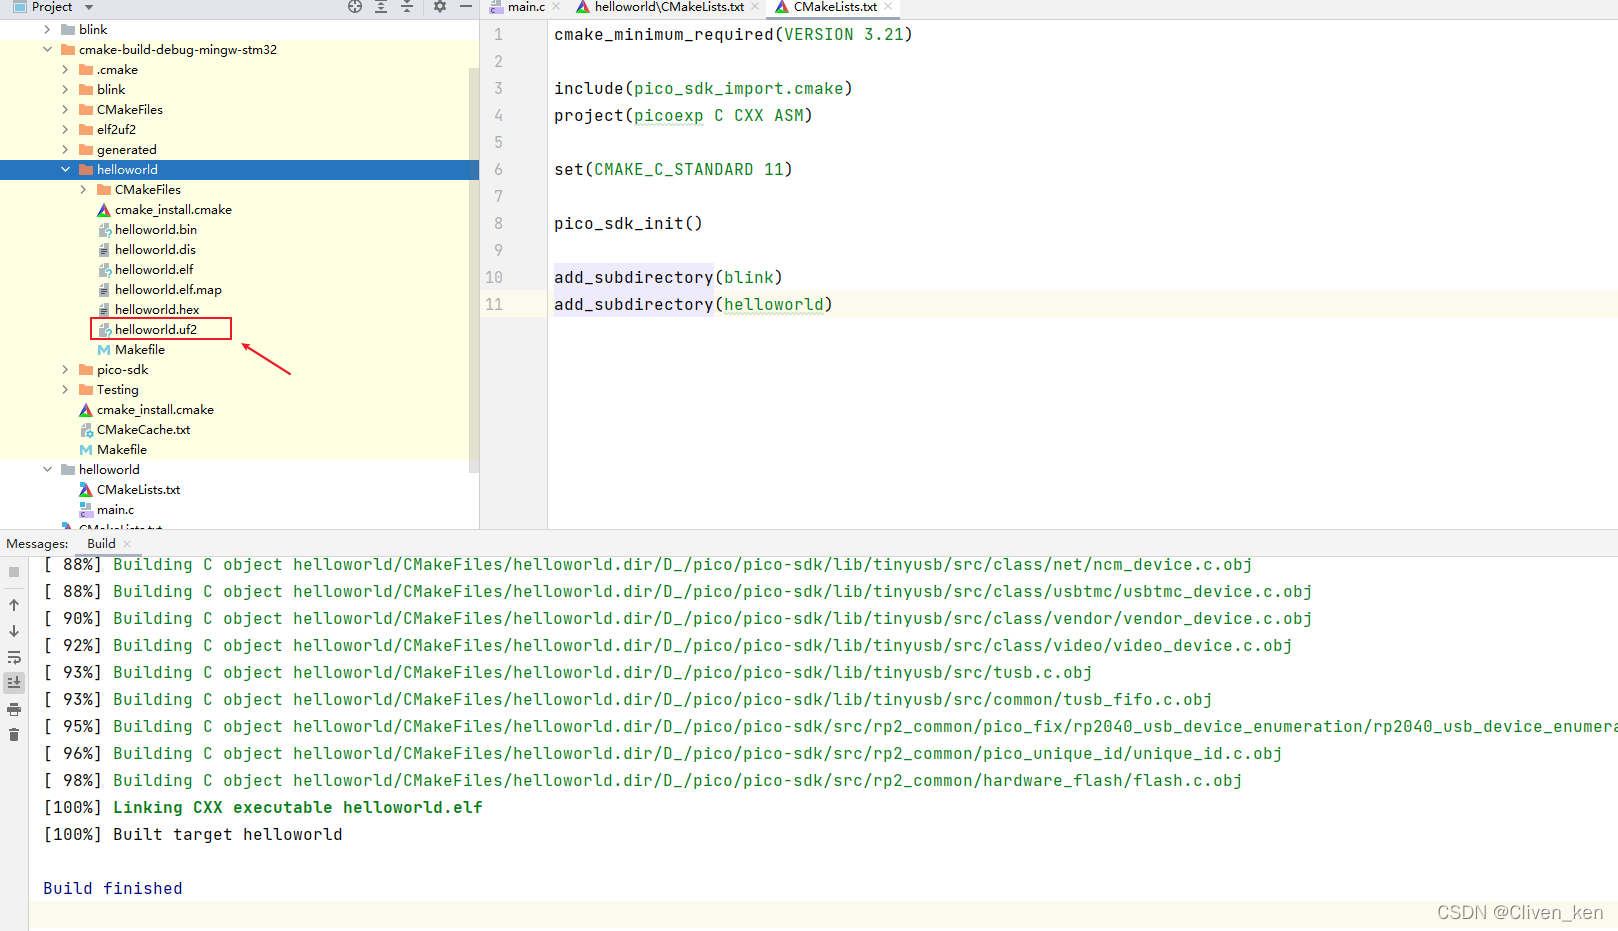
编译程序,并复制到Pico中。
查看输出
设备程序更新并连接后。
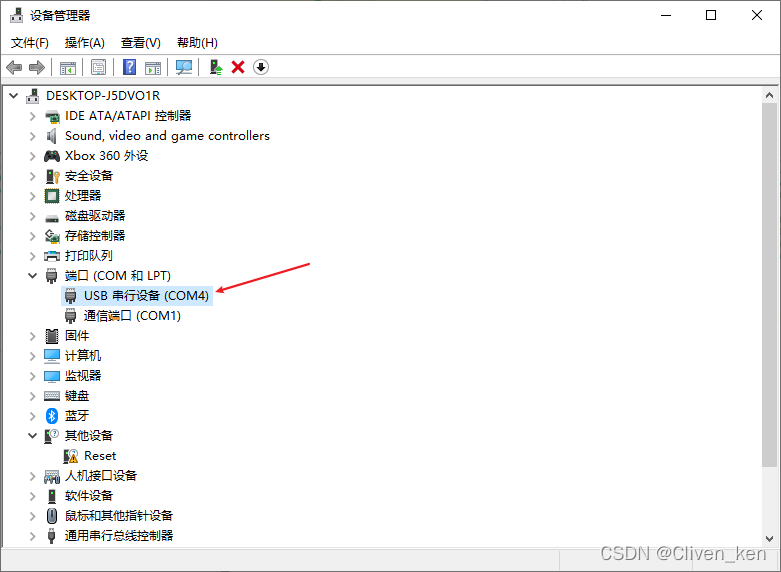
打开设备管理器,查看设备串口号。
我这里插上PICO之后出现了 COM4 的串口。
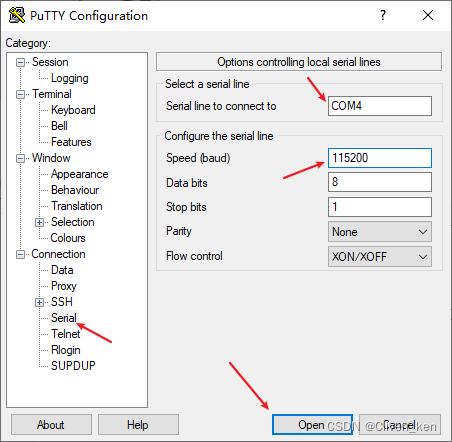
使用 putty 配置并连接串口,默认PICO的波特率为 115200。
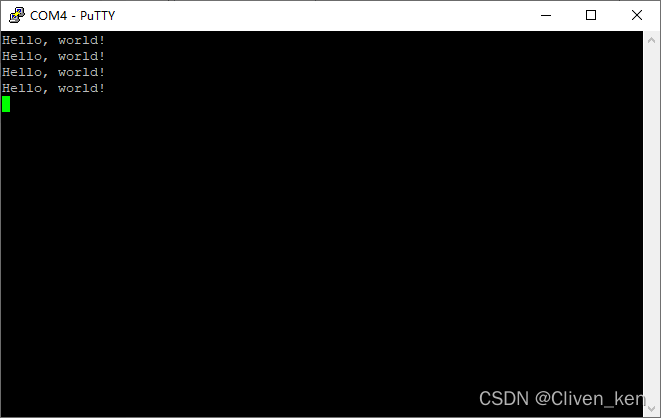
可以看到1s打印一次的 hello world字样
参考文献
[1]. github. raspberrypi . pico-examples . https://github.com/raspberrypi/pico-examples
[2]. raspberrypi . getting-started-with-pico . https://datasheets.raspberrypi.com/pico/getting-started-with-pico.pdf
[3]. csdn . micropython做中继_【树莓派Pico测评】- USB CDC串口通信(BSP编译,非MicroPython) . 顾不若 . 2021.02 . https://blog.csdn.net/weixin_42445810/article/details/113903206
[4]. csdn . 树莓派(Raspberry Pi) Pico usb输出(Hello World!) . RayJinStudio . 2021.3 . https://blog.csdn.net/RayJinStudio/article/details/114394975
