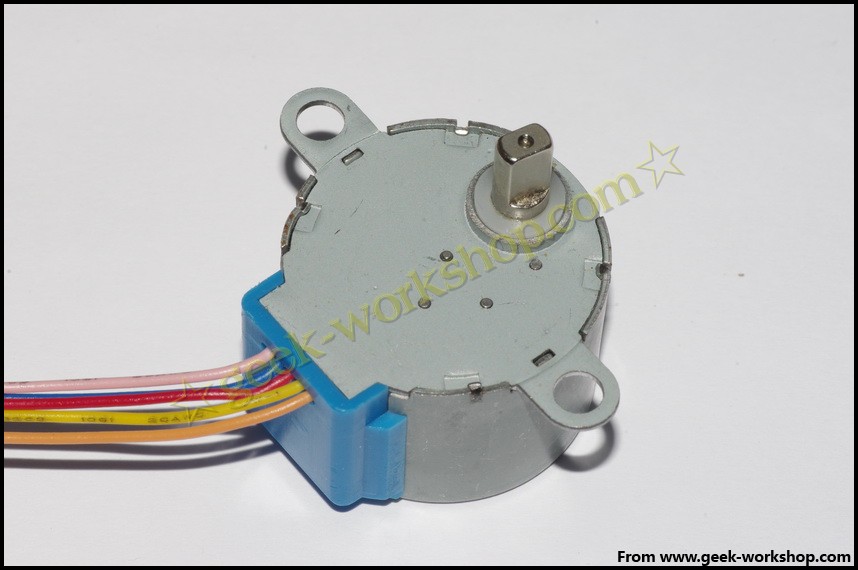
下面这个就是本次实验使用的步进电机
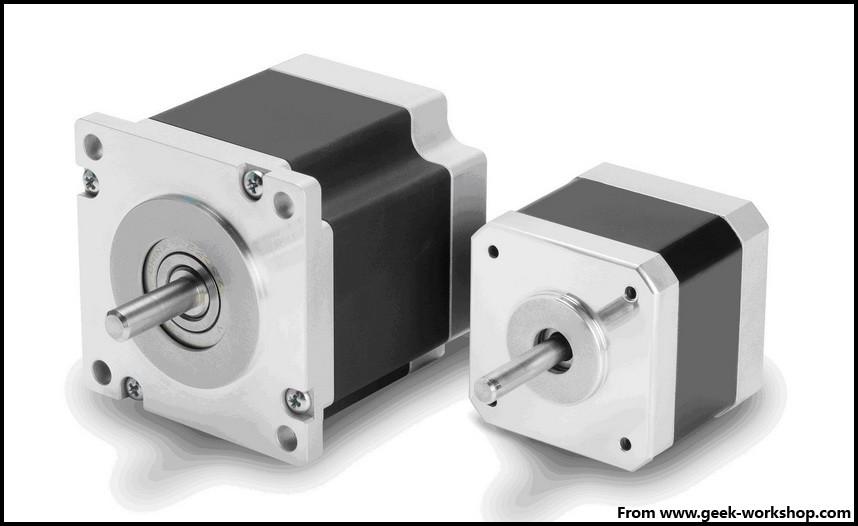
工业使用的步进电机与本次实验使用的不同,下面图式两种不同款式的工业用步进电机
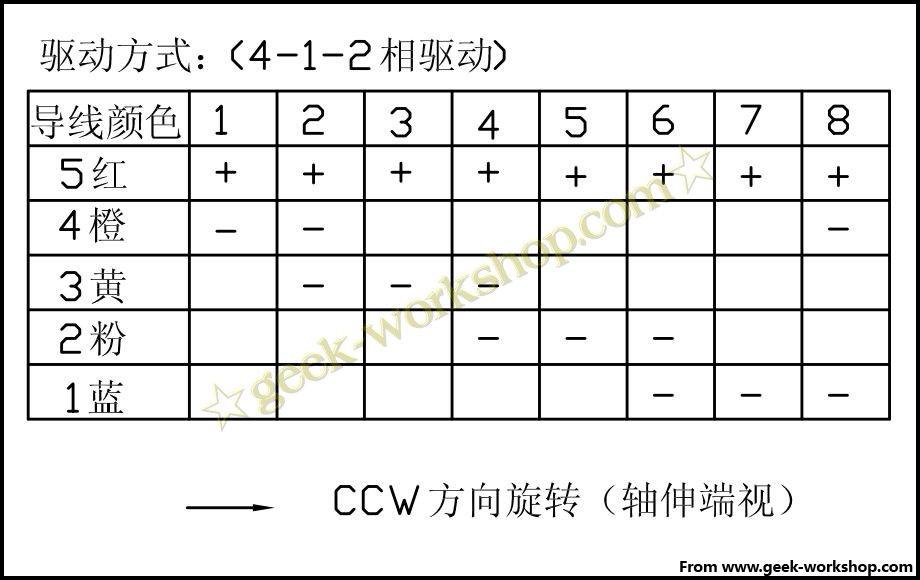
使用步进电机前一定要仔细查看说明书,确认是四相还是两相,各个线怎样连接,本次实验使用的步进电机是四相的,不同颜色的线定义如下图:
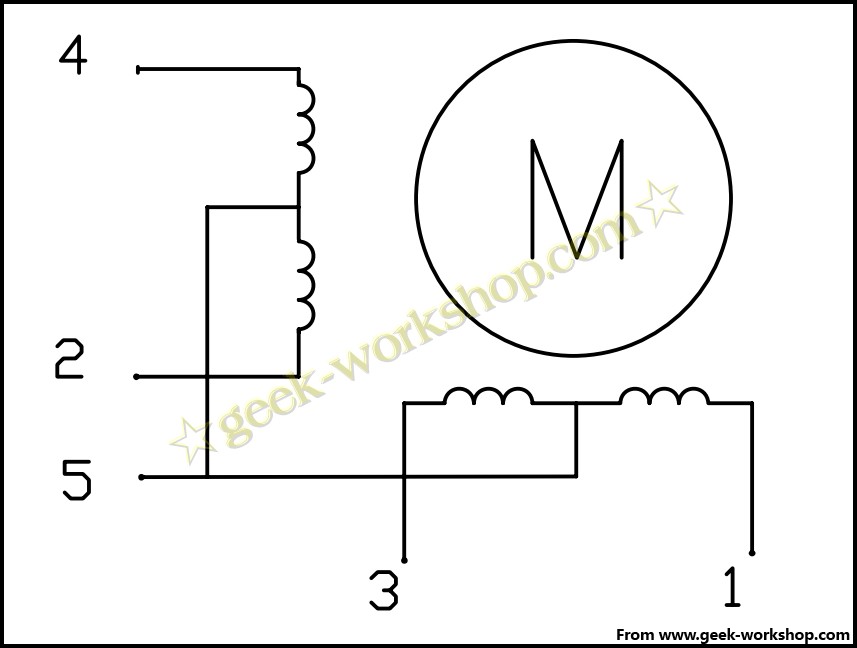
下面是电机的端口结构图,1,3为一组,2,4为一组,5号是共用的VCC。
因本次使用的步进电机功率很小,所以可以直接使用一个ULN2003芯片进行驱动,如果是大功率的步进电机,是需要对应的驱动板的。
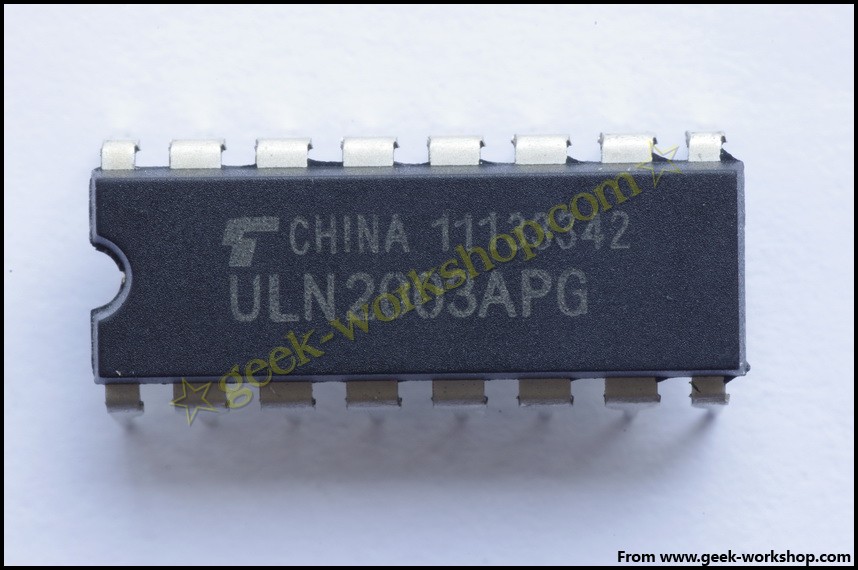
ULN2003 是高耐压、大电流复合晶体管阵列,由七个硅NPN 复合晶体管组成。可以用来驱动步进电机。
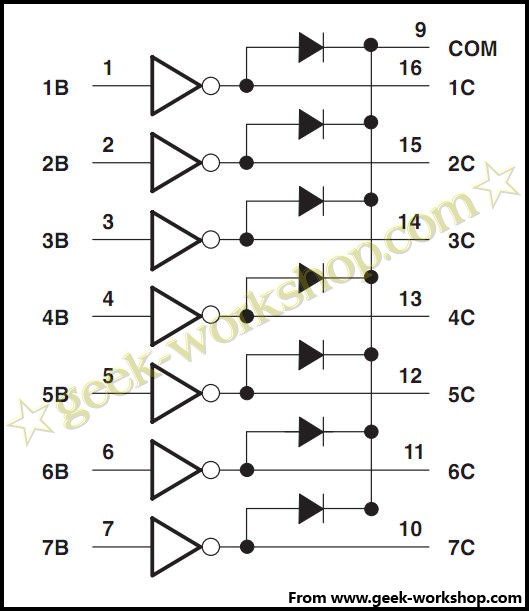
其结构图如下
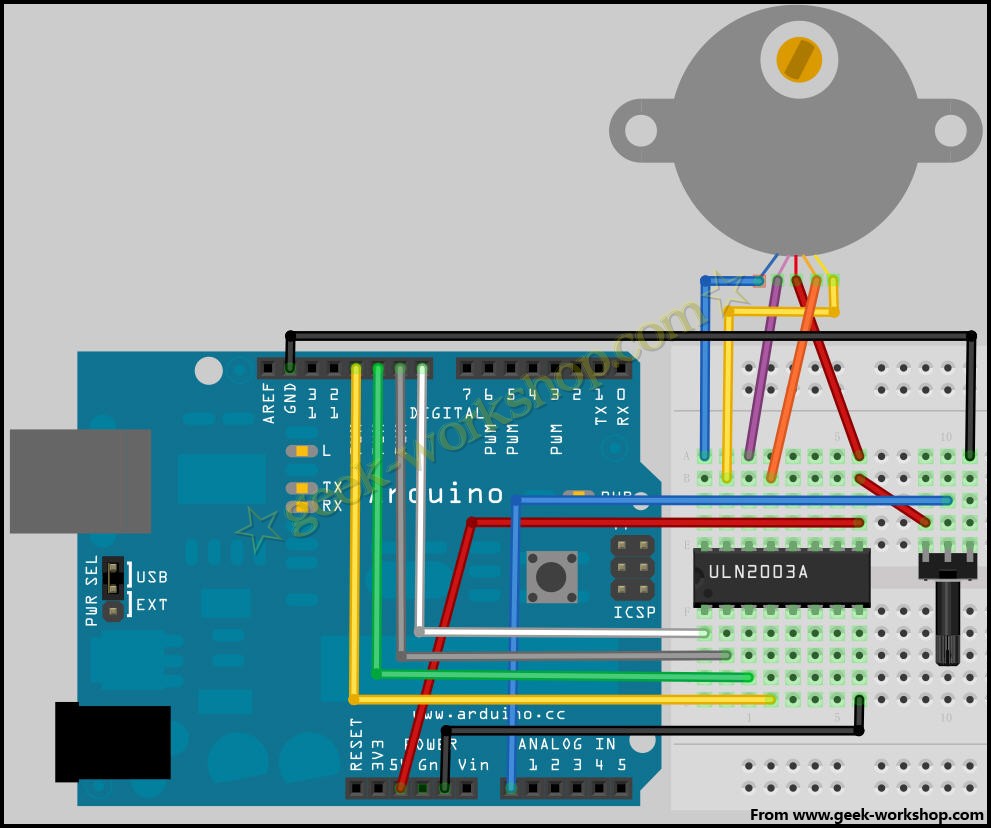
硬件连接图如下
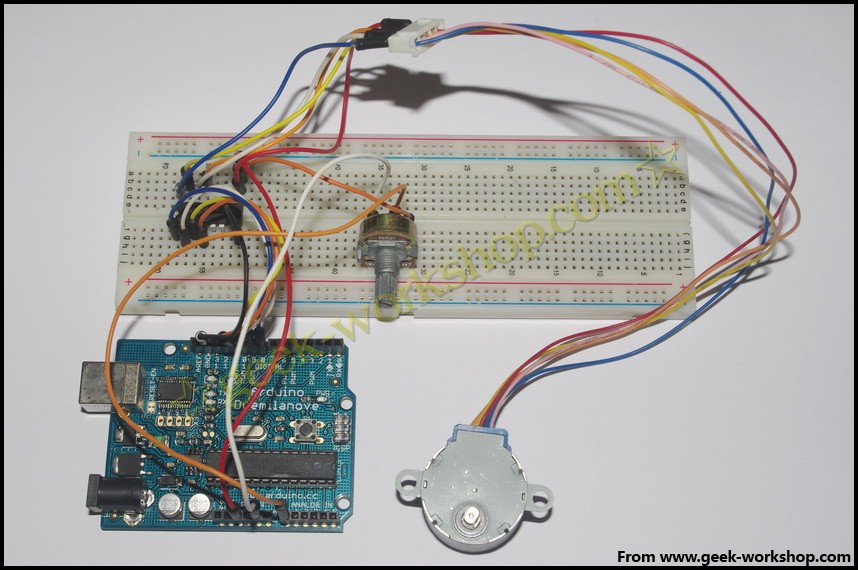
把代码下载到arduino控制板中看看效果
ARDUINO 代码
复制打印
前几天我也试验了一下,用的是28BYJ-48 Stepper Motor 12V+ULN2003APG
改了改一个代码,现在的效果是电位计控制正反转
- /*
- This program drives a unipolar or bipolar stepper motor.
- The motor is attached to digital pins 8 - 11 of the Arduino.
- Created 11 Mar. 2007
- Modified 30 Nov. 2009
- by Tom Igoe
- */
- #include <Stepper.h>
- const int stepsPerRevolution = 64; // change this to fit the number of steps per revolution for your motor
- // initialize the stepper library on pins 8 through 11:
- Stepper myStepper(stepsPerRevolution, 8,9,10,11);
- const int aInPin=A0;
- int val;
- void setup() {
- // set the speed at 60 rpm:
- myStepper.setSpeed(200);
- // initialize the serial port:
- Serial.begin(9600);
- }
- void loop() {
- val=analogRead(aInPin);
- val=map(val,0,1023,0,99);
- Serial.println(val);
- // step one revolution in two direction:
- if(val>50){
- Serial.println("clockwise");
- //原library是整步,整步走的角度是半步走的角度的两倍,半步走的声音比较小,平稳些,启动时最好是半步的走比较稳定
- //022中library修改为半步模式不成功???FUCK
- //四拍运行时步距角为θ=360度/(revolution*4)(俗称整步),八拍运行时步距角为θ=360度/(revolution*8)(俗称半步)
- myStepper.step(stepsPerRevolution/2);//
- delay(500);
- }
- else{
- // step one revolution in the other direction:
- Serial.println("counterclockwise");
- myStepper.step(-stepsPerRevolution/2);
- delay(500);
- }
- }