读前思考
阅读此篇前我们先了解下为什么要使用Cmake
CMakeLists.txt 是 CMake 的配置文件,它用于定义项目的构建设置和规则。CMake 是一个跨平台的开源构建系统工具,广泛用于 C++ 项目的构建管理。CMakeLists.txt 的意义主要体现在以下几个方面:
- 项目配置:它指定了项目的名称、版本及其所需的最小 CMake 版本。这一部分为项目的构建提供了基础。
- 定义构建目标:可以在文件中定义可执行文件、库文件等构建目标,包括源文件、头文件的目录和文件名。
- 依赖管理:CMakeLists.txt 支持设置目标之间的依赖关系,使得构建顺序能够自动处理。
- 跨平台支持:通过 CMake,可以轻松地在不同的平台(如 Windows、Linux、macOS)上生成适合该平台的构建文件。
- 优化构建配置:可以配置编译选项、链接库、定义宏等,帮助优化项目的构建过程。
- 生成 IDE 项目:CMake 可以生成各种集成开发环境(如 Visual Studio、Xcode)的项目文件,方便开发者使用。
通常,CMakeLists.txt 文件是 CMake 项目的核心部分,通过合理配置,可以大大简化项目的构建流程。
`
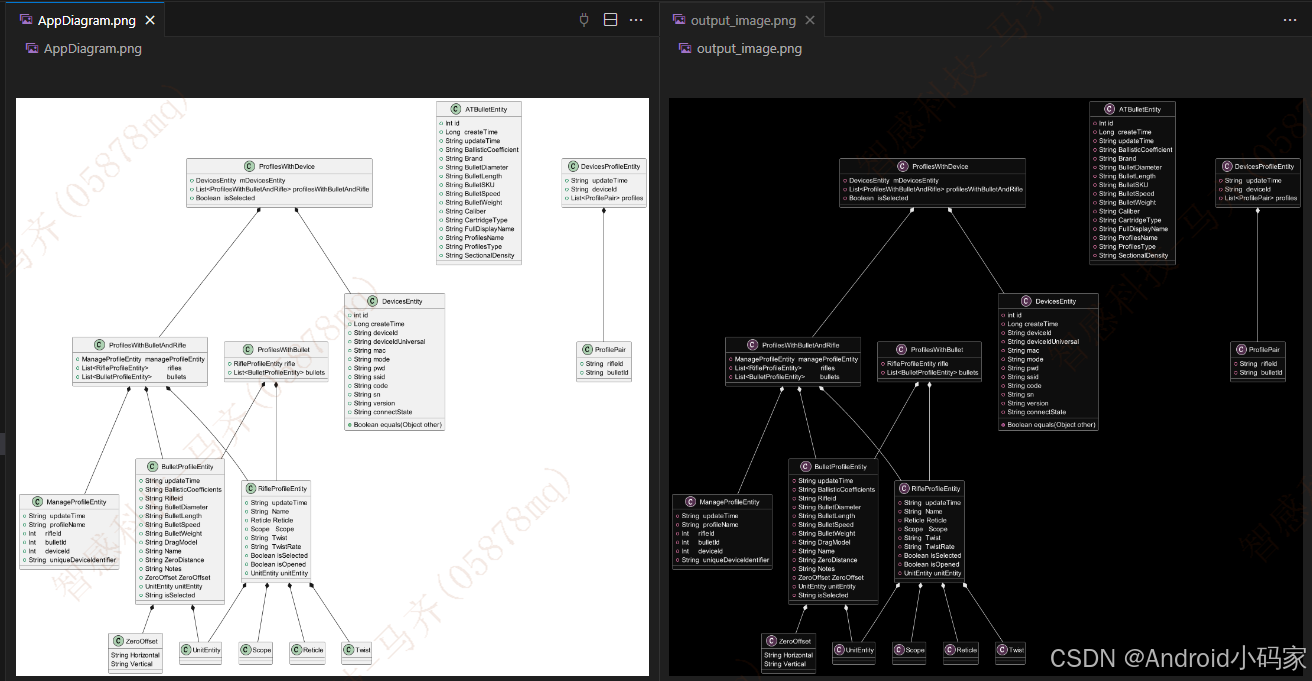
先上效果图
Cmake编译先前的IMG操作代码,编译速度有所提升。
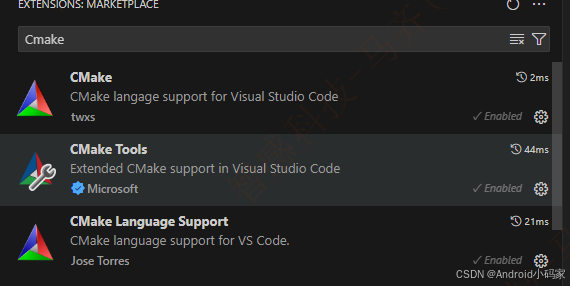
Vscode安装插件
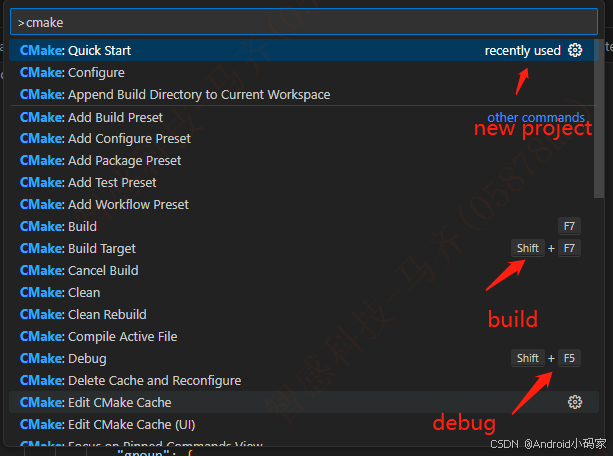
Ctrl +Shift + P
命令行工具
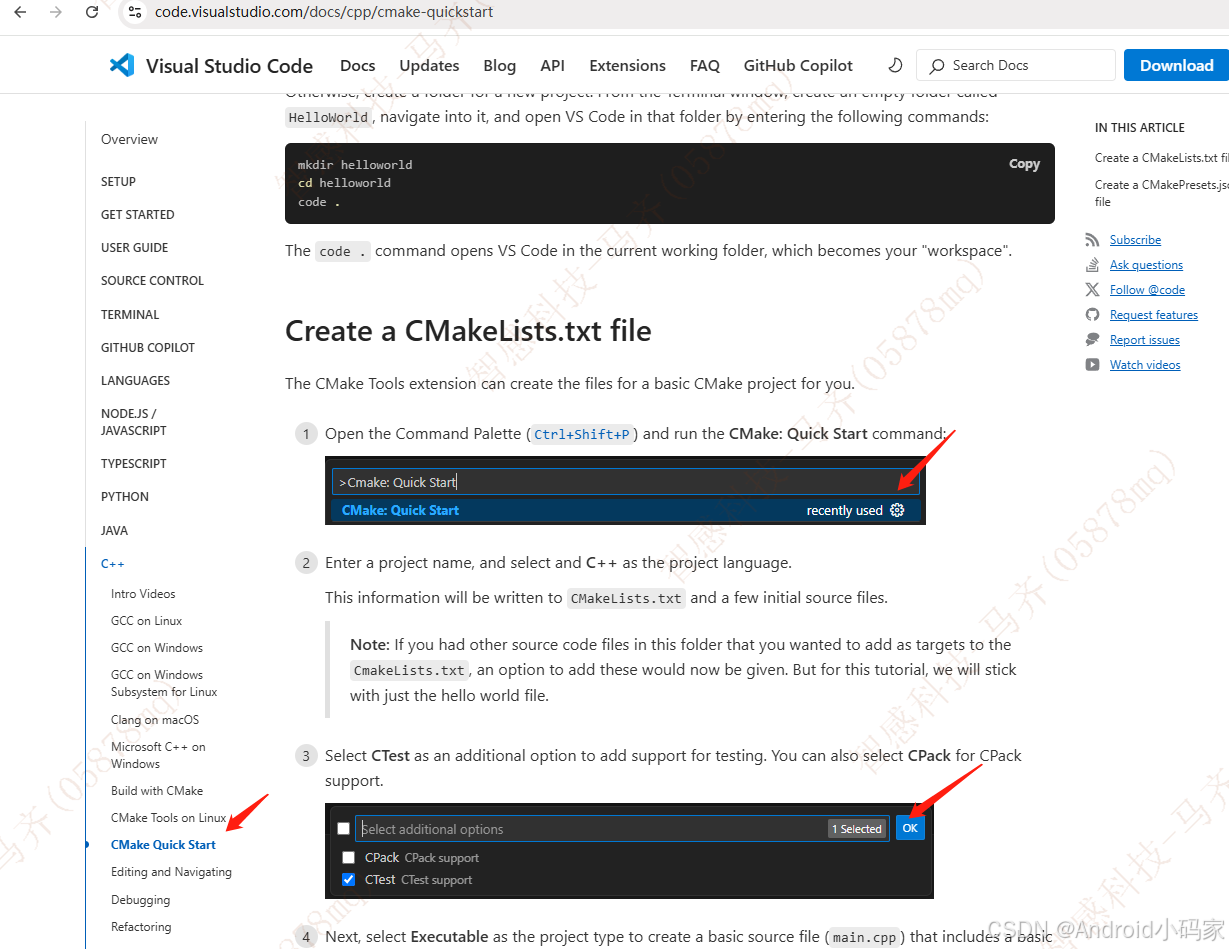
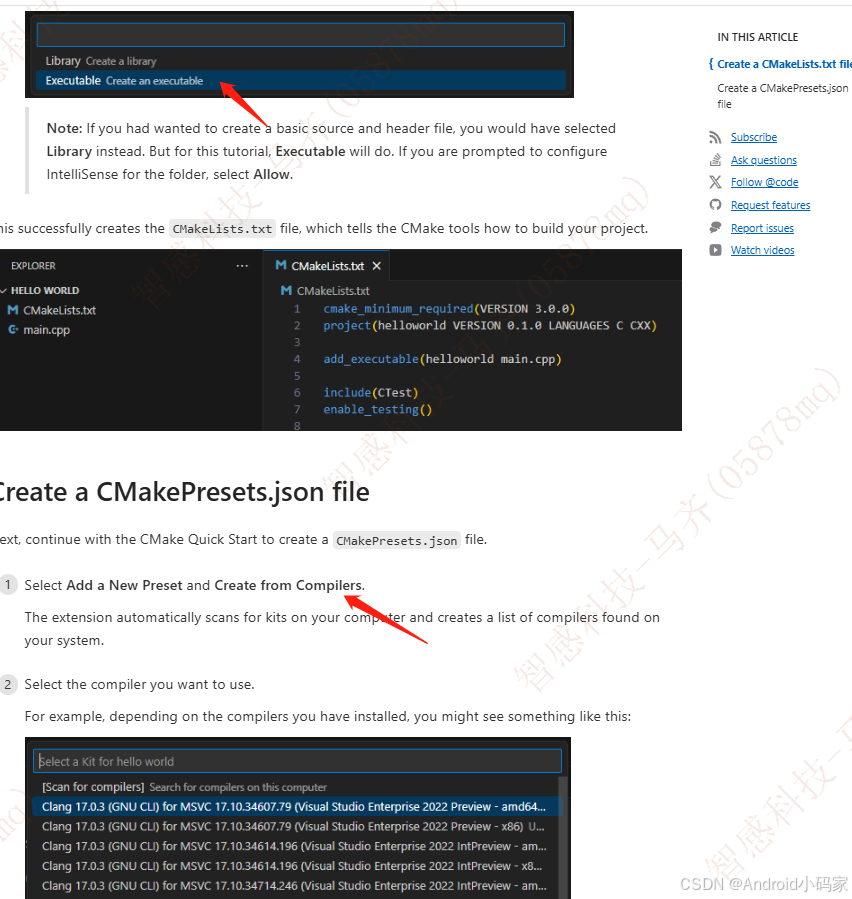
Quick Start
https://github.com/microsoft/vscode-cmake-tools/blob/main/docs/how-to.md#build-a-project
按照流程撸下来
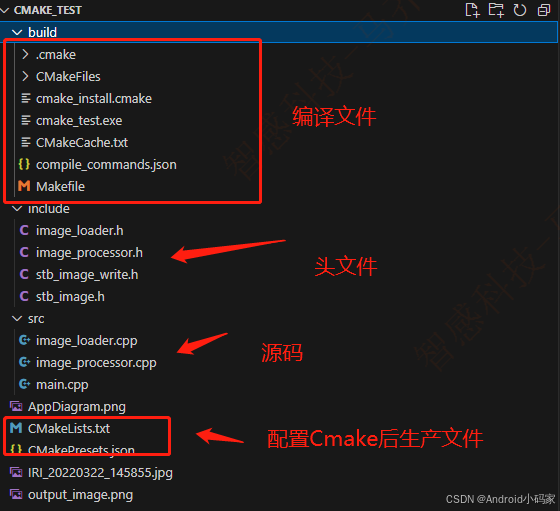
生成目录结构
其中最关键的main.cpp CMakeList.txt, CmakePersets.json都生成了说明你配置成功了
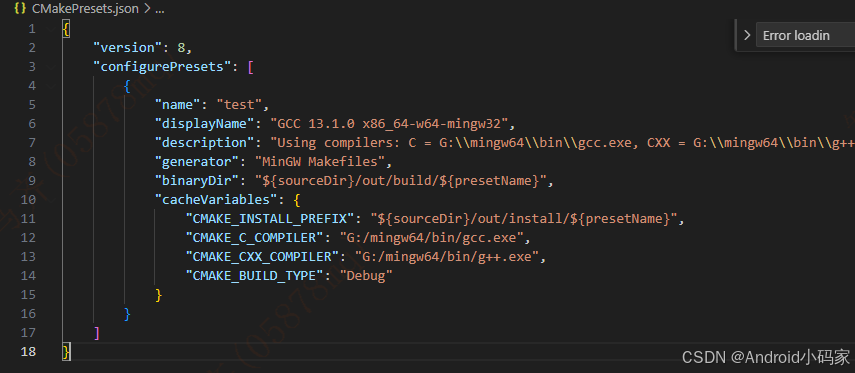
CMakePresets.json
自动生成,不用关心,注意CMAKE_CXX_COMPILER编译器的位置是否正确
CMakeLists.txt
内容非常简单,注释已经加上自己看
# Specifies the minimum required CMake version (3.5.0).
cmake_minimum_required(VERSION 3.5.0)
# Defines a project named cmake_test with version 0.1.0, supporting both C and C++ languages.
project(cmake_test VERSION 0.1.0 LANGUAGES C CXX)
# Includes header files from the include directory in the project's source directory.
include_directories(${PROJECT_SOURCE_DIR}/include)
# Recursively finds all .cpp files in the src directory and stores them in the SRCS variable.
file(GLOB_RECURSE SRCS "src/*.cpp")
# Prints the project's source directory to the console.
message(STATUS "PROJECT_SOURCE_DIR: ${PROJECT_SOURCE_DIR}")
# Compiles the found source files into an executable named cmake_test.
add_executable(cmake_test ${SRCS})
源代码
#define STB_IMAGE_WRITE_IMPLEMENTATION
#include "stb_image_write.h"
#include "image_loader.h"
#include "image_processor.h"
#include <iostream>

int main()
{
    const char *inputFilepath = "G:/WorkSpacePy/cmake_test/AppDiagram.png";
    // 输入图像路径
    const char *outputFilepath = "G:/WorkSpacePy/cmake_test/output_image.png";
    // 输出图像路径

    int width, height, channels;

    // 加载图像
    unsigned char *img_data = ImageLoader::loadImage(inputFilepath, width, height, channels);
    if (img_data == nullptr)
    {
        return -1; // 加载失败
    }

    // 打印图像信息
    std::cout << "Image loaded successfully!" << std::endl;
    std::cout << "Width: " << width << ", Height: " << height << ", Channels: " << channels << std::endl;

    // 反转颜色
    ImageProcessor::invertColors(img_data, width, height, channels);

    std::cout  << "outputFilepath: " << outputFilepath << std::endl;

    // 保存新的图像
    if (stbi_write_png(outputFilepath, width, height, channels, img_data, width * channels))
    {
        std::cout << "Image saved successfully as " << outputFilepath << std::endl;
    }
    else
    {
        std::cerr << "Error saving image!" << std::endl;
    }

    // 释放图像数据
    ImageLoader::freeImage(img_data);

    // https://www.sfml-dev.org/download/sfml/2.6.2/
    return 0;
}
个人感受
相较于MinGw64可以直观看到编译指令,有助于加深理解,Cmake一方面方便开发集成,另一方面却造成了学习断代,这也是为什么一些上层开发者往底层学习时往往感觉遇到了一堵高墙的感觉,是因为被封装保护的太好了
Starting build... G:\mingw64\bin\g++.exe G:\WorkSpacePy\images_gui/src/*.cpp -IG:\WorkSpacePy\images_gui/stb -IG:\libusb-MinGW-x64\include -LG:\libusb-MinGW-x64\lib -IG:\SFML-2.6.2\include -LG:\SFML-2.6.2\lib -o G:\WorkSpacePy\images_gui\src/main.exe -lsfml-graphics -lsfml-system -lsfml-window -lusb-1.0

