文章目录
前言
本文记录使用 Qt 实现 FFmepg 音视频转码器项目的开发过程。
一、移植 FFmpeg 相关文件
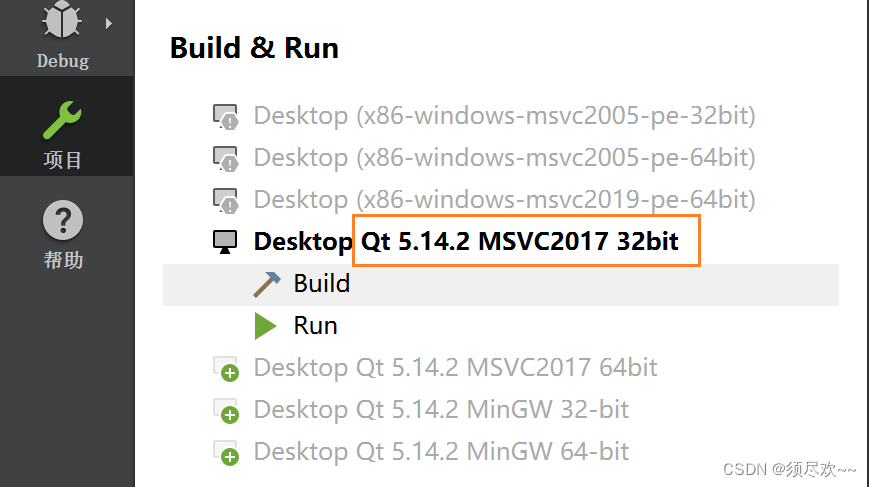
1、首先创建一个 Qt 项目,选择 MSVC2017 32bit 作为其编译器
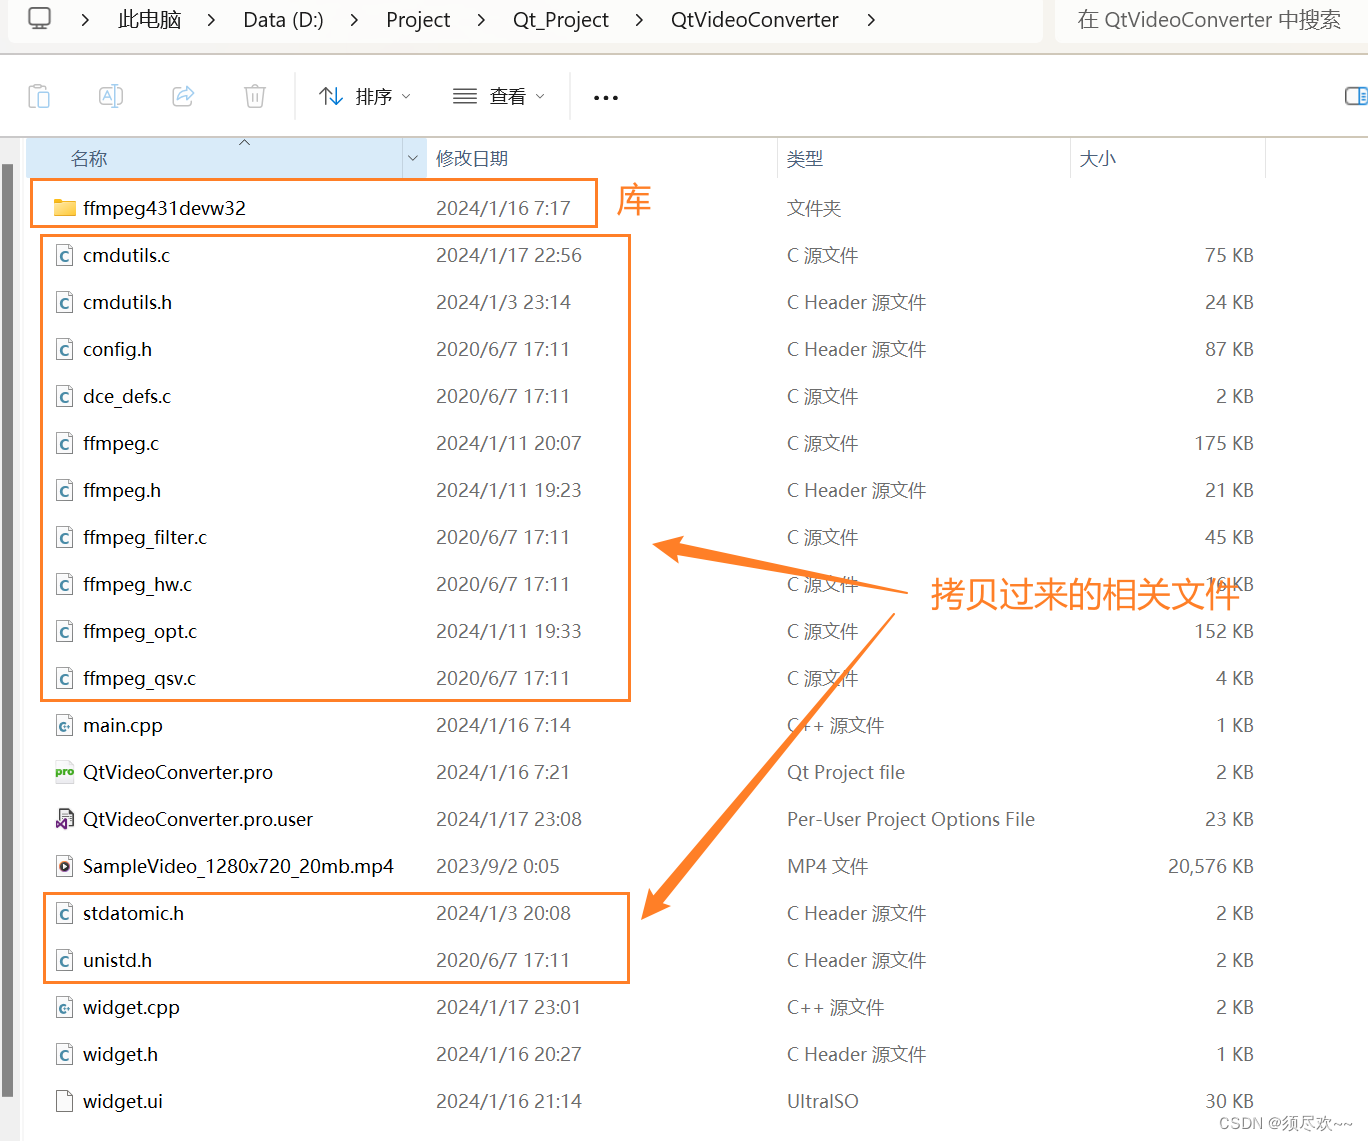
2、将 FFmpeg 相关库及源文件拷贝到当前目录下
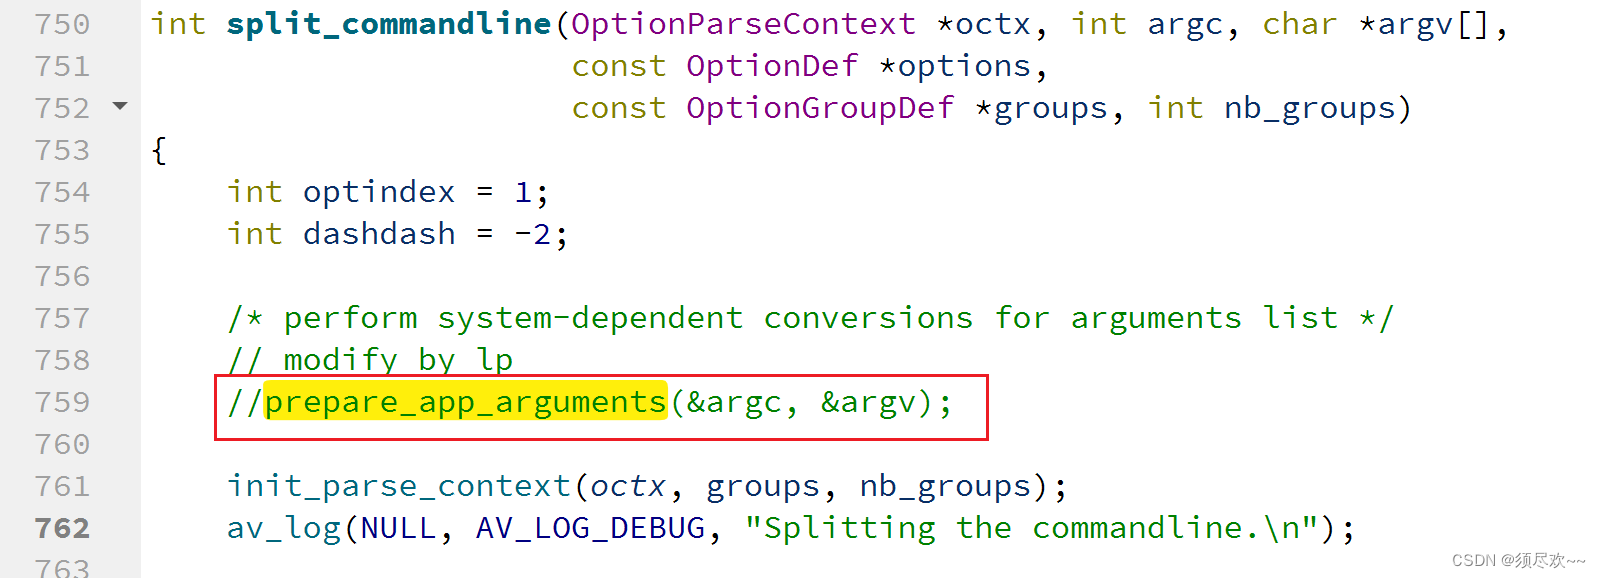
3、注释 prepare_app_arguments 函数(这里方便后面我们运行时可以指定相应的转码参数)
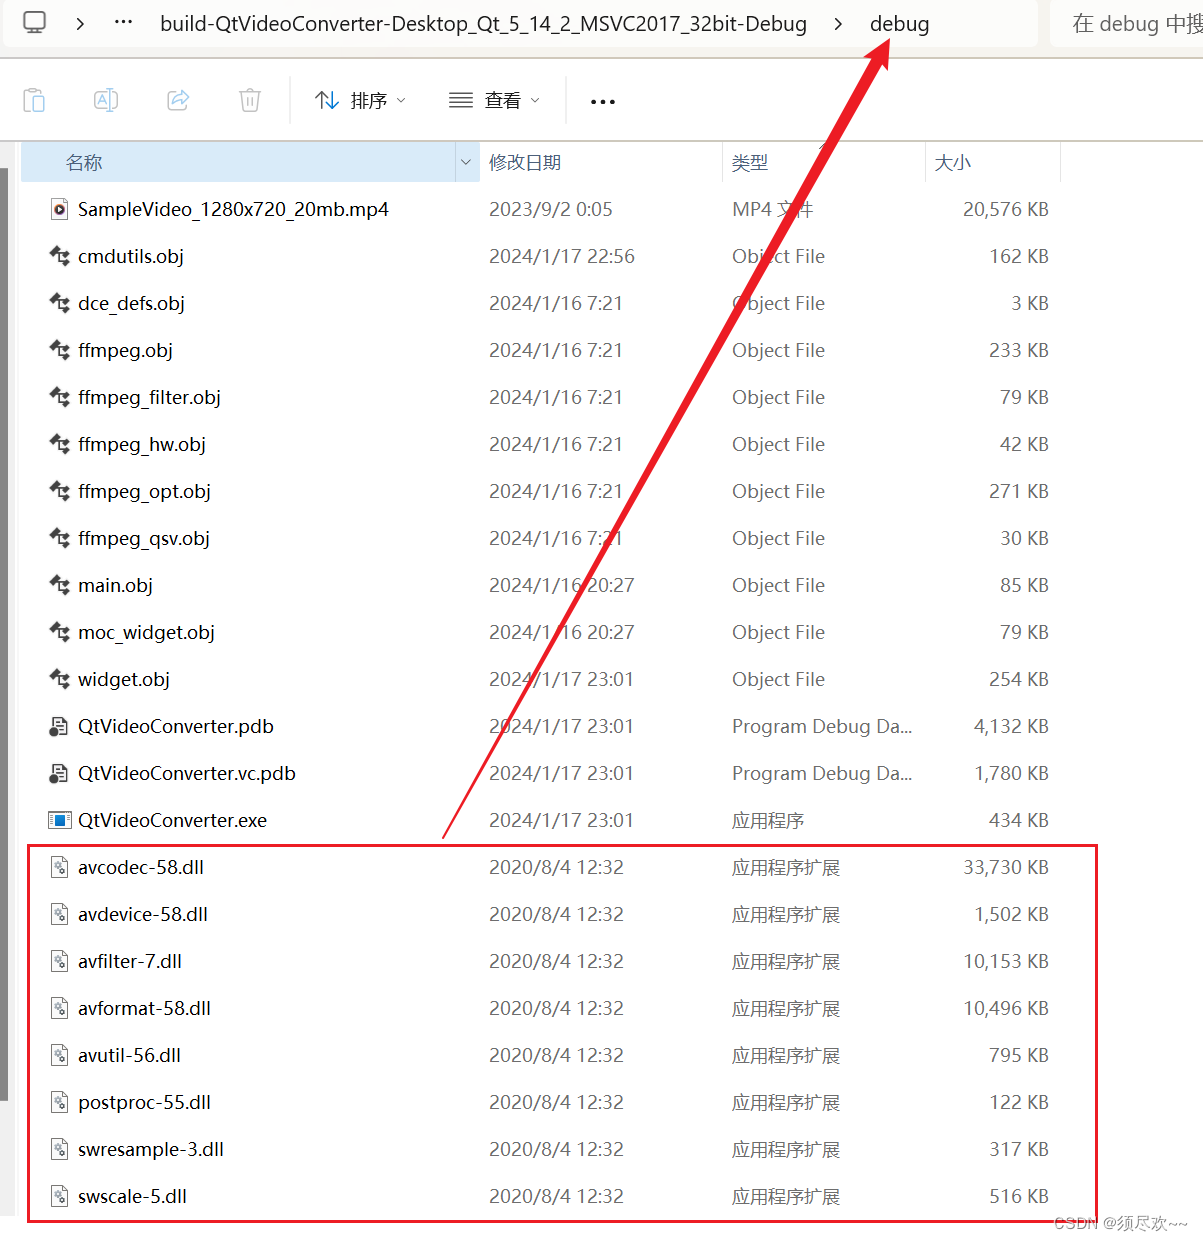
4、将所需的一些 dll 动态库文件拷贝到 debug 目录下
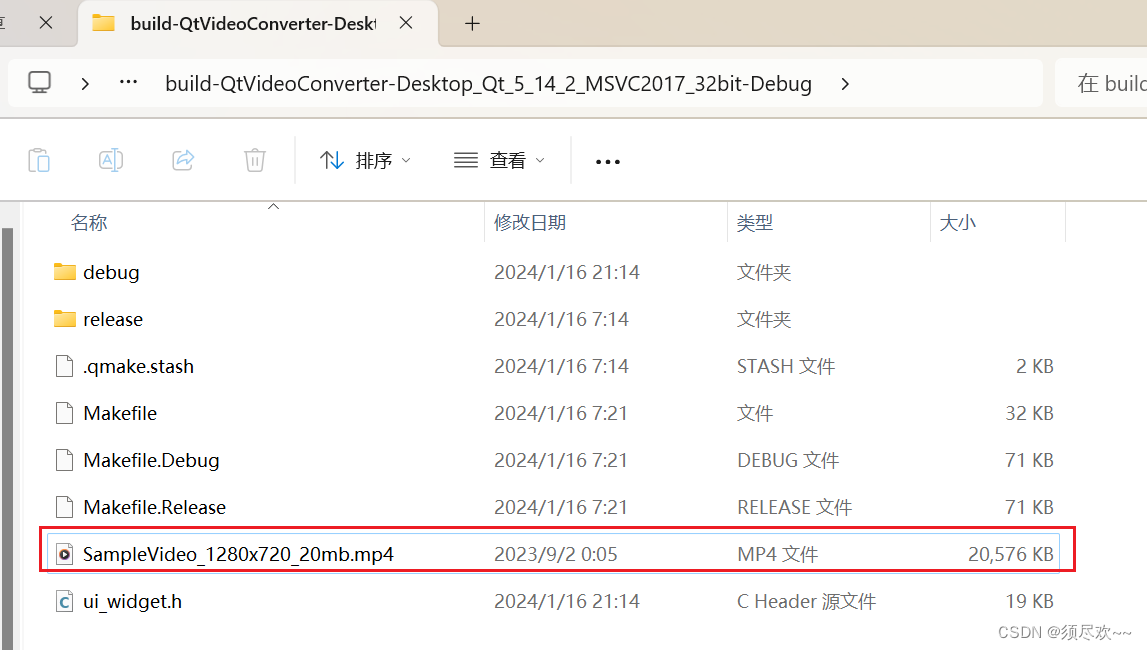
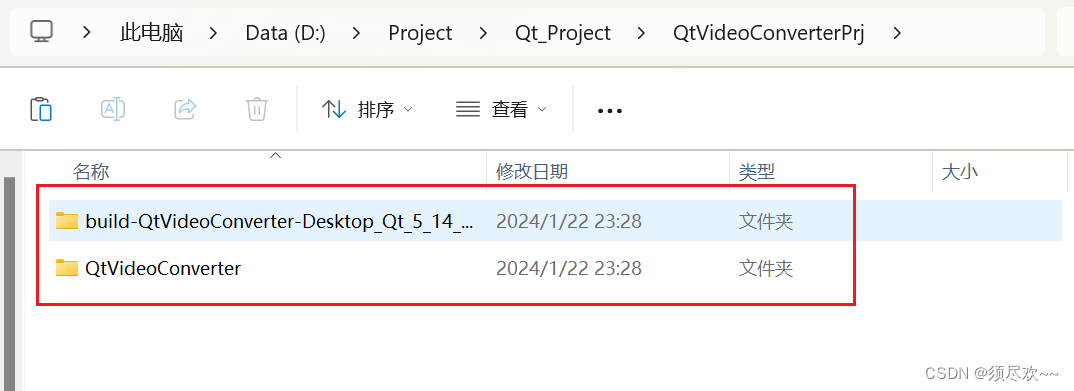
5、将音视频素材文件拷贝到 build-QtVideoConverterFFmpeg431-Desktop_Qt_5_14_2_MinGW_32_bit-Debug目录下(点击运行自动生成的目录)
二、绘制 ui 界面
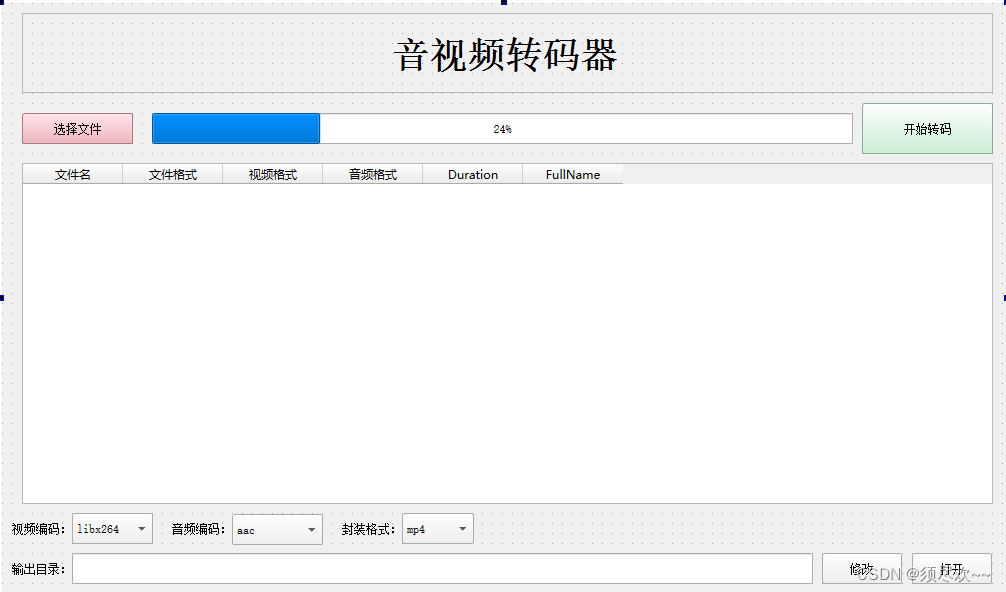
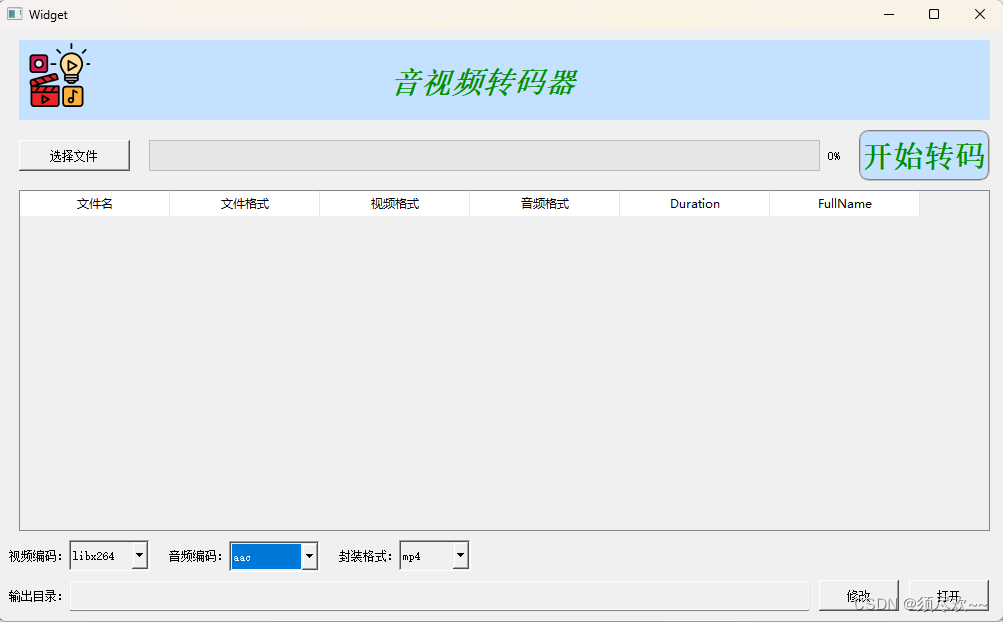
绘制一个简单的 ui 界面,效果如下:
里面包括 Frame、Push Button、Progress Bar、Label、Table Widget、Combo Box、Line Edit 等相关控件。
三、实现简单的转码
1、在开始转码按键的 clicked 槽函数加入以下代码:
void Widget::on_pushButton_Running_clicked()
{
    qDebug() << "hello,ffmpeg";

    QString currentPath = QDir::current().path();

       qDebug() << "Current path:" << currentPath;

    char* arrParams[10] = { 0 };
    for (int k = 0; k < 10; k++) {
        arrParams[k] = new char[64]();
    }
    strcpy(arrParams[0], "QtVideoConverter.exe");
    strcpy(arrParams[1], "-i");
    strcpy(arrParams[2], "SampleVideo_1280x720_20mb.mp4");
    strcpy(arrParams[3], "-vcodec");
    strcpy(arrParams[4], "libx264");
    strcpy(arrParams[5], "-acodec");
    strcpy(arrParams[6], "copy");
    strcpy(arrParams[7], "-y");
    strcpy(arrParams[8], "SampleVideo_1280x720_20mb.flv");

    main_ffmpeg431(9, arrParams);

    AVGeneralMediaInfo* avmi = new AVGeneralMediaInfo();
    for (int k = 0; k < 10; k++) {
        delete[] arrParams[k];
        avmi = NULL;
    }
}
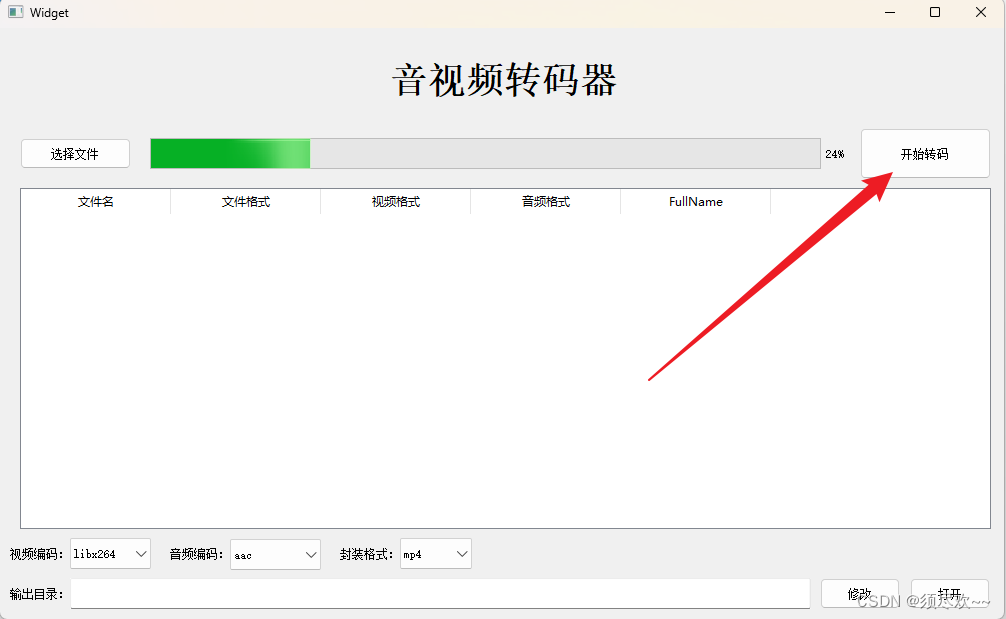
2、点击运行,可以看到如下的界面
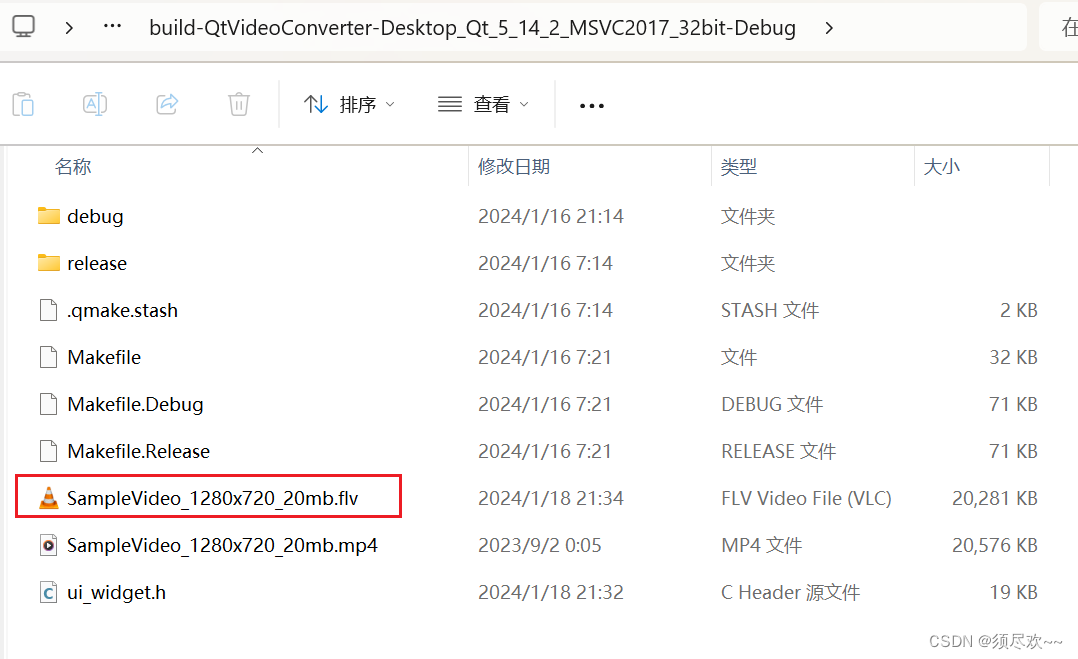
目前进度条功能还未实现,点击转码可以在 build-QtVideoConverter-Desktop_Qt_5_14_2_MSVC2017_32bit-Debug 目录下看到转码成功的 flv 文件
四、功能优化
1、控件布局及美化
Widget::Widget(QWidget *parent)
    : QWidget(parent)
    , ui(new Ui::Widget)
{
    ui->setupUi(this);

    this->setStyleSheet("background-color:#F0F0F0;");   // 设置组件窗口的外观
    // qss,类似于css
    ui->lblLogoText->setStyleSheet("color:#009100;font-style:italic;font-weight:bold;font-size:30px;");

    // frame 背景色
    ui->frameTop->setStyleSheet("background-color:#C4E1FF;");

    // 按钮背景色
    ui->pushButton_Running->setStyleSheet("background-color:#C4E1FF;font-weight:bold;font-size:30px;color:#009100;border:2px groove gray;border-radius:10px;padding:2px 4px;");
}

// 隐藏栅格线、单元格不可编辑
    ui->tableWidget_FileList->verticalHeader()->setHidden(true); // 设置行名隐藏(注意是行名,不是整行)
    ui->tableWidget_FileList->setShowGrid(false); // 控制视图中数据项之间是否显示网格
    ui->tableWidget_FileList->setEditTriggers(QAbstractItemView::NoEditTriggers); // 让这个表格对用户只读
效果如下:
2、缩放界面
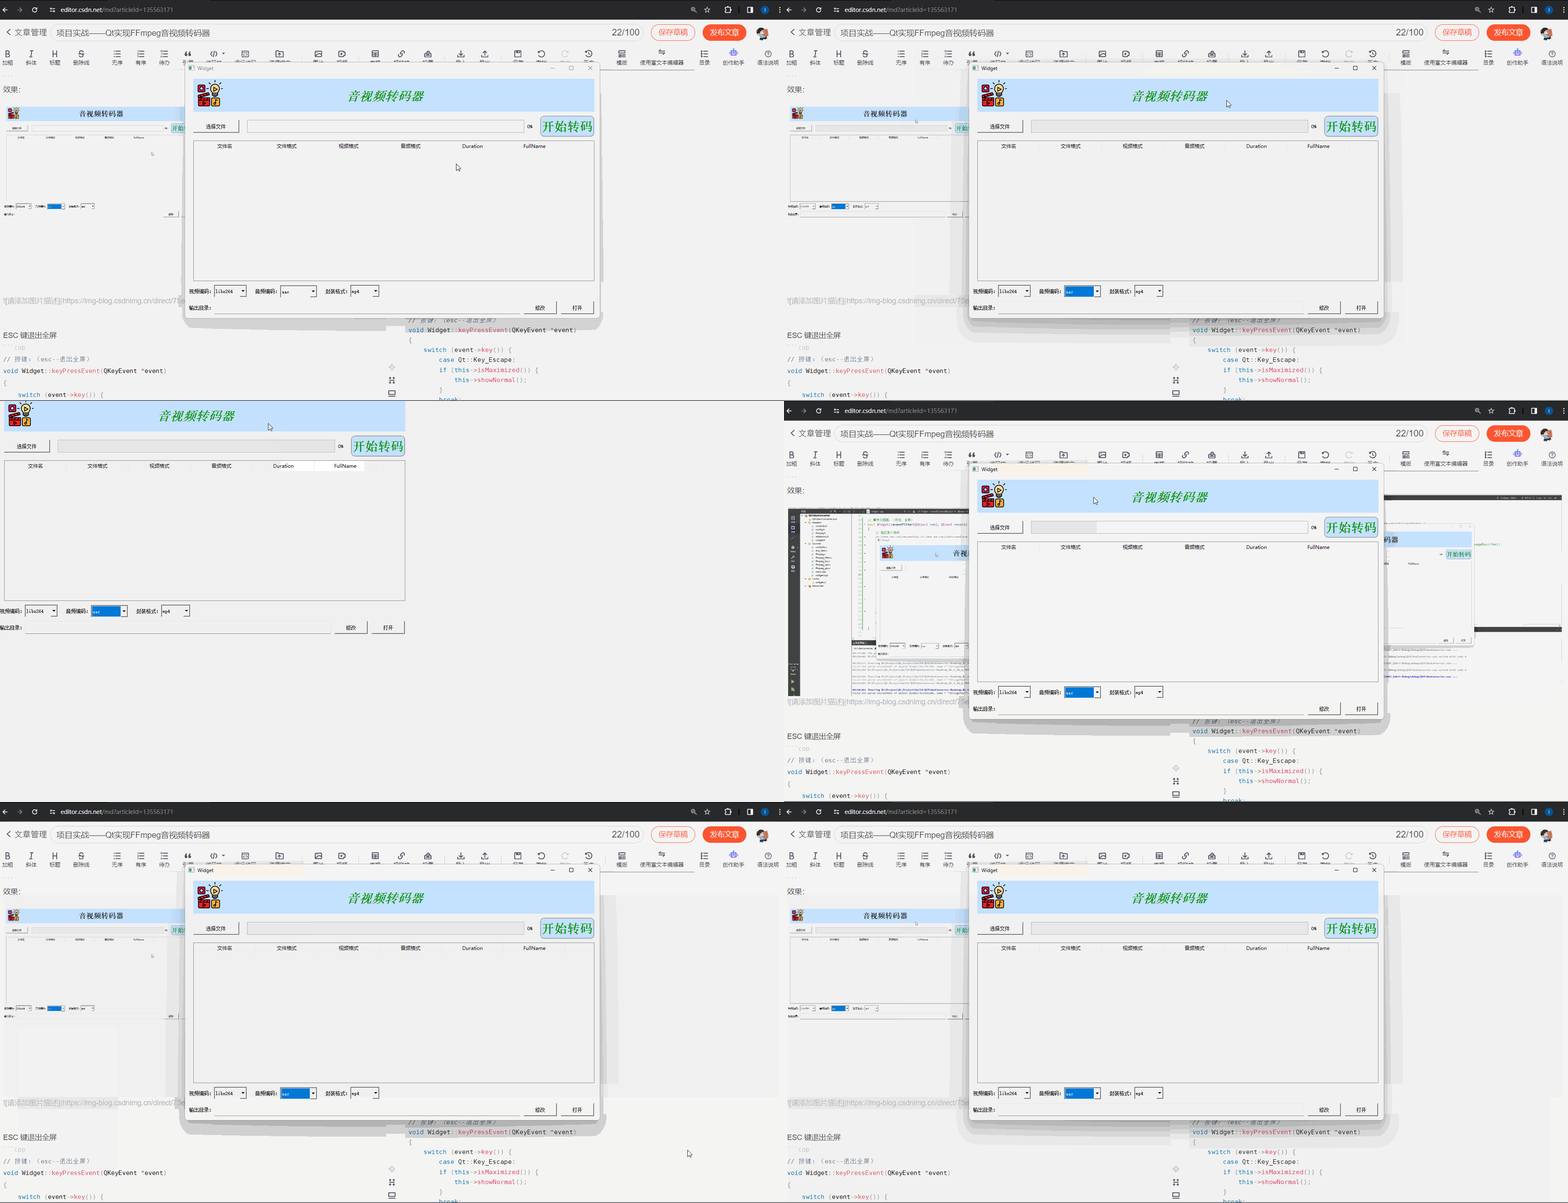
事件过滤器:(双击,全屏)
// 事件过滤器:(双击,全屏)
bool Widget::eventFilter(QObject *obj, QEvent *event)
{
    // 指定某个控件
    if (obj == ui->frameTop || obj == ui->lblLogoText || obj == ui->lblLogoImage) {
        //  QEvent::MouseButtonPress,QEvent::MouseButtonDblClick
        if (event->type() == QEvent::MouseButtonDblClick) {
            QMouseEvent *mouseEvent = static_cast<QMouseEvent*>(event);
            if (mouseEvent->button() == Qt::LeftButton) {
                // QMessageBox::information(this, "点击", "点击了我", QMessageBox::Yes | QMessageBox::No | QMessageBox::Yes);
                if (!this->isMaximized()) {
                    this->showMaximized();
                } else {
                    this->showNormal();
                }
                return true;
            } else {
                return false;
            }
        } else {
            return false;
        }
    } else {
        // pass the event on to the parent class
        return Widget::eventFilter(obj, event);
    }
}
效果:
ESC 键退出全屏
// 按键:(esc--退出全屏)
void Widget::keyPressEvent(QKeyEvent *event)
{
    switch (event->key()) {
        case Qt::Key_Escape:
        if (this->isMaximized()) {
            this->showNormal();
        }
        break;
    default:
        QWidget::keyPressEvent(event);
    }
}
3、实现拖拽
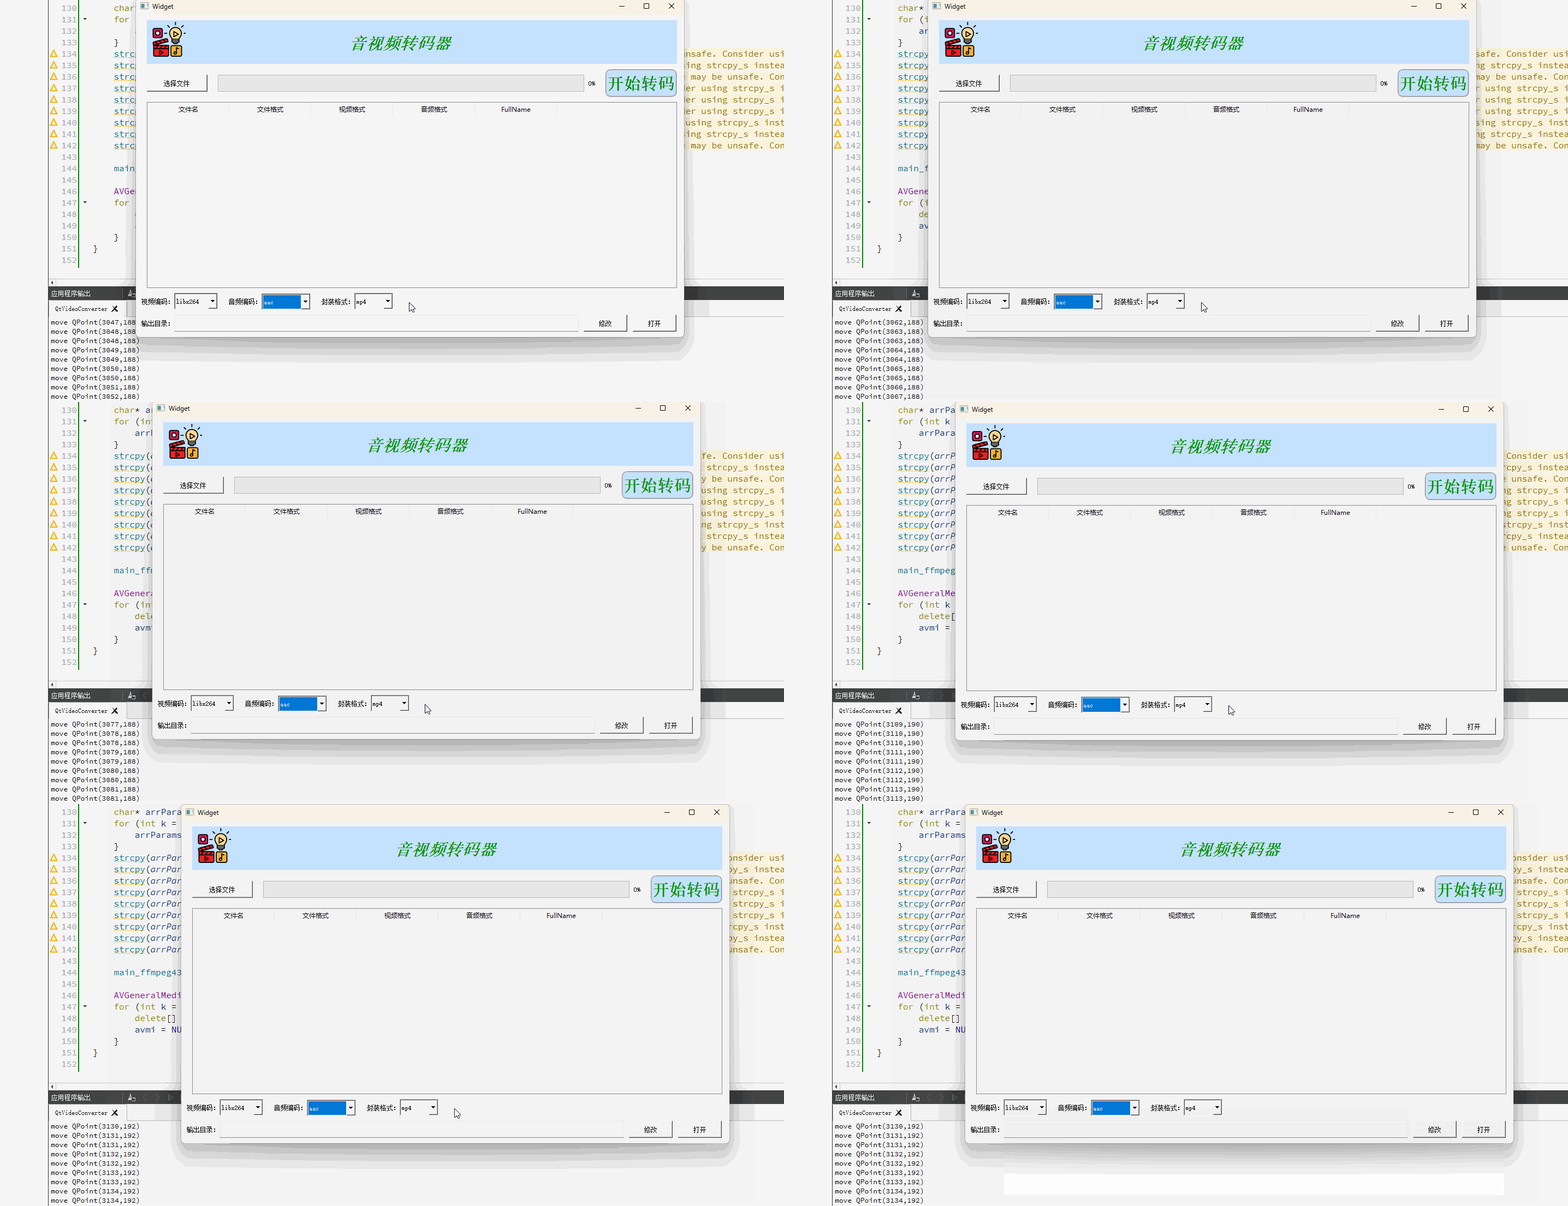
鼠标按下不松开,然后移动鼠标实现拖拽,松开鼠标拖拽结束
// 拖拽操作---begin
void Widget::mousePressEvent(QMouseEvent *event)
{
    if (event->button() == Qt::LeftButton) {
        m_bDrag = true;
        // 获得鼠标的初始位置
        mouseStartPoint = event->globalPos(); // 事件发生时鼠标相对于我们整个屏幕的左上角(0,0)的偏移值
        // mouseStartPoint = event->pos(); // 事件发生时鼠标相对于当前active widget的左上角(0,0)的偏移值
        // 获得窗口的初始位置
        windowTopLeftPoint = this->frameGeometry().topLeft(); // 仍然表示整个屏幕的左上角

        qDebug() << "mouseStartPoint" << mouseStartPoint.x() << mouseStartPoint.y();
        qDebug() << "windowTopLeftPoint" << windowTopLeftPoint.x() << windowTopLeftPoint.y();
    }
}

void Widget::mouseMoveEvent(QMouseEvent *event)
{
    if (m_bDrag) {
        // 获得鼠标移动的距离
        QPoint distance = event->globalPos() - mouseStartPoint;
        // QPoint distance = event->pos() - mouseStartPoint;
        // 改变窗口的位置
        this->move(windowTopLeftPoint + distance);
        qDebug() << "move" << windowTopLeftPoint + distance;
    }
}

void Widget::mouseReleaseEvent(QMouseEvent *event)
{
    if (event->button() == Qt::LeftButton) {
        m_bDrag = false;
    }
}
// 拖拽操作--end
效果如下:
4、解析文件
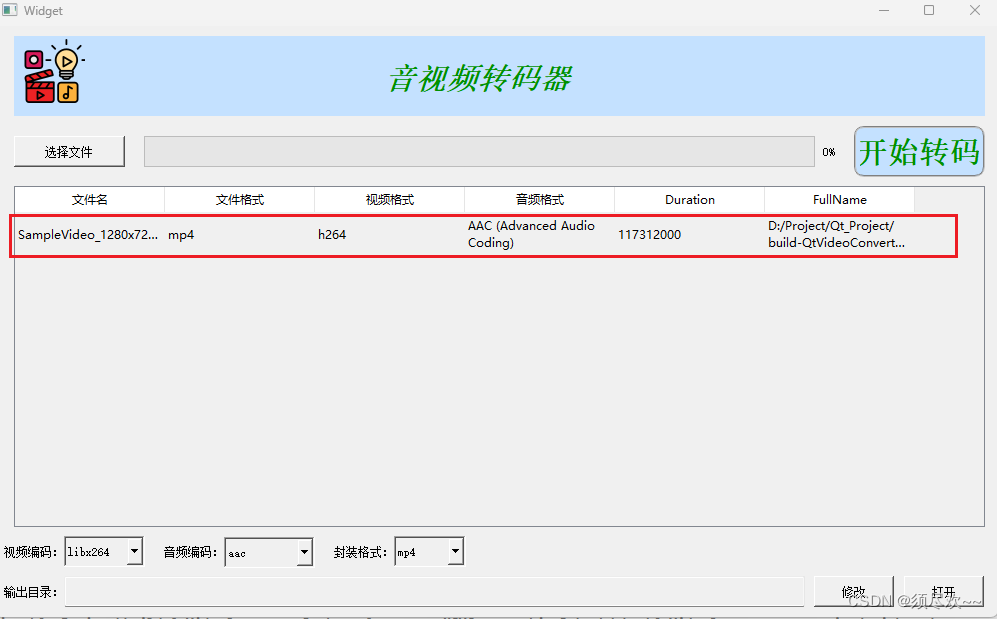
点击 选择文件 按钮,选择待转码的文件,可以将所选文件的相关信息解析出来
void Widget::on_pushButton_AddFile_clicked()
{
    // 定义文件对话框类
    QFileDialog *fileDialog = new QFileDialog(this);
    // 定义文件对话框标题
    fileDialog->setWindowTitle(tr("打开文件")); // tr()函数:Qt会根据当前的语言环境自动选择相应的翻译文件,并将字符串翻译成对应的语言。
    // 设置默认路径
    fileDialog->setDirectory(".");
    // 设置文件过滤器
    fileDialog->setNameFilter(tr("video(*.mp4 *.flv *.mkv);;All files(*.*)"));
    // 设置可以选择多个文件,默认只能选择一个文件 QFileDialog::ExistingFiles
    fileDialog->setFileMode(QFileDialog::ExistingFile);
    // 设置视图模式
    fileDialog->setViewMode(QFileDialog::Detail);

    if (fileDialog->exec()) {
        QString strFileName = fileDialog->selectedFiles()[0];
        qDebug() << strFileName;
        QFileInfo fileinfo;
        fileinfo = QFileInfo(strFileName);

        // 插入数据项
        ui->tableWidget_FileList->setRowCount(1);
        ui->tableWidget_FileList->setItem(0, 0, new QTableWidgetItem(fileinfo.fileName())); // 文件名
        ui->tableWidget_FileList->setItem(0, 1, new QTableWidgetItem(fileinfo.suffix()));   // 后缀

        AVGeneralMediaInfo avmi;
        std::string str = strFileName.toStdString();
        const char *chFilename = str.c_str();
        get_avgeneral_mediainfo(&avmi, chFilename);
        ui->tableWidget_FileList->setItem(0, 2, new QTableWidgetItem(QString(QLatin1String(avmi.videoCodecName))));
        ui->tableWidget_FileList->setItem(0, 3, new QTableWidgetItem(QString(QLatin1String(avmi.audioCodecName))));
        char chDuration[128] = {0};
        sprintf(chDuration, "%lld", avmi.duration);
        ui->tableWidget_FileList->setItem(0, 4, new QTableWidgetItem(QString(QLatin1String(chDuration))));
        ui->tableWidget_FileList->setItem(0, 5, new QTableWidgetItem(strFileName));
    }
}
效果如下:
5、开启独立线程
tcworkthread.h
#ifndef TCWORKTHREAD_H
#define TCWORKTHREAD_H

#include <QThread>
extern "C" {
#include "ffmpeg.h"
}

#define MAX_CMDLINE_ARGC_COUNT 100

// 转码参数
typedef struct __TCParams {
    char inFilename[512];
    char videoCodecName[256];
    char audioCodecName[256];
    char muxerName[256];

    // 定义了一个无参数的构造函数__TCParams(),在该构造函数中调用了一个名为__init()的私有成员函数。
    // 构造函数在创建结构体实例时会被自动调用,因此当创建TCParams对象时,会自动执行__init()函数。
    __TCParams() {
        __init();
    }

    void __init() {
        memset(inFilename, 0, 512);
        memset(videoCodecName, 0, 256);
        memset(audioCodecName, 0, 256);
        memset(muxerName, 0, 256);
    }

} TCParams;

class TCWorkThread : public QThread
{
public:
    TCWorkThread();

private:
    virtual void run(); // 任务处理线程
    TCParams *m_pTCParams;

public:
    int workCount;  // 计数
    void SetTCParams(TCParams *params);

signals:

public slots:

};
tcworkthread.c
#include "tcworkthread.h"
#include <QDebug>

TCWorkThread::TCWorkThread()
{
    workCount = 0;
    m_pTCParams = nullptr;
}

void TCWorkThread::SetTCParams(TCParams *params)
{
    m_pTCParams = params;
}

// run() 重新实现
void TCWorkThread::run()
{
    if (m_pTCParams == nullptr) {
        return;
    }

    // by lp,参数都是写死的,仅供参考

    char* arrParams[MAX_CMDLINE_ARGC_COUNT] = { 0 };
    for (int k = 0; k < MAX_CMDLINE_ARGC_COUNT; k++) {
        arrParams[k] = new char[1024]();
    }
    char strOutName[512] = {0};

    strcpy(arrParams[0], "QtVideoConverter.exe");
    strcpy(arrParams[1], "-i");
    strcpy(arrParams[2], m_pTCParams->inFilename);
    strcpy(arrParams[3], "-vcodec");
    strcpy(arrParams[4], m_pTCParams->videoCodecName);
    strcpy(arrParams[5], "-acodec");
    strcpy(arrParams[6], m_pTCParams->audioCodecName);
    strcpy(arrParams[7], "-y");

    sprintf(strOutName, "SampleVideo_1280x720_20mb.%s", m_pTCParams->muxerName);
    strcpy(arrParams[8], strOutName);

    // 准备参数
    main_ffmpeg431(9, arrParams);

    for (int k = 0; k < MAX_CMDLINE_ARGC_COUNT; k++) {
        delete[] arrParams[k];  // 切记要释放申请的内存
        arrParams[k] = NULL;
    }
}
6、开启定时器
// 定时器事件处理函数
// 获取实时转码进度
// 当前进度为 1.00 时,killTimer
void Widget::timerEvent(QTimerEvent *event)
{
    int nPrg = (int)(get_tc_progress() * 100);
    qDebug() << "progress:" << nPrg;
    ui->progressBar_tcprg->setValue(nPrg);
    if (nPrg >= 100) {
        killTimer(m_TimerID1);
    }
}
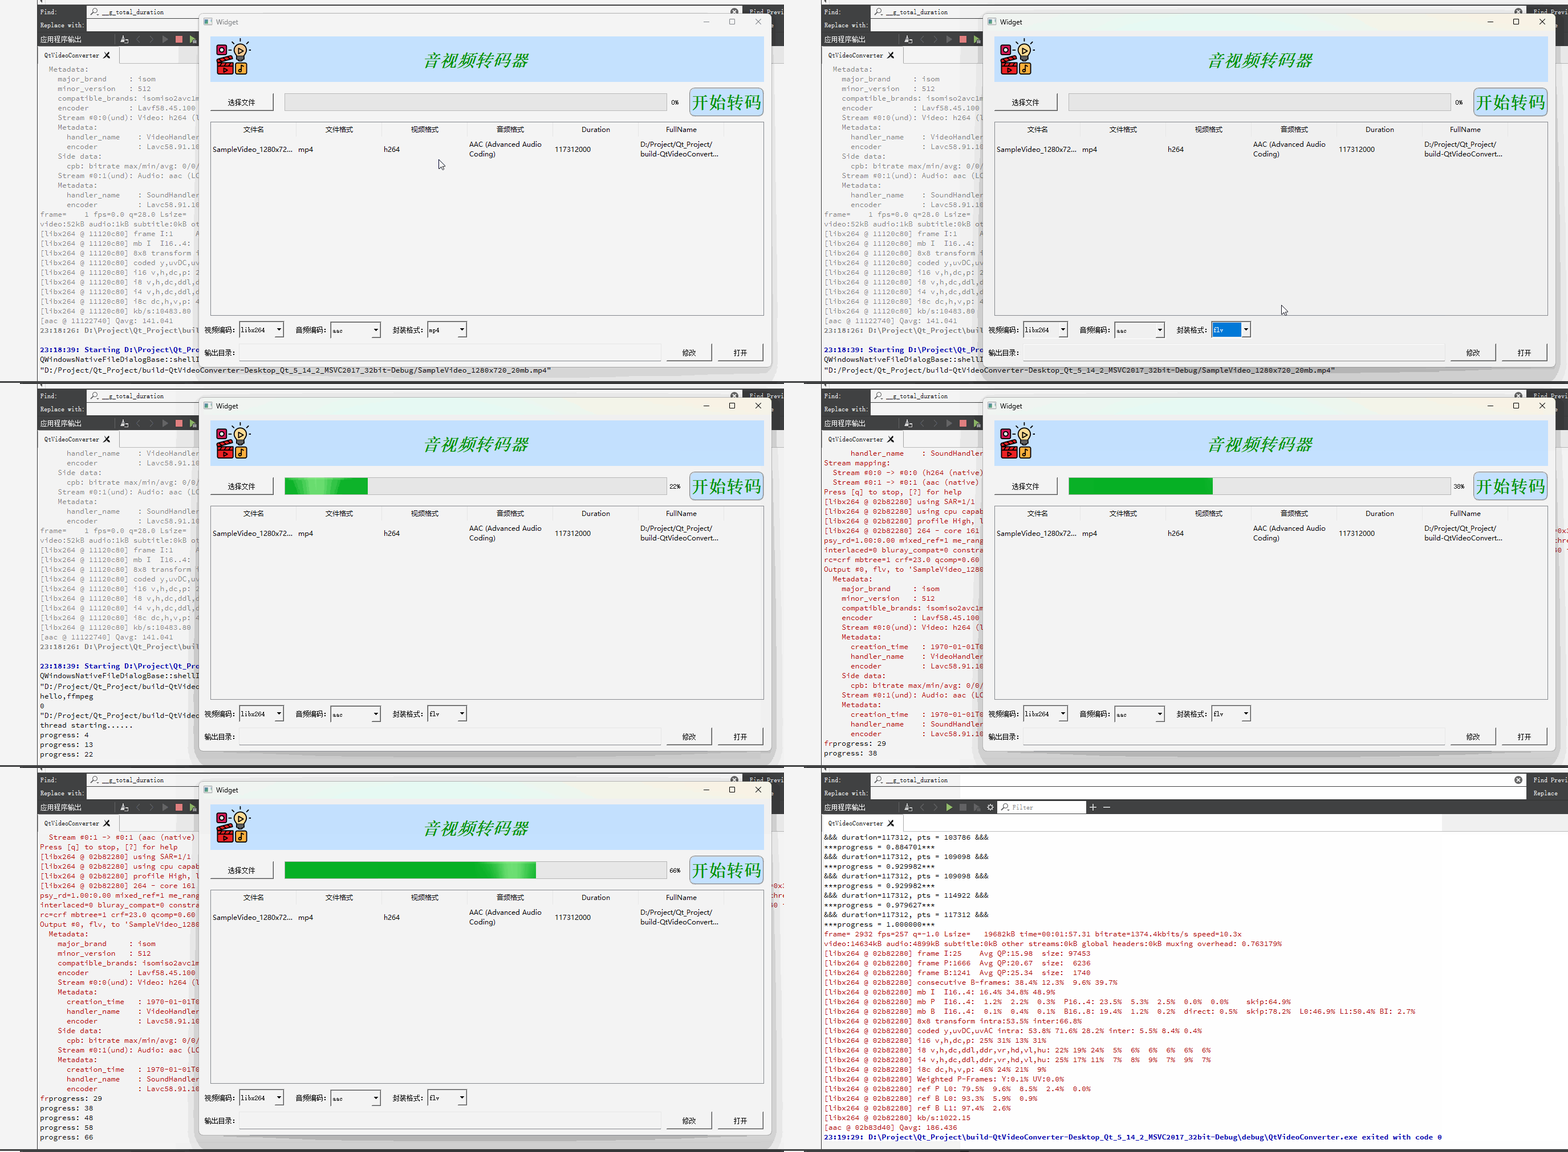
7、最终运行效果
将本地 mp3 文件转换成 flv 文件
五、附录
附上一个十六进制颜色码的网站:十六进制颜色代码表,图表及调色板
六、资源自取
我的qq:2442391036,欢迎交流!
