全是坑🕳!全是坑🕳!全是坑🕳!能不用就不用!
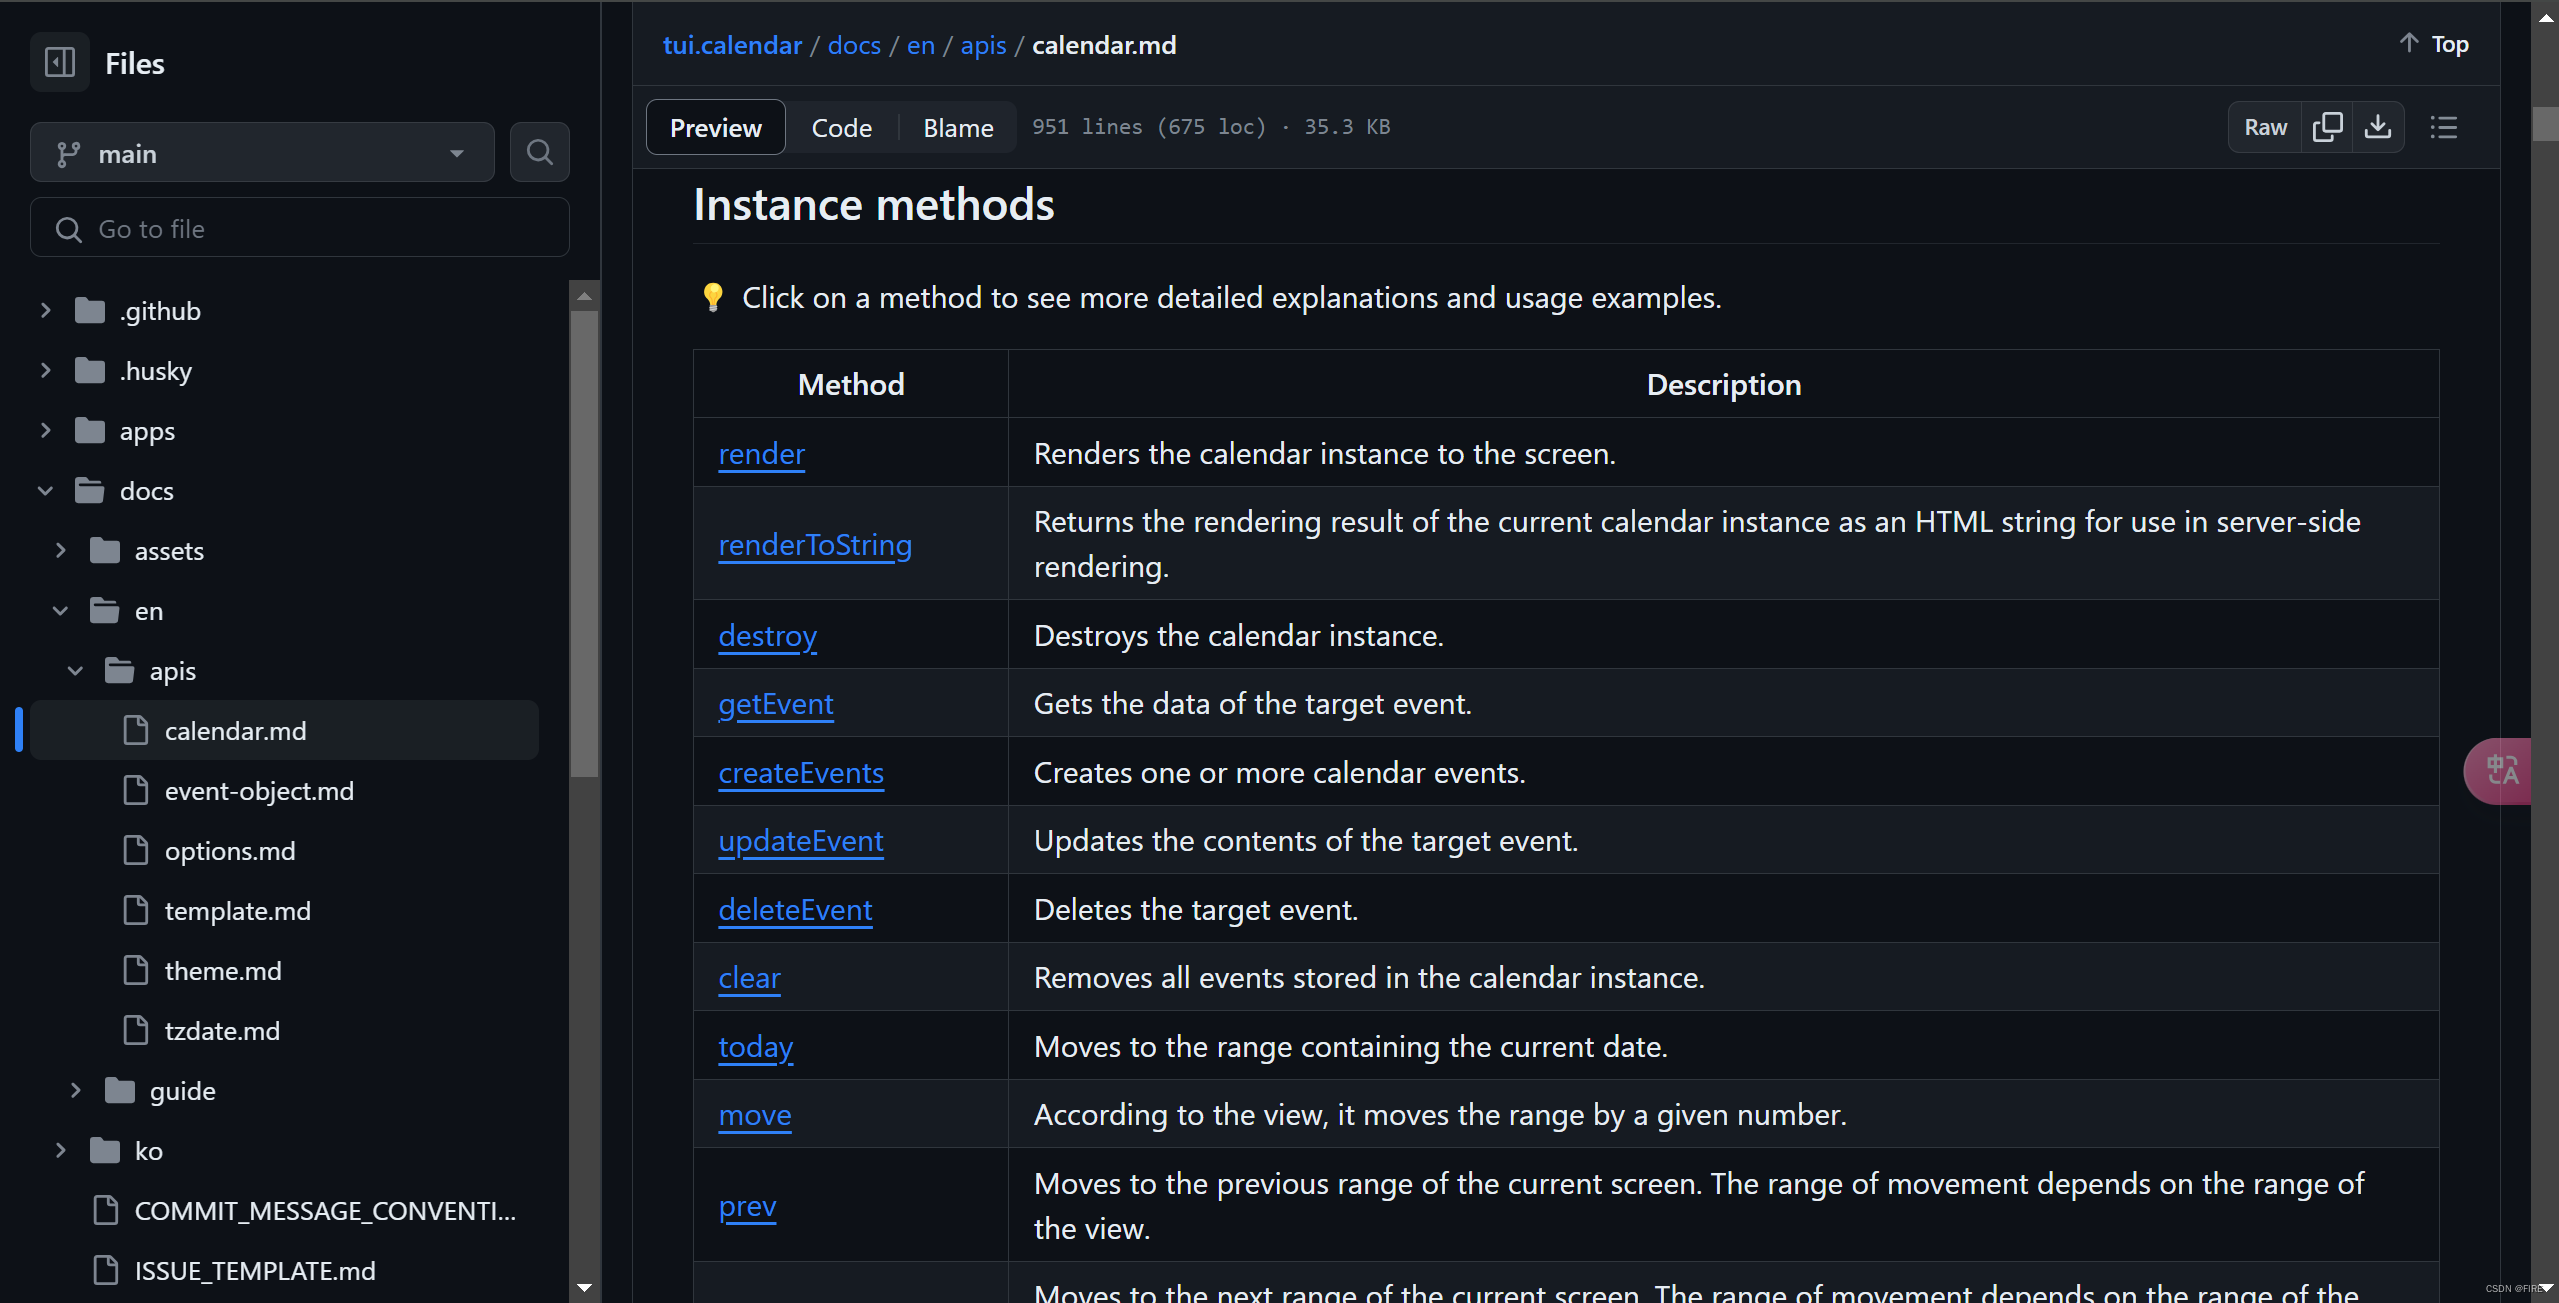
官方文档:https://github.com/nhn/tui.calendar/blob/main/docs/en/apis/calendar.md
实例的一些方法,比如创建、删除、修改、查看事件详情都有,下面写几个我用得多的
1. 一些参数配置的介绍
<template>
  <div>
    <ToastUICalendar
      ref="calendar"
      style="height: 800px"
      :view="'month'"  // 日历视图展示类型,可按日、周、月展示
      :use-form-popup="true" // 是否打开创建事件弹窗
      :use-detail-popup="true" // 是否打开查看事件详情弹窗
      :week="{
        showTimezoneCollapseButton: true,
        timezonesCollapsed: false,
        eventView: true,
        taskView: true,
      }"  // 周日历的参数配置
      :month="{ startDayOfWeek: 1 }" // 月日历从周x开始展示
      :timezone="{ zones }" // 时区设置
      :theme="theme" // 日历的主题样式设置,具体参考官方文档
      :template="{
        milestone: getTemplateForMilestone,
        allday: getTemplateForAllday,
      }" // 自定义日历的部分样式模板
      :grid-selection="true" // 是否可以单击和双击日期/时间选择
      :calendars="calendars" // 为事件指定样式,下面解释
      :events="events" // 事件列表
      @selectDateTime="onSelectDateTime" // 点击时间,选择日期
      @beforeCreateEvent="onBeforeCreateEvent" // 创建事件
      @beforeUpdateEvent="onBeforeUpdateEvent" // 修改事件
      @beforeDeleteEvent="onBeforeDeleteEvent" // 删除事件
      @afterRenderEvent="onAfterRenderEvent" // 渲染事件
      @clickDayName="onClickDayName" //每周/每日视图的标题区域显示当前查看的时间范围的星期几和日期
      @clickEvent="onClickEvent" // 点击事件,获取详细信息
      @clickTimezonesCollapseBtn="onClickTimezonesCollapseBtn" // 折叠时区
      @clickMoreEventsBtn="onClickMoreEventsBtn" // 点击更多按钮
    />
  </div>
</template>
2. calenders和events参数介绍
export default {
  data() {
    return {
     calendars: [
        {
          id: '0',
          name: 'Private',
          backgroundColor: '#9e5fff',
          borderColor: '#9e5fff',
          dragBackgroundColor: '#9e5fff',
        },
      ], // 相对应id的事件的颜色、border颜色、拖拽的颜色
      events: [
		  {
		    id: '1', // 事件的id
		    calendarId: '0', // 和上面的calendars的id相对应就会展示相应的样式颜色
		    title: 'TOAST UI Calendar Study', // 事件名称
		    category: 'time', // 事件的类别:task、allday 、time、milestone,在视图中的展示方式不一样
		    start: '2024-01-16T16:00:00', // 开始时间
    		end: '2024-01-17T17:00:00', // 结束时间
    		isReadOnly: true, // 是否为只读
		    color: '#fff', //文字颜色,下面这些样式的优先级比calendarId对应的优先级高
		    backgroundColor: '#ccc', // 背景颜色
		    customStyle: {
		      fontStyle: 'italic',
		      fontSize: '15px',
		    }, // 事件元素的样式
		    borderColor:'', //事件元素左边的颜色
		    raw:'' // 自定义任何形式的数据
		  },
	   ]
	  }
	}
]
3. 创建事件:createEvents
官方给的具体案例:
https://github.com/nhn/tui.calendar/blob/main/apps/vue-calendar/example/App.vue
安装tui.calender及使用方法,参考我的上篇文章
tui.calender日历在vue中的使用1.0
 computed: {
    calendarInstance() {
      return this.$refs.calendar.getInstance();
    },
  },
 methods:{
  onBeforeCreateEvent(eventData) {
  const event = {
      calendarId: eventData.calendarId || '',
      id: String(Math.random()),
      title: eventData.title,
      isAllday: eventData.isAllday,
      start: eventData.start,
      end: eventData.end,
      category: eventData.isAllday ? 'allday' : 'time',
      dueDateClass: '',
      location: eventData.location,
      state: eventData.state,
      isPrivate: eventData.isPrivate,
    };

	// 在computed中创建的日历实例,直接用createEvents创建
    this.calendarInstance.createEvents([event]);
  },
4. 删除事件:beforeDeleteEvent
onBeforeDeleteEvent({ title, id, calendarId }) {
  	this.calendarInstance.deleteEvent(id, calendarId);
  },
}
5. 修改事件:beforeUpdateEvent
onBeforeUpdateEvent(updateData) {
  const targetEvent = updateData.event;
  const changes = { ...updateData.changes };
  this.calendarInstance.updateEvent(targetEvent.id, targetEvent.calendarId, changes);
},
6. 自定义样式
不是每个样式都能自定义,可以自定义的参考官方文
https://github.com/nhn/tui.calendar/blob/main/docs/en/apis/template.md
不能自定的我用的两种方式
- 样式穿透
- 自己画图,比如它的事件弹窗没法自定义,我就自己写了(先不总结了,我还在踩坑)
mounted() {
	this.calendarInstance.setOptions({
		template: {
			// 弹窗中的保存按钮文字
			popupSave() {
	          return '保存'
	        },
	        // 更多按钮的文字提示
	        monthGridHeaderExceed(hiddenEvents) {
	         return `<div><span style="color:red;">${hiddenEvents}</span> 全部课程</div>`
            },

		}
	})
},
