一、简易线程池代码
定义线程池类,主要成员变量有线程数量,启动停止标志位,模拟的任务队列,控制多线程同步的条件变量和互斥锁等。还可以根据项目要求添加其他内容。
#include<vector>
#include<string>
#include<condition_variable>
#include<iostream>
#include<thread>
#include<mutex>
#include<queue>
#include<unistd.h>
using namespace std;

class threadPool{
public:
    threadPool(int num = 4):threadNum(num), cnt(0), started(true){
        for(int i = 0; i < threadNum; ++i){
            thread *pthread = new thread(&threadPool::threadFunc, this);
            threadList.push_back(pthread);
        }
    }
    ~threadPool(){
        for(int i = 0; i < threadNum; ++i){
            threadList[i]->join();
        }
        for(int i = 0; i < threadNum; ++i){
            delete threadList[i];
        }
        threadList.clear();
        cout<<"threadPool destroy"<<endl;
    }
    void threadFunc(){thread::id tid = this_thread::get_id();//临时添加,为不影响行数加在这
        {
            unique_lock<mutex> lock(m_mutex);
            ++cnt;
            cout<< "my pos is: "<< cnt<<" and thread id is: " << tid <<endl;
        }
        while(started){
        {   unique_lock<mutex> lock(m_mutex);
            while(q.empty() && started){
                m_condition.wait(lock);
            }
            if(!started) break;
            int i = q.front();
            cout<<"q's front is : "<< i <<" and I am " << tid << endl;
            q.pop();}sleep(1);
        }
    }
    void stop(){
        started = false;
        m_condition.notify_all();
    }
    void addTask(int num){
        unique_lock<mutex> lock(m_mutex);
        q.push(num);
        m_condition.notify_one();
    }
    int threadNum;
    int cnt;
    bool started;
    condition_variable m_condition;
    mutex m_mutex;
    vector<thread*> threadList;
    queue<int> q;
};

int main(int argc, char* argv[]){
    printf("func begin\n");

    threadPool myPool;
    sleep(1);
    for(int i = 0; i < 4; ++i){
        myPool.addTask(i);
    }
    sleep(1);
    printf("stop\n");
    myPool.stop();
    printf("bye~~\n");
    return 0;
}
在Linux下输入以上代码,然后打开终端输入以下命令编译:
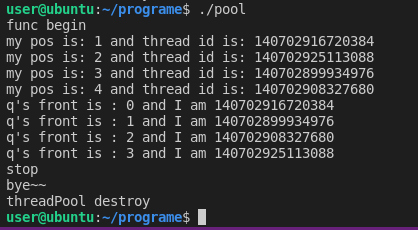
g++ -g -Wall -std=c++11 -pthread -O3 -o pool myThreadPool.cpp运行程序,可以看到以下输出:
二、GDB调试
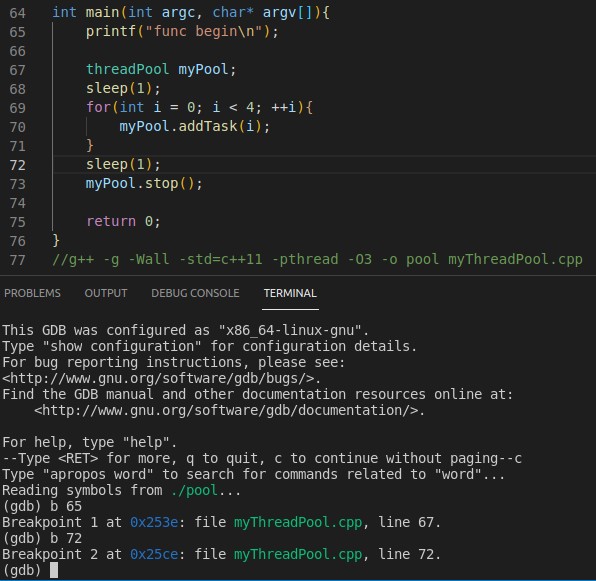
先设置两个断点:
这里有个bug是设置断点为65时会自动改成67,有读者知道为什么的评论区留言哈。
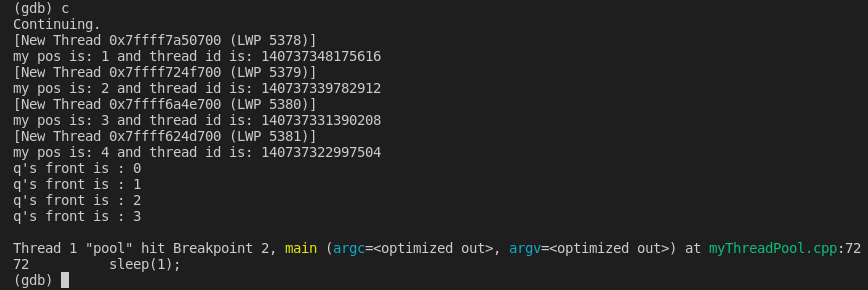
然后开始运行,运行到第一个断点时查看线程信息:
可以看到此时只有一个线程,接着运行到第二个断点:
查看此时的线程信息,可以看到此时一共有 1+4个线程:
接着运行,程序退出,线程被销毁,线程池析构函数调用:
三、其他命令
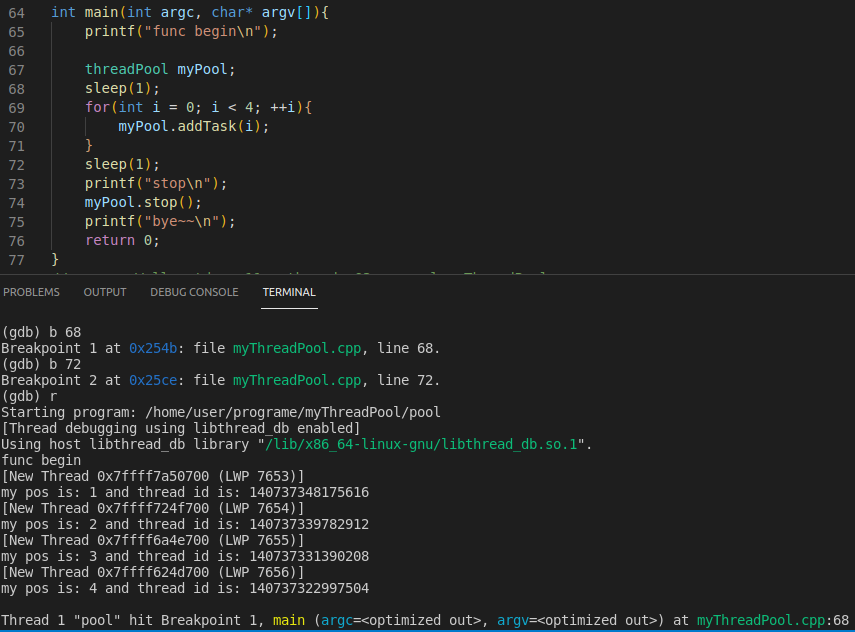
重新设置断点并运行:
运行到第一个断点处时查看线程信息,使用thread ID 命令切换线程:
接着运行到第二个断点处停止,可以看到线程池中任务都是一个线程完成的:
完成后自动切换回主线程(?)
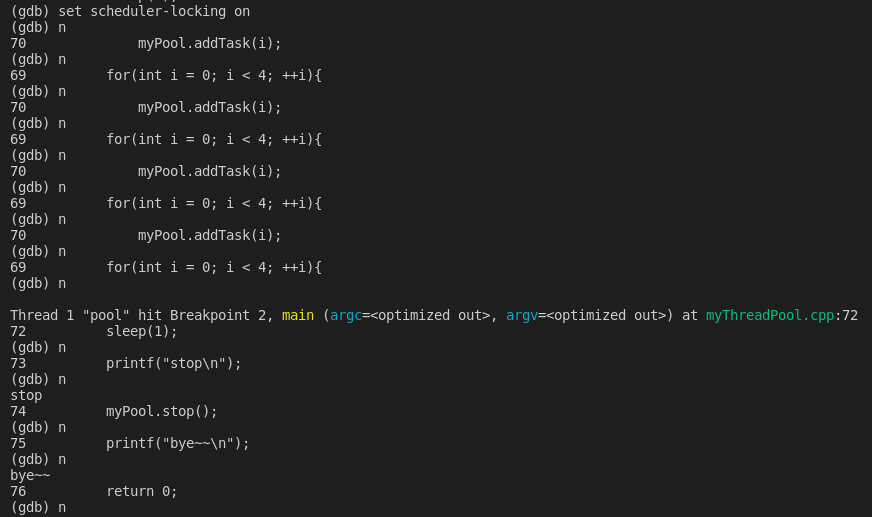
回到第一个断点处,在该处用set scheduler-locking on命令使程序只运行主线程:
接着运行,可以看到线程池中任务没有执行,只有主程序执行,最终到return处:
