1. 引言
在绝大多数情况下,Vue 推荐使用
模板语法来创建应用。然而在某些使用场景下,我们真的需要用到 JavaScript 完全的编程能力。这时渲染函数就派上用场了。
一般在 vue项目开发中,一般都是这样的结构
<template>
  <div>

  </div>
</template>

<script setup lang="ts">

</script>

<style scoped>

</style>
但是有时候 不想写 template 想用
原生js的方式 返回DOM 结构,就需要用到h 函数
2. h 函数
h()是 hyperscript 的简称——意思是“能生成 HTML (超文本标记语言) 的 JavaScript”。这个名字来源于许多虚拟 DOM 实现默认形成的约定。一个更准确的名称应该是createVnode(),但当你需要多次使用渲染函数时,一个简短的名字会更省力。
// 完整参数签名
function h(
  type: string | Component,
  props?: object | null,
  children?: Children | Slot | Slots
): VNode

// 省略 props
function h(type: string | Component, children?: Children | Slot): VNode

type Children = string | number | boolean | VNode | null | Children[]

type Slot = () => Children

type Slots = { [name: string]: Slot }
参数
type:必填,字符串/组件(字符串:一个html标签名)props:非必填,一个对象,内容包括了即将创建的节点的属性,例如id、class、style等,节点的事件监听也是通过 props 参数进行传递,并且以 on 开头,以 onXxx 的格式进行书写,如 onInput、onClick 等。不写的话最好用 null占位children:这个是子节点,也可以是数组
官方示例
import { h } from 'vue'

// 除了 type 外,其他参数都是可选的
h('div')
h('div', { id: 'foo' })

// attribute 和 property 都可以用于 prop
// Vue 会自动选择正确的方式来分配它
h('div', { class: 'bar', innerHTML: 'hello' })

// class 与 style 可以像在模板中一样
// 用数组或对象的形式书写
h('div', { class: [foo, { bar }], style: { color: 'red' } })

// 事件监听器应以 onXxx 的形式书写
h('div', { onClick: () => {} })

// children 可以是一个字符串
h('div', { id: 'foo' }, 'hello')

// 没有 prop 时可以省略不写
h('div', 'hello')
h('div', [h('span', 'hello')])

// children 数组可以同时包含 vnode 和字符串
h('div', ['hello', h('span', 'hello')])
3. h 函数的使用
setup 版本
<script>
import { h } from "vue";
export default {
  setup() {
    return () => h("div", { class: "my-class" }, "Hello, World!");
  },
};
</script>

<style lang="less" scoped></style>
然后再
app.vue中引入这个 组件,并使用
<template>
  <div>
    <h2>h 函数测试</h2>
    <hello1 />
    <hr />
  </div>
</template>

<script setup>
import hello1 from "./views/01_h函数/hello.vue";
</script>

<style scoped></style>
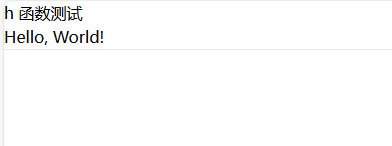
然后就可以再界面上看到效果了
render 版本
<script>
import { h } from "vue";
export default {

  render() {
    return h("div", { class: "my-class" }, "Hello, World ddg!");
  },
};
</script>

<style lang="less" scoped></style>
3.1 v-if
<script>
import { h, ref } from "vue";
export default {
  setup() {
    // v-if
    const isShow = ref(true);
    return () => h("div", isShow.value ? "Hello, World true" : "Hello, World false");
  },
};
</script>
3.2 v-for
<script>
import { h, ref, render } from "vue";
export default {
  setup() {
    // -----------
    // v-for
    const list = ref([
      { name: "张三", age: 18 },
      { name: "李四", age: 19 },
      { name: "王五", age: 20 },
    ]);

    return () =>
      h(
        "div",
        list.value.map((item) => h("div", `姓名${item.name} 年龄${item.age}`))
      );
  },
};
</script>
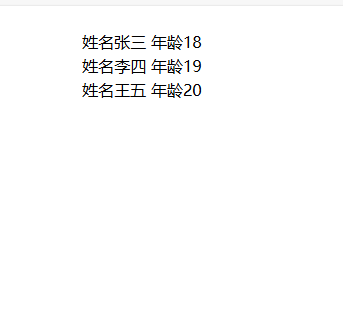
注意:因为我们要展示 list 的数组的所有项, 所以第一个
h 函数是需要有子节点的,这个参数是一个数组,所以要用map, map 函数返回一个数组,这个数组每一项都是h 函数
3.3 v-on
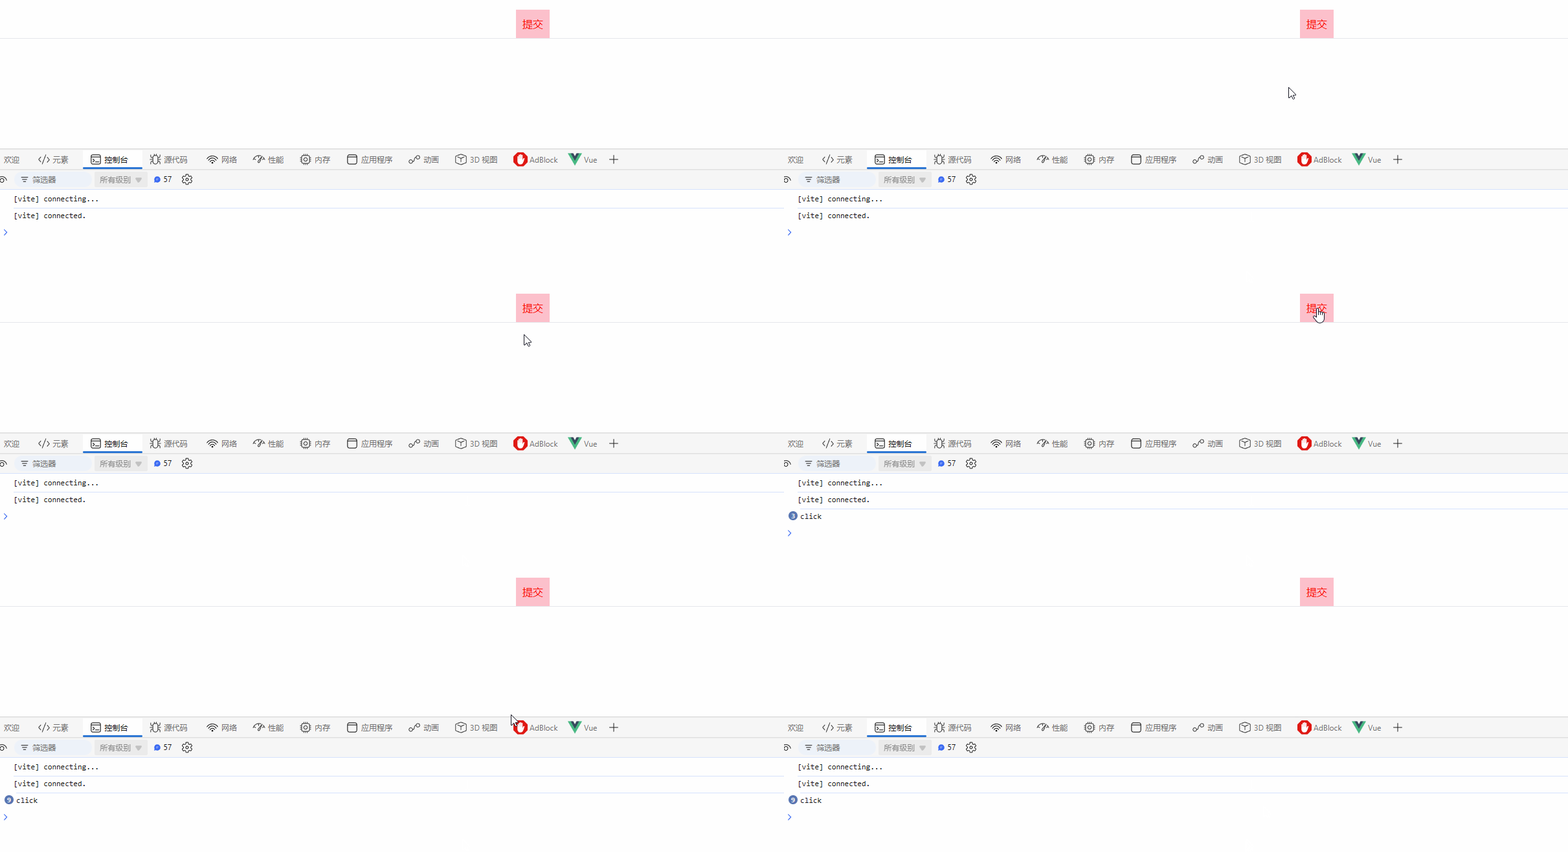
以
on开头,并跟着大写字母的 props 会被当作事件监听器。比如,onClick 与模板中的 @click 等价。
<script>
import { h, ref, render } from "vue";
export default {
  setup() {
    // v-on
    const handleBtnClick = () => {
      console.log("click");
    };
    return () =>
      h("button", { style: { color: "red", background: "pink", padding: "10px" }, onClick: handleBtnClick }, "提交");
  },
};
</script>
如若需要给事件传递参数可以这样写
      h(
        "button",
        {
          style: { color: "red", background: "pink", padding: "10px" },
          onClick: () => handleBtnClick("ddg"),
        },
        "提交"
      );
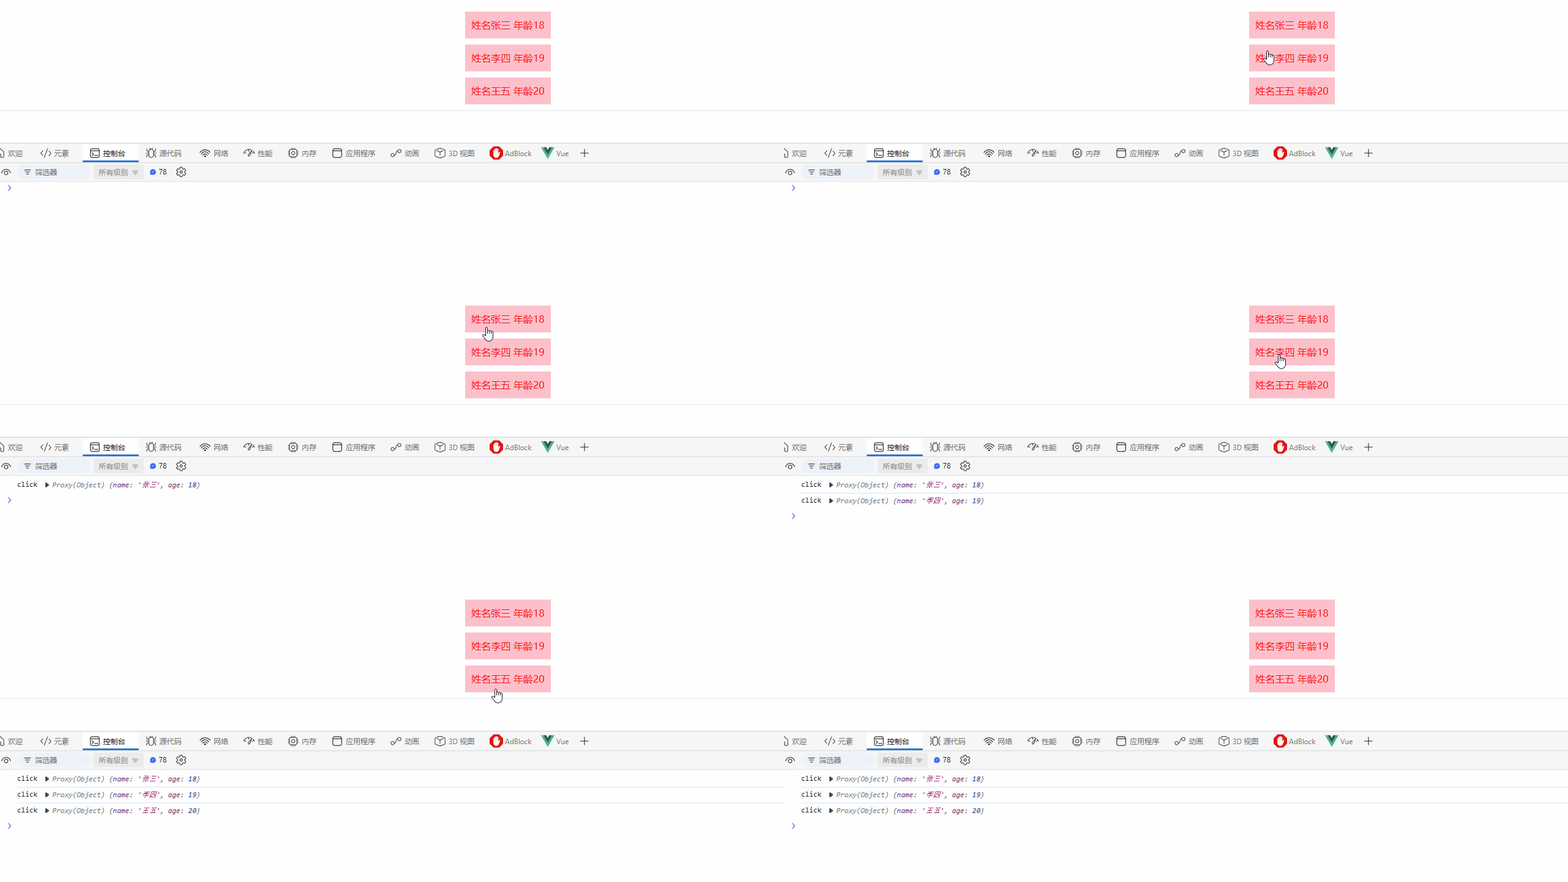
搭配for循环,实现点击这一行,触发点击事件
<script>
import { h, ref, render } from "vue";
export default {
  setup() {
    const handleBtnClick = (params) => {
      console.log("click", params);
    };
    const list = ref([
      { name: "张三", age: 18 },
      { name: "李四", age: 19 },
      { name: "王五", age: 20 },
    ]);
    // return () =>
    //   h("button", { style: { color: "red", background: "pink", padding: "10px" }, onClick: handleBtnClick }, "提交");
    return () =>
      h(
        "button",
        list.value.map((item) =>
          h(
            "div",
            {
              style: { color: "red", background: "pink", padding: "10px", marginBottom: "10px" },
              onClick: () => handleBtnClick(item),
            },
            `姓名${item.name} 年龄${item.age}`
          )
        )
      );
  },
};
</script>
3.4 组件
在给组件创建 vnode 时,传递给 h() 函数的第一个参数应当是组件的定义。这意味着使用渲染函数时
不再需要注册组件了 ——可以直接使用导入的组件:
btn组件
<template>
  <div>
    <button class="rounded-lg bg-amber-500 p-[9px]">btn组件的按钮</button>
  </div>
</template>

<script setup></script>

<style lang="less" scoped></style>
具体使用方式如下:
<script>
import { h, ref, render } from "vue";
import BtnCPN from "./btn.vue";
export default {
  setup() {
    return () => h(BtnCPN);
  },
};
</script>
能展示出来信息就是正常
3.5 渲染插槽
有时候,父组件使用这个组件的时候,也会传递过来插槽
子组件
<script>
import { h, ref, render } from "vue";
import BtnCPN from "./btn.vue";
export default {
  setup(props, { slots }) {
    // 渲染插槽
    return () => [
      h("div", "默认插槽的内容开始"),
      slots.default(),
      h("div", "默认插槽的内容结束"),
      h("div", "具名插槽 footer 的内容开始"),
      slots.footer(),
      h("div", "具名插槽 footer 的内容结束"),
    ];
  },
};
</script>

<style lang="less" scoped></style>
父组件
<template>
  <div>
    <h2>h 函数测试</h2>
    <div>
      <hello1>
        <template #default>
          <p>我是父组件传递过来的默认插槽1</p>
          <p>我是父组件传递过来的默认插槽2</p>
        </template>
        <template #footer>
          <br />
          <p>我是父组件传递过来的footer插槽</p>
        </template>
      </hello1>
    </div>
    <hr />
  </div>
</template>

<script setup>
import { ref } from "vue";
import hello1 from "./views/01_h函数/hello.vue";
</script>

<style scoped></style>
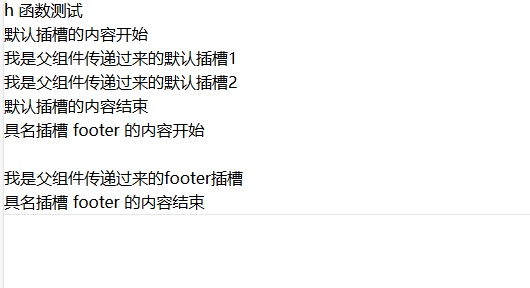
渲染到界面上的效果就是这样
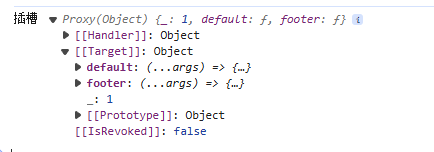
其实插槽的本质,就是父组件传递过来了一个
对象,对象里面的key 是插槽的名称,值就是一个函数,再子组件可以调用这个函数进行渲染DOM
4. h函数的使用场景
- 用 h 函数 写一个组件
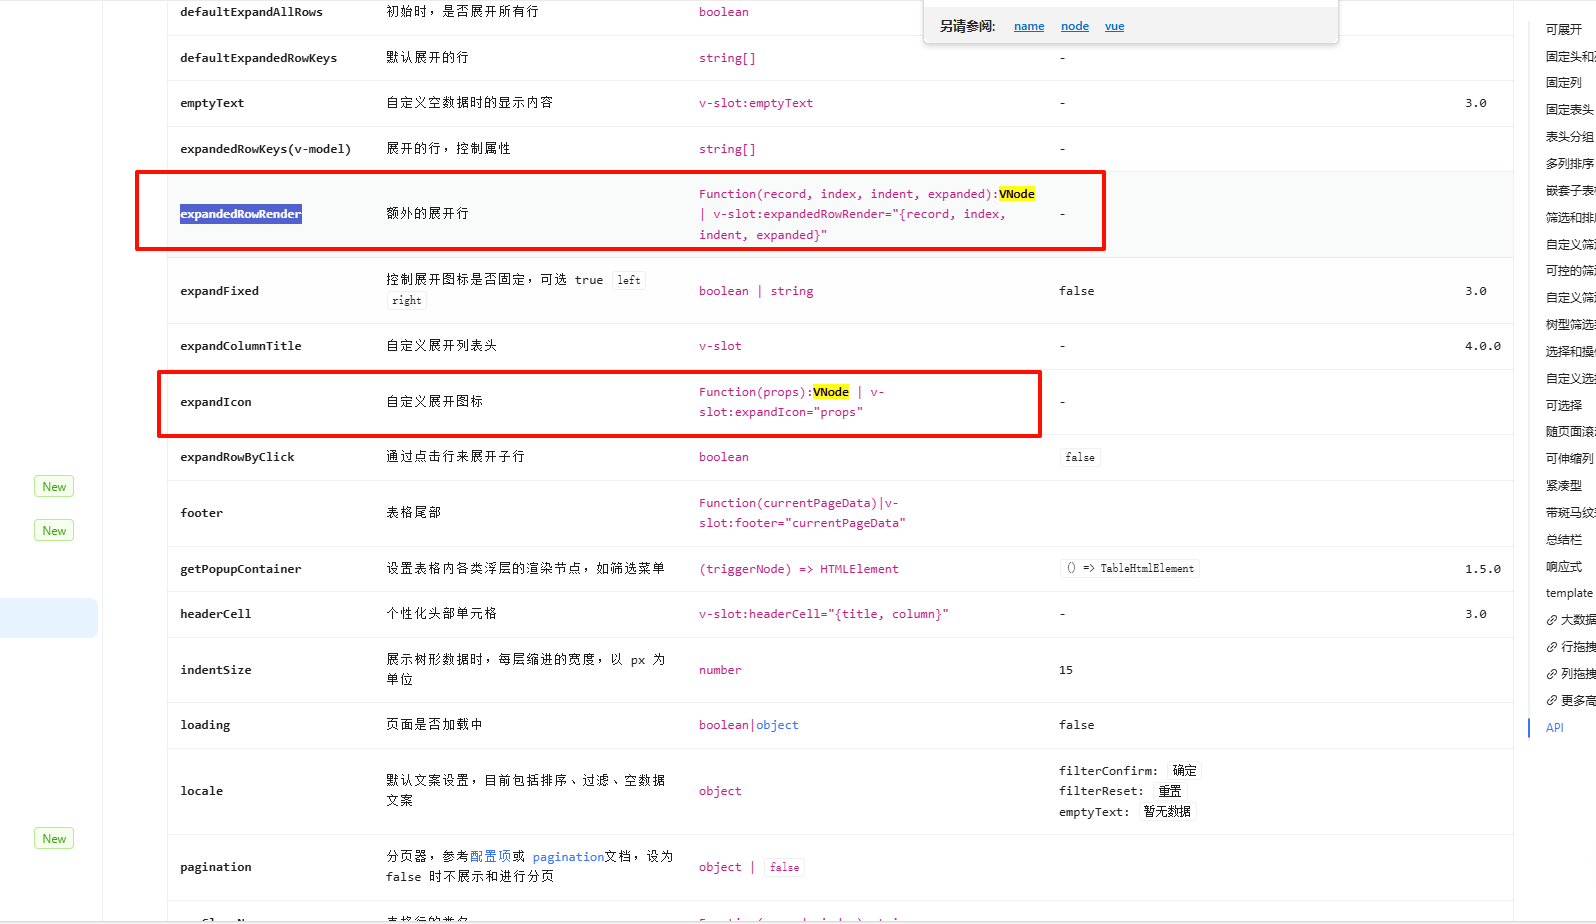
component的is属性可以搭配h函数使用- 在一些 UI库中,也有一些使用场景,比如
Ant Design Vue的表格组件的一些自定义项
<template>
  <div>
    <!-- <component :is="renderContainer" /> -->
    <component :is="renderContainer('add')" />
  </div>
</template>

<script setup>
import { ref, h } from "vue";


// const renderContainer = h("div", "我是H 函数渲染出来的!!!!");
const renderContainer = (type) => {
  if (type === "add") {
    return h("div", "我是H 函数渲染出来的!!!!" + "    新增");
  } else {
    return h("div", "我是H 函数渲染出来的!!!!");
  }
};
</script>

<style scoped></style>
文档上下面还有一些 属性可以用到 h 函数
