目录
2.2.3. 在application.yml配置Redis信息
一、Jedis入门
1.1. 介绍
Jedis是Redis官方推荐的Java客户端开发工具。 Jedis提供了丰富的API,使得Java开发者可以方便地操作Redis数据库。Jedis支持Redis的所有数据结构操作,包括字符串、哈希、列表、集合和有序集合等类型的数据。
Jedis的设计考虑了连接池的管理,以优化性能和资源利用。由于直接创建和销毁连接资源非常消耗性能,Jedis提供了Jedis连接池技术,通过连接池管理Redis连接,避免了频繁创建和销毁连接的开销。使用连接池可以有效地提升Redis的性能和资源利用率。
在使用Jedis时,开发者需要注意线程安全问题。Jedis本身不是线程安全的,但在多线程环境下可以通过JedisPool管理多个独立的Jedis实例,每个线程使用自己的Jedis实例,从而保证线程安全。此外,Jedis的使用相对灵活,但也因此增加了编码的复杂度。
1.2. Jedis工程案例
1.2.1. 创建Maven工程
引入Jedis的Maven依赖
<dependency>
    <groupId>redis.clients</groupId>
    <artifactId>jedis</artifactId>
    <version>3.7.0</version>
</dependency>
1.2.2. 创建Jedis对象建立连接
jedis = new Jedis("49.233.186.253", 6379);
jedis.auth("wangzhexiao");
jedis.select(0);
1.2.3. 使用Jedis
方法名与Redis命令一致
String result = jedis.set("name", "王哲晓");
System.out.println("result = " + result);
String name = jedis.get("name");
System.out.println("name = " + name);

jedis.hset("people", "name", "王哲晓");
jedis.hset("people", "age", "34");
Map<String, String> people = new HashMap<>();
people.put("weight", "132");
people.put("height", "177");
jedis.hmset("people", people);
Map<String, String> result = jedis.hgetAll("people");
for (String key : result.keySet()) {
    System.out.println("Key = " + key + ", Value = " + result.get(key));
}
String name = jedis.get("name");
System.out.println("name = " + name);
1.2.4. 释放资源
if (jedis != null) {
    jedis.close();
}
1.2.5. 完整代码
<?xml version="1.0" encoding="UTF-8"?>
<project xmlns="http://maven.apache.org/POM/4.0.0"
         xmlns:xsi="http://www.w3.org/2001/XMLSchema-instance"
         xsi:schemaLocation="http://maven.apache.org/POM/4.0.0 http://maven.apache.org/xsd/maven-4.0.0.xsd">
    <modelVersion>4.0.0</modelVersion>

    <groupId>org.example</groupId>
    <artifactId>jedis-demo</artifactId>
    <version>1.0-SNAPSHOT</version>

    <properties>
        <maven.compiler.source>17</maven.compiler.source>
        <maven.compiler.target>17</maven.compiler.target>
    </properties>

    <dependencies>
        <!-- Jedis依赖 -->
        <dependency>
            <groupId>redis.clients</groupId>
            <artifactId>jedis</artifactId>
            <version>3.7.0</version>
        </dependency>
        <!-- JUnit依赖 -->
        <dependency>
            <groupId>org.junit.jupiter</groupId>
            <artifactId>junit-jupiter</artifactId>
            <version>5.7.0</version>
        </dependency>
    </dependencies>
</project>
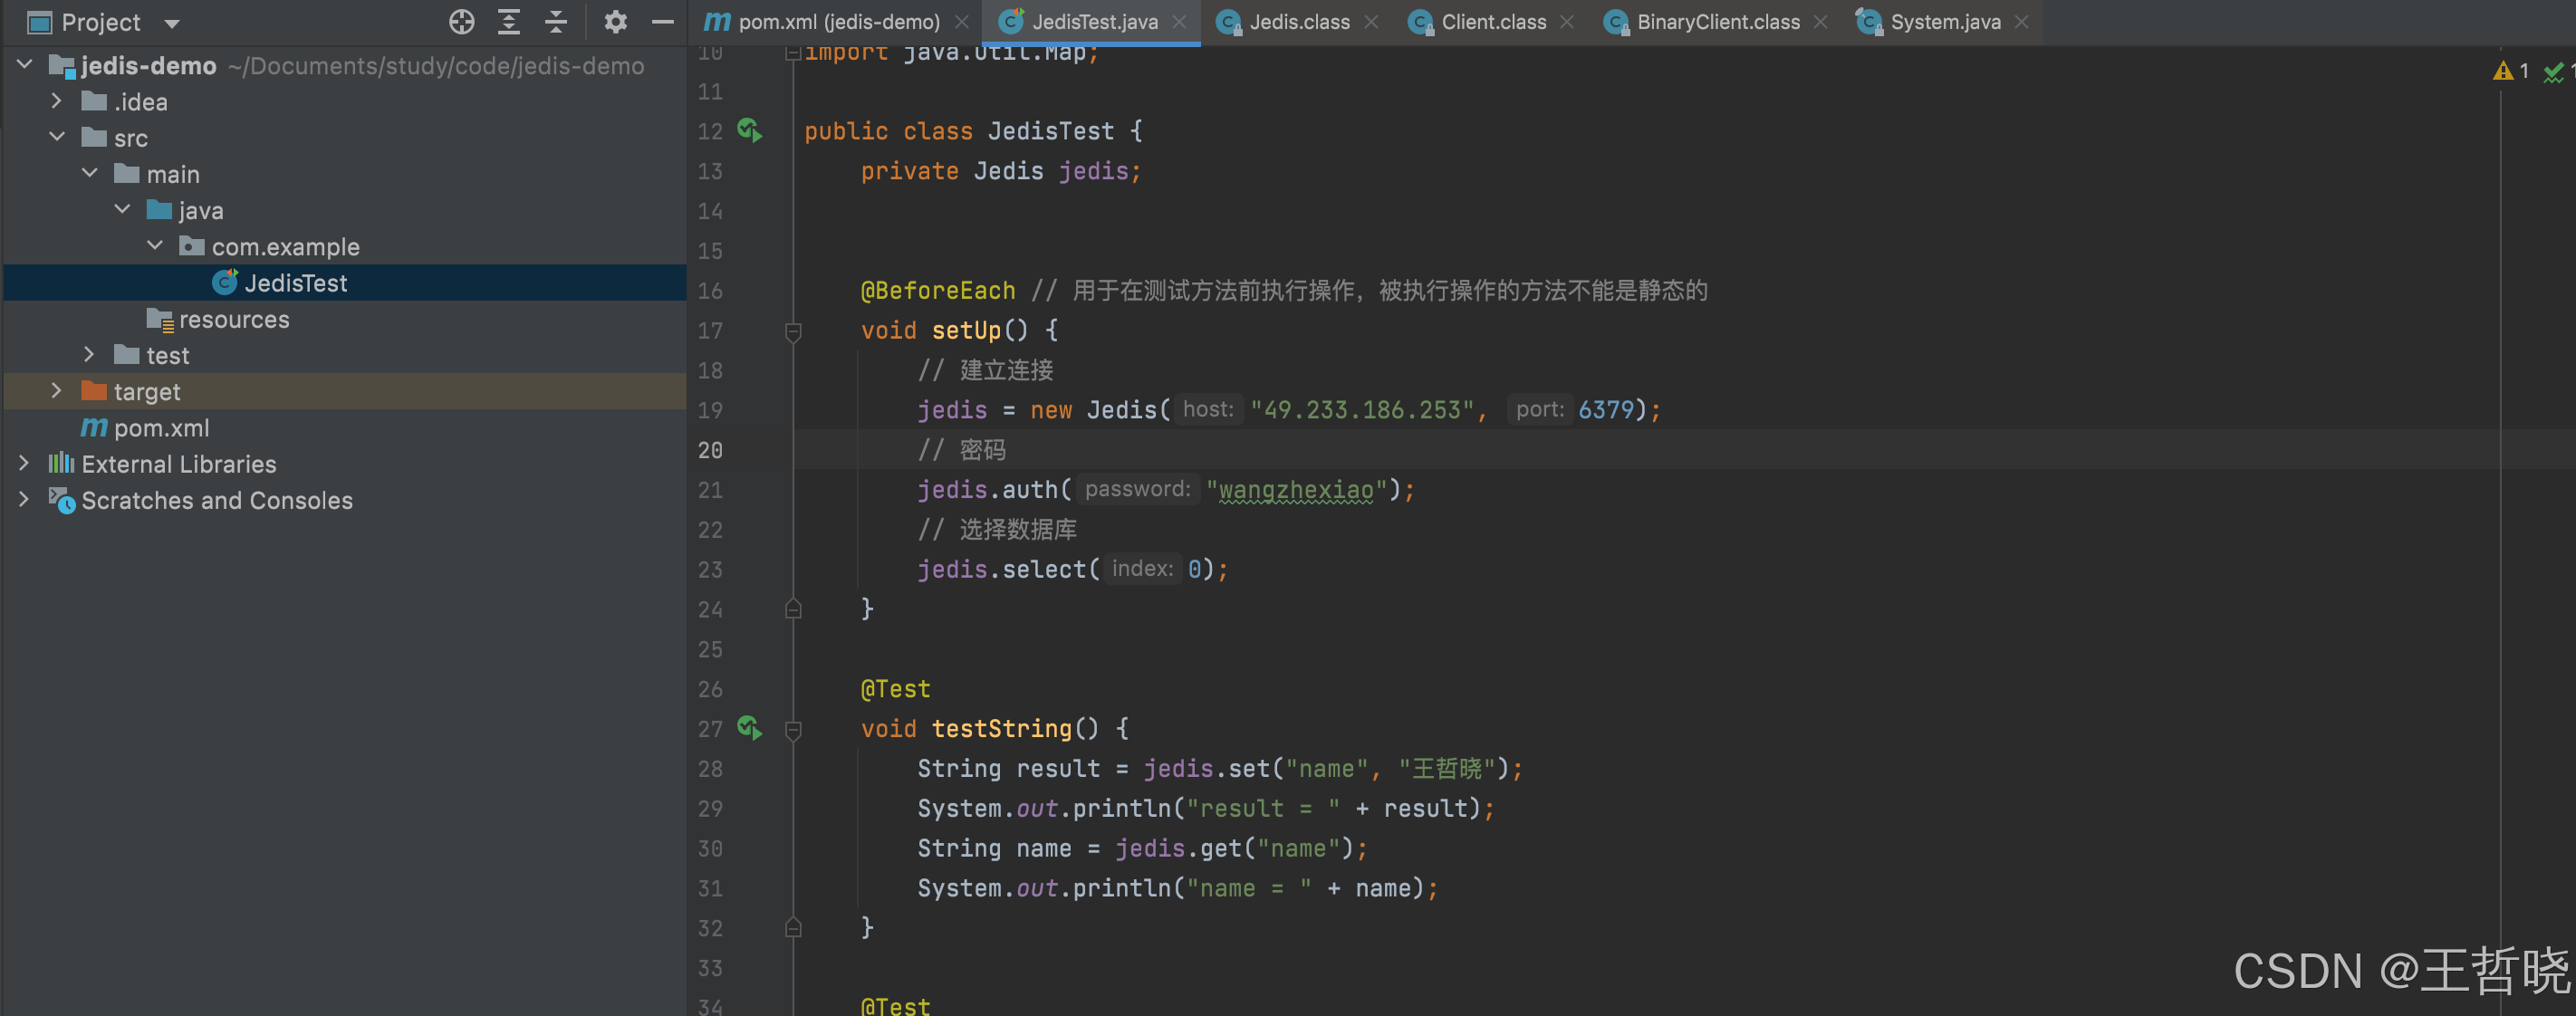
package com.example;
import org.junit.jupiter.api.AfterEach;
import org.junit.jupiter.api.BeforeEach;
import org.junit.jupiter.api.Test;
import redis.clients.jedis.Jedis;
import java.util.HashMap;
import java.util.List;
import java.util.Map;
public class JedisTest {
private Jedis jedis;
@BeforeEach // 用于在测试方法前执行操作,被执行操作的方法不能是静态的
void setUp() {
// 建立连接
jedis = new Jedis("49.233.186.253", 6379);
// 密码
jedis.auth("wangzhexiao");
// 选择数据库
jedis.select(0);
}
@Test
void testString() {
String result = jedis.set("name", "王哲晓");
System.out.println("result = " + result);
String name = jedis.get("name");
System.out.println("name = " + name);
}
@Test
void testHash() {
jedis.hset("people", "name", "王哲晓");
jedis.hset("people", "age", "34");
Map<String, String> people = new HashMap<>();
people.put("weight", "132");
people.put("height", "177");
jedis.hmset("people", people);
Map<String, String> result = jedis.hgetAll("people");
for (String key : result.keySet()) {
System.out.println("Key = " + key + ", Value = " + result.get(key));
}
String name = jedis.get("name");
System.out.println("name = " + name);
}
@AfterEach // 用于在测试方法后执行操作,被执行操作的方法不能是静态的
void tearDown() {
if (jedis != null) {
jedis.close();
}
}
}
1.3. Jedis连接池
Jedis本身是线程不安全的,并且频繁地创建和销毁连接会有性能损耗,因此我们推荐大家使用Jedis连接池代替Jedis直连方式。
package com.example;

import redis.clients.jedis.Jedis;
import redis.clients.jedis.JedisPool;
import redis.clients.jedis.JedisPoolConfig;

public class JedisConnectionFactory {

    private static final JedisPool jedisPool;

    static {
        JedisPoolConfig config = new JedisPoolConfig();
        // 最大连接数
        config.setMaxTotal(10);
        // 最大空闲连接
        config.setMaxIdle(8);
        // 最小空闲连接
        config.setMinIdle(0);
        // 设置最长等待时间ms
        config.setMaxWaitMillis(200);
        // 配置、连接地址、端口、超时时间、密码
        jedisPool = new JedisPool(config, "49.233.186.253", 6379, 1000, "wangzhexiao");
    }

    public static Jedis getJedis() {
        return jedisPool.getResource();
    }
}
二、SpringDataRedis
2.1. 介绍
SpringData是Spring中数据操作的模块,包含对各种数据库的集成,其中对Redis的集成模块就叫做SpringDataRedis,官网地址:
https://spring.io/projects/spring-data-redis
- 提供了对不同Redis客户端的整合(Lettuce和Jedis)
- 提供了RedisTemplate统一API来操作Redis
- 支持Redis的发布订阅模型
- 支持Redis哨兵和Redis集群
- 支持基于Lettuce的响应式编程
- 支持基于JDK、JSON、字符串、Spring对象的数据序列化即反序列化
- 支持基于Redis的JDKCollection实现
SpringDataRedis提供了RedisTemplate工具类,其中封装了各种对Redis的操作,并且将不同数据类型的操作API封装到了不同的类型中:
| API | 返回值类型 | 说明 |
| redisTemplate.opsForValue() | ValueOperations | 操作String类型数据 |
| redisTemplate.opsForHash() | HashOperations | 操作Hash类型数据 |
| redisTemplate.opsForList() | ListOperations | 操作List类型数据 |
| redisTemplate.opsForSet() | SetOperations | 操作Set类型数据 |
| redisTemplate.opsForZSet() | ZSetOperations | 操作SortedSet类型数据 |
| redisTemplate | 通用的命令 |
2.2. SpringDataRedis工程案例
2.2.1. 创建SpringBoot工程
2.2.2. 引入依赖
<?xml version="1.0" encoding="UTF-8"?>
<project xmlns="http://maven.apache.org/POM/4.0.0" xmlns:xsi="http://www.w3.org/2001/XMLSchema-instance"
	xsi:schemaLocation="http://maven.apache.org/POM/4.0.0 https://maven.apache.org/xsd/maven-4.0.0.xsd">
	<modelVersion>4.0.0</modelVersion>
	<parent>
		<groupId>org.springframework.boot</groupId>
		<artifactId>spring-boot-starter-parent</artifactId>
		<version>3.3.4</version>
		<relativePath/> <!-- lookup parent from repository -->
	</parent>
	<groupId>com.example</groupId>
	<artifactId>SpringDataRedisDemo</artifactId>
	<version>0.0.1-SNAPSHOT</version>
	<name>SpringDataRedisDemo</name>
	<description>SpringDataRedisDemo</description>
	<url/>
	<licenses>
		<license/>
	</licenses>
	<developers>
		<developer/>
	</developers>
	<scm>
		<connection/>
		<developerConnection/>
		<tag/>
		<url/>
	</scm>
	<properties>
		<java.version>17</java.version>
	</properties>
	<dependencies>
		<dependency>
			<groupId>org.springframework.boot</groupId>
			<artifactId>spring-boot-starter</artifactId>
		</dependency>

		<dependency>
			<groupId>org.projectlombok</groupId>
			<artifactId>lombok</artifactId>
			<optional>true</optional>
		</dependency>
		<dependency>
			<groupId>org.springframework.boot</groupId>
			<artifactId>spring-boot-starter-test</artifactId>
			<scope>test</scope>
		</dependency>
		<dependency>
			<groupId>org.springframework.boot</groupId>
			<artifactId>spring-boot-starter-data-redis</artifactId>
			<version>3.0.4</version>
		</dependency>
		<dependency>
			<groupId>org.apache.commons</groupId>
			<artifactId>commons-pool2</artifactId>
		</dependency>
	</dependencies>

	<build>
		<plugins>
			<plugin>
				<groupId>org.springframework.boot</groupId>
				<artifactId>spring-boot-maven-plugin</artifactId>
				<configuration>
					<excludes>
						<exclude>
							<groupId>org.projectlombok</groupId>
							<artifactId>lombok</artifactId>
						</exclude>
					</excludes>
				</configuration>
			</plugin>
		</plugins>
	</build>

</project>
2.2.3. 在application.yml配置Redis信息
spring:
  application:
    name: spring-data-redis
  data:
    redis:
      password: wangzhexiao
      host: 49.233.186.253
      port: 6379
      lettuce:
        pool:
          max-active: 10 # 最大连接
          max-idle: 10 # 最大空闲连接
          min-idle: 0 # 最小空闲连接
          max-wait: 100 # 连接等待时间
2.2.4. 注入RedisTemplate
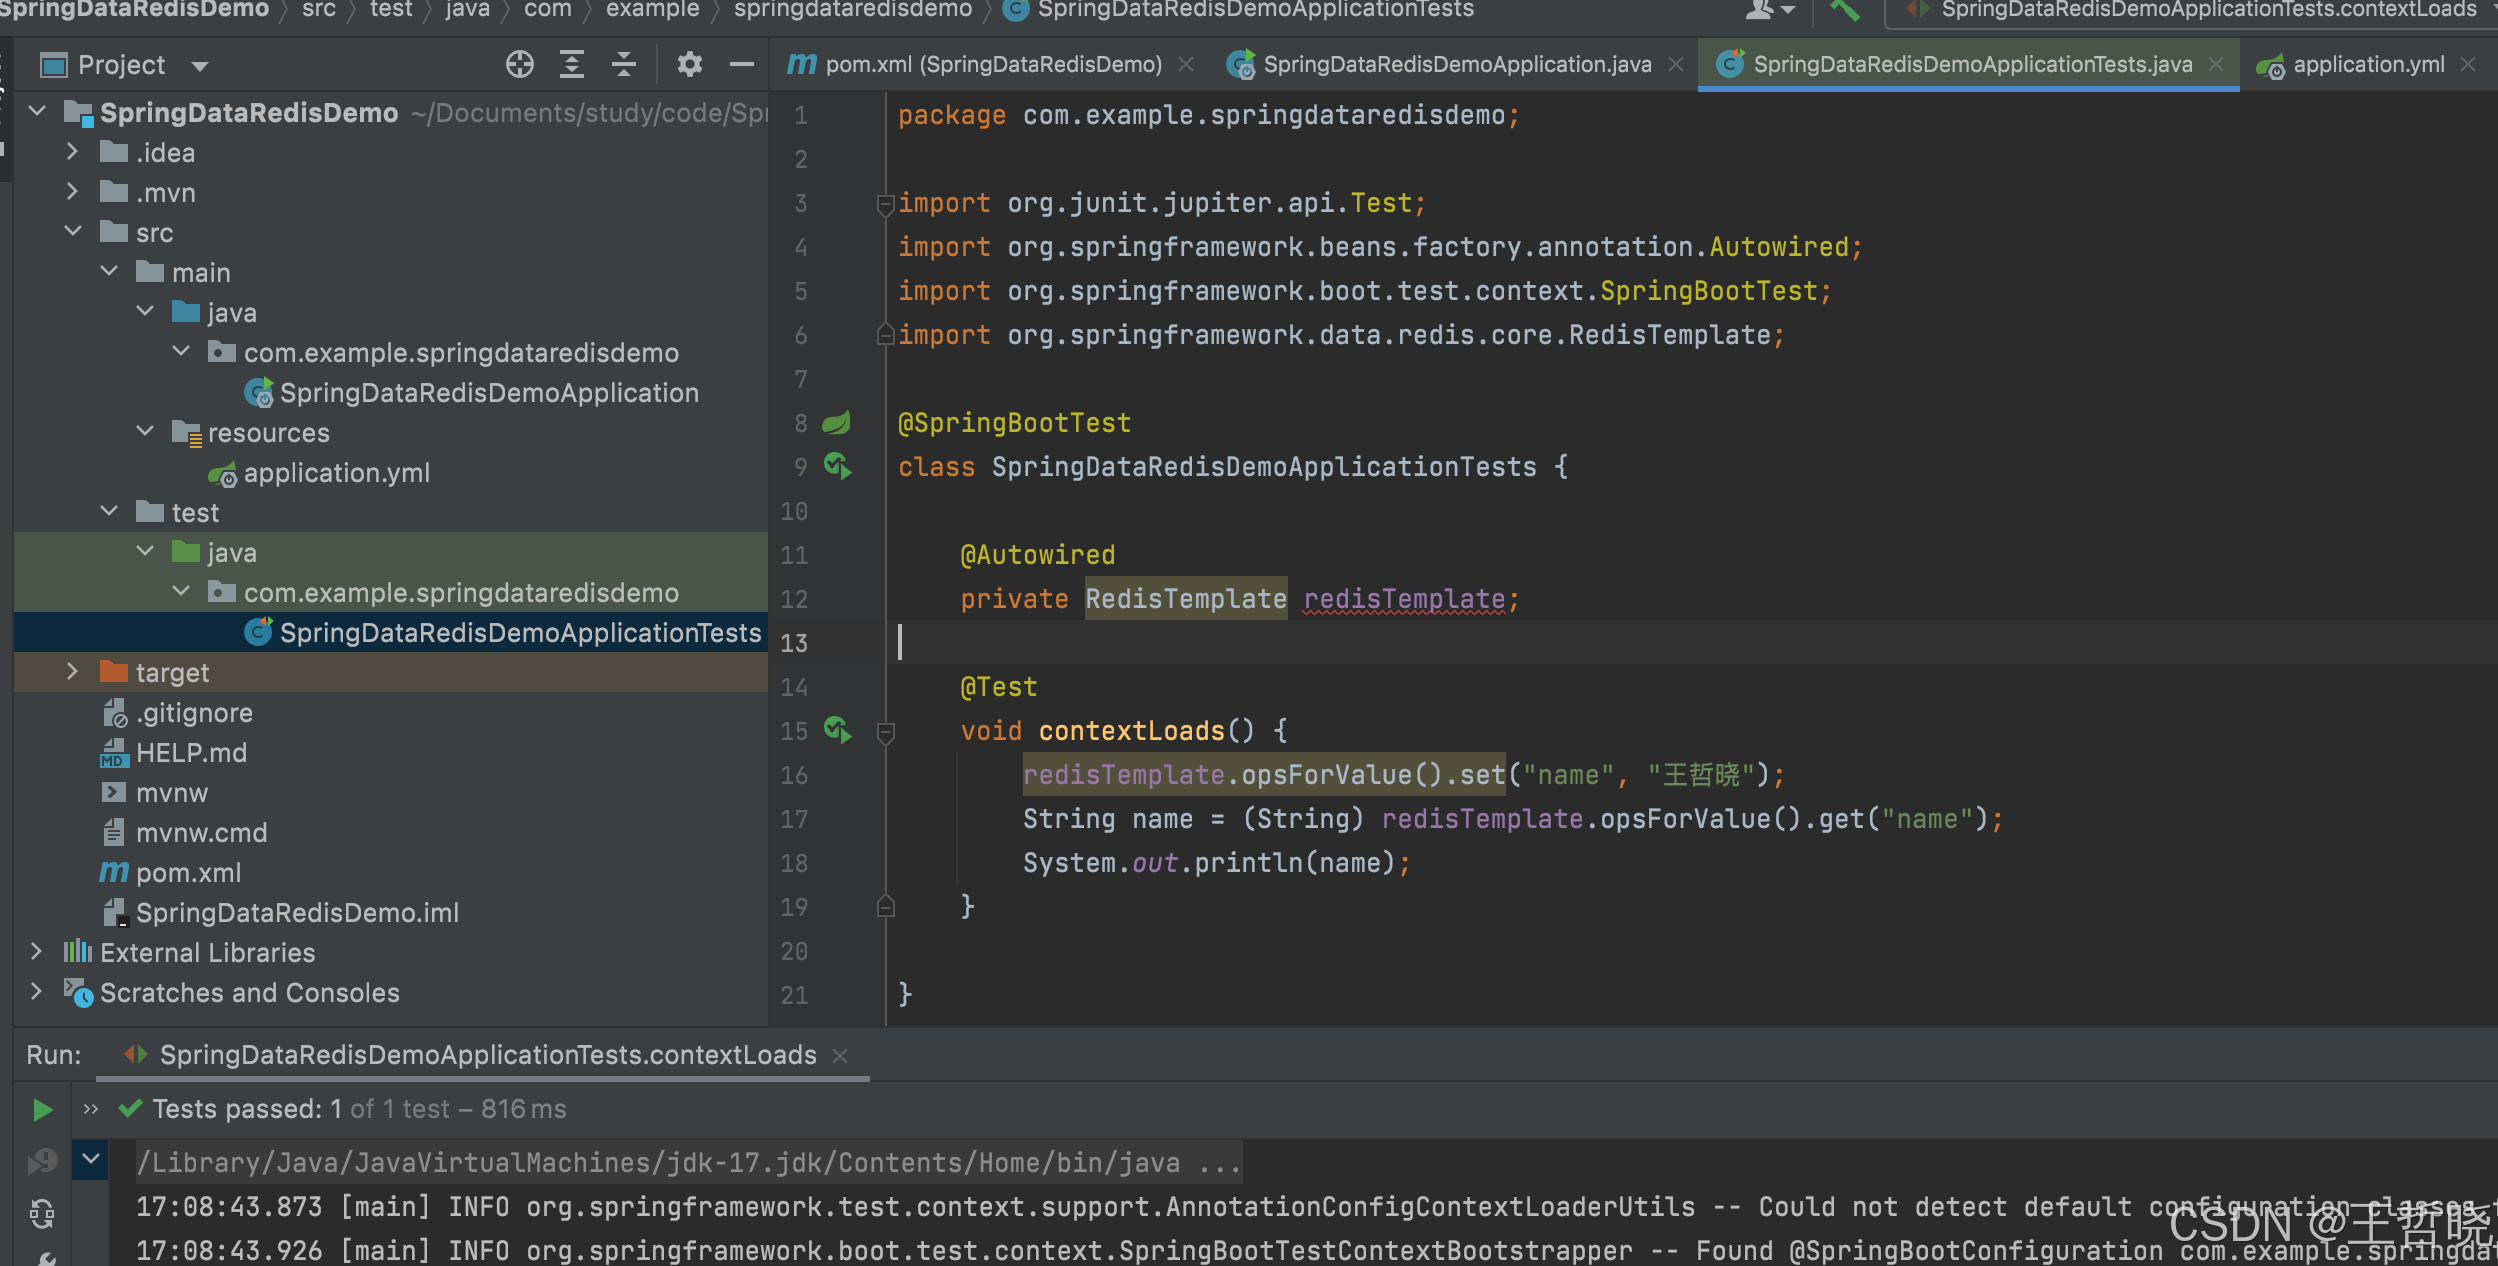
package com.example.springdataredisdemo;

import org.junit.jupiter.api.Test;
import org.springframework.beans.factory.annotation.Autowired;
import org.springframework.boot.test.context.SpringBootTest;
import org.springframework.data.redis.core.RedisTemplate;

@SpringBootTest
class SpringDataRedisDemoApplicationTests {

	@Autowired
	private RedisTemplate redisTemplate;

	@Test
	void contextLoads() {
		redisTemplate.opsForValue().set("name", "王哲晓");
		String name = (String) redisTemplate.opsForValue().get("name");
		System.out.println(name);
	}

}
2.3. 从lettuce改为Jedis
从SpringBoot2.X 版本后,默认使用的redis客户端是Lettuce,如果你想从lettuce客户端更换为Jedis客户端,你需要做以下几步:
2.3.1. 移除当前lettuce依赖
如果pom.xml中有以下依赖的话,移除掉:
<dependency>

<groupId>io.lettuce.core</groupId>

<artifactId>lettuce-core</artifactId>

</dependency>
2.3.2. 添加Jedis依赖
<dependency>

<groupId>redis.clients</groupId>

<artifactId>jedis</artifactId>

</dependency>
2.3.3. 修改配置文件指定使用Jedis
spring:
  application:
    name: spring-data-redis
  data:
    redis:
      password: wangzhexiao
      host: 49.233.186.253
      port: 6379
      jedis:
        pool:
          max-active: 10 # 最大连接
          max-idle: 10 # 最大空闲连接
          min-idle: 0 # 最小空闲连接
          max-wait: 100 # 连接等待时间
      client-type: jedis

