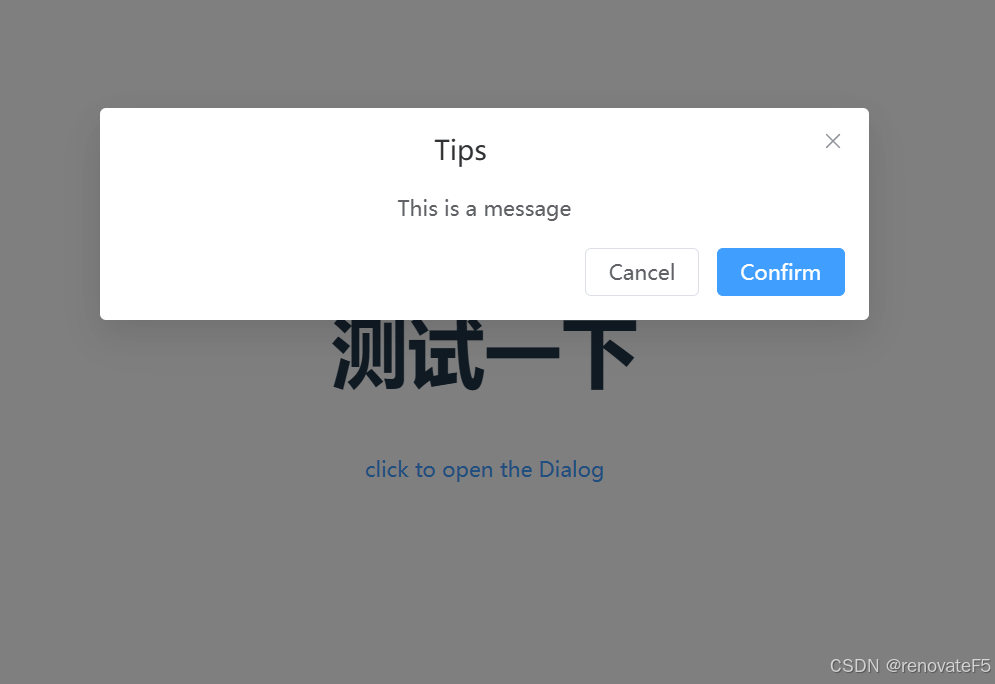
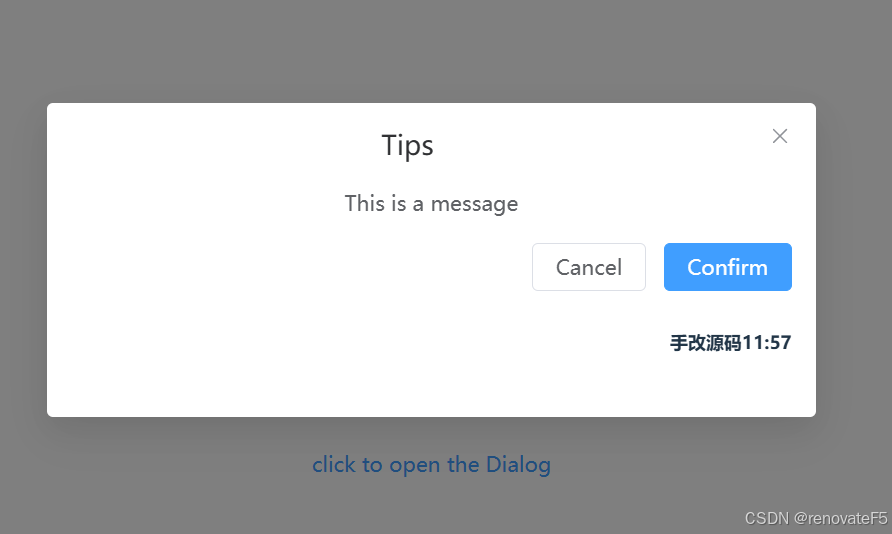
需求:直接使用element-plus未封装成组件的源码,创建一个项目,可以使用任意的element-plus组件,可以深度研究组件的运行。例如研究某一个效果,如果直接在node_modules修改elment-plus打包之后的那些js、mjs代码,不方便使用也没有效果。
第一步:创建项目
采用vite创建一个test_use_elementplus_code,选择vue和ts,等等不在赘述,之后安装element-plus,(后续替换掉element-plus组件直接使用源码的组件,会出现无样式的问题,需要使用element-plus的css样式,不安装也可以直接引入源码的scss文件,但是需要安装sass,否则会报错),在main.ts中全局引入,在App.vue中做出一个效果
import { createApp } from "vue";
import "./style.css";
import "element-plus/dist/index.css";
import "element-plus/theme-chalk/index.css";
import ElementPlus from "element-plus";
import App from "./App.vue";

createApp(App).use(ElementPlus).mount("#app");
<template>
<ElConfigProvider :locale="zhCn">
<h1>测试一下</h1>
<!-- <RouterView /> -->
<el-button text type="primary" @click="dialogVisible = true"
>click to open the Dialog</el-button
>
<el-dialog v-model="dialogVisible" title="Tips" width="30%">
<span>This is a message</span>
<template #footer>
<span class="dialog-footer">
<el-button @click="dialogVisible = false">Cancel</el-button>
<el-button type="primary" @click="dialogVisible = false"
>Confirm</el-button
>
</span>
</template>
</el-dialog>
</ElConfigProvider>
</template>
<script setup lang="ts">
import { ref } from "vue";
import zhCn from "element-plus/es/locale/lang/zh-cn";
const dialogVisible = ref(false);
</script>
不用安装element-plus引入样式的方法,直接使用packages的scss文件,但是需要安装sass依赖
// import "element-plus/dist/index.css";
// import "element-plus/theme-chalk/index.css";
import '/packages/theme-chalk/src/index.scss'
第二步,下载element-plus源码,复制代码
下载地址:https://github.com/element-plus/element-plus
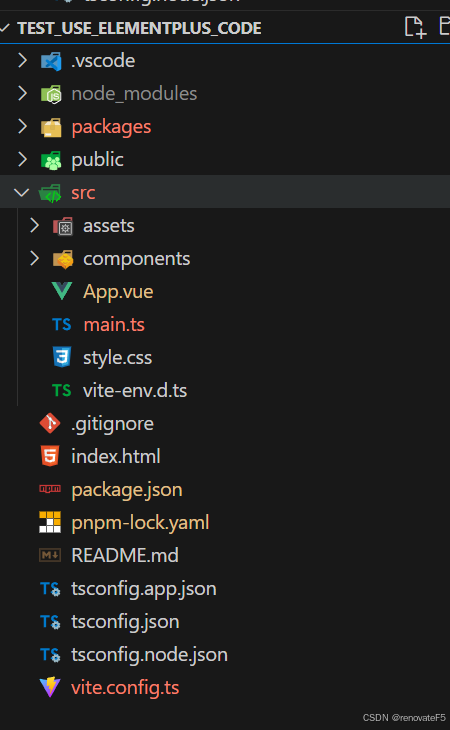
复制上面代码中的packages,到自己的项目,这里采用和src同级别的目录
这里做以下处理:
1、处理路径问题,element-plus源码,中把@element-plus指向了pachkages这个文件夹,我们直接复制过来后,代码中会把@element-plus识别为node_modules中的内容,要通过修改vite.comfig.ts文件,把路径改成packages。
import { defineConfig } from "vite";
import vue from "@vitejs/plugin-vue";
import { URL, fileURLToPath } from "node:url";
// https://vite.dev/config/
export default defineConfig({
  plugins: [vue()],
  resolve: {
    alias: {
      "@": fileURLToPath(new URL("./src", import.meta.url)),
      "@element-plus": fileURLToPath(new URL("packages", import.meta.url)),
    },
  },
});
2、安装@element-plus/icons-vue,把node_modules的@element-plus/icons-vue复制到packages中,原因:packages中的源码用到了这些图标,没有icons-vue会报错。
3、安装下面的依赖,方法,可以直接复制下面的代码到package.json中的dependencies,然后npm i 或者直接运行项目,vite会提示有依赖没有安装,直接去element-plus源码的package.json中找到,复制进来后npm i
"@ctrl/tinycolor": "^3.4.1",
    "@element-plus/icons-vue": "^2.3.1",
    "@floating-ui/dom": "^1.0.1",
    "@popperjs/core": "npm:@sxzz/popperjs-es@^2.11.7",
    "@types/lodash": "^4.14.182",
    "@types/lodash-es": "^4.17.6",
    "@vueuse/core": "^9.1.0",
    "async-validator": "^4.2.5",
    "dayjs": "^1.11.3",
    "escape-html": "^1.0.3",
    "lodash": "^4.17.21",
    "lodash-es": "^4.17.21",
    "lodash-unified": "^1.0.2",
    "memoize-one": "^6.0.0",
    "normalize-wheel-es": "^1.2.0",
    "@vue/shared": "^3.2.37"
第三步,替换element-plus,运行项目
原
import ElementPlus from "element-plus";
新
import ElementPlus from "/packages/element-plus";


