「AWS?好像很难懂……」
「试过用AWS,但按钮太多,搞不清楚……」
「Terraform?没听说过……」
其实,直到最近我也是这样想的。但即使是我,也能使用Terraform构建网站。在本文中,我将分享如何使用AWS和Terraform将Next.js网站部署到S3的过程!
用到的工具
- Terraform
- Node.js
- AWS CLI
创建并构建Next.js项目
首先,创建要部署的项目。
$ npx create-next-app@latest
Need to install the following packages:
[email protected]
Ok to proceed? (y) y

✔ What is your project named? … frontend
✔ Would you like to use TypeScript? … No / Yes
✔ Would you like to use ESLint? … No / Yes
✔ Would you like to use Tailwind CSS? … No / Yes
✔ Would you like to use `src/` directory? … No / Yes
✔ Would you like to use App Router? (recommended) … No / Yes
✔ Would you like to customize the default import alias (@/*)? … No / Yes
Creating a new Next.js app in /app/frontend.
将 next.config.js 修改为以下内容:
/** @type {import('next').NextConfig} */
const nextConfig = {
  output: "export",
  trailingSlash: true,
};

export default nextConfig;
将 package.json 中的 scripts 修改为以下内容:
{
  "scripts": {
    "dev": "next dev",
    "build": "next build",
    "start": "next start",
    "lint": "next lint",
    "export": "next export"
  }
}
执行以下命令来构建项目并创建 out 文件夹:
npm run build接下来将生成的 out 文件夹通过 Terraform 上传到 S3。
使用 Terraform 配置 AWS 资源
provider "aws" {
  region = "ap-northeast-1"
}

resource "aws_s3_bucket" "web_hosting_bucket" {
  bucket = "test-deployed-by-terraform"

  force_destroy = true
}

resource "aws_s3_bucket_public_access_block" "web_hosting_bucket_public_access_block" {
  bucket = aws_s3_bucket.web_hosting_bucket.id

  block_public_acls       = false
  block_public_policy     = false
  ignore_public_acls      = false
  restrict_public_buckets = false
}

resource "aws_s3_bucket_policy" "bucket_policy" {
  bucket = aws_s3_bucket.web_hosting_bucket.id
  policy = data.aws_iam_policy_document.policy_document.json
  depends_on = [
    aws_s3_bucket_public_access_block.web_hosting_bucket_public_access_block, # パブリックアクセスブロックの設定を待たないとエラーが発生する
  ]
}

data "aws_iam_policy_document" "policy_document" {
  statement {
    sid    = "Statement1"
    effect = "Allow"
    principals {
      type        = "*"
      identifiers = ["*"]
    }
    actions = [
      "s3:GetObject"
    ]
    resources = [
      "${aws_s3_bucket.web_hosting_bucket.arn}/*"
    ]
  }
}

resource "aws_s3_bucket_website_configuration" "web_hosting_bucket_config" {
  bucket = aws_s3_bucket.web_hosting_bucket.id

  index_document {
    suffix = "index.html"
  }

  error_document {
    key = "error.html"
  }
}

module "template_files" {
  source   = "hashicorp/dir/template"
  base_dir = "../frontend/out" # Build文件夹
}

resource "aws_s3_object" "bucket_object" {
  for_each     = module.template_files.files
  bucket       = aws_s3_bucket.web_hosting_bucket.id
  key          = each.key
  source       = each.value.source_path
  content_type = each.value.content_type
  etag         = filemd5(each.value.source_path)
}
解説
● 设置AWS提供者,指定东京区域(ap-northeast-1)
● 创建S3存储桶
● 存储桶名称:"test-deployed-by-terraform"
● 设置 `force_destroy: true`,即使有内容也可以删除
● 允许存储桶的所有公共访问设置
● 配置存储桶策略
● 赋予所有用户 `GetObject` 权限
● 将存储桶配置为网站托管
● 索引文档:`index.html`
● 错误文档:`error.html`
● 使用模板文件模块读取本地文件
● 创建S3对象资源
● 将模板文件模块读取的文件上传到S3
● 设置内容类型和ETAG(用于检测上传文件的更改)
Terraform执行
terraform init   # 初期化
terraform plan   # 確認PLAN
terraform apply -auto-approve # release
确认部署内容
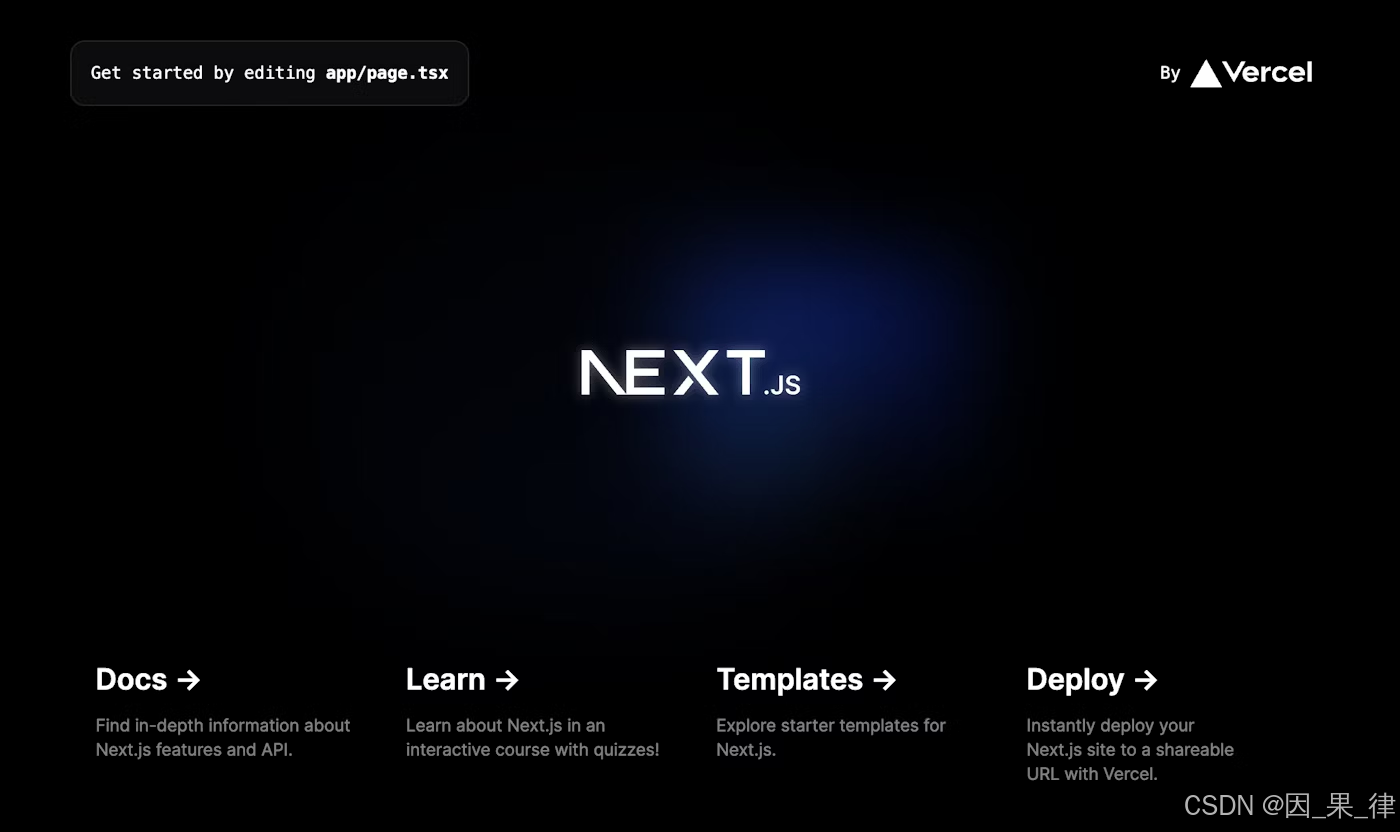
AWS 控制台→S3 详细信息页面→属性→静态网站托管的存储桶网站端点,访问该端点后,您应该会看到以下画面。 至此,部署完成。
写在最后
感觉如何?就我个人而言,我发现使用Terraform以代码的形式管理和执行基础设施,比手动操作AWS控制台界面要简单得多。这样一来,使用AWS的门槛也降低了。(毕竟,AWS的控制台界面功能太多,很难找到需要操作的地方……)
