介绍
Unity 的 新输入系统(Input System) 是一个强大且灵活的输入管理工具,支持多种输入设备(如键盘、鼠标、手柄、触摸屏等),并且比旧版输入系统(UnityEngine.Input)更现代化和可扩展
使用
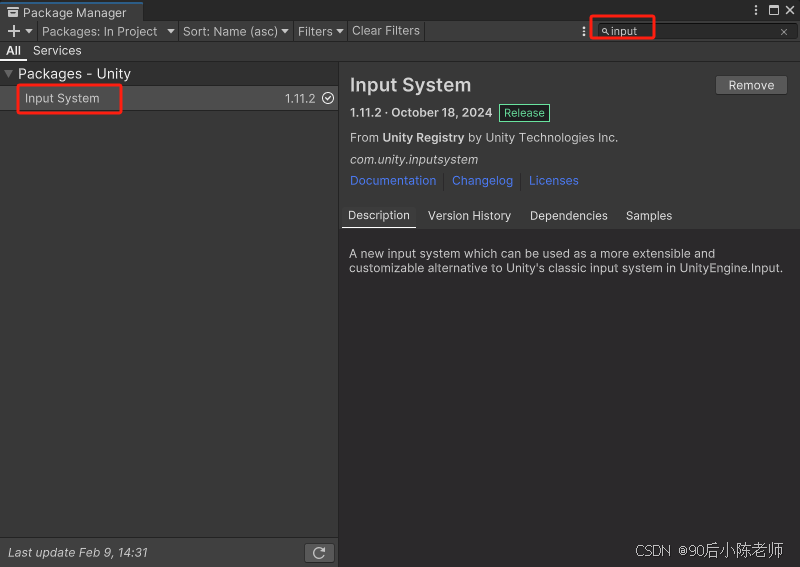
1. 安装 Input System 包
打开 Unity 编辑器。
进入 Window > Package Manager。
在 Package Manager 中搜索 Input System。
点击 Install 安装 Input System 包。
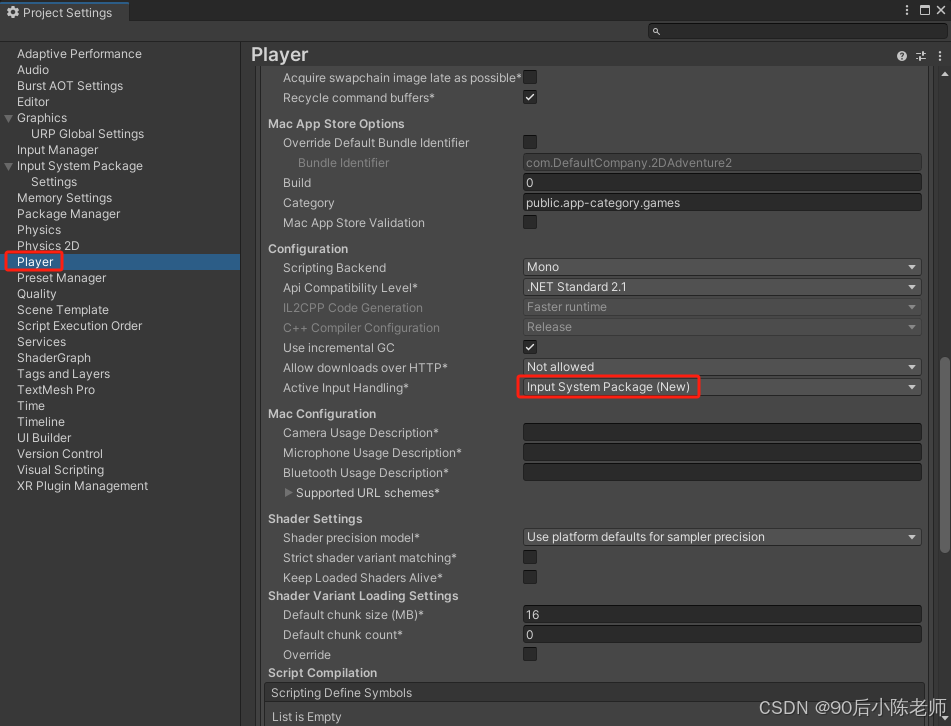
2. 启用 Input System
打开 Edit > Project Settings > Player。
在 Other Settings 下找到 Active Input Handling。
将其设置为 Input System (New) 或 Both(如果需要同时支持旧版和新版输入系统)。
重启 Unity 编辑器以应用更改。
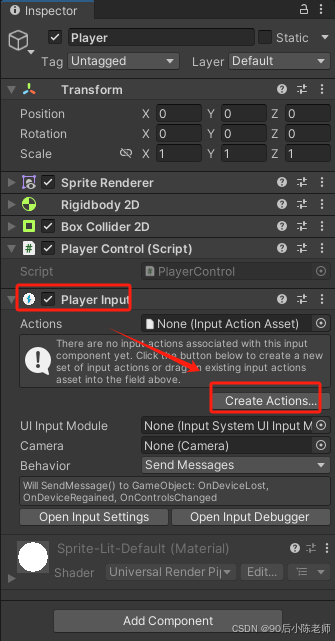
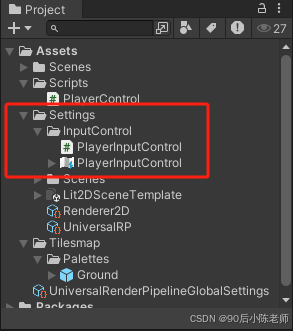
3. 创建 Input Actions
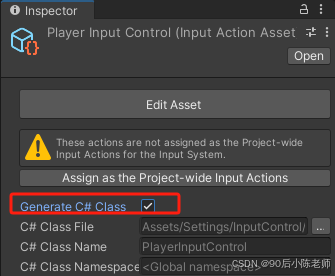
在物体上添加组件”Player Input“,点击”Create Actions“,保存到”Setting/InputControl“文件夹下,并生成对应脚本
4. 在代码中使用 Input System
using System.Collections;
using System.Collections.Generic;
using UnityEngine;
using UnityEngine.InputSystem;

public class PlayerControl : MonoBehaviour
{
    private PlayerInputControl inputControl;
    private Vector2 inputDirection;
    private Rigidbody2D rb;
    private float speed = 20;

    private void Awake()
    {
        inputControl = new PlayerInputControl();
        rb = GetComponent<Rigidbody2D>();
    }

    private void OnEnable()
    {
        inputControl.Enable();
    }

    private void OnDisable()
    {
        inputControl.Disable();
    }

    // Start is called before the first frame update
    void Start()
    {

    }

    // Update is called once per frame
    void Update()
    {
        inputDirection = inputControl.Player.Move.ReadValue<Vector2>();
    }

    private void FixedUpdate()
    {
        rb.velocity = new Vector2(speed * inputDirection.x * Time.deltaTime, rb.velocity.y);
    }
}