点一下关注吧!!!非常感谢!!持续更新!!!
目前已经更新到了:
- Hadoop(已更完)
- HDFS(已更完)
- MapReduce(已更完)
- Hive(已更完)
- Flume(已更完)
- Sqoop(已更完)
- Zookeeper(已更完)
- HBase(已更完)
- Redis (已更完)
- Kafka(已更完)
- Spark(已更完)
- Flink(已更完)
- ClickHouse(已更完)
- Kudu(已更完)
- Druid(已更完)
- Kylin(已更完)
- Elasticsearch(正在更新…)
章节内容
上节我们完成了如下的内容:
- ELK 日志分析配置环境
- Nginx、Elastic、ZK、Kafka 等等
Filebeat
官方地址
Filebeat主要为了解决Logstash工具是消耗资源比较严重的问题,因为Logstash是Java语言编写的,需要启动一个虚拟机。官方为了优化这个问题推出了一些轻量级的采集工具,Beats系列,其中比较广泛使用的是Filebeat。
https://www.elastic.co/guide/en/beats/filebeat/7.3/index.html
对比区别
- Logstash是运行在Java虚拟机上的,启动一个Logstash需要消耗500M的内存(所以启动特别慢),而Filebeat只需要10M左右
- 常用的ELK日志采集中,大部分的做法就是将所有节点的日志内容通过Filebeat发送到Kafka集群,Logstash消费Kafka,再根据配置文件进行过滤,然后将过滤的文件输出到Elasticsearch中,再到Kibana去展示。
项目安装
目前我选择在 h121 节点上,你可以按照自己的情况来安装。
cd /opt/software
wget https://artifacts.elastic.co/downloads/beats/filebeat/filebeat-7.3.0-linux-x86_64.tar.gz
结果如下图所示:
解压配置
tar -zxvf filebeat-7.3.0-linux-x86_64.tar.gz
mv filebeat-7.3.0-linux-x86_64 ../servers
cd ../servers
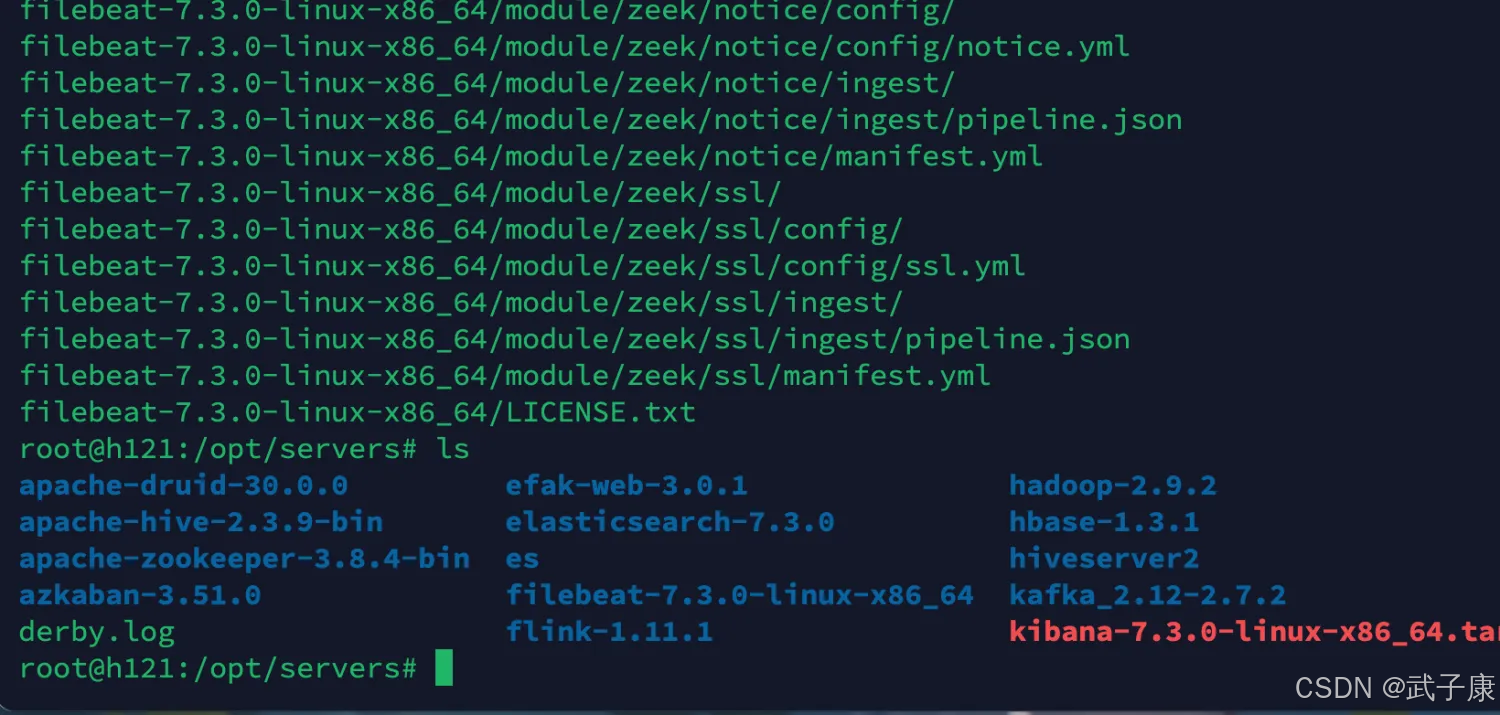
对应的内容如下图所示:
修改配置文件如下:
cd /opt/servers/filebeat-7.3.0-linux-x86_64
vim filebeat.yml
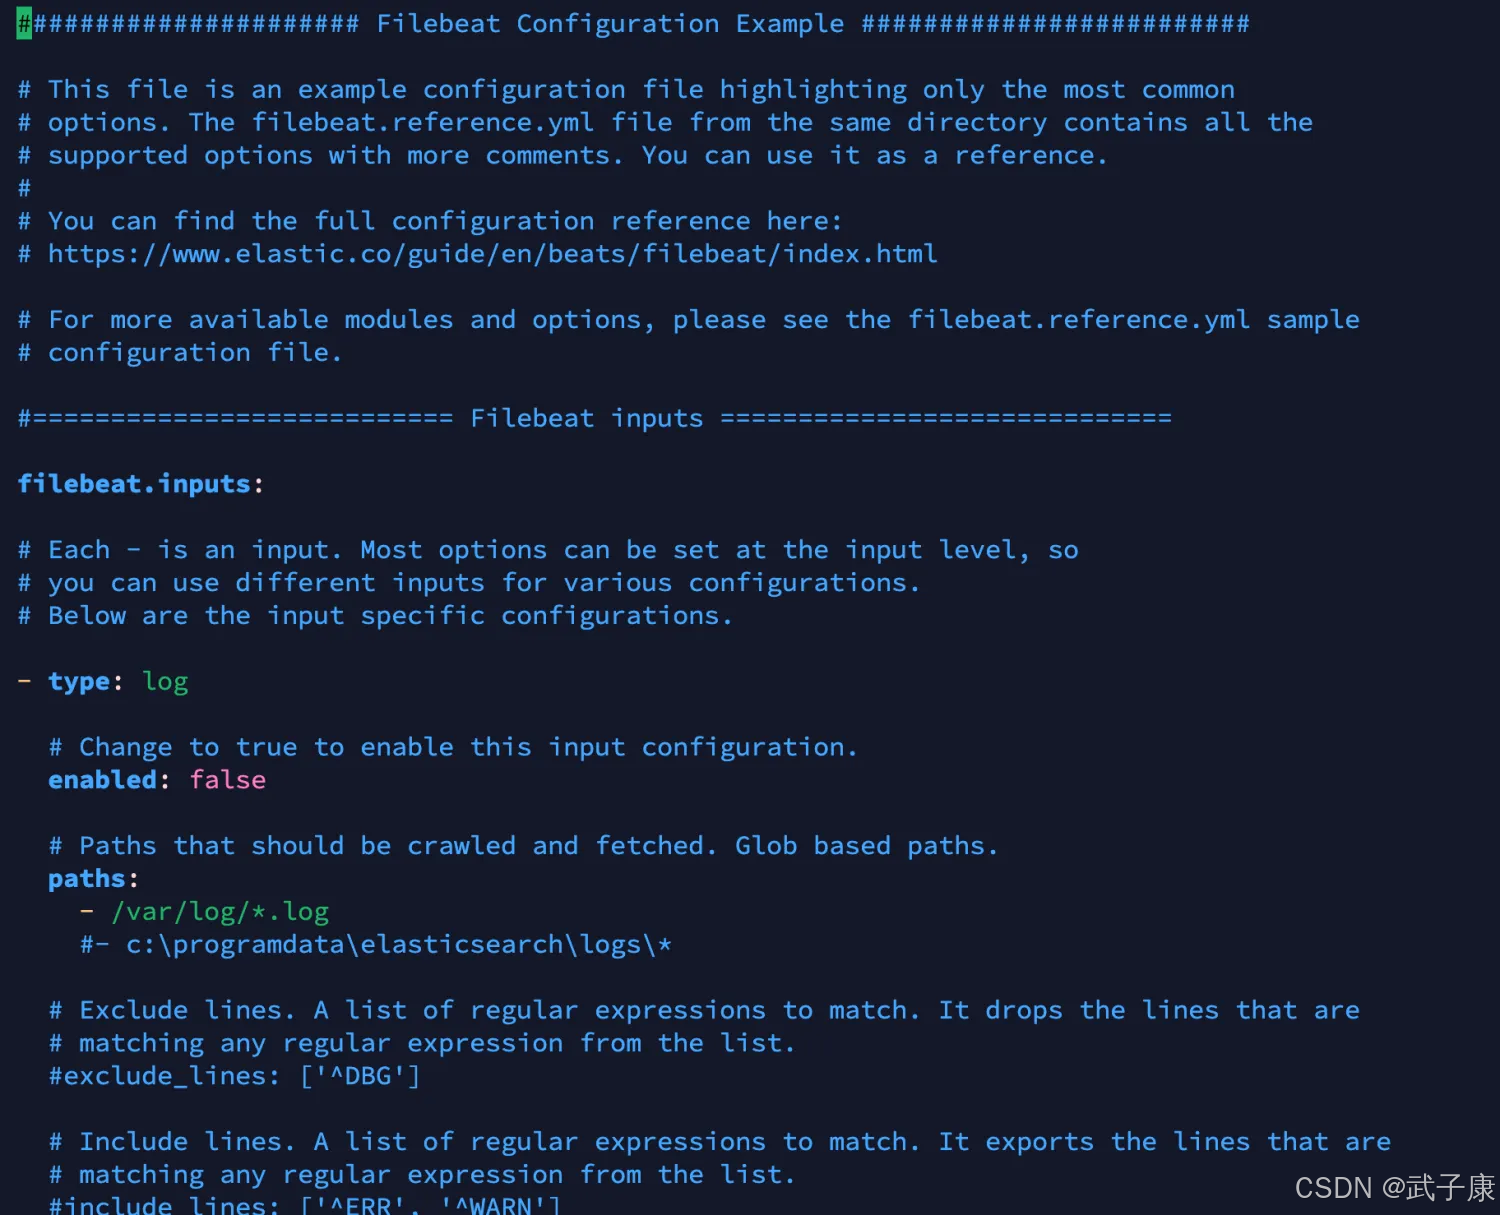
当前文件内容如下所示:
input部分
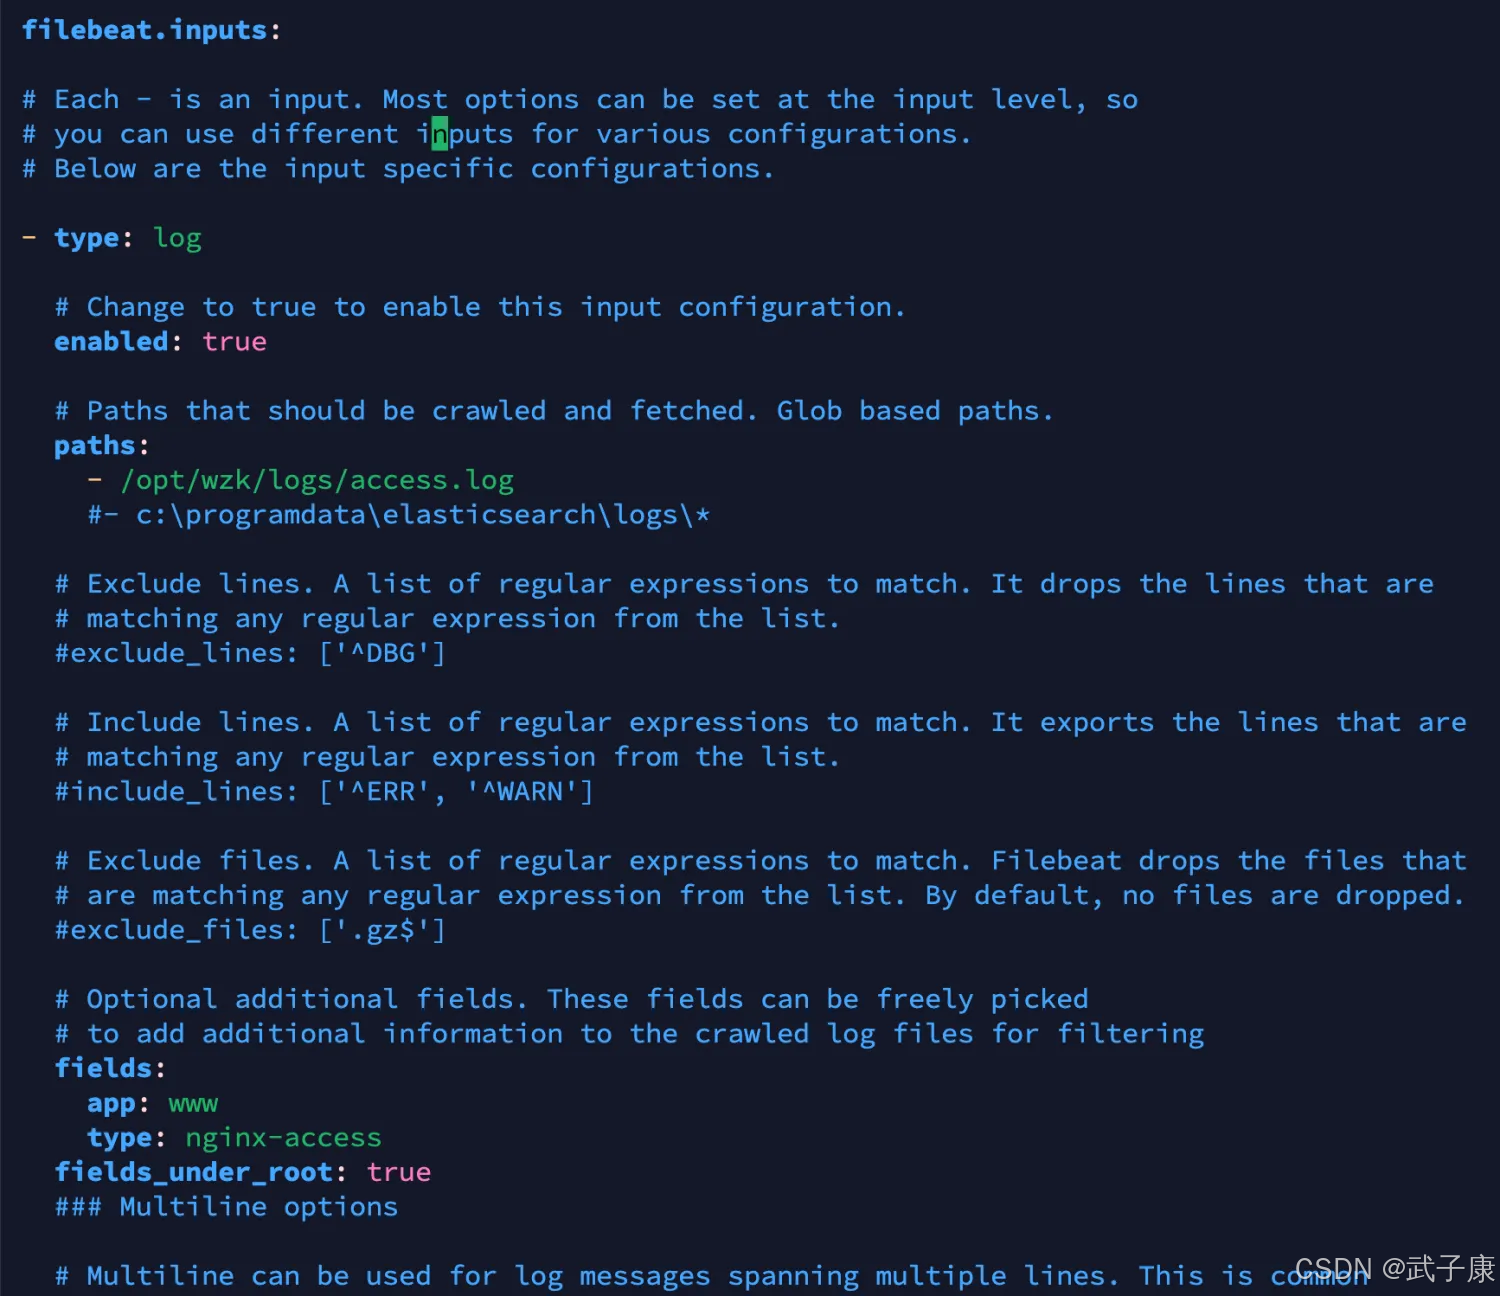
修改为如下的内容 filebeat.inputs 部分的内容:
- type: log

  # Change to true to enable this input configuration.
  enabled: true

  # Paths that should be crawled and fetched. Glob based paths.
  paths:
    - /opt/wzk/logs/access.log
    #- c:\programdata\elasticsearch\logs\*

  # Exclude lines. A list of regular expressions to match. It drops the lines that are
  # matching any regular expression from the list.
  #exclude_lines: ['^DBG']

  # Include lines. A list of regular expressions to match. It exports the lines that are
  # matching any regular expression from the list.
  #include_lines: ['^ERR', '^WARN']

  # Exclude files. A list of regular expressions to match. Filebeat drops the files that
  # are matching any regular expression from the list. By default, no files are dropped.
  #exclude_files: ['.gz$']

  # Optional additional fields. These fields can be freely picked
  # to add additional information to the crawled log files for filtering
  fields:
    app: www
    type: nginx-access
  fields_under_root: true
  ### Multiline options
修改的截图如下:
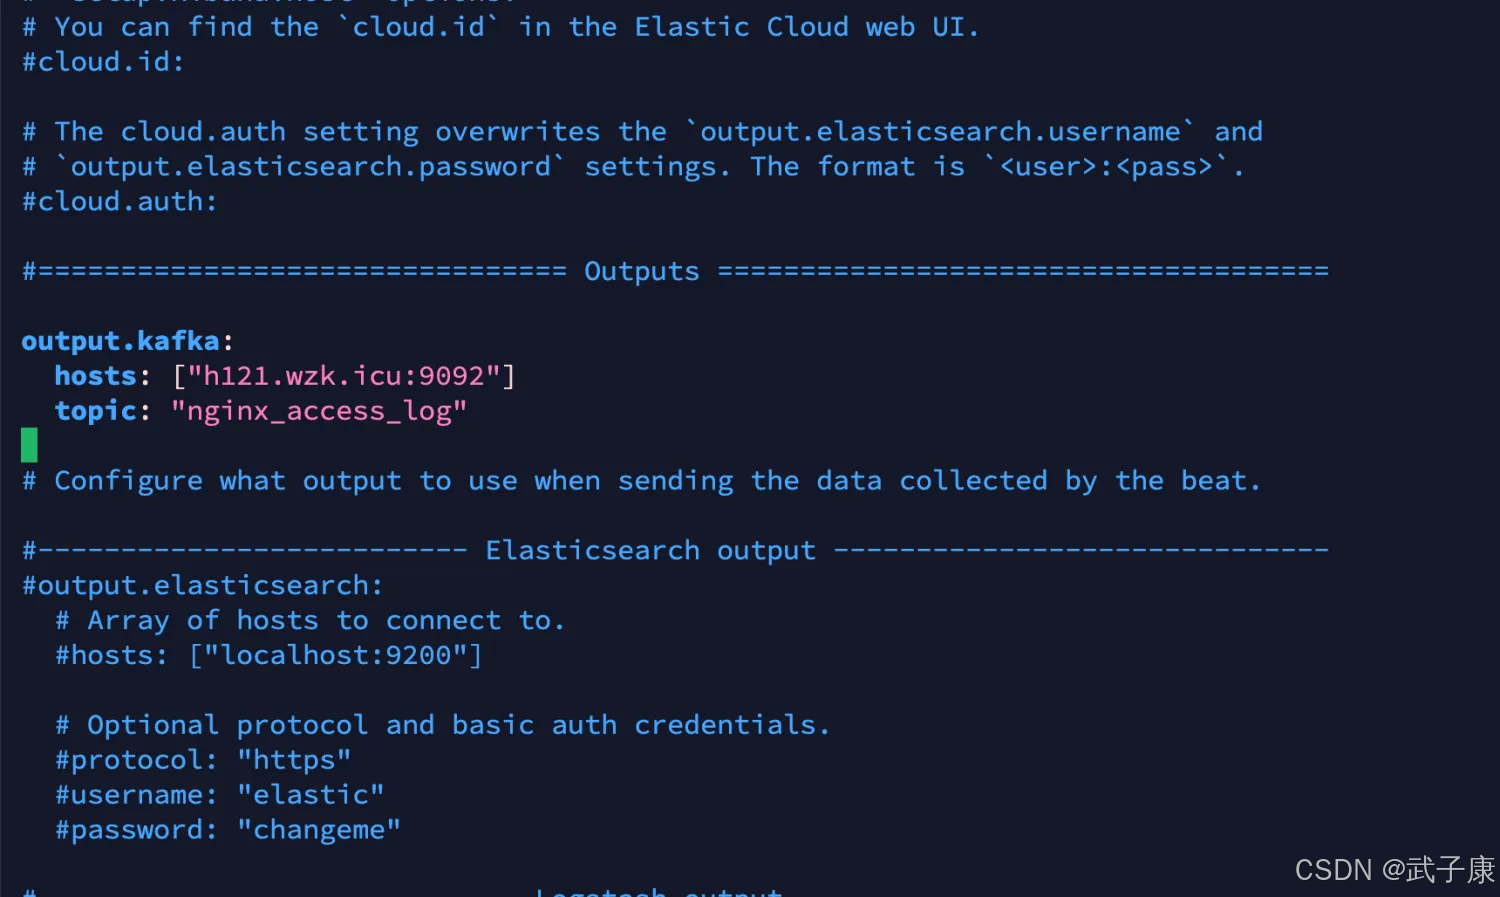
output部分
output.kafka:
  hosts: ["h121.wzk.icu:9092"]
  topic: "nginx_access_log"
对应的截图如下所示:
启动服务
cd /opt/servers/filebeat-7.3.0-linux-x86_64
./filebeat -e -c filebeat.yml
如果你在这里遇到了 runtime-cgo-pthread-create-failed-operation-not-permitted 的错误,那你可以尝试将 FileBeat 的版本进行提升,我这里就遇到了,所以后续进行版本提升
遇到错误 runtime-cgo-pthread-create-failed-operation-not-permitted
如果你没有遇到,直接跳过!
我这里版本一点点的往上尝试,大致猜测是操作系统的版本可能新一些,所以原来的Go的库无法支持新的操作系统了(猜测的)。
这里我测试到 7.17 的版本就好了:
cd /opt/software
wget https://artifacts.elastic.co/downloads/beats/filebeat/filebeat-7.17.0-linux-x86_64.tar.gz
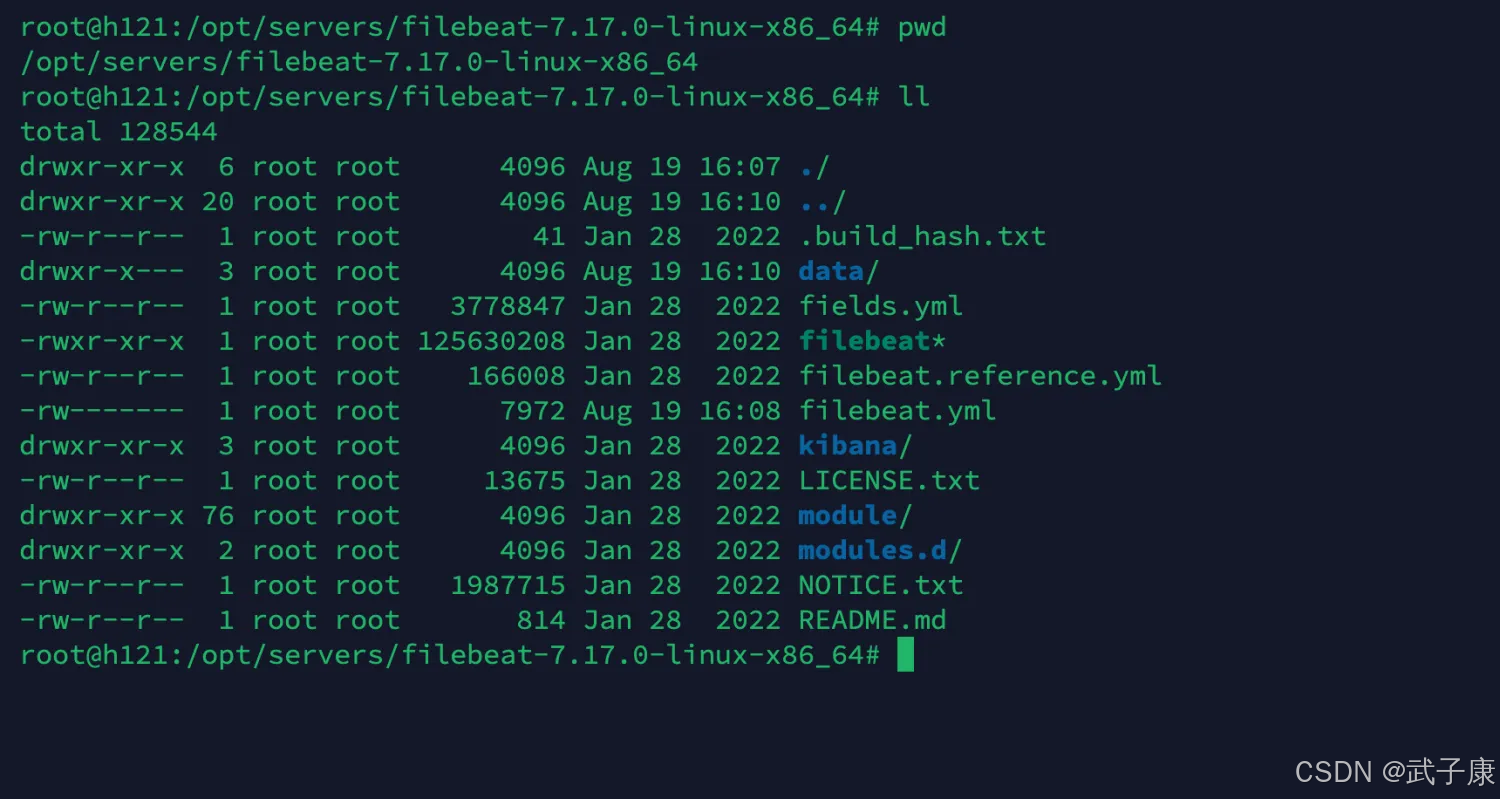
根据刚才的操作,我已经配置好了路劲等内容,且修改了 filebeat.yml 的配置文件内容
进行启动测试:
cd /opt/servers/filebeat-7.17.0-linux-x86_64
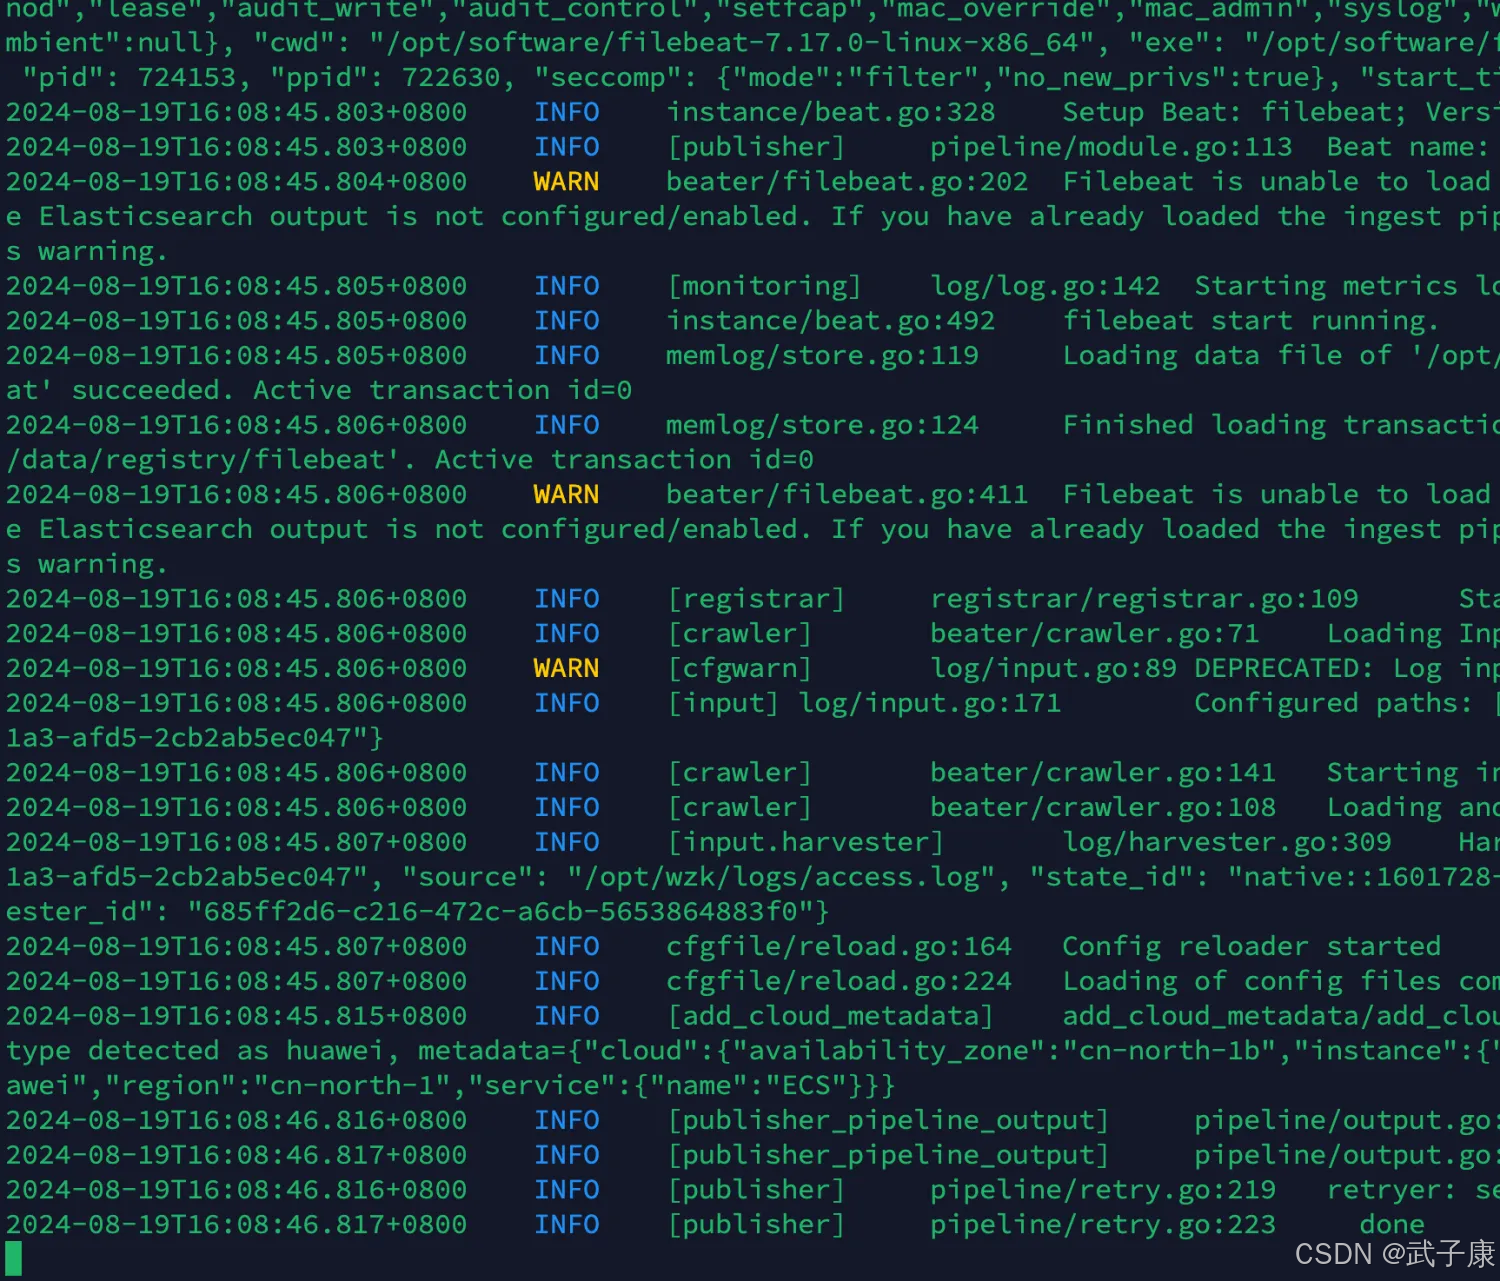
./filebeat -e -c filebeat.yml
顺利启动,启动结果如下图:
测试数据
启动一切正常之后,我们在Nginx刷新几次,来生成一些数据出来。
查看消费
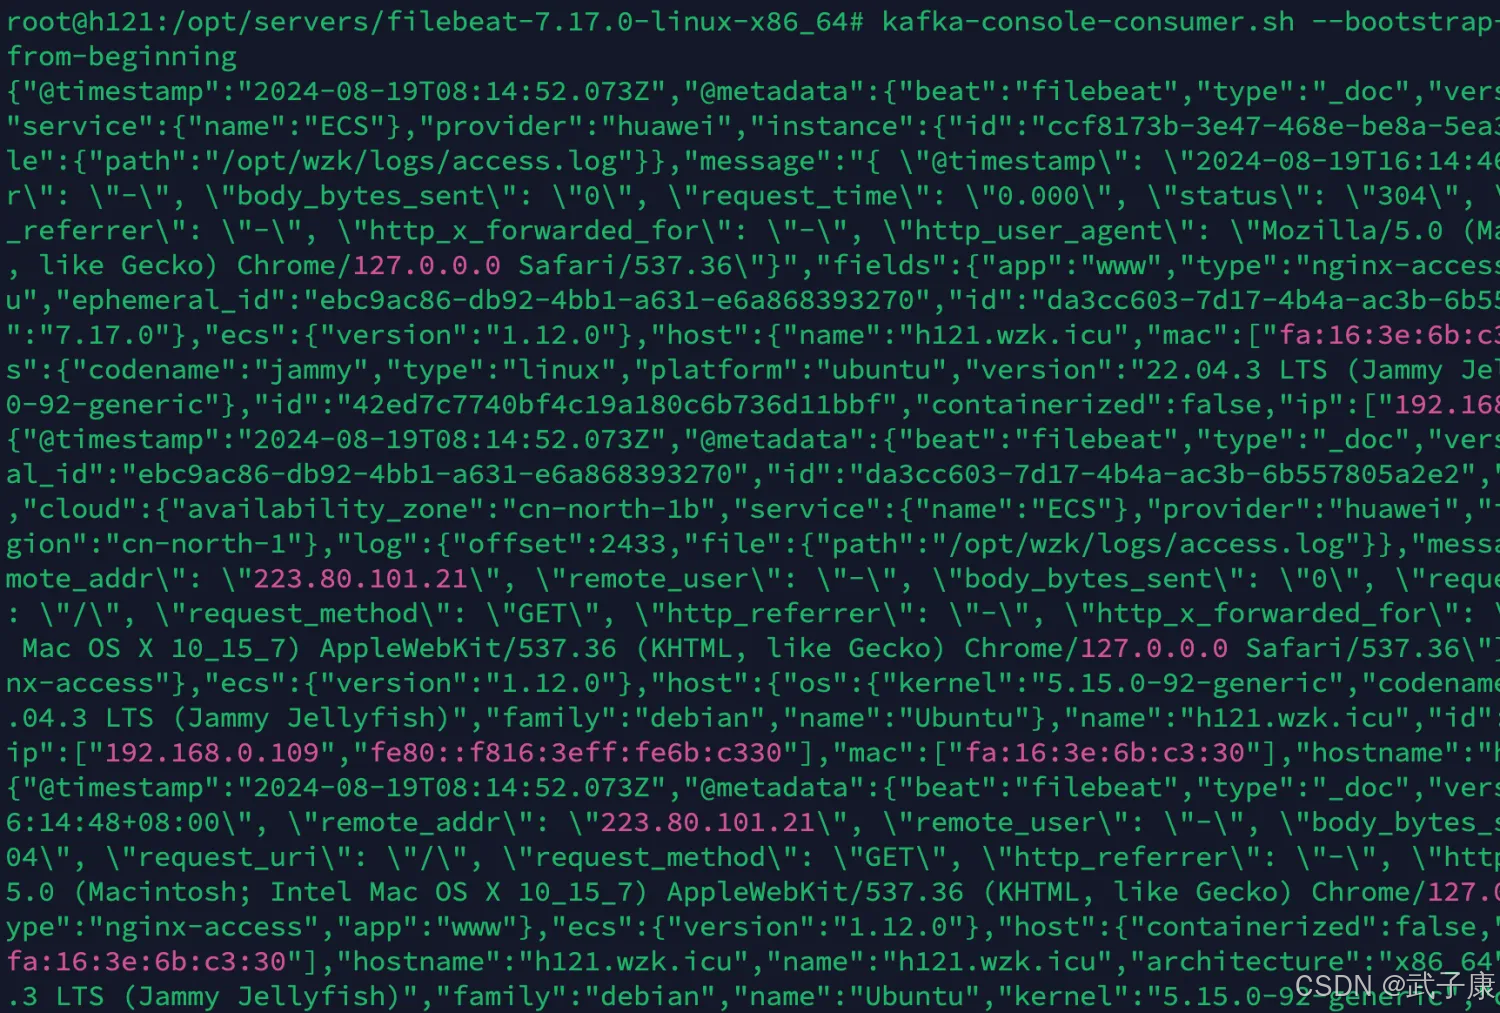
kafka-console-consumer.sh --bootstrap-server h121.wzk.icu:9092 --topic nginx_access_log --
from-beginning
可以看到数据已经来了:
我们进行一下JSON的格式化操作:
{
	"@timestamp": "2024-08-19T08:14:52.073Z",
	"@metadata": {
		"beat": "filebeat",
		"type": "_doc",
		"version": "7.17.0"
	},
	"cloud": {
		"availability_zone": "cn-north-1b",
		"service": {
			"name": "ECS"
		},
		"provider": "huawei",
		"instance": {
			"id": "ccf8173b-3e47-468e-be8a-5ea3a03c76e0"
		},
		"region": "cn-north-1"
	},
	"log": {
		"offset": 2034,
		"file": {
			"path": "/opt/wzk/logs/access.log"
		}
	},
	"message": "{ \"@timestamp\": \"2024-08-19T16:14:46+08:00\", \"remote_addr\": \"223.80.101.21\", \"remote_user\": \"-\", \"body_bytes_sent\": \"0\", \"request_time\": \"0.000\", \"status\": \"304\", \"request_uri\": \"/\", \"request_method\": \"GET\", \"http_referrer\": \"-\", \"http_x_forwarded_for\": \"-\", \"http_user_agent\": \"Mozilla/5.0 (Macintosh; Intel Mac OS X 10_15_7) AppleWebKit/537.36 (KHTML, like Gecko) Chrome/127.0.0.0 Safari/537.36\"}",
	"fields": {
		"app": "www",
		"type": "nginx-access"
	},
	"input": {
		"type": "log"
	},
	"agent": {
		"hostname": "h121.wzk.icu",
		"ephemeral_id": "ebc9ac86-db92-4bb1-a631-e6a868393270",
		"id": "da3cc603-7d17-4b4a-ac3b-6b557805a2e2",
		"name": "h121.wzk.icu",
		"type": "filebeat",
		"version": "7.17.0"
	},
	"ecs": {
		"version": "1.12.0"
	},
	"host": {
		"name": "h121.wzk.icu",
		"mac": ["fa:16:3e:6b:c3:30"],
		"hostname": "h121.wzk.icu",
		"architecture": "x86_64",
		"os": {
			"codename": "jammy",
			"type": "linux",
			"platform": "ubuntu",
			"version": "22.04.3 LTS (Jammy Jellyfish)",
			"family": "debian",
			"name": "Ubuntu",
			"kernel": "5.15.0-92-generic"
		},
		"id": "42ed7c7740bf4c19a180c6b736d11bbf",
		"containerized": false,
		"ip": ["192.168.0.109", "fe80::f816:3eff:fe6b:c330"]
	}
}
Logstash
官方文档
Logstash用来读取Kafka中的数据
https://www.elastic.co/guide/en/logstash/7.3/plugins-inputs-kafka.html
编写配置
cd /opt/servers/logstash-7.3.0/config
vim logstash_kafka_es.conf
修改如下的配置如何:
input {
    kafka {
        bootstrap_servers => "h121.wzk.icu:9092"
        topics => ["nginx_access_log"]
        codec => "json"
    }
}

filter {
    if [app] == "www" {
        if [type] == "nginx-access" {
            json {
                source => "message"
                remove_field => ["message"]
            }
            geoip {
                source => "remote_addr"
                target => "geoip"
                database => "/opt/wzk/GeoLite2-City.mmdb"
                add_field => ["[geoip][coordinates]", "%{[geoip][longitude]}"]
                add_field => ["[geoip][coordinates]", "%{[geoip][latitude]}"]
            }
            mutate {
                convert => ["[geoip][coordinates]", "float"]
            }
        }
    }
}

output {
    elasticsearch {
        hosts => ["http://h121.wzk.icu:9200"]
        index => "logstash-%{type}-%{+YYYY.MM.dd}"
    }
    stdout {
        codec => rubydebug
    }
}
下载依赖
我们看到这里用了一个 GeoLite2-City.mmdb,我们需要下载GeoLite2-City.mmdb:
https://github.com/P3TERX/GeoLite.mmdb?tab=readme-ov-file
这里我直接下载:
cd /opt/wzk/
wget https://git.io/GeoLite2-City.mmdb
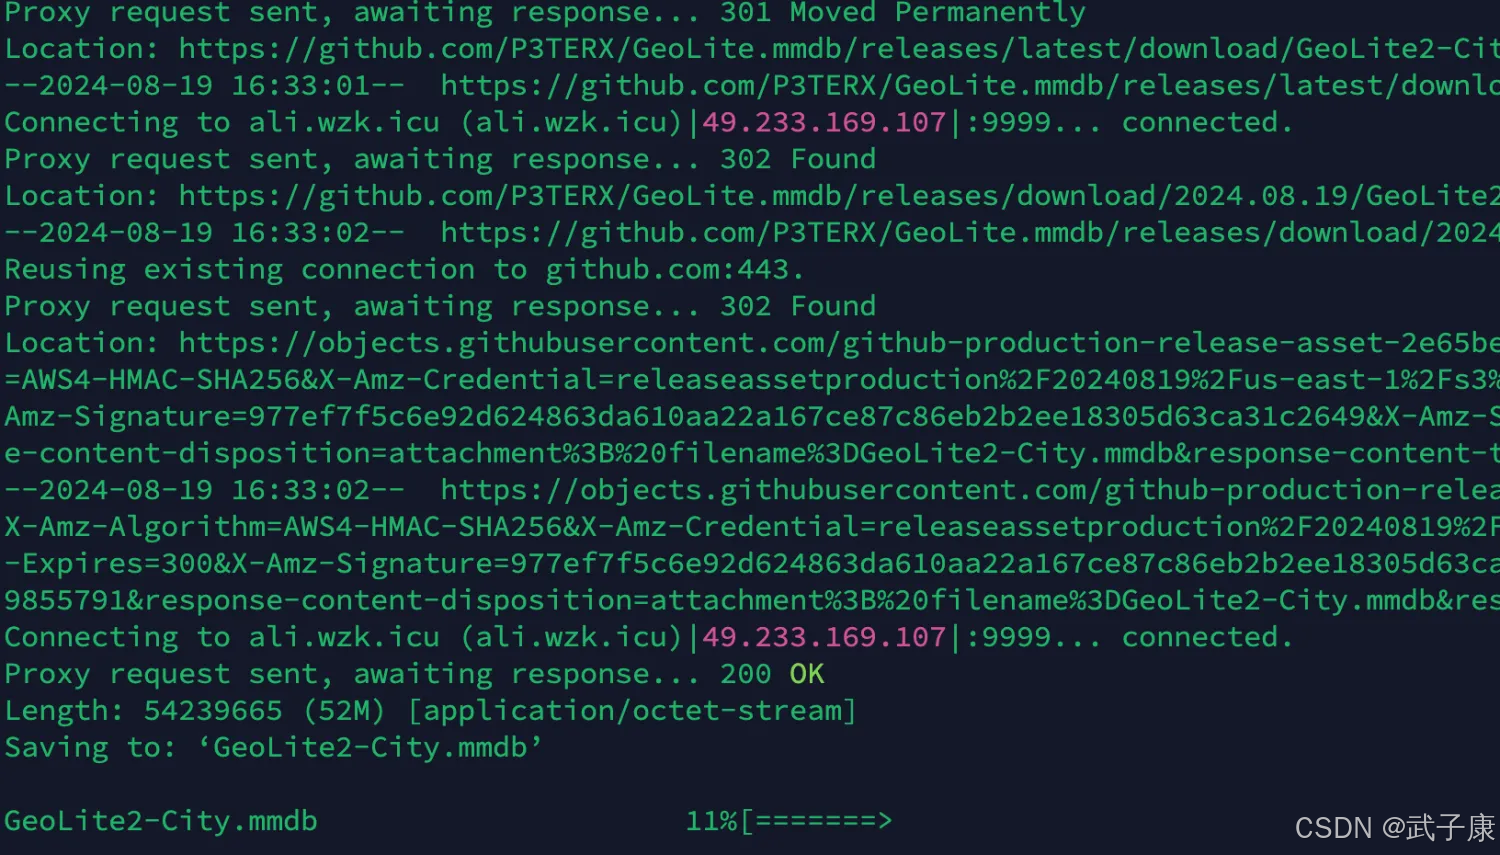
下载过程如下图所示:
测试服务
cd /opt/servers/logstash-7.3.0
bin/logstash -f /opt/servers/logstash-7.3.0/config/logstash_kafka_es.conf -t
运行的结果如下图所示:
启动服务
cd /opt/servers/logstash-7.3.0
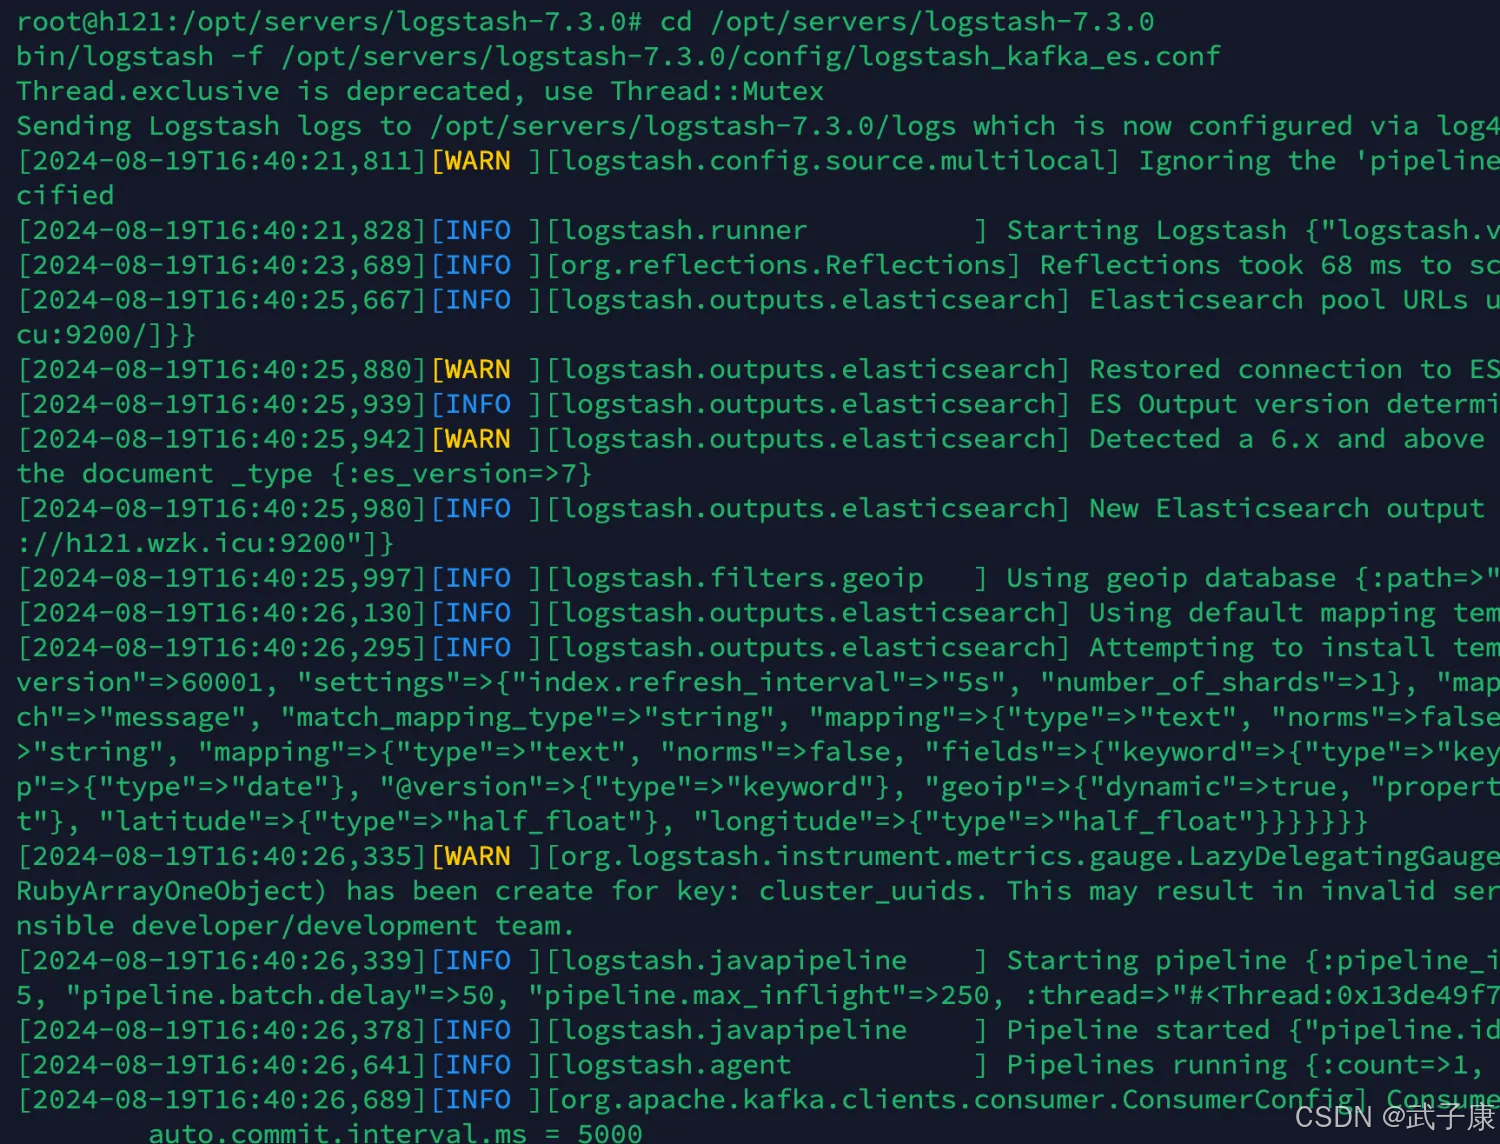
bin/logstash -f /opt/servers/logstash-7.3.0/config/logstash_kafka_es.conf
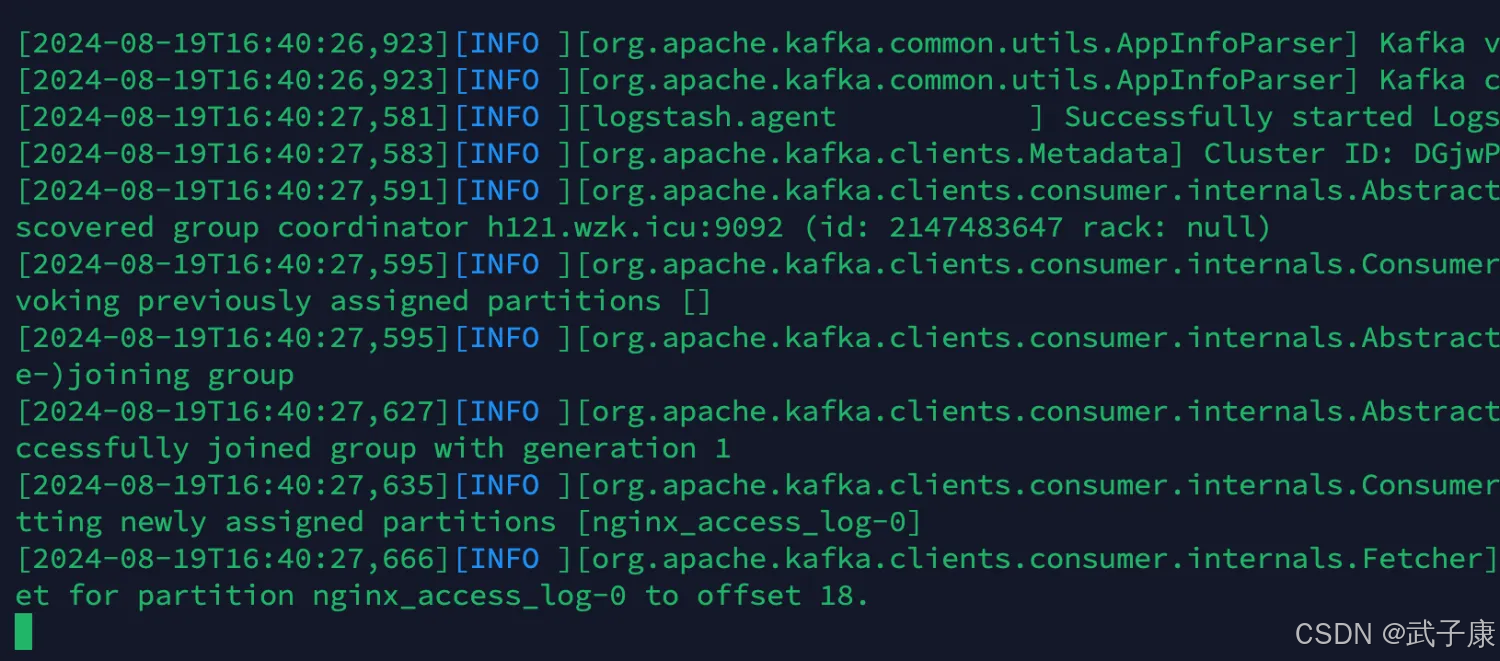
启动之后结果如下图:
Kafa对应的日志部分:
测试数据
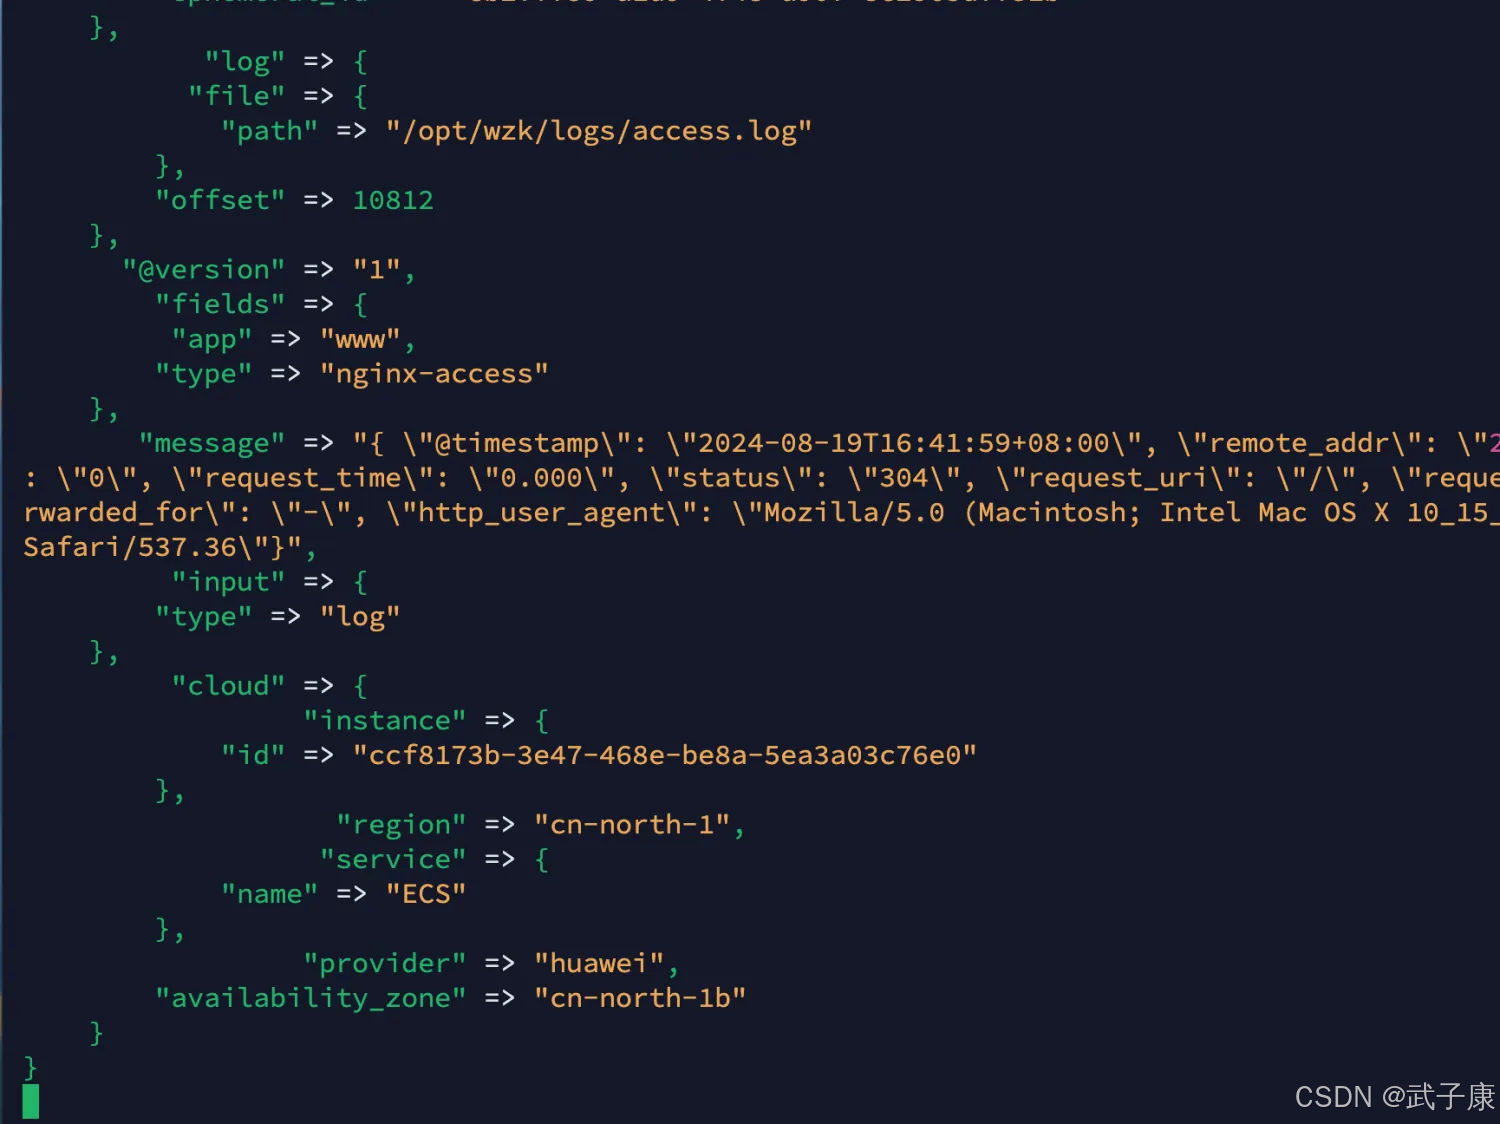
我们刷新Nginx的页面,提供一些数据出来。
我们可以看到 Logstash 的控制台输出了对应的内容:
