起因, 目的:
某个小店,想做个发货单。
过程:
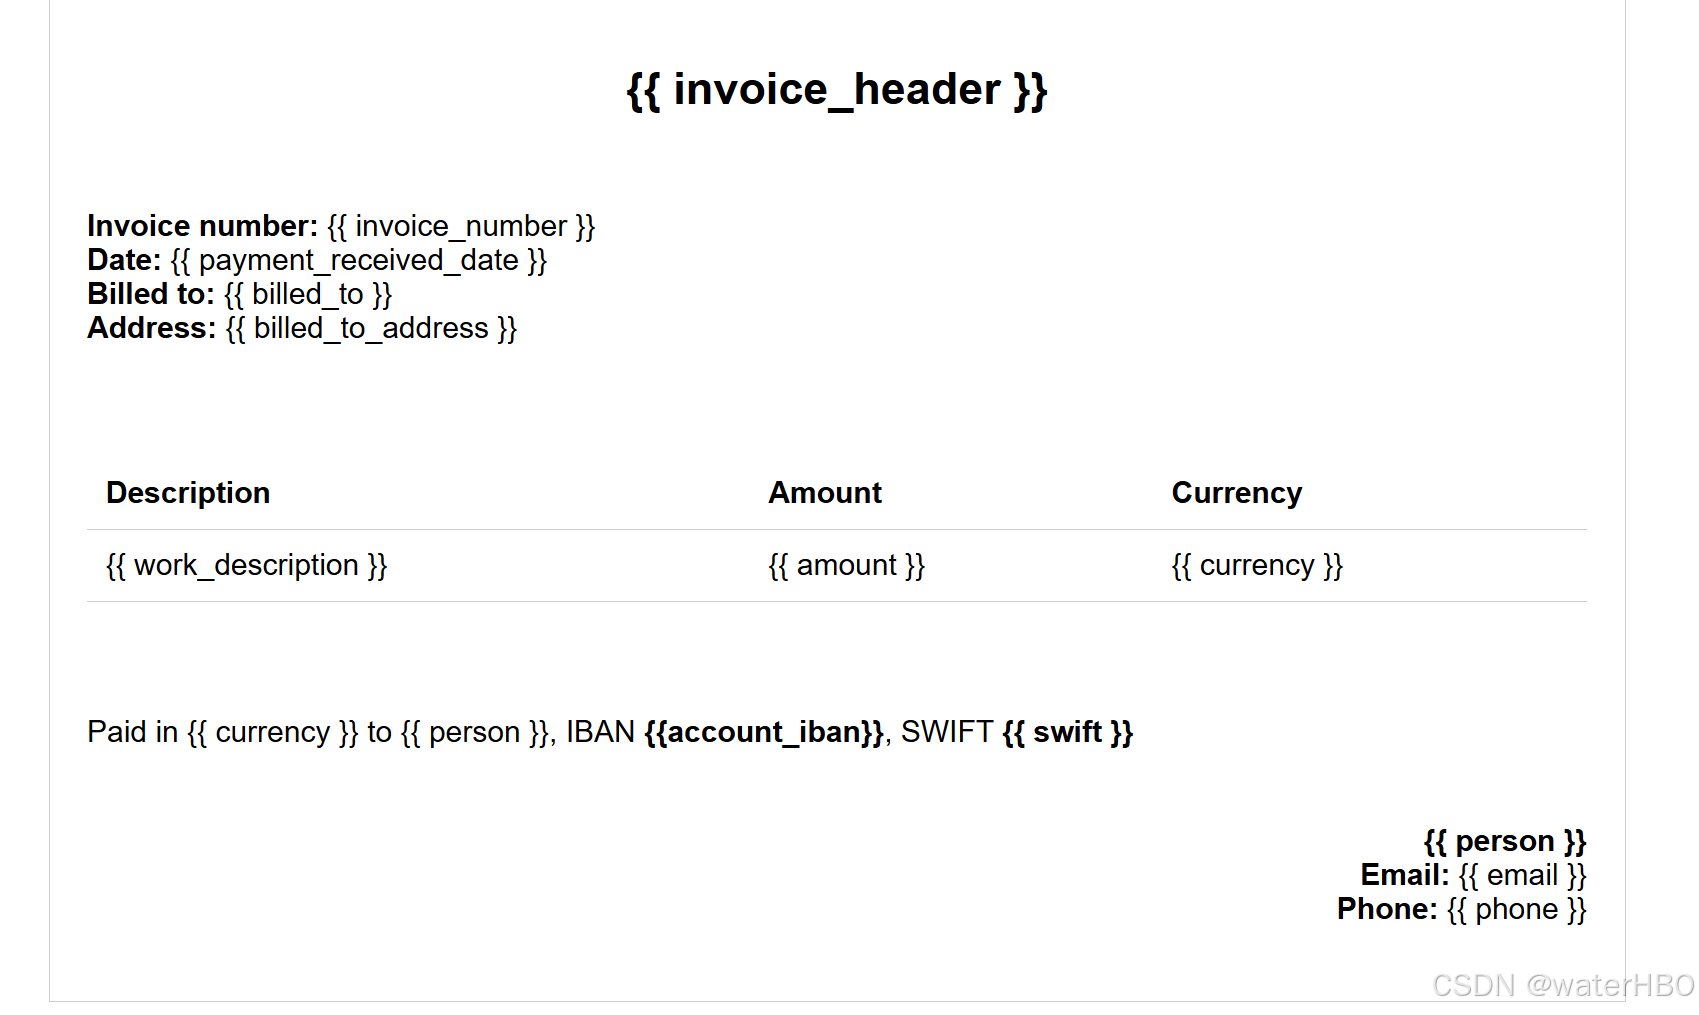
- 先写一个 html 模板。
- 准备数据, 一般是从数据库读取,也可以是 json 格式,或是 python 字典。总之,是数据内容。
- 使用 jinja2 来渲染模板。
- 最终的结果可以是 html, 也可以是 pdf, 反正可以直接让打印机打印。
代码 1, html 模板
<!DOCTYPE html>
<html>
<head>
 <title>Invoice</title>
 <style>
  body {
   font-family: Arial, sans-serif;
   margin: 0;
   padding: 0;
  }

  .container {
   max-width: 800px;
   margin: 0 auto;
   padding: 20px;
   border: 1px solid #ccc;
  }

  table {
   width: 100%;
   border-collapse: collapse;
  }

  h2 {
   margin-bottom: 50px;
   text-align: center;
  }

  th, td {
   padding: 10px;
   text-align: left;
   border-bottom: 1px solid #ccc;
  }

  .invoice-details {
   margin-bottom: 20px;
   text-align: left;
  }

  .invoice-details p {
   margin: 0;
   font-size: 16px;
  }

  .invoice-details strong {
   font-weight: bold;
  }

  .invoice-items {
   margin-top: 60px;
   margin-bottom: 20px;
  }

  .invoice-items th {
   font-weight: bold;
   text-align: left;
  }

  .invoice-items td {
   text-align: left;
  }

  .invoice-total {
   text-align: right;
   margin-right: 30px;
  }

  .invoice-total strong {
   font-size: 20px;
   font-weight: bold;
  }

  .bottom {
   margin-top: 40px;
   text-align: right;
  }

  .info {
   margin-top: 60px;
  }

  .signature {
   width: 200px;
   height: auto;
  }

  @media print {
   .container {
    border: none;
   }
  }
 </style>
</head>
<body>
 <div class="container">
  <h2>{{ invoice_header }}</h2>

  <div class="invoice-details">
   <p><strong>Invoice number:</strong> {{ invoice_number }}</p>
   <p><strong>Date:</strong> {{ payment_received_date }}</p>
   <p><strong>Billed to:</strong> {{ billed_to }}</p>
   <p><strong>Address: </strong> {{ billed_to_address }}</p>
  </div>

  <div class="invoice-items">
   <table>
    <thead>
     <tr>
      <th>Description</th>
      <th>Amount</th>
      <th>Currency</th>
     </tr>
    </thead>
    <tbody>
     <tr>
      <td>{{ work_description }}</td>
      <td>{{ amount }}</td>
      <td>{{ currency }}</td>
     </tr>
    </tbody>
   </table>
  </div>

  <p class="info">
   Paid in {{ currency }} to {{ person }},
   IBAN <strong>{{account_iban}}</strong>,
   SWIFT <strong>{{ swift }}</strong>
  </p>

  <div class="invoice-details bottom">
   <p><strong>{{ person }}</strong></p>
   <p><strong>Email:</strong> {{ email }}</p></p>
   <p><strong>Phone:</strong> {{ phone }}</p>
  </div>
 </div>
</body>
</html>
代码 2, python
# file: render_html.py
# 把 json 数据写入到 html 里面,进行渲染,输出实际数据的 html
from jinja2 import FileSystemLoader, Environment

# 参考来源
# https://dboostme.medium.com/how-to-generate-invoices-using-python-playwright-d77839af4b1e

# 实际上,下面这个教程写的很不错!
# https://practicalpython.yasoob.me/chapter3

invoice_number = 1

context = {
    "invoice_number": invoice_number,
    "invoice_header": "Invoice for Delivering Pizza",
    "amount": 10,
    "currency": "USD",
    "account": "account_id",
    "account_iban": "account_iban",
    "swift": "account_swift",
    "work_description": "Delivering pizza on motorbike",
    "person": "James Bond",
    "email": "[email protected]",
    "phone": "+4476898123428",
    "billed_to": "MI-6",
    "billed_to_address": "85 Albert Embankment",
    "payment_received_date": "2023-08-05"
}


# 整体的逻辑是: 找个模板文件,用 jinja2 渲染数据,输出 html 文件

template_loader = FileSystemLoader("./")
template_env = Environment(loader=template_loader)

template = template_env.get_template("invoice_sample.html") # html 模板文件

invoice_html = template.render(context)

file_name = f"output_{invoice_number}.html"
with open(file_name, "w") as html_file:
    html_file.write(invoice_html)
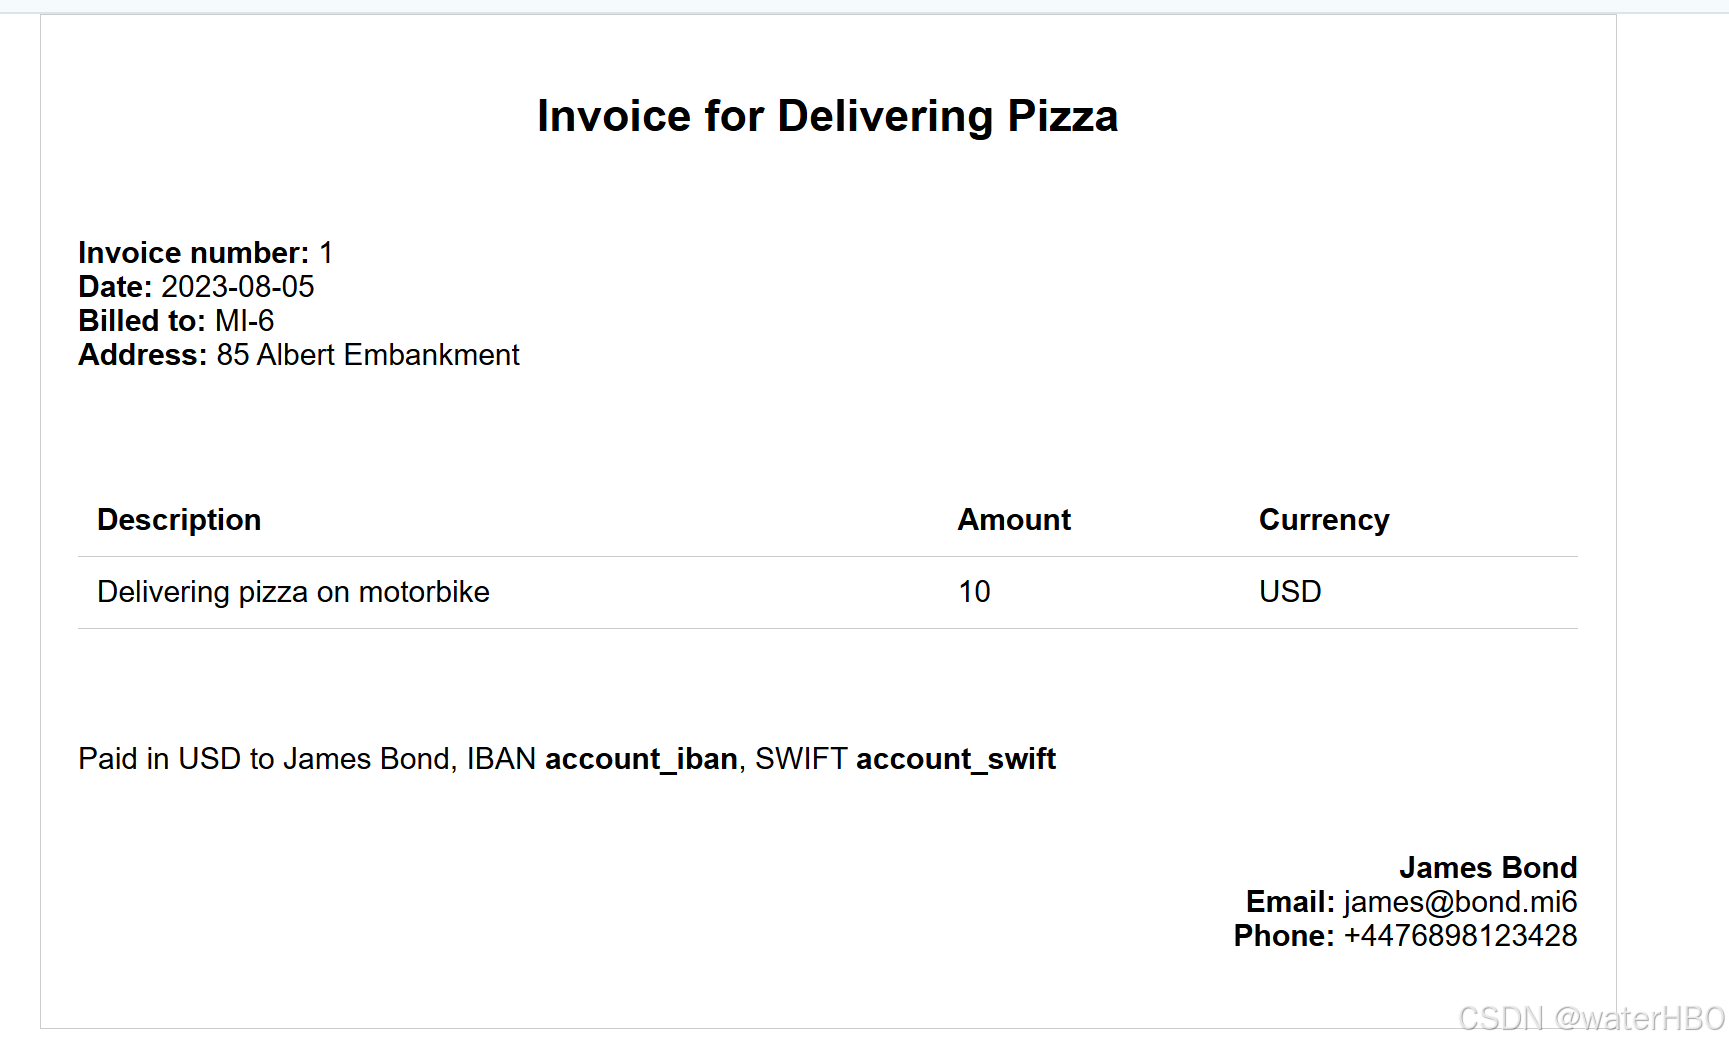
最终的效果
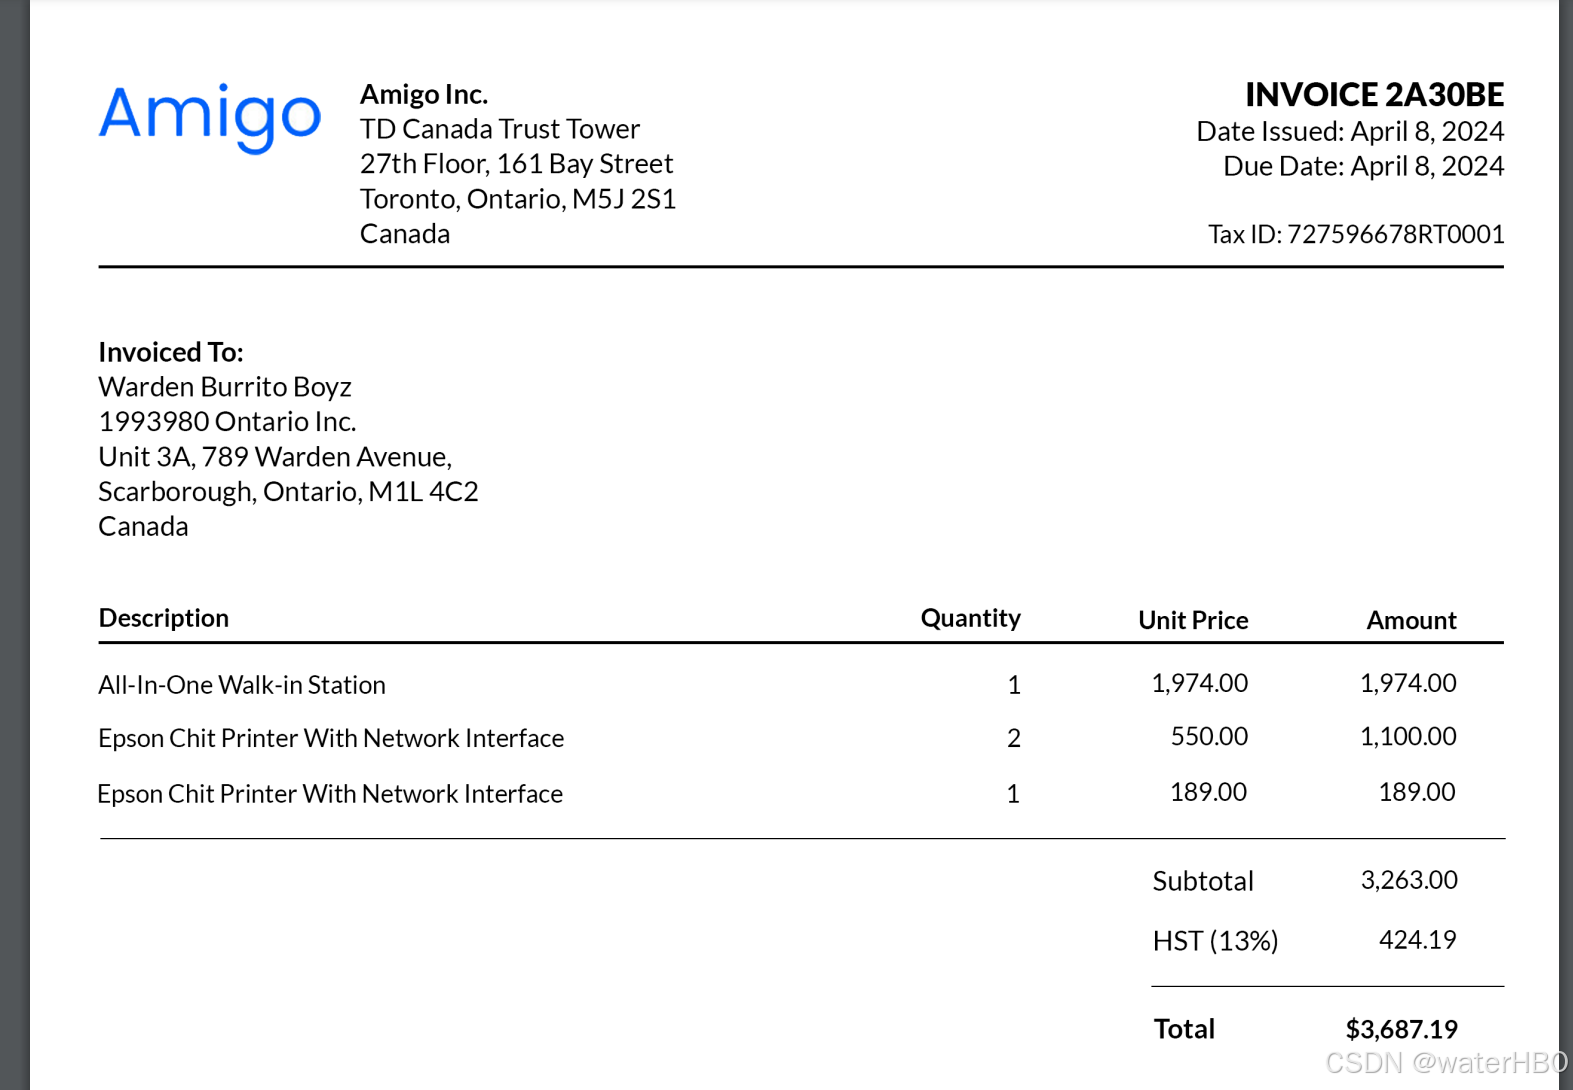
其实也可以加一个 logo, 加个图片,更好看一些。比如像这个样:
代码 3, 把 html 转为 pdf
import pdfkit  # 这个是可行的!!!

"""
# 这种方式按照运行失败!!
# from weasyprint import HTML # pip install weasyprint
"""

config = pdfkit.configuration(wkhtmltopdf=r"C:\Program Files\wkhtmltopdf\bin\wkhtmltopdf.exe")
# ret = pdfkit.from_file('1.html', '1.pdf', configuration=config)
ret = pdfkit.from_file('output_1_new.html', 'output_1_new.pdf', configuration=config)
print(ret)
# True
结论 + todo
整体比较简单,但是对有些人或许很有用。


