参考:
electron安装(支持win、mac、linux桌面应用)
https://blog.csdn.net/weixin_42357472/article/details/140643624
TodoList工具
https://blog.csdn.net/weixin_42357472/article/details/140618446
electron打包过程:
要将这个TodoList网页应用转换成Mac、Windows和Linux的桌面应用,你可以使用Electron框架。Electron允许你使用web技术(HTML、CSS和JavaScript)来创建跨平台的桌面应用。以下是将你的TodoList转换为Electron应用的步骤:
-
准备工作:
首先,确保你的系统中安装了Node.js和npm。 -
创建一个新的Electron项目:
创建一个新文件夹,并在其中初始化一个新的Node.js项目:mkdir todolist-app cd todolist-app npm init -y
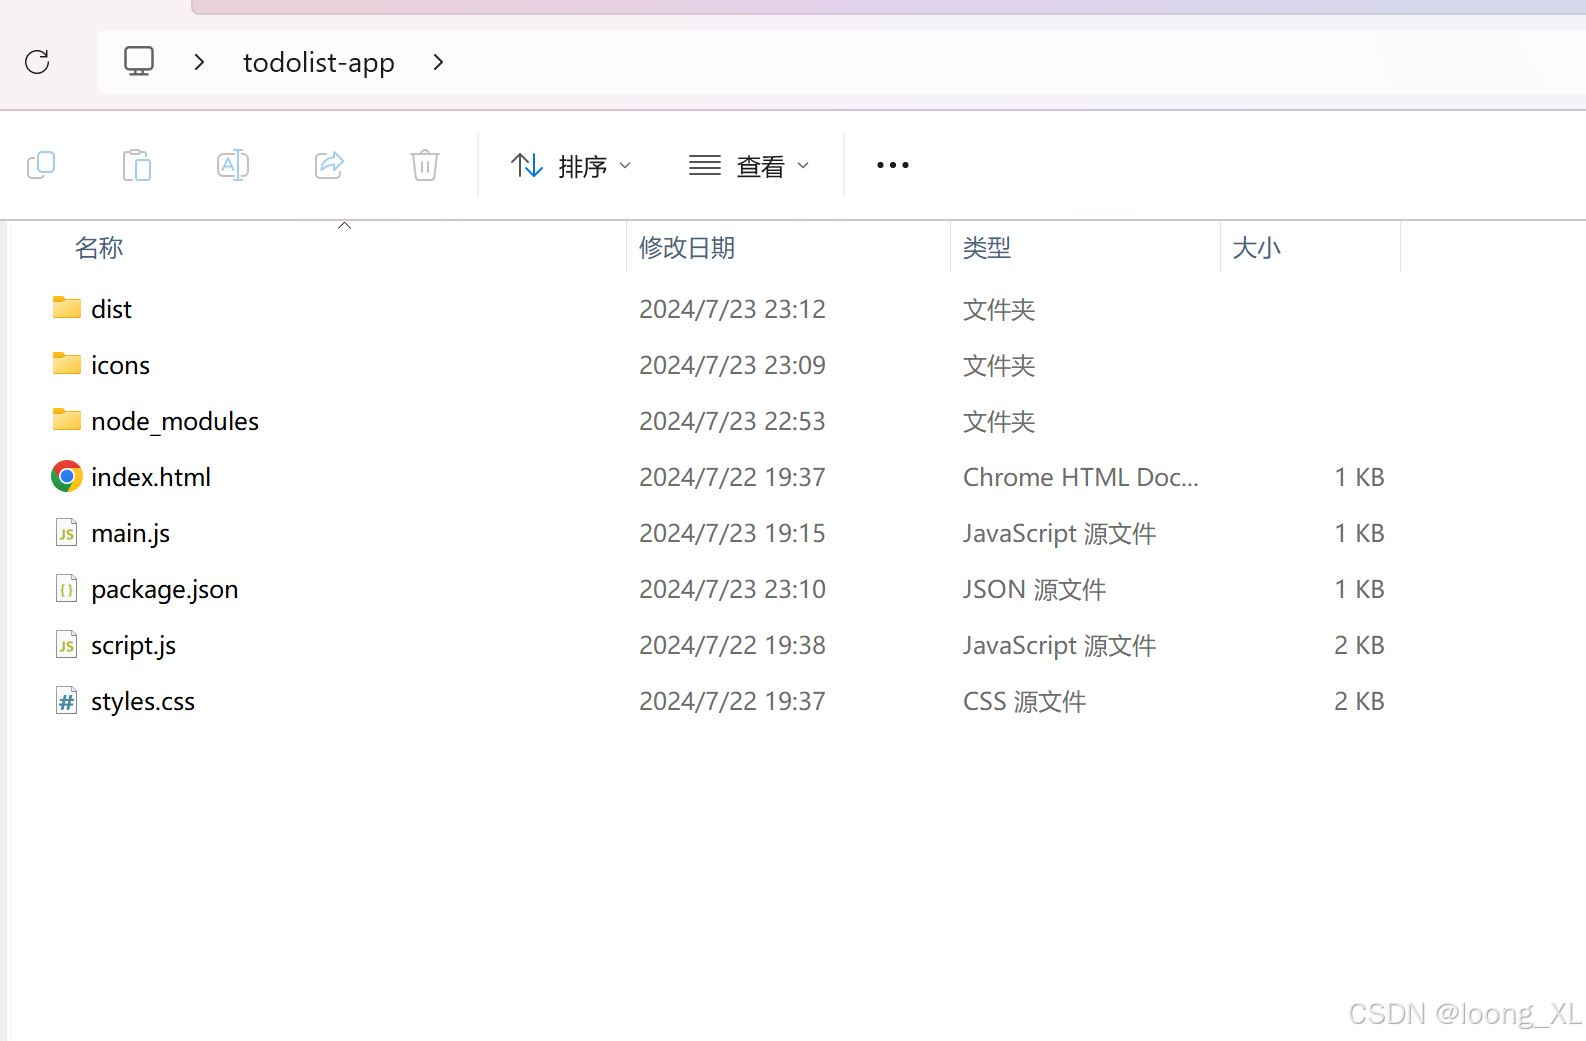
这里TodoList工具主要是:index.html、styles.css 、script.js
其他是electron打包需要配置文件:main.js 、package.json
-
安装Electron:
cnpm install electron --save-dev -
创建主进程文件:
在项目根目录创建一个名为main.js的文件,内容如下:const { app, BrowserWindow } = require('electron') const path = require('path') function createWindow () { const win = new BrowserWindow({ width: 800, height: 600, webPreferences: { nodeIntegration: true, contextIsolation: false } }) win.loadFile('index.html') } app.whenReady().then(() => { createWindow() app.on('activate', () => { if (BrowserWindow.getAllWindows().length === 0) { createWindow() } }) }) app.on('window-all-closed', () => { if (process.platform !== 'darwin') { app.quit() } }) -
修改package.json:
在package.json文件中添加以下内容:{ "main": "main.js", "scripts": { "start": "electron ." } } -
将你的HTML、css、js文件放在项目根目录
index.html
<!DOCTYPE html>
<html lang="en">
<head>
    <meta charset="UTF-8">
    <meta name="viewport" content="width=device-width, initial-scale=1.0">
    <title>TodoList</title>
    <link rel="stylesheet" href="styles.css">
</head>
<body>
    <h1>TodoList</h1>
    <form id="todo-form">
        <input type="text" id="todo-input" placeholder="Enter a new task" required>
        <button type="submit" id="add-button">Add</button>
    </form>
    <ul id="todo-list"></ul>

    <script src="script.js"></script>
</body>
</html>
styles.css
body {
    font-family: Arial, sans-serif;
    max-width: 500px;
    margin: 0 auto;
    padding: 20px;
}
h1 {
    text-align: center;
}
#todo-form {
    display: flex;
    margin-bottom: 20px;
}
#todo-input {
    flex-grow: 1;
    padding: 10px;
    font-size: 16px;
    border: 1px solid #ddd;
    border-radius: 4px 0 0 4px;
}
#add-button {
    padding: 10px 20px;
    font-size: 16px;
    background-color: #4CAF50;
    color: white;
    border: none;
    border-radius: 0 4px 4px 0;
    cursor: pointer;
}
#todo-list {
    list-style-type: none;
    padding: 0;
}
.todo-item {
    display: flex;
    align-items: center;
    padding: 10px;
    background-color: #f9f9f9;
    border: 1px solid #ddd;
    margin-bottom: 10px;
    border-radius: 4px;
}
.todo-item.completed {
    text-decoration: line-through;
    opacity: 0.6;
}
.todo-item input[type="checkbox"] {
    margin-right: 10px;
}
.delete-button {
    margin-left: auto;
    background-color: #f44336;
    color: white;
    border: none;
    padding: 5px 10px;
    border-radius: 4px;
    cursor: pointer;
}
script.js
const todoForm = document.getElementById('todo-form');
const todoInput = document.getElementById('todo-input');
const todoList = document.getElementById('todo-list');

function loadTodos() {
    chrome.storage.sync.get(['todos'], function(result) {
        const todos = result.todos || [];
        todos.forEach(todo => {
            addTodoToDOM(todo.text, todo.completed);
        });
    });
}

function saveTodos() {
    const todos = Array.from(todoList.children).map(li => ({
        text: li.querySelector('span').textContent,
        completed: li.classList.contains('completed')
    }));
    chrome.storage.sync.set({todos: todos});
}

function addTodoToDOM(text, completed = false) {
    const li = document.createElement('li');
    li.className = 'todo-item' + (completed ? ' completed' : '');
    li.innerHTML = `
        <input type="checkbox" ${completed ? 'checked' : ''}>
        <span>${text}</span>
        <button class="delete-button">Delete</button>
    `;

    li.querySelector('input[type="checkbox"]').addEventListener('change', function() {
        li.classList.toggle('completed');
        if (li.classList.contains('completed')) {
            todoList.appendChild(li);
        } else {
            todoList.insertBefore(li, todoList.firstChild);
        }
        saveTodos();
    });

    li.querySelector('.delete-button').addEventListener('click', function() {
        li.remove();
        saveTodos();
    });

    if (completed) {
        todoList.appendChild(li);
    } else {
        todoList.insertBefore(li, todoList.firstChild);
    }
}

todoForm.addEventListener('submit', function(e) {
    e.preventDefault();
    if (todoInput.value.trim() === '') return;

    addTodoToDOM(todoInput.value);
    saveTodos();
    todoInput.value = '';
});

loadTodos();
-
运行应用:
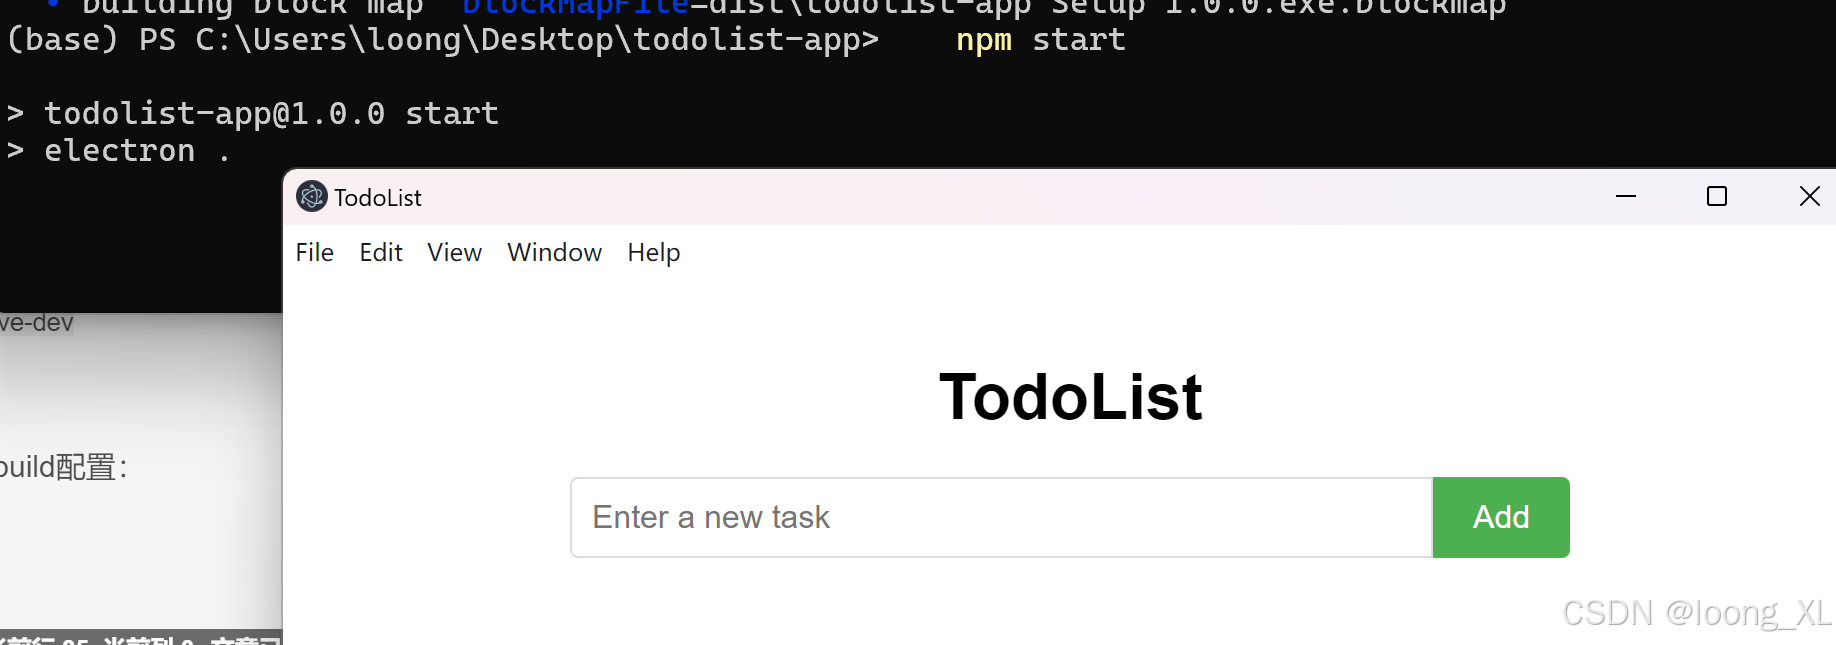
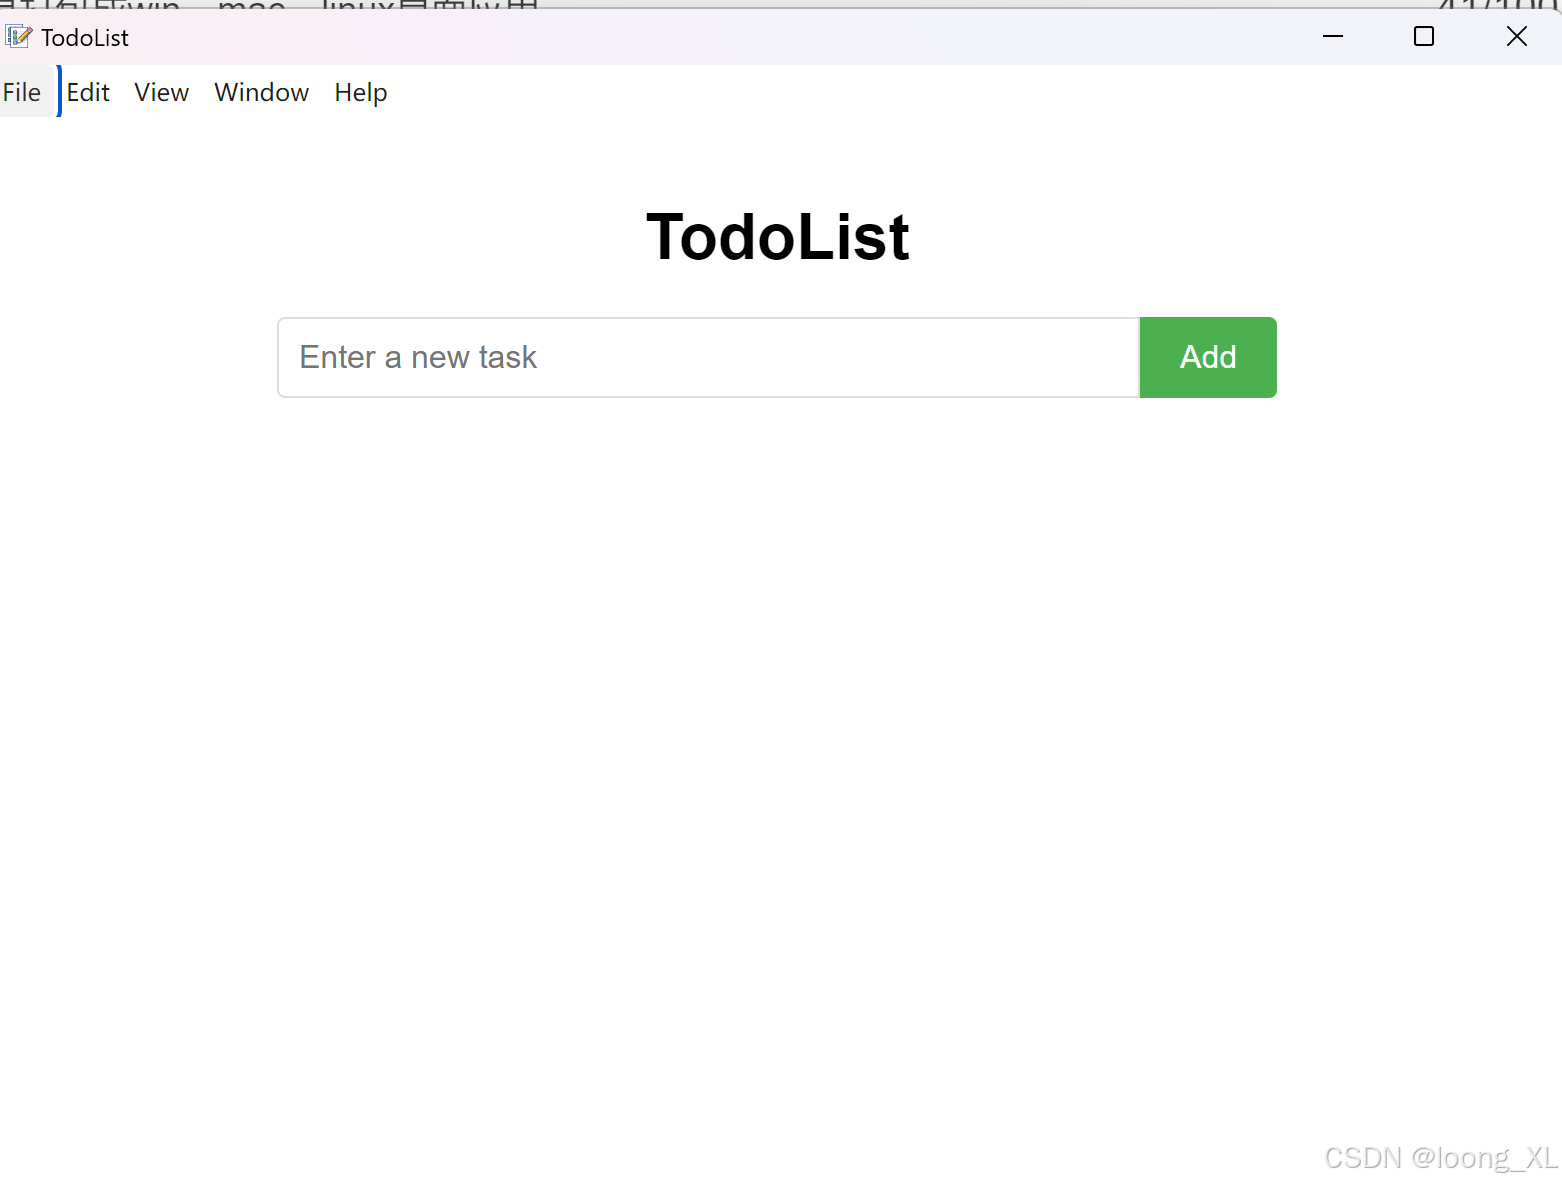
现在你可以通过以下命令运行你的Electron应用:npm start
看效果
-
打包应用:
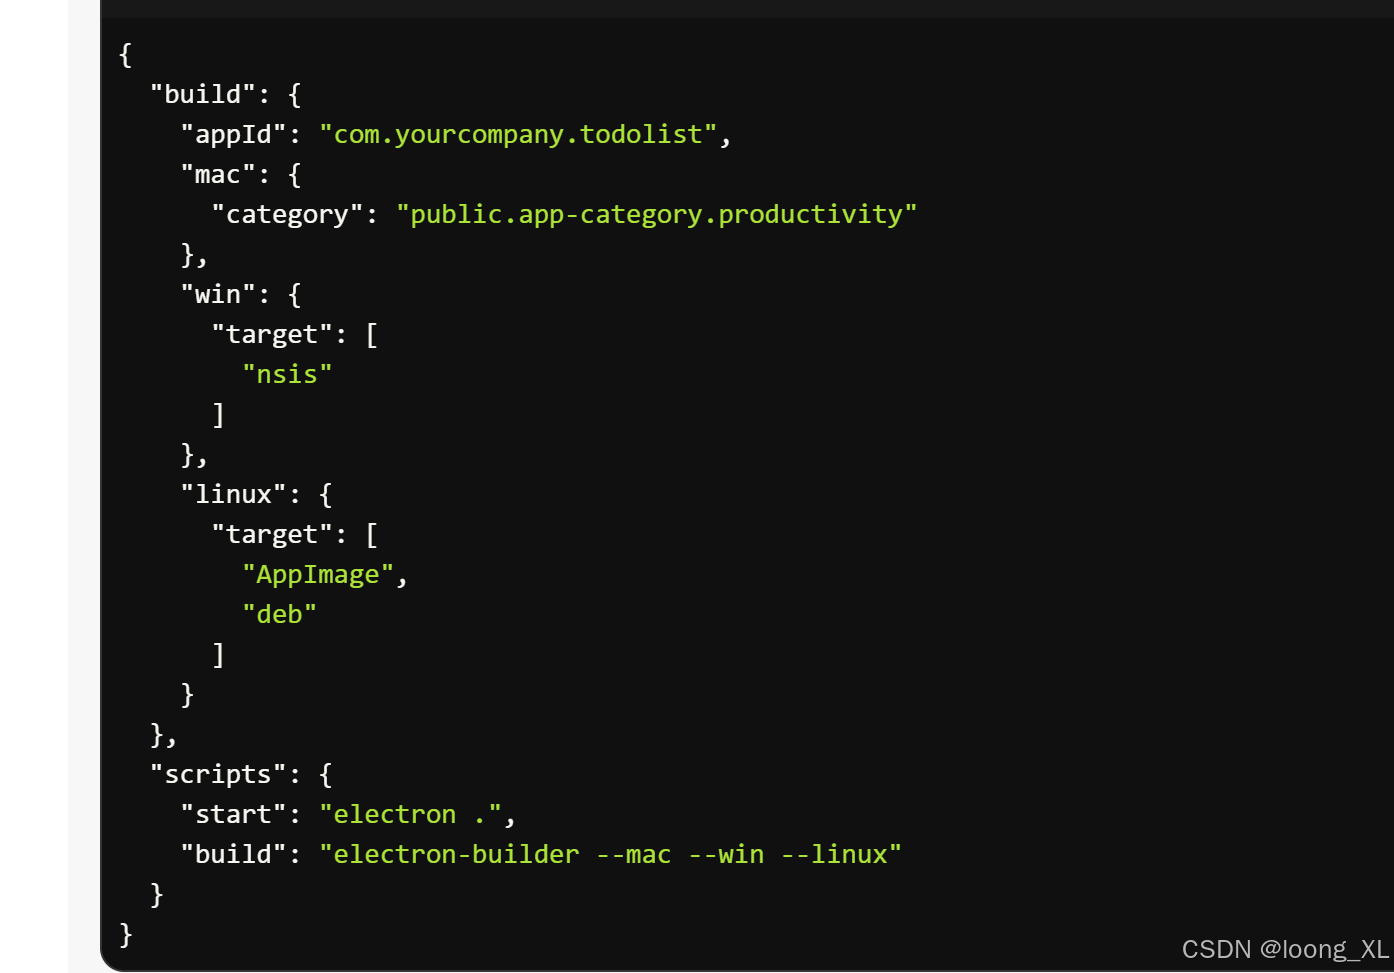
要为不同平台打包应用,你可以使用electron-builder。首先安装它:cnpm install electron-builder --save-dev然后在
package.json中添加build配置{ "build": { "appId": "com.yourcompany.todolist", "mac": { "category": "public.app-category.productivity" }, "win": { "target": [ "nsis" ] }, "linux": { "target": [ "AppImage", "deb" ] } }, "scripts": { "start": "electron .", "build": "electron-builder --mac --win --linux" } }
最终package.json文件:
icon是图标应用,大小至少需要放256*256大小像素的
{
  "name": "todolist-app",
  "version": "1.0.0",
  "main": "main.js",
  "build": {
    "appId": "com.yourcompany.todolist",
    "mac": {
      "category": "public.app-category.productivity"
    },
    "win": {
      "icon": "icons/icon.png",
      "target": [
        "nsis"
      ]
    },
    "linux": {
      "target": [
        "AppImage",
        "deb"
      ]
    }
  },
  "scripts": {
    "start": "electron .",
    "build": "electron-builder  --win"
  },
  "keywords": [],
  "author": "",
  "license": "ISC",
  "description": "",
  "devDependencies": {
    "electron": "^31.2.1",
    "electron-builder": "^24.13.3"
  }
}
-
构建应用:
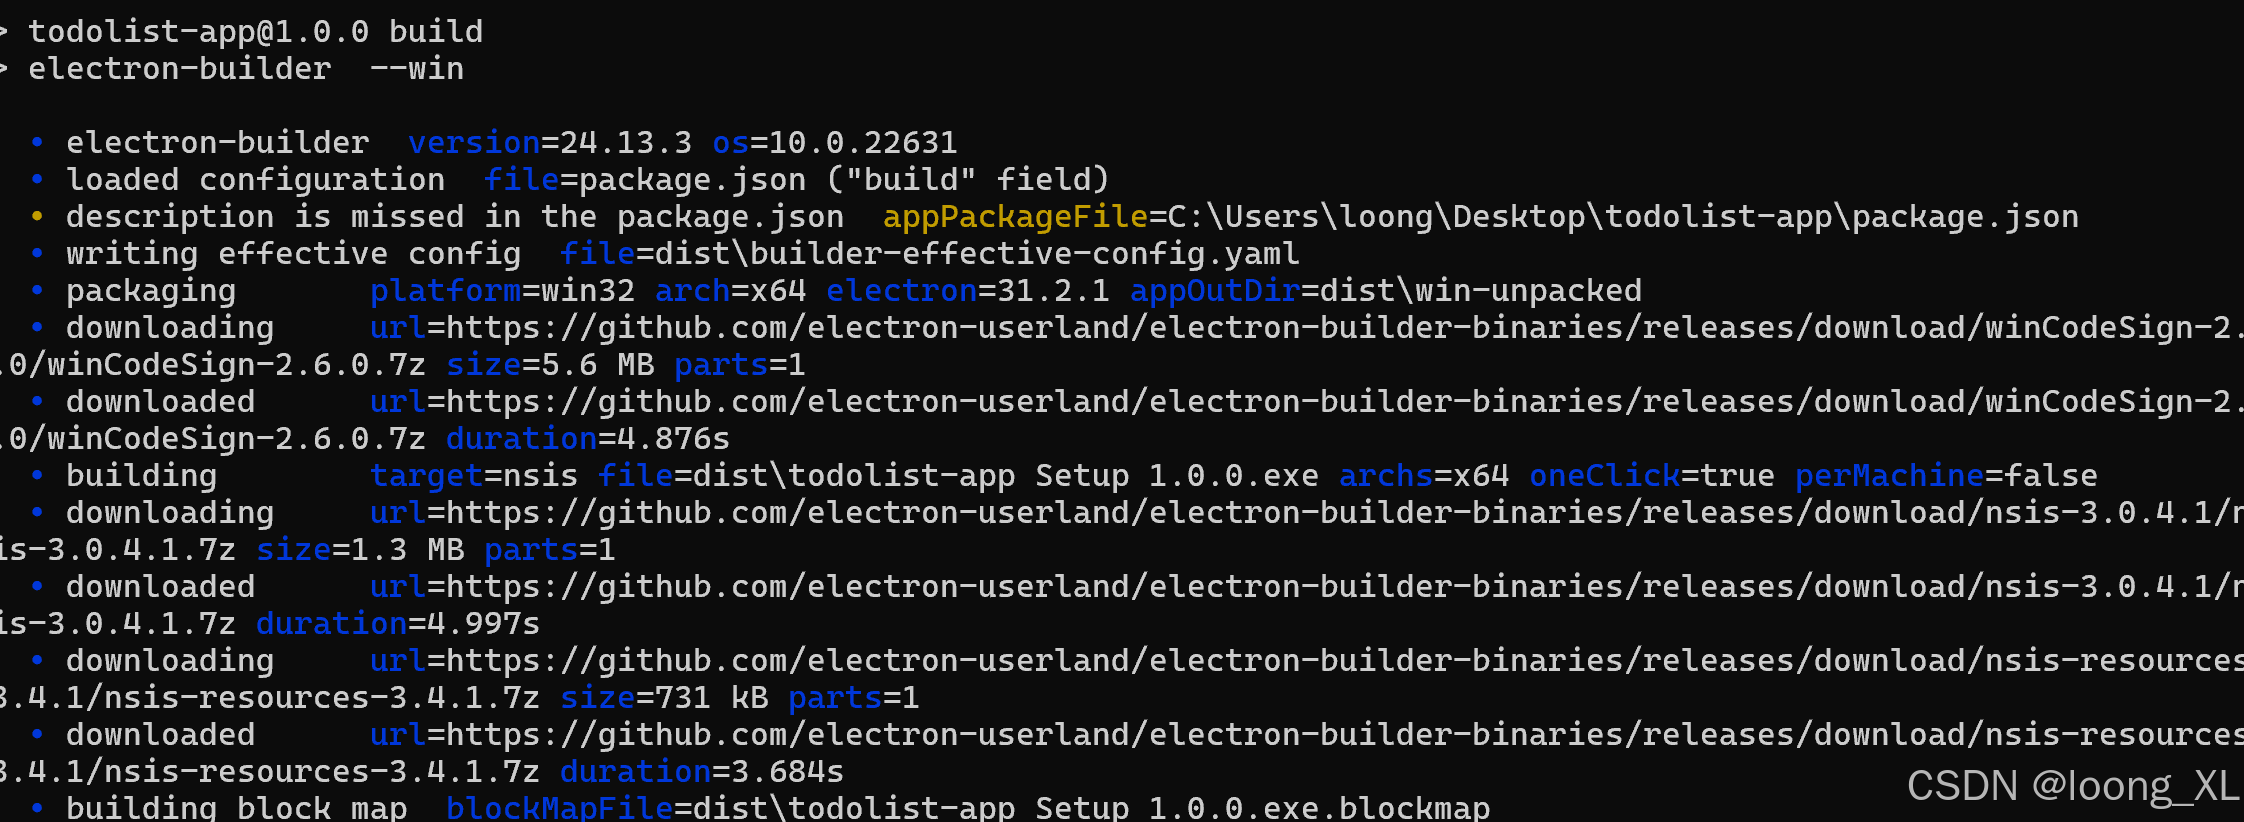
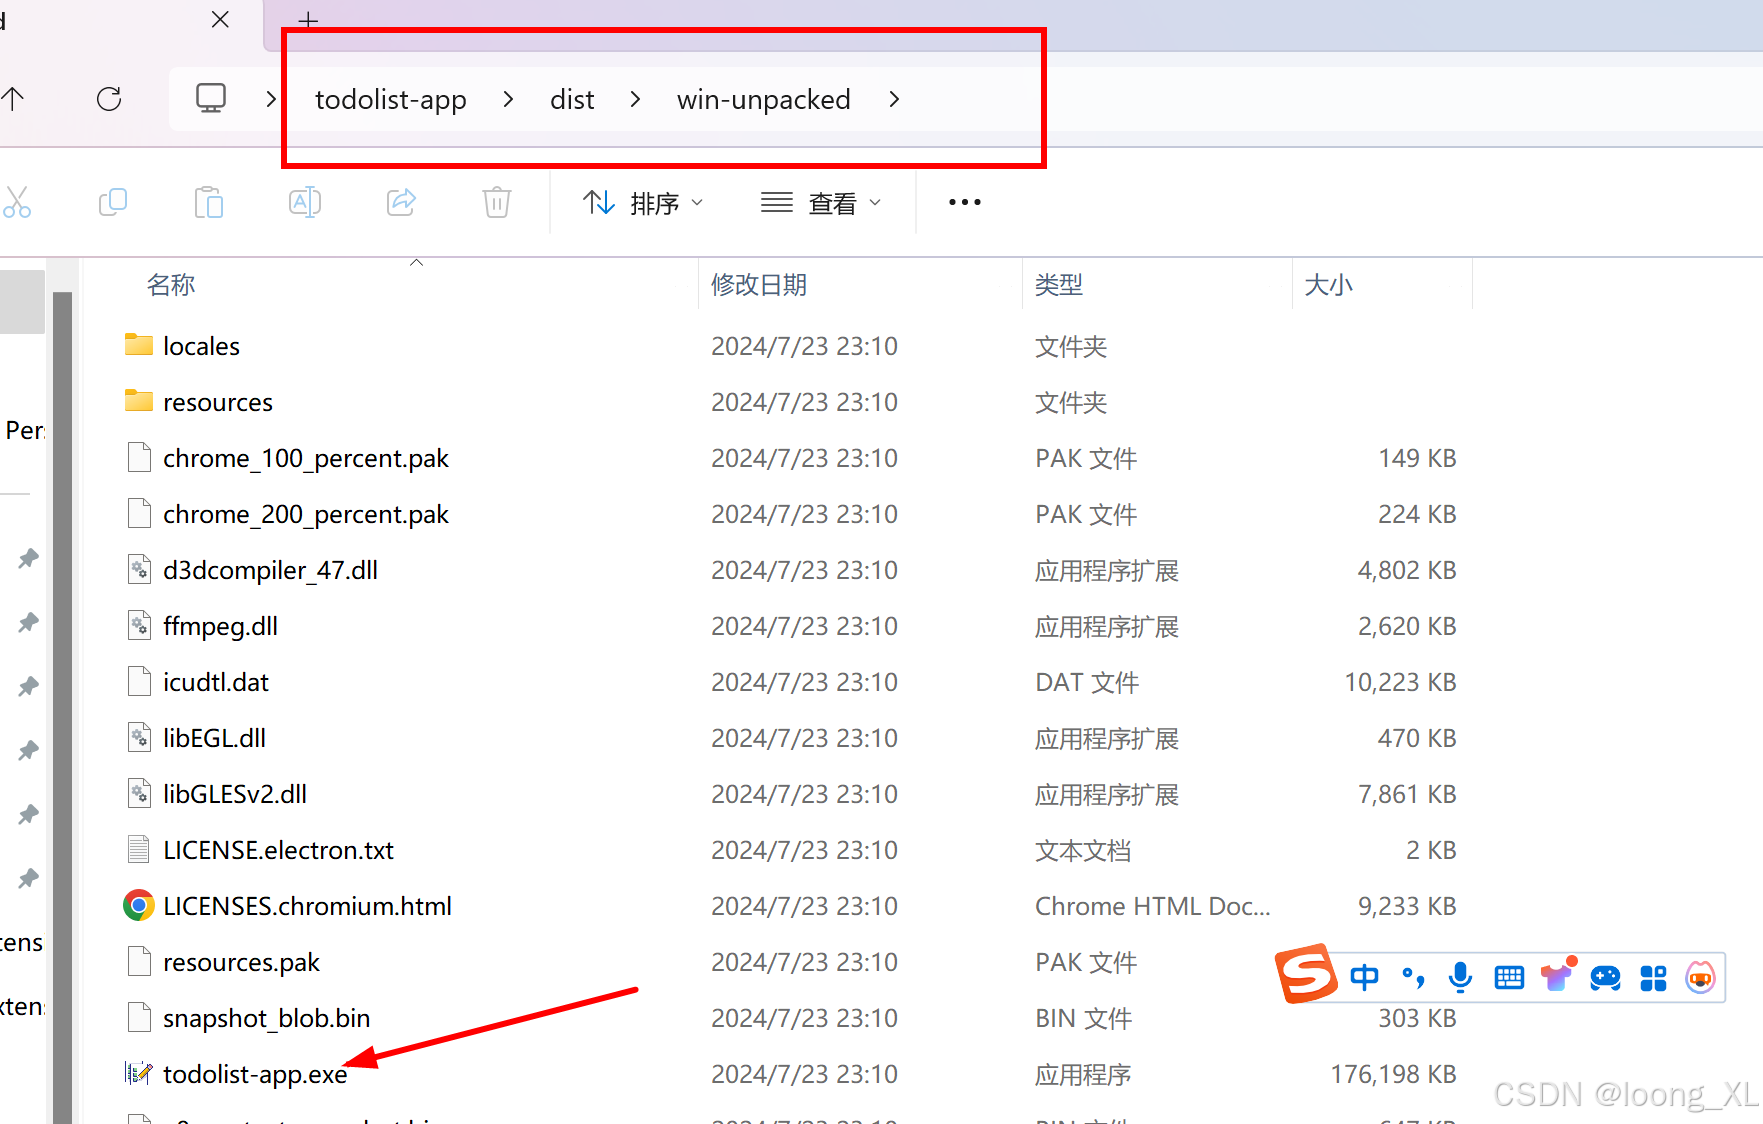
运行以下命令来为所有平台构建应用:npm run build这将在
dist文件夹中生成针对Mac、Windows和Linux的安装包。
注意:这里"build": “electron-builder --win” 只生成win平台的,其他linux需wsl打开或者linux平台操作;mac只能mac电脑操作
运行完会再dist文件下
双击exe启动
