摘要:了解.jmx文件格式类型,对jmeter二次开发与拓展有很大的帮助,当然也可以利用python对其进行一些处理(生成一些测试用例,对jmx文件进行 ”增删改查“)。
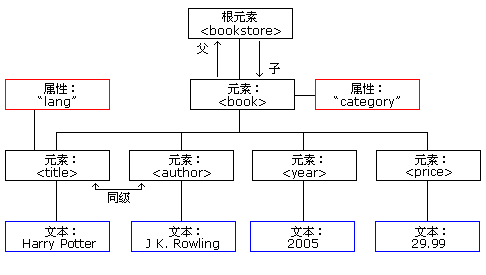
一个完整用例的.jmx文件基本结构是这样,类似于xml结构(树状结构)(文章标红处 均是 可以修改的 地方(也可以说就是一个可控变量));
python 处理xml文件的模块,bs4 , xml.dom;
下面按结构自上而下讲解各个部分再.jmx文件中的表示:
测试计划 root
false
false
变量包含: testname, enabled(true启用,false禁用)
线程组 first Child
continue
false
1 -- 循环一次
1 -- 线程数1
1 -- Ramp-up Time =1,启动时间
1472796674000
1472796674000
false
JDBCDataSource
true
Select 1
5000 -- 最大连接age
mysql -- 资源池变量
jdbc:mysql://localhost/db --jdbc连接
com.mysql.jdbc.Driver -- jdbc驱动(可以设置为常量)
true
root -- db密码
10 -- 最大连接数
10000
DEFAULT
60000
name -- 用户名
HTTP请求默认值
host -- host 服务器IP
port -- port端口
100000 -- 连接超时时间
100000 -- 请求超时时间
http -- 协议类型(变量可填)
utf-8
HttpClient4 -- 可选择(java\HttpCliet4)
4
HTTP信息头管理器(http请求头设置,key-value对应)
Content-Type
application/json
用户定义的变量
accessToken
${accessToken}
=
description
仅一次控制器(循环控制器)
查看结果树(该部分为固定项)
false
saveConfig
true
true
true
true
true
true
true
true
true
false
true
true
false
false
false
false
false
false
false
false
0
true
true
true
true
true
HTTP请求(Sampler,此处为Json写法,因为请求类型为Application/Json)
true
false
{"operatorNo":"${operatorNo}", "password":"${password}", "verifyCode":"${verifyCode}"}
=
/operatorLogin -- 请求路径
POST
true
false
true
false
false
响应断言
"errorCode":"0","errorMsg":"操作成功!"
Assertion.response_data
false
2
all
count_1
Debuger Sampler(固定样式)
false
true
false