原文链接: 手写一个 React 图片预览组件
前几天打算给博客添加一个图片预览的效果,可在网上找了半天也没找到合适的库,于是自己干脆自己手写了个。
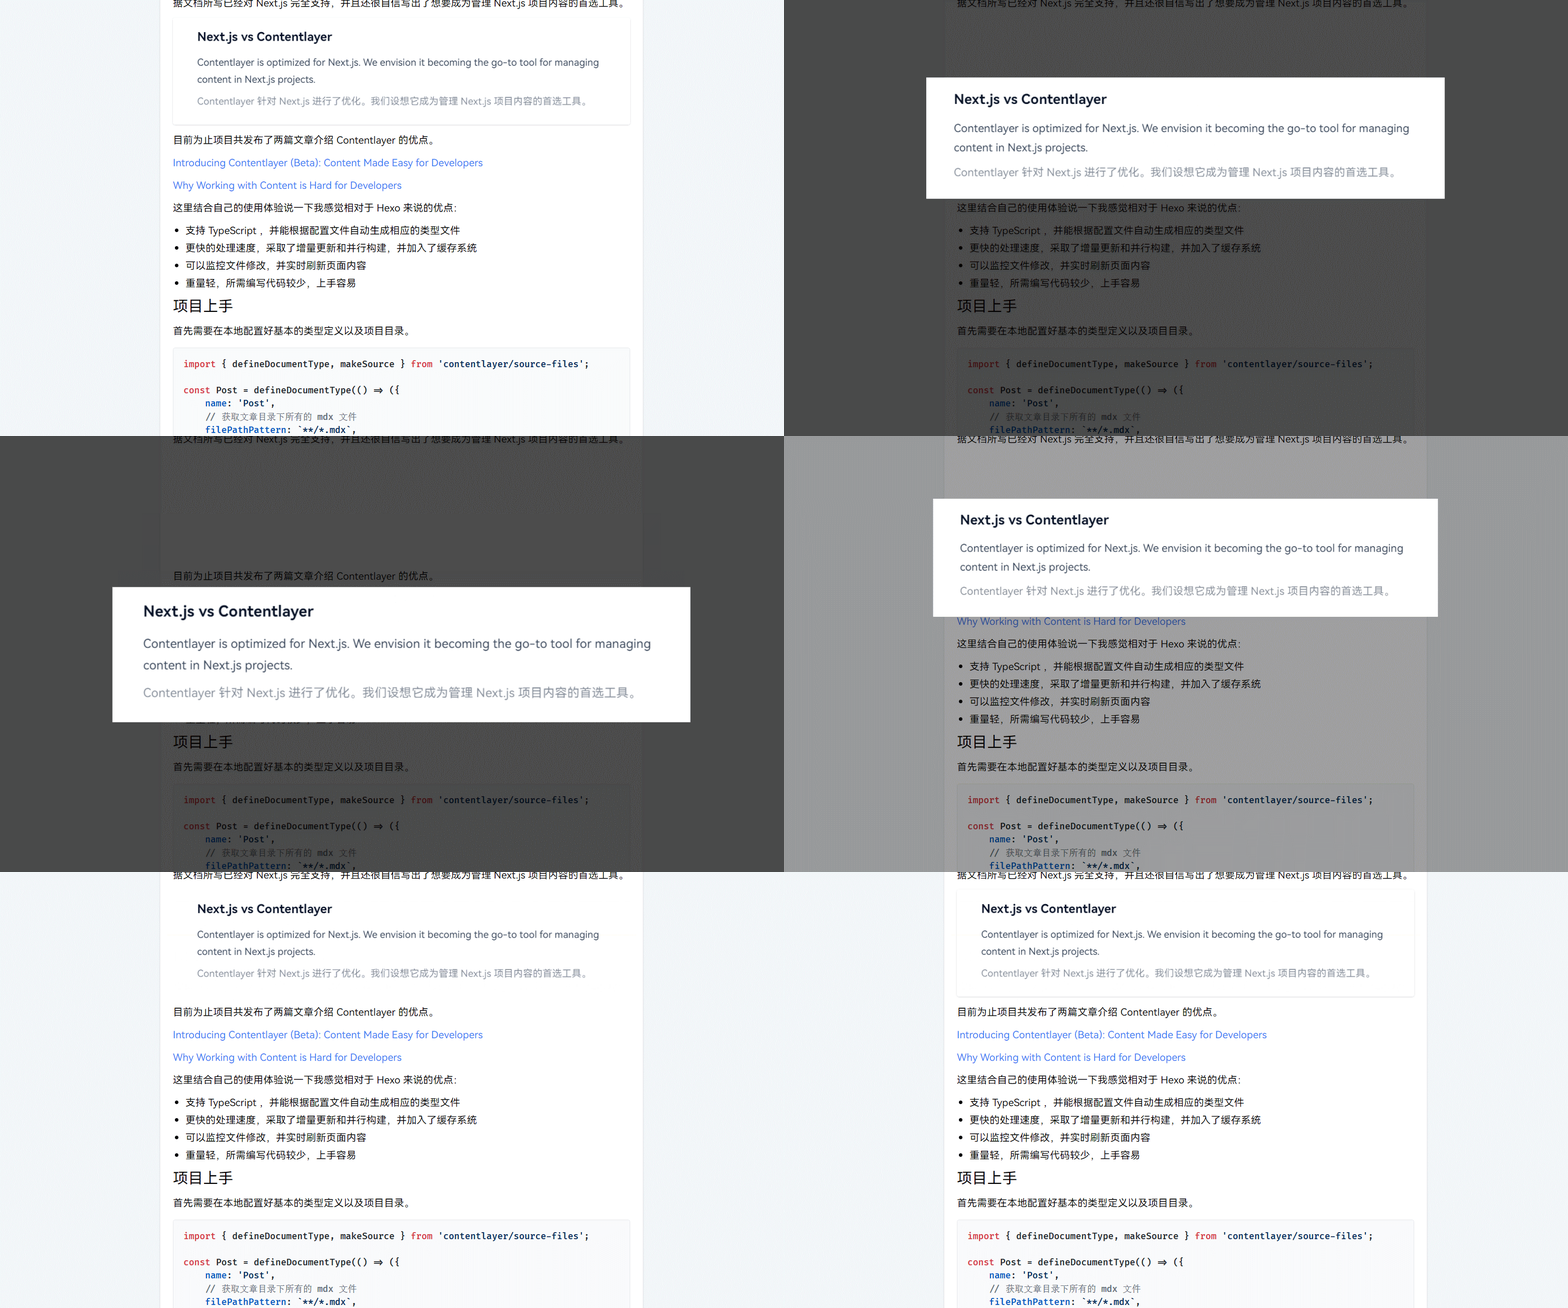
最终实现效果如下:
实现原理
当鼠标点击图片时生成一个半透明遮罩,并添加一个与点击图片位置大小都相同的图片,之后通过 CSS 实现图片的放大和居中,当再次点击时,通过删除样式实现图片的返回。
具体操作
添加遮罩和图片
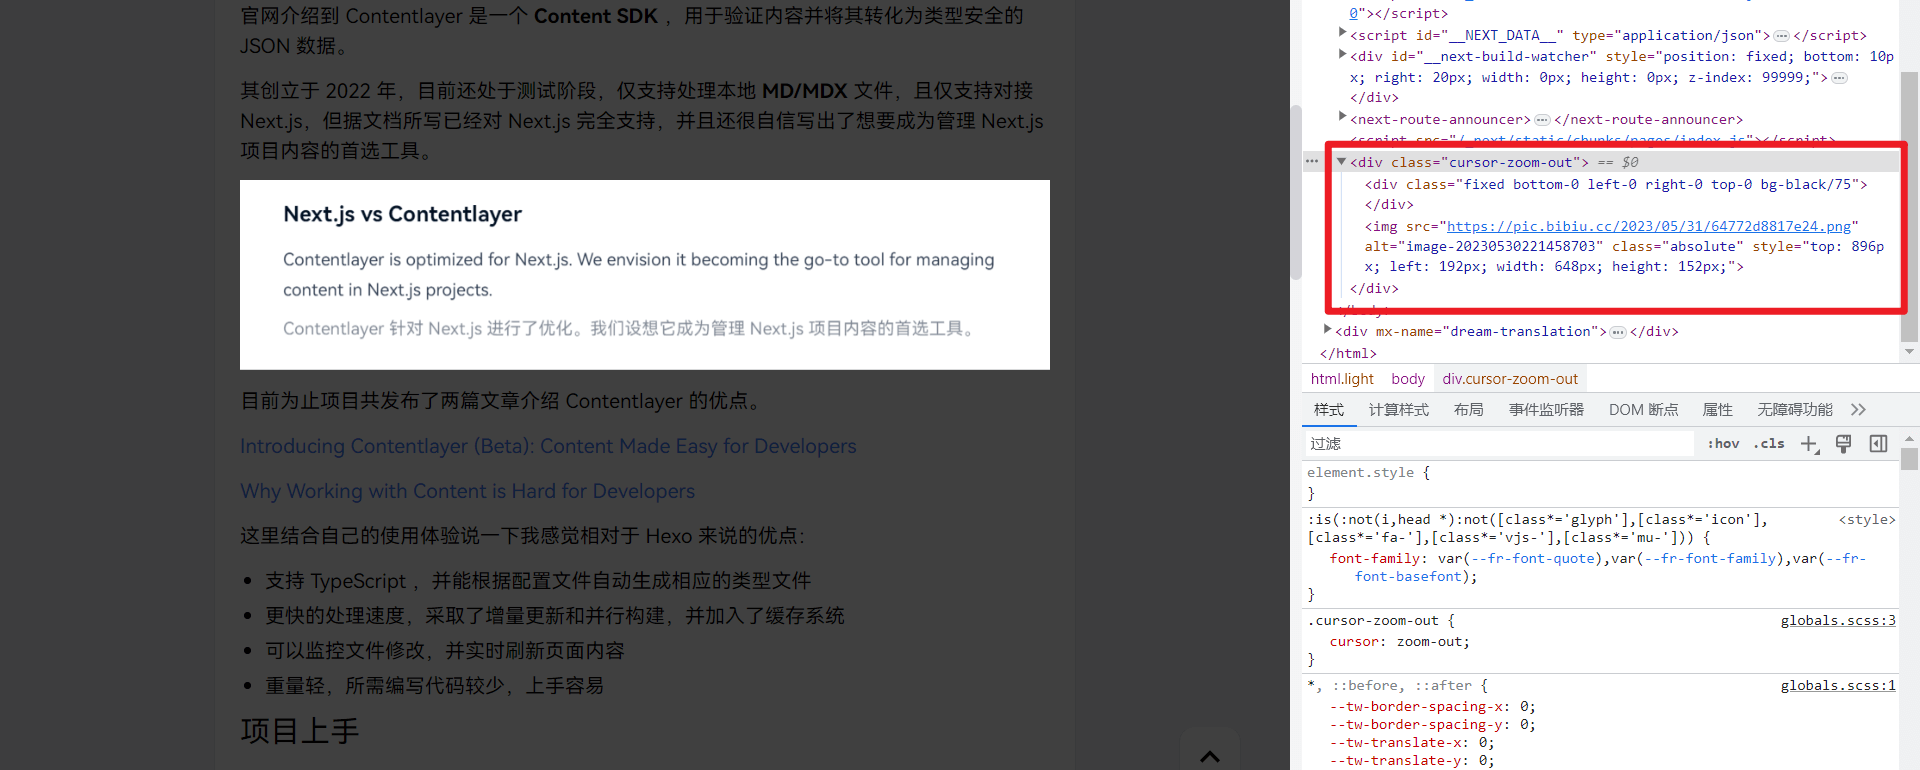
此处需要用到 ReactDom 的 createPortal() 方法,它可以将元素渲染到网页中的指定位置。因为要考虑到图片的返回,所以图片的位置不能用 getBoundingClientRect() 提供的相对于视图窗口的坐标,而是要用到 offsetTop 和 offsetLeft 提供的相对于 offsetParent 的坐标,所以需要将遮罩和图片渲染到 body 元素中,并且二者需要为同一级。具体实现代码如下:
import { createPortal } from 'react-dom';
import { useState, useRef } from 'react';

function Mask({ props, setStatus, imgRef }) {
    const close = () => {
        setStatus(false);
    };
    return createPortal(
        <div onClick={close} className='cursor-zoom-out'>
            <div className='fixed bottom-0 left-0 right-0 top-0 bg-black/75'></div>
            <img
                {...props}
                className='absolute'
                style={{
                    top: imgRef.current.offsetTop,
                    left: imgRef.current.offsetLeft,
                    width: imgRef.current.offsetWidth,
                    height: imgRef.current.offsetHeight,
                }}
            />
        </div>,
        document.body
    );
}

export default function Img(props) {
    const [status, setStatus] = useState(false);
    const imgRef = useRef(null);
    return (
        <>
            <img
                {...props}
                ref={imgRef}
                className={`cursor-zoom-in ${status ? 'invisible' : ''}`}
                onClick={() => {
                    setStatus(true);
                }}
                loading='lazy'
            />
            {status && <Mask props={props} setStatus={setStatus} imgRef={imgRef} />}
        </>
    );
}
此时点击图片便会在 body 下生成一个遮罩和处在相同位置的图片,再次点击时则会关闭。
添加动画效果
动画效果主要由 CSS 中的 transition 和 transform 实现,而 transform 主要用到了其中的 scale() 和 translate 函数。
scale() 的数值为图片缩放的倍数,我们需要将图片尽量缩放到原先尺寸,但不能超出屏幕。所以要分别求出图片宽度和高度的最大缩放倍数,之后对比取最小值,但在计算图片目标尺寸时,需要与屏幕尺寸对比取最小值。
const scaleX = Math.min(naturalWidth, viewportWidth) / width;
const scaleY = Math.min(naturalHeight, viewportHeight) / height;
const scale = Math.min(scaleX, scaleY);
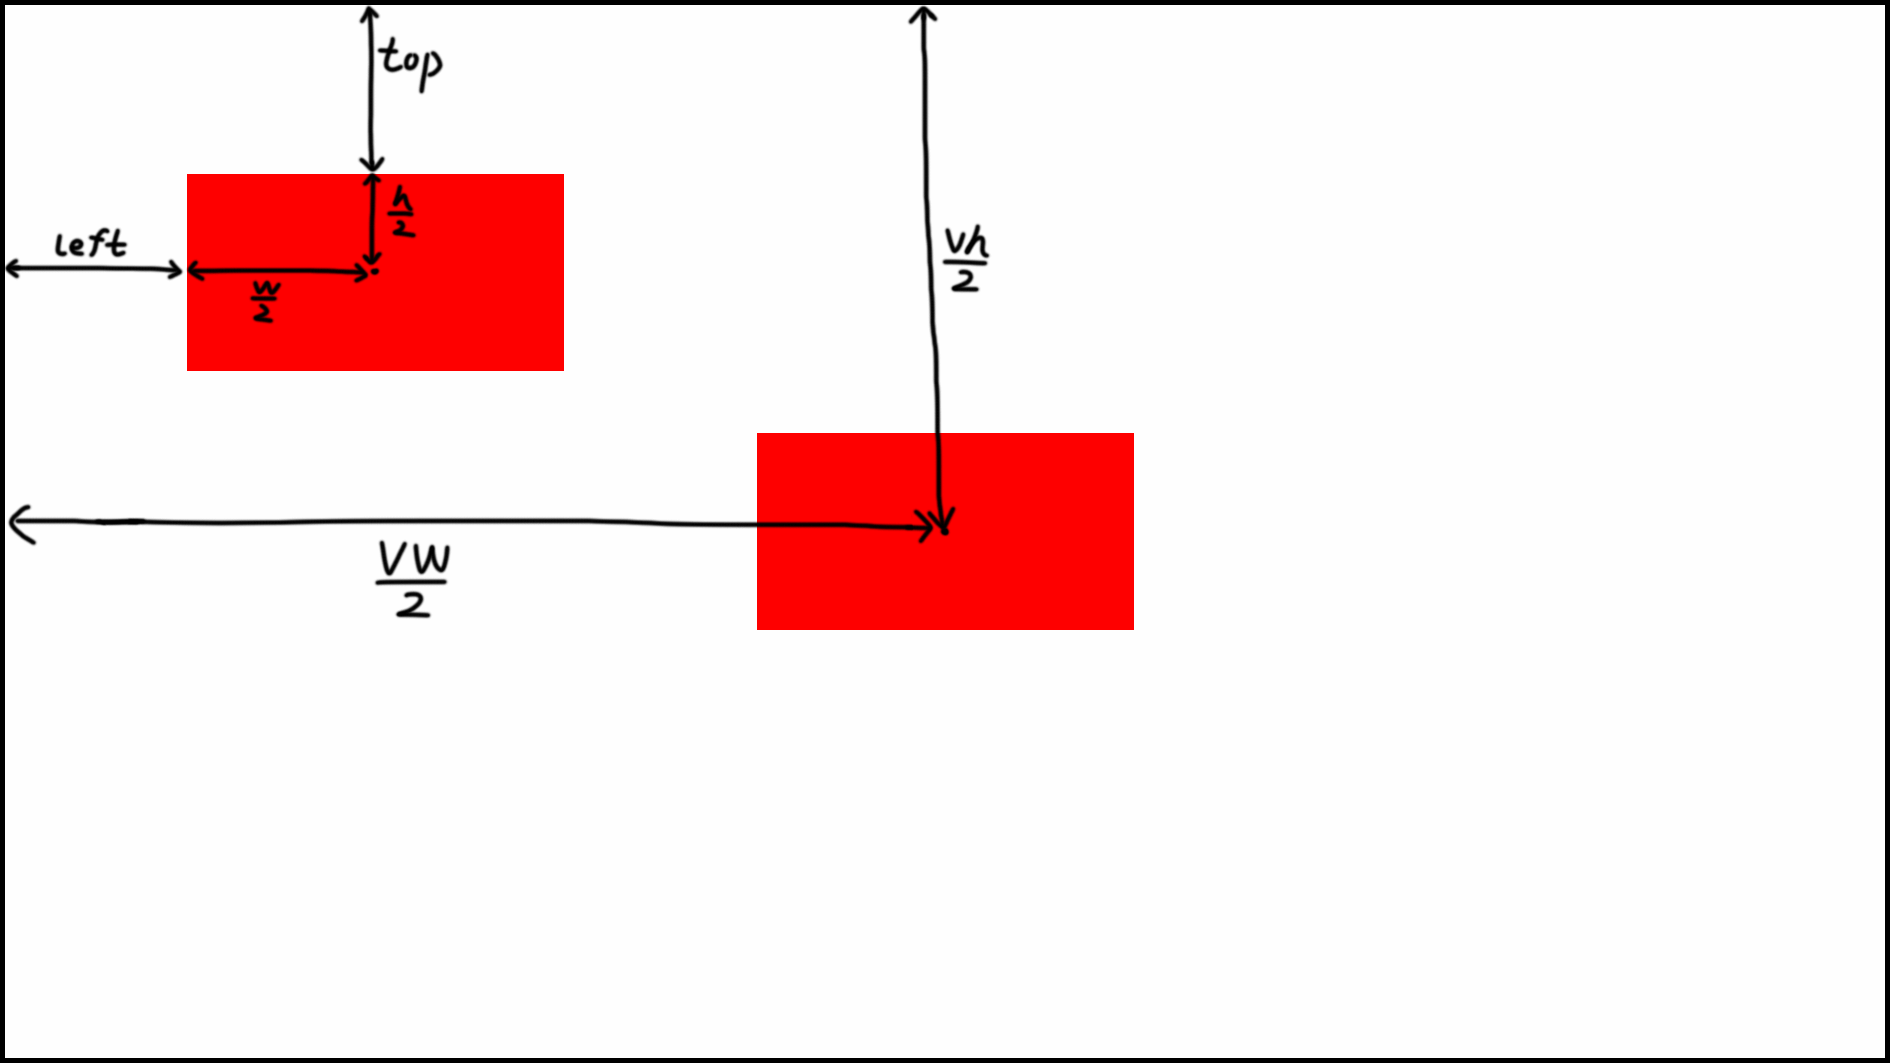
translate() 的数值为图片在 X 和 Y 轴上的偏移量,我们需要将图片偏移到屏幕中心,所以要求出图片中心点距屏幕中心点的横纵距离
const translateX = ((viewportWidth - width) / 2 - left) / scale;
const translateY = ((viewportHeight - height) / 2 - top) / scale;
具体计算函数如下
const calcFitScale = imgRef => {
    const { top, left, width, height } = imgRef.current.getBoundingClientRect();
    const { naturalWidth, naturalHeight } = imgRef.current;
    const viewportWidth = document.documentElement.clientWidth;
    const viewportHeight = document.documentElement.clientHeight;
    const scaleX = Math.min(Math.max(width, naturalWidth), viewportWidth) / width;
    const scaleY = Math.min(Math.max(height, naturalHeight), viewportHeight) / height;
    const scale = Math.min(scaleX, scaleY);
    const translateX = ((viewportWidth - width) / 2 - left) / scale;
    const translateY = ((viewportHeight - height) / 2 - top) / scale;
    return `scale(${scale}) translate(${translateX}px, ${translateY}px)`;
};
这里讲一下为什么要在生成偏移量的时候除以缩放倍数,因为 CSS 中 transform 的执行是有先后顺序的,图片进行 scale() 缩放后其 translate() 的偏移距离也会发生变化,所以需要在计算时提前考虑。倘若要先进行偏移后进行缩放,则可以不考虑此因素。
const translateX = (viewportWidth - width) / 2 - left;
const translateY = (viewportHeight - height) / 2 - top;
return `translate(${translateX}px, ${translateY}px) scale(${scale})`;
最终代码
最后加上一点滚动监听,屏幕监听,遮罩透明度变化即可得到最终函数
import { createPortal } from 'react-dom';
import { useState, useRef, useEffect } from 'react';

function Mask({ props, setStatus, imgRef }) {
    const [transform, setTransform] = useState('');
    const [opacity, setOpacity] = useState(0.7);
    const close = () => {
        setOpacity(0);
        setTransform('');
        setTimeout(() => {
            setStatus(false);
        }, 300);
    };
    useEffect(() => {
        const handleResize = () => {
            setTransform(calcFitScale(imgRef));
        };
        window.addEventListener('resize', handleResize);
        handleResize();
        return () => window.removeEventListener('resize', handleResize);
    }, []);
    useEffect(() => {
        window.addEventListener('scroll', close);
        return () => window.removeEventListener('scroll', close);
    }, []);
    return createPortal(
        <div onClick={close} className="cursor-zoom-out">
            <div
                className="fixed bottom-0 left-0 right-0 top-0 bg-black"
                style={{
                    opacity,
                    transition: 'opacity 300ms cubic-bezier(0.4, 0, 0.2, 1)',
                }}
            ></div>
            <img
                {...props}
                className="absolute"
                style={{
                    transition: 'transform 300ms cubic-bezier(.2, 0, .2, 1)',
                    top: imgRef.current.offsetTop,
                    left: imgRef.current.offsetLeft,
                    width: imgRef.current.offsetWidth,
                    height: imgRef.current.offsetHeight,
                    transform: transform,
                }}
            />
        </div>,
        document.body
    );
}

export default function Img(props) {
    const [status, setStatus] = useState(false);
    const imgRef = useRef(null);
    return (
        <>
            <img
                {...props}
                ref={imgRef}
                className={`cursor-zoom-in ${status ? 'invisible' : ''}`}
                onClick={() => {
                    setStatus(true);
                }}
                loading="lazy"
            />
            {status && <Mask props={props} setStatus={setStatus} imgRef={imgRef} />}
        </>
    );
}

/**
 * 计算图片缩放比例
 */
const calcFitScale = imgRef => {
    const margin = 5;
    const { top, left, width, height } = imgRef.current.getBoundingClientRect();
    const { naturalWidth, naturalHeight } = imgRef.current;
    const viewportWidth = document.documentElement.clientWidth;
    const viewportHeight = document.documentElement.clientHeight;
    const scaleX = Math.min(Math.max(width, naturalWidth), viewportWidth) / width;
    const scaleY = Math.min(Math.max(height, naturalHeight), viewportHeight) / height;
    const scale = Math.min(scaleX, scaleY) - margin / Math.min(width, height) + 0.002;
    const translateX = ((viewportWidth - width) / 2 - left) / scale;
    const translateY = ((viewportHeight - height) / 2 - top) / scale;
    return `scale(${scale}) translate3d(${translateX}px, ${translateY}px, 0)`;
};
transform 的初始值并没有直接从 calcFitScale() 中获取,而是通过在 useEffect() 进行赋值,因为如果一开始就给图片定义了 transform ,则不会产生动画效果。
参考链接
Understanding translate after scale in CSS transforms
Why does order of transforms matter? rotate/scale doesn’t give the same result as scale/rotate


