onlyoffice安装教程
-
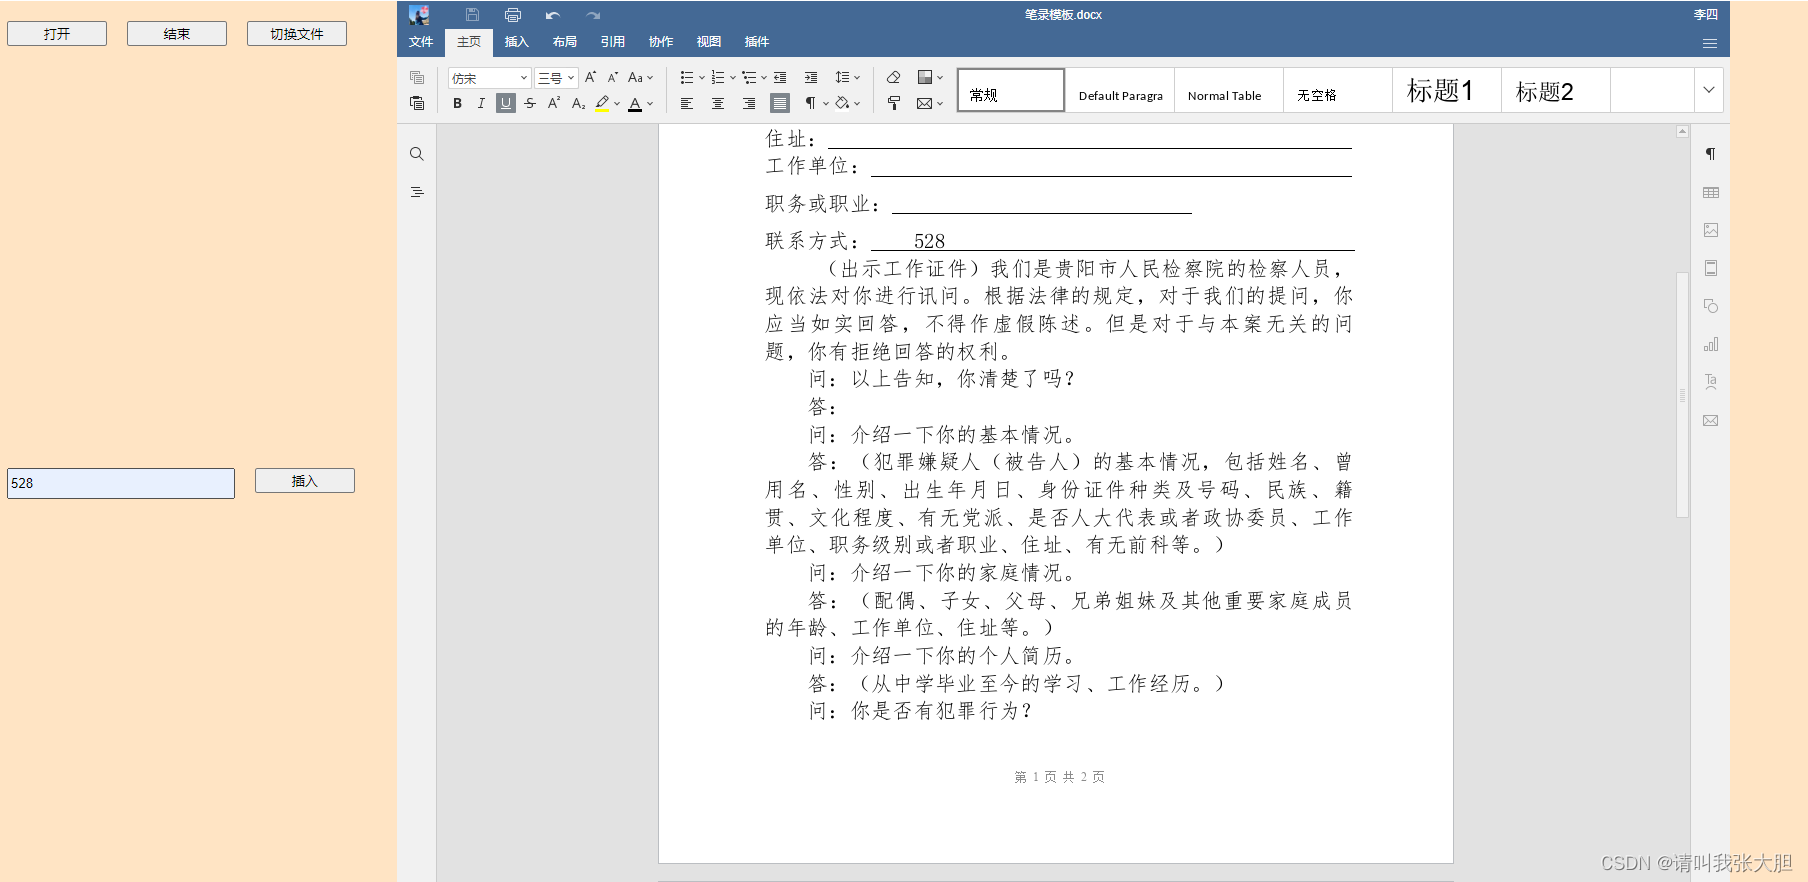
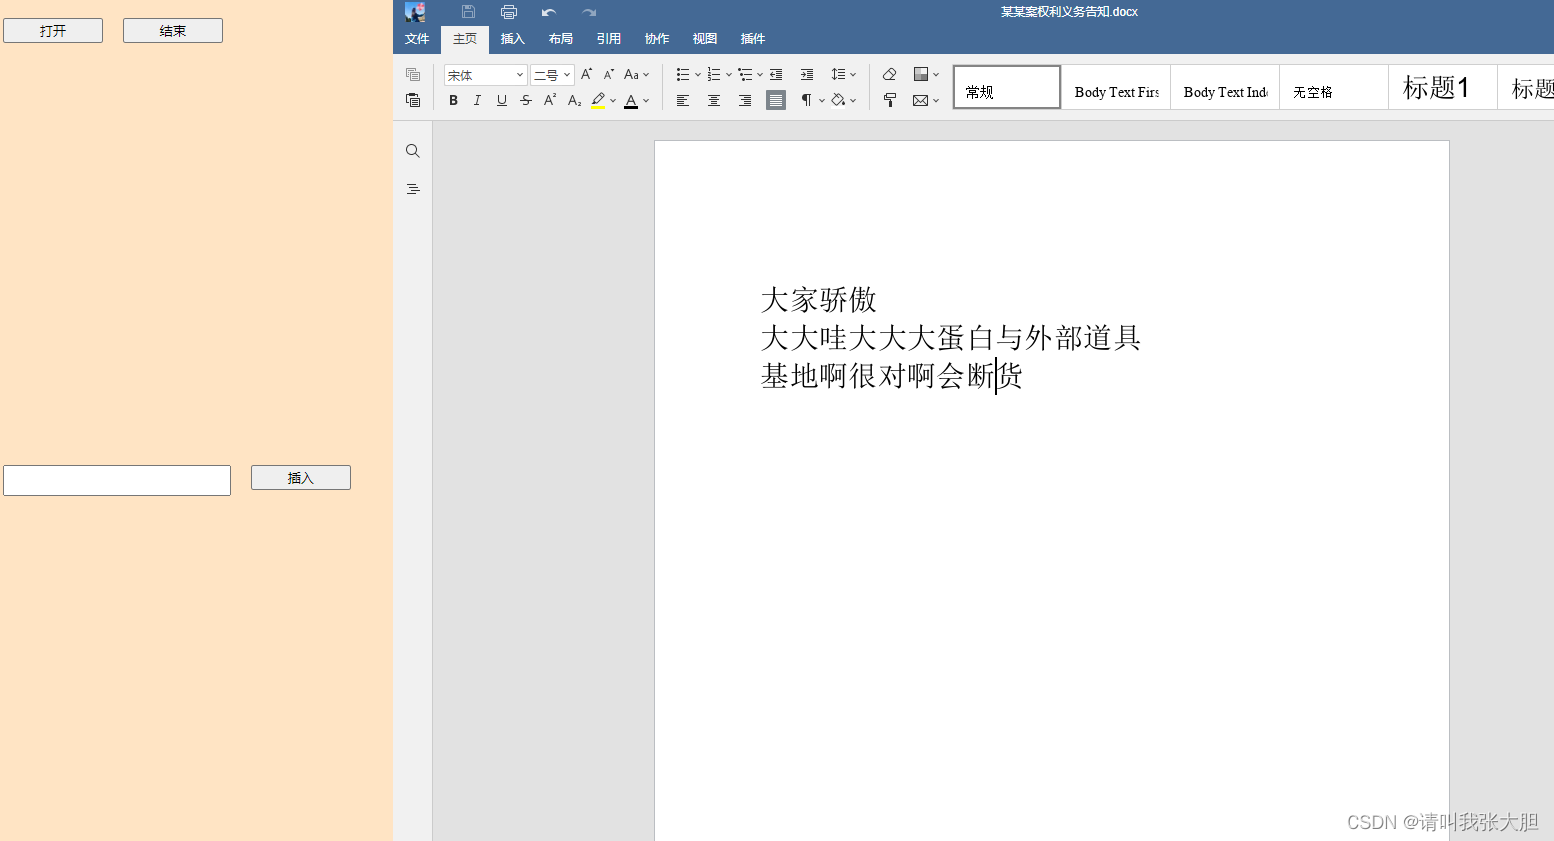
演示图
-
获取安装资源
可以直接在onlyoffice官网下载社区版(有限制最高20在线编辑),采用docker安装,直接docker pull 镜像。也可以直接私信我镜像压缩包(已经设置好中文字体和插件)。
-
开始安装
1.首先加载镜像 (拉取社区版可以跳过1,2)
docker load -i office-zh-plug.tar2.加载完后可能显示none(打包的时候采用的镜像id,使用镜像名字就不会出现)
可以使用docker tag [镜像id] [新镜像名称]:[新镜像版本]来修改3.启动镜像
docker run --name office -d  --restart=always  \
-p 9966:80 \
office:v1
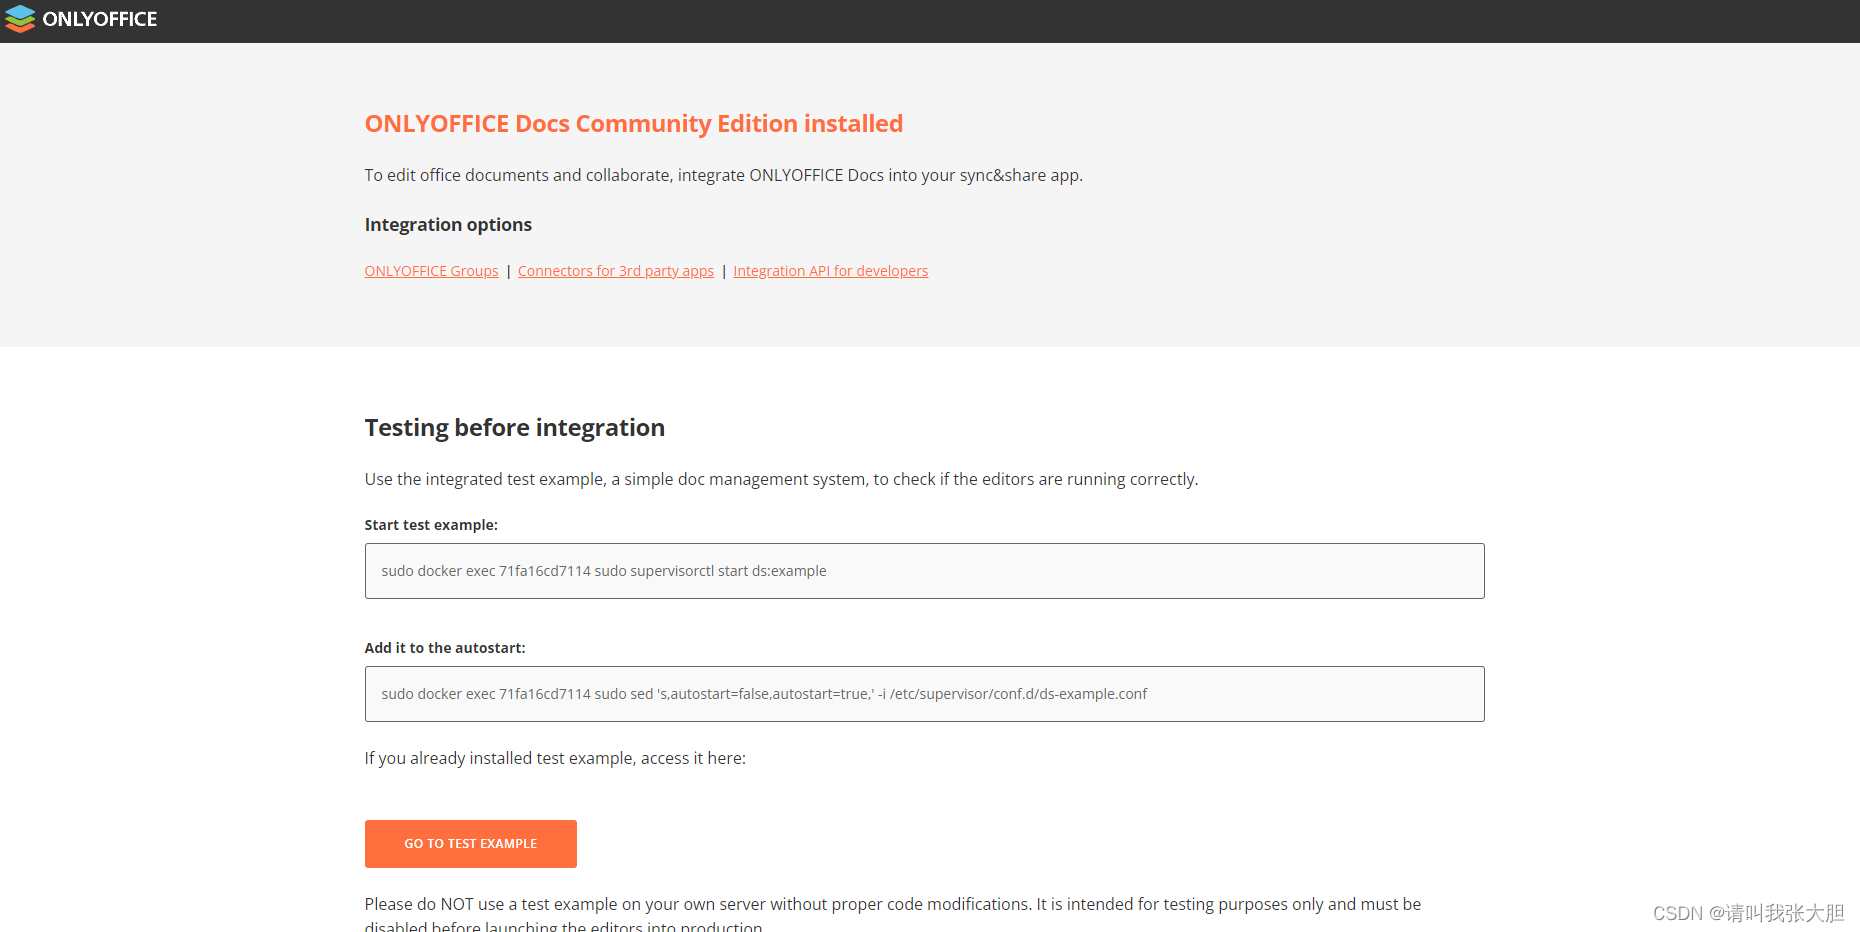
--name启动后容器的名称 -d 后台启动 --restart=always 容器自启 -p 9966:80 把容器的80端口映射到宿主机的9966端口上 office:v1 镜像的名称和版本运行后显示容器的id(一串很长的字符)用docker ps查看运行的容器等待一分钟后在浏览器输入宿主机的ip+端口,比如:192.168.0.51:9966(提示:云服务器记得开防火墙和安全组)出现下面的界面代表启动成功了。
这个页面是跟教程添加onlyoffice自带的测试页面。你可以上传文件,来进行编辑和预览。 -
创建测试页面
1.前端页面
<!DOCTYPE html>
<html lang="en" xmlns="http://www.w3.org/1999/xhtml">
	<head>
		<meta charset="utf-8" />
		<title>OnlyOffice测试</title>
	</head>
	<body>
		<div class="app">
			<div class="custom">
				<button id="but1" onclick="openDocEditor()" class="but1">打开</button>
				<button id="but2" onclick="colseDocEditor()" class="but2">结束</button>
				<Input id="iput1" type="text" class="iput1"></Input>
				<button id="but3" onclick="inputText()" class="but1">插入</button>
			</div>
			<div id="placeholder" class="placeholder">
			</div>
		</div>
		<script type="text/javascript" src="http://192.168.0.51:9966/web-apps/apps/api/documents/api.js"></script>
		<script type="text/javascript">
			var docEditor;
			var config = {
				"height": "100%",
				"width": "70%",
				"documentType": "word",
				"type": "desktop",
				"document": {
					"lang": "zh-CN",
					"fileType": "docx",
					"key": "34d-554",
					"title": "笔录模板.docx",
					"url": "http://192.168.0.51:9000/demo/20220913/测试demo.docx", //这里填写文档的url路径
					"permissions": {
						"comment": false,
						"chat": false, //定义“聊天”菜单按钮是显示还是隐藏
						"copy": true,
						"download": true,
						"edit": true,
						"print": true,
						"fillForms": true,
						"modifyFilter": true,
						"modifyContentControl": true,
						"review": true,
						"reviewGroups": null,
						"commentGroups": {},
						"userInfoGroups": null
					}
				},
				"editorConfig": {
					"lang": "zh", //语言环境
					"mode": "edit", //文档操作模式 view 视图模式不可编辑  edit 编辑模式可编辑文档
					"plugins": {
						"autostart": [
							"asc.{7470f8ef-bcb4-4f07-8887-6ebf973075cf}",
						],
						"pluginsData": []
					},
					"callbackUrl": "http://192.168.0.88:8702/office/callback", //保存文件时的回调地址
					"customization": {
						//匿名访问
						"anonymous": {
							"request": true,
							"label": "Guest",
						},
						//设置logo
						"logo": {
							"image": "https://portrait.gitee.com/uploads/avatars/user/2509/7529457_zhang2020506_1589940706.png!avatar60",
							"imageEmbedded": "https://portrait.gitee.com/uploads/avatars/user/2509/7529457_zhang2020506_1589940706.png!avatar60",
							"url": "https://portrait.gitee.com",
						},
						"features": {
							"spellcheck": false, //定义在加载编辑器时是否自动打开或关闭拼写检查器
						},
						"about": false, //关于
						"hideRulers": true, //关闭标尺
						"comments": false, //关闭评论
					},
					"user": {
						"group": "",
						"id": "uid-124",
						"name": "李四"
					}
				},
			};

			function openDocEditor() {
				docEditor = new DocsAPI.DocEditor("placeholder", config);
			};

			function inputText() {
				var value = document.getElementById("iput1").value;
				let frame = window.frames[0];
				const msg = {
					name: "test",
					frameEditorId:"iframeEditor",
					guid: "asc.{7470f8ef-bcb4-4f07-8887-6ebf973075cf}",
					type: "onExternalPluginMessage",
					data:{
						text: value,
						type: "insertText",
					}
				};
				frame.postMessage(JSON.stringify(msg), "*");
			};

			function colseDocEditor() {
				docEditor.destroyEditor();
			};
		</script>
		<style>
			.app {
				display: flex;
				height: 900px;
				background-color: bisque;
			}

			.custom {
				width: 400px;
				display: flex;
				flex-direction: row;
				flex-wrap: wrap;
			}

			.but1 {
				margin: 20px 10px;
				height: 25px;
				width: 100px;
			}

			.but2 {
				margin: 20px 10px;
				height: 25px;
				width: 100px;
			}

			.iput1 {
				width: 220px;
				height: 25px;
				margin: 20px 10px;
			}

			.but3 {
				margin-top: 20px;
				width: 90px;
				height: 32px;
			}
		</style>
	</body>
</html>
重要的配置信息我在注释里面介绍了。
2.后端代码
/** * 编辑文档时回调接口 * 0 - no document with the key identifier could be found, * 1 - document is being edited, * 2 - document is ready for saving, * 3 - document saving error has occurred, * 4 - document is closed with no changes, * 6 - document is being edited, but the current document state is saved, * 7 - error has occurred while force saving the document. **/ @ApiOperation(value = "回调") @PostMapping("/callback") public void saveDocumentFile(HttpServletRequest request, HttpServletResponse response) throws IOException { //处理编辑回调逻辑 PrintWriter writer = null; JSONObject jsonObj = null; System.out.println("保存文件"); try { writer = response.getWriter(); Scanner scanner = new Scanner(request.getInputStream()).useDelimiter("\\A"); String body = scanner.hasNext() ? scanner.next() : ""; jsonObj = JSONUtil.parseObj(body); System.out.println(jsonObj); if (jsonObj.get("status", long.class) == 2) { callBackSaveDocument(jsonObj); } } catch (Exception e) { e.printStackTrace(); } /* * status = 1,我们给onlyOffice的服务返回{"error":"0"}的信息,这样onlyOffice会认为回调接口是没问题的,这样就可以在线编辑文档了,否则的话会弹出窗口说明 * 在线编辑还没有关闭,前端有人下载文档时,强制保存最新内容 当status 是6时说明有人在编辑时下载文档 * */ assert writer != null; System.out.println(jsonObj.get("status", long.class)); if (jsonObj.get("status", long.class) == 6) { //处理当文档正在编辑为关闭时,下载文档 if (jsonObj.get("userdata", String.class).equals("sample userdata")) { callBackSaveDocument(jsonObj); } writer.write("{\"error\":1}"); } else { //执行删除编辑时下载保存的文件: writer.write("{\"error\":0}"); } } public void callBackSaveDocument(JSONObject jsonObj) throws IOException { /* * 当我们关闭编辑窗口后,十秒钟左右onlyOffice会将它存储的我们的编辑后的文件 * 此时status = 2,通过request发给我们,我们需要做的就是接收到文件然后回写该文件。 * 定义要与文档存储服务保存的编辑文档的链接。当状态值仅等于2或3时,存在链路。 * */ String downloadUri = jsonObj.get("url", String.class); URL url = new URL(downloadUri); java.net.HttpURLConnection connection = (java.net.HttpURLConnection) url.openConnection(); String uuid = jsonObj.get("key", String.class); InputStream stream = connection.getInputStream(); //此处获取到的流即是onlyOffice服务下的文件流。 //自定义保存文件...... connection.disconnect(); } -
添加中文字体
1.找到中文字体包传到服务器上
2.把字体拷贝到镜像docker cp /home/onlyoffice/fonts/ <容器ID>:/usr/share/fonts/3.进入容器
docker ps
docker exec -it <容器ID> /bin/bash
4.执行命令
sh /usr/bin/documentserver-generate-allfonts.sh5.设置中文字号
把容器的 /var/www/onlyoffice/documentserver/web-apps/下的app.js里面的所有的样式如{value:8,displayValue:“8”}替换为对应的字号{value:8,displayValue:“小四”}或者直接输入sed -i "s/{value:8,displayValue:\"8\"}/{value:42,displayValue:\"初号\"},{value:36,displayValue:\"小初\"},{value:26,displayValue:\"一号\"},{value:24,displayValue:\"小一\"},{value:22,displayValue:\"二号\"},{value:18,displayValue:\"小二\"},{value:16,displayValue:\"三号\"},{value:15,displayValue:\"小三\"},{value:14,displayValue:\"四号\"},{value:12,displayValue:\"小四\"},{value:10.5,displayValue:\"五号\"},{value:9,displayValue:\"小五\"},{value:7.5,displayValue:\"六号\"},{value:6.5,displayValue:\"小六\"},{value:5.5,displayValue:\"七号\"},{value:5,displayValue:\"八号\"},{value:8,displayValue:\"8\"}/g" `grep -rwl --include="*.js" "{value:8,displayValue:\"8\"}" /var/www/onlyoffice/documentserver/web-apps/apps`6.重启容器
docker restart <容器ID> -
配置插件
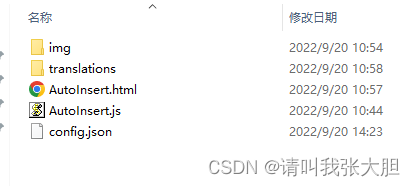
1.插件主题主体
2.插件代码AutoInsert.html
	<!DOCTYPE html>
	<html>
		<head>
			<meta charset="UTF-8" />
			<title>test</title>
			<script type="text/javascript" src="https://onlyoffice.github.io/sdkjs-plugins/v1/plugins.js"></script>
			<script type="text/javascript" src="https://onlyoffice.github.io/sdkjs-plugins/v1/plugins-ui.js"></script>
			<link rel="stylesheet" href="https://onlyoffice.github.io/sdkjs-plugins/v1/plugins.css">
			<script type="text/javascript" src="AutoInsert.js"></script>
		</head>
		<body>

		</body>
	</html>
AutoInsert.js
	(function(window, undefined) {
	window.Asc.plugin.init = function() {
		console.log("初始化");
	};
	window.Asc.plugin.onExternalPluginMessage = function(data) {
		switch (data.type) {
			case "close": {
				this.executeCommand("close", "");
				break;
			}
			case "insertText": {
				window.Asc.plugin.executeMethod("InputText", [data.text, ""]);
				break;
			}
		}
	};
	window.Asc.plugin.button = function(id) {

	};
})(window, undefined);
config.json
{
	"name": "自动插入",
	"guid": "asc.{7470f8ef-bcb4-4f07-8887-6ebf973075cf}",
	"variations": [{
		"description": "Automatically insert text box data",
		"url": "AutoInsert.html",
		"icons": ["img/icon.png", "img/[email protected]"],
		"isViewer": false,
		"EditorsSupport": ["word"],
		"isVisual": false,
		"isModal": false,
		"initDataType": "none",
		"initData": "",
		"buttons": [],
		"events": []
	}]
}
至于图片就自己定义好啦,这个不重要。
把插件放入到容器docker cp /AutoInsert <容器ID>:/var/www/onlyoffice/documentserver/sdkjs-plugins/3.重启容器
-
分享完成


