掘金地址:https://juejin.cn/post/7294260754915885065
Vue3 webScoket方法封装
Node.js webScoket 方法封装
1.先实现服务端node.js scoket方法的封装
先安装ws(基于node.js开发的webScoket 库) npm install ws
2.新建一个webScoket.js文件
3.代码逻辑实现
const Scoket = require('ws')
// 当前scoket对象
let scoket = {}
//当前scoket连接信息
let ws = {}


/**
 * @function createServer  scoket实列创建
 * @param  {Object} options
**/
const createServer = () => {
	scoket = new Scoket.Server({ port: 8080 });
	scoket.on('connection', (ws, req) => onConnection(ws, req))
}


//与服务端建立连接
const onConnection = (wss, req) => {
	console.log('建立连接', req.url);
	ws = wss
	ws.send(JSON.stringify({ data: '建立连接' }));
	ws.on('message', (message) => {
		scoket.clients.forEach((client) => {
			if (client.readyState === Scoket.OPEN) {
				// 将收到的消息转化为二进制代码
				const msg = message.toString()
				console.log('收到消息', msg)
				ws.send(msg)
			}
		})
	});
	ws.on('close', (msg) => onClone(msg));
	ws.on('error', (err) => onError(err))
}


/**
 * @function onMessage  scoket 客户端消息接收
 * @param  {String} message 接收到的消息
 */
const onMessage = (callback) => {
	console.log(callback)
	ws.on('message', (message) => {
		scoket.clients.forEach((client) => {
			if (client.readyState === Scoket.OPEN) {
				console.log('收到消息callback', message)
				callback(message)
			}
		})
	});
}


/**
 * WebScoket  初始化连接
 * @function onClone  客户端连接断开
**/
const onClone = () => {

}

/**
* @function onError  scoket错误处理
* @param  {String} callback  错误回调
*/
const onError = (callback) => {
	ws.on('error', (err) => {
		callback(err)
	})
}


/**
  * @function onSend  scoket  向客户端发送消息
  * @param  {String} message  发送给客户端的消息
*/
const onSend = (message) => {
	ws.send(message)
}

module.exports = {
	createServer,
	onSend,
	onMessage,
	onClone,
	onError
}
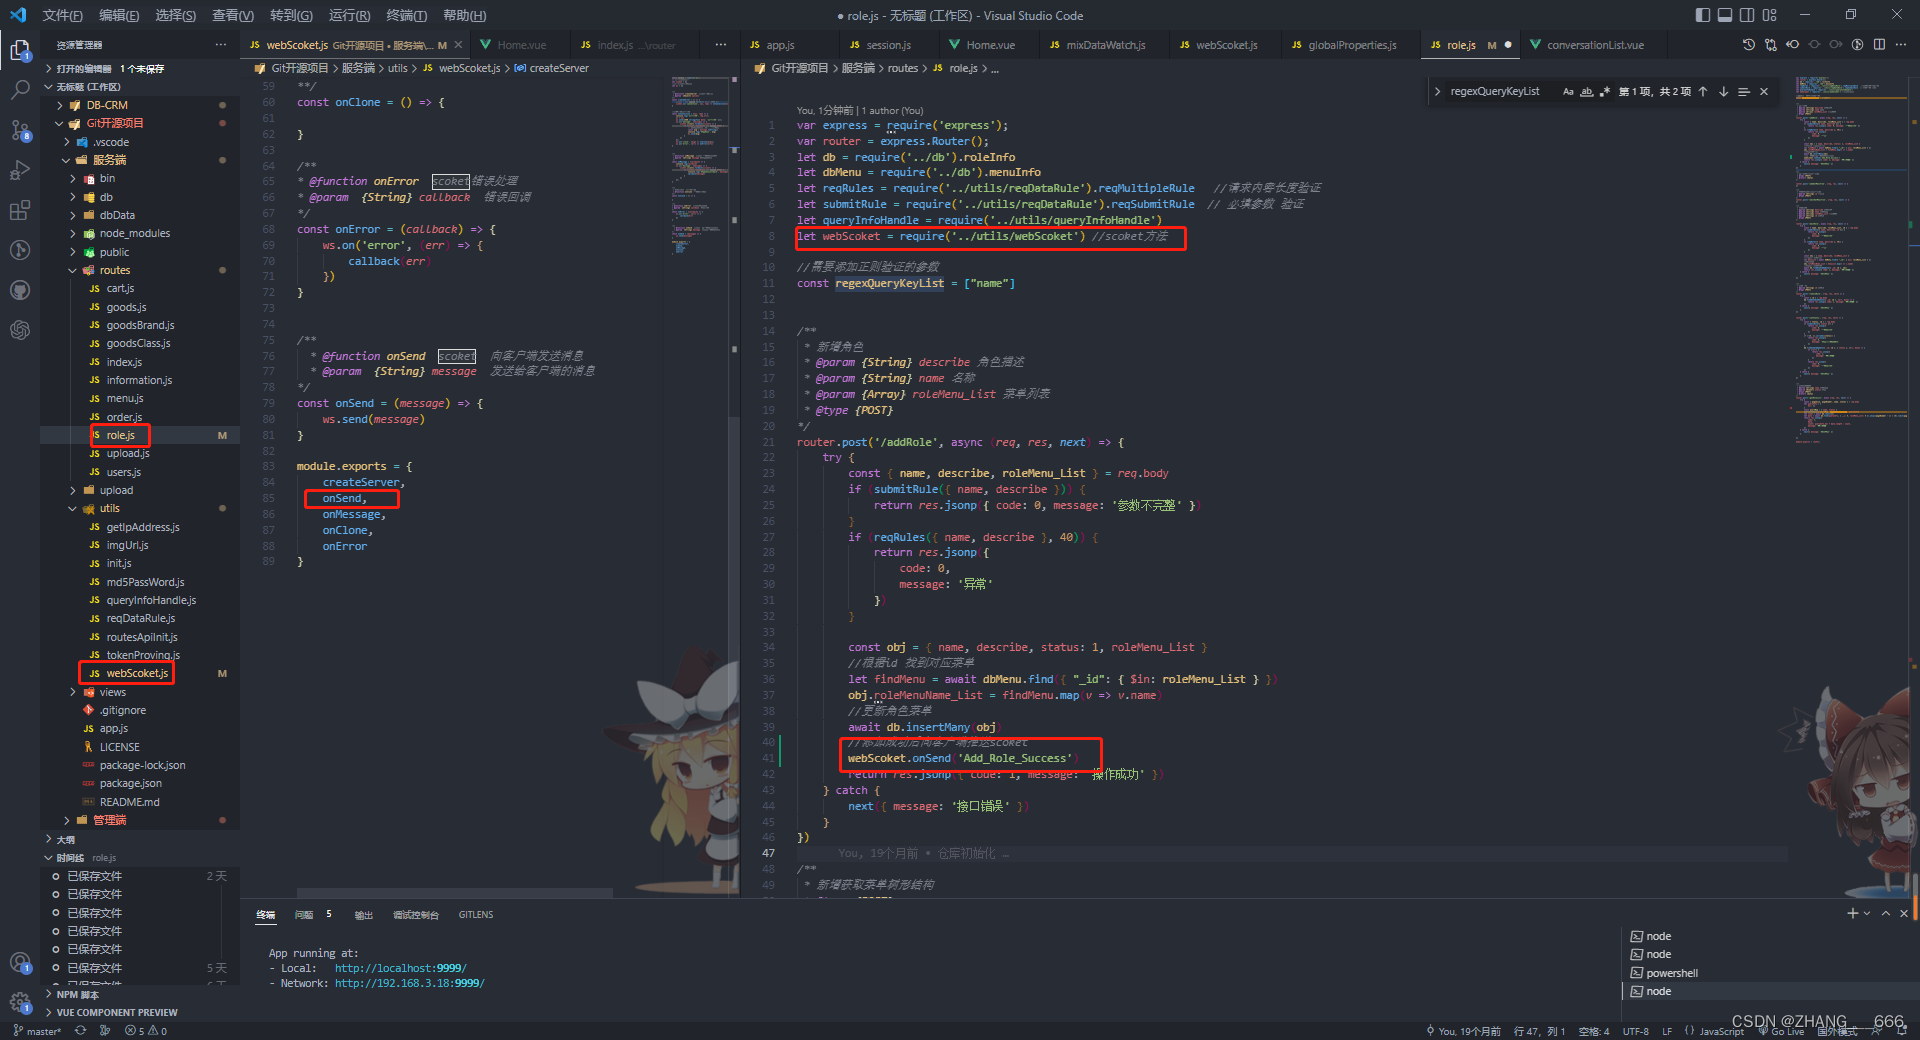
4.在对应的接口文件里使用(完整项目代码可参考:https://gitee.com/ZHANG_6666/express–vue3–ant-design2/blob/master/utils/webScoket.js)
2.客户端Vue3 scoket方法的封装
1.webScoket.js代码逻辑
/**
 * scoket 连接方法
 * @param {String} scoketUrl scoket连接url
 * @param {Boolean} isConcent scoket 连接状态
 * @param {Function} globalCallback   scoket 回调函数
 * @type {}
 * @return {}
*/

let scoket = null
let isConcent = false //连接状态
let globalCallback = (e) => { e }
const scoketUrl = process.env.VUE_APP_WEBSCOKET_URL
//scoket 初始化连接
const webScoketInit = () => {
	return new Promise((reslove, reject) => {
		try {
			scoket = new WebSocket(scoketUrl)
			if (typeof WebSocket == undefined) {
				alert('您的浏览器不支持socket!使用谷歌浏览器!')
			} else {
				//监听socket连接
				scoket.onopen = () => {
					console.log('客户端scoket连接成功')
					isConcent = true
					//开始心跳检测
					heartCheck.start()
					reslove()
				}
				scoket.onmessage = onMessage
				//监听socket错误信息
				scoket.onerror = onError
				//关闭scoket 连接
				scoket.onclose = onClose
			}
		} catch {
			throw ('scoket连接错误')
		}
	})
}


//scoket 消息监听
function onMessage(msg) {
	//收到服务端心跳检测返回消息 重置心跳
	if (msg.data == 'HeartBeat') {
		console.log('收到服务端心跳检测')
		heartCheck.reset()
	} else {
		//如果不是心跳检测回应则触发消息回调
		globalCallback(msg.data)
	}
}

//监听socket错误信息
function onError(err) {
	isConcent = false
	console.log('err', err)
}


//监听socket关闭
function onClose(err) {
	isConcent = false
	//关闭scoket
	scoket.close()
	console.log('执行重连')
	//重新连接
	webScoketInit()
}


/**
 * 消息监听方法
 * @param {Function} callback  回调函数
 * @return {}
*/

function messageListener(callback) {
	if (typeof callback == 'function') {
		globalCallback = callback
	}
}


/**
 *  向服务端发送消息的方法
 * @param {String} message 发送的内容(必须是字符串)
 * @return {}
*/
function messageSend(message) {
	const { readyState, OPEN, CLOSED, CLOSING, CONNECTING } = scoket
	switch (readyState) {
		// CONNECTING:值为0,表示正在连接。
		case CONNECTING:
			break;
		// OPEN:值为1,表示连接成功,可以通信了。
		case OPEN:
			scoket.send(message)
			break;
		// CLOSING:值为2,表示连接正在关闭。
		case CLOSING:
			break;
		// CLOSED:值为3,表示连接已经关闭,或者打开连接失败。
		case CLOSED:
			break;
		default:
			break;
	}
}


/*
  scoket 心跳检测机制方法
  每间隔 30s 向服务端发起一个询问 HeartBeat 如果服务端返回消息表示连接正常则重置心跳
  如果scoket 抛错则需要进行scoket重连
*/
let heartCheck = {
	timeout: 30000,// 每隔30s 进行一次检测
	timeoutObj: null, // 延时发送消息对象(启动心跳新建这个对象,收到消息后重置对象)
	reset: function () {
		clearTimeout(this.timeoutObj);
		this.start();
	},
	start: function () {
		this.timeoutObj = setTimeout(function () {
			console.log('发送心跳检测')
			//如果连接开启则发送心跳
			if (isConcent) {
				scoket.send("HeartBeat");
			} else {
				//否则清除心跳检测对象
				clearTimeout(this.timeoutObj);
			}
		}, this.timeout)
	}
}


export {
	webScoketInit,
	messageSend,
	messageListener,
}
2.挂载在全局方法里
import session from "./session";  //会话缓存全局方法
import url from './config/routerPath' //全局静态路由
import { messageListener, messageSend } from './webScoket'; //webscoket 全局方法
const globalProperties = {
	install(Vue) {
		Vue.config.globalProperties.$session = session
		Vue.config.globalProperties.$urls = url
		Vue.config.globalProperties.$scoketEvent = {
			messageSend,
			messageListener,
		}
	}
}

export default {
	...globalProperties
}
3.页面使用
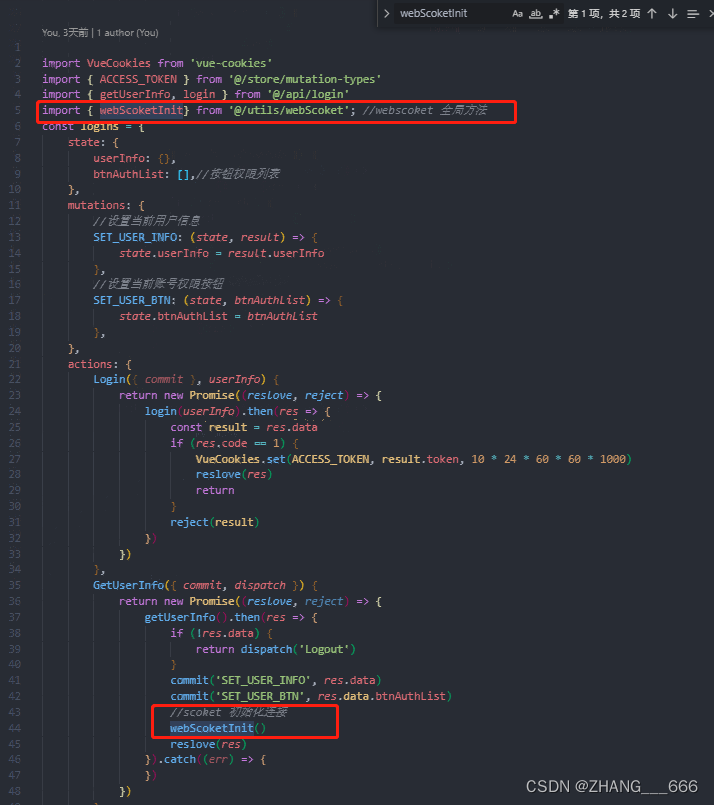
scoket初始化我是把它放在登录成功后执行
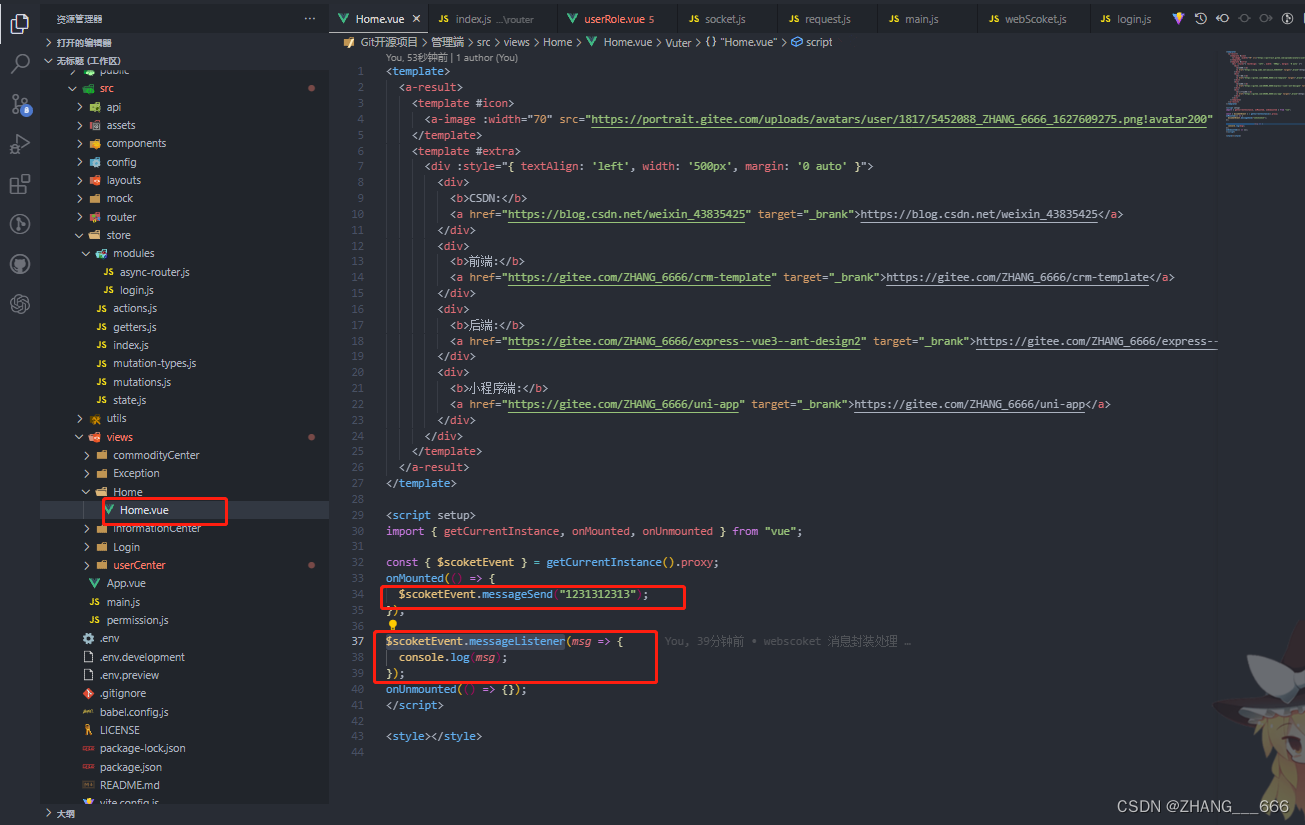
vue页面使用 $scoketEvent.messageSend 向服务端发送消息 $scoketEvent.messageListener 接收消息


