-
写在前面
在Android开发中的网络请求是一个十分重要的功能,它包含请求配置,发送数据,解析数据,状态展示,线程调度切换等等,在过去java开发中,我们通常使用retrofit和rxjava来简化网络请求的操作.今天我们来看看用Kotlin协程和retrofit来进行网络请求操作,比起rxjava,kotlin协程的优势是更容易理解和阅读,异步请求的写法和执行更类似于同步代码.我们先通过一个最简单的demo来看看如何用协程和Retrofit进行网络请求. -
项目配置
打开AndroidStudio,版本3.3以上,新建一个项目,选择kotlin语言,勾选AndroidX(AndroidX是google用来统一的包名的,后面应该所有的项目都会使用AndroidX包替代support包,没有适应的要尽快适应),选择emptyActivity,创建好项目之后,打开app目录下build.gradle,在dependencies{…}中添加以下几句// Kotlin Android Coroutines implementation 'org.jetbrains.kotlinx:kotlinx-coroutines-core:1.1.1' implementation 'org.jetbrains.kotlinx:kotlinx-coroutines-android:1.1.1' // Gson implementation "com.google.code.gson:gson:2.8.5" // Retrofit implementation "com.squareup.retrofit2:retrofit:2.5.0" implementation "com.squareup.retrofit2:converter-gson:2.5.0"上面几句一看就懂,我就不多解释了.
-
插件安装
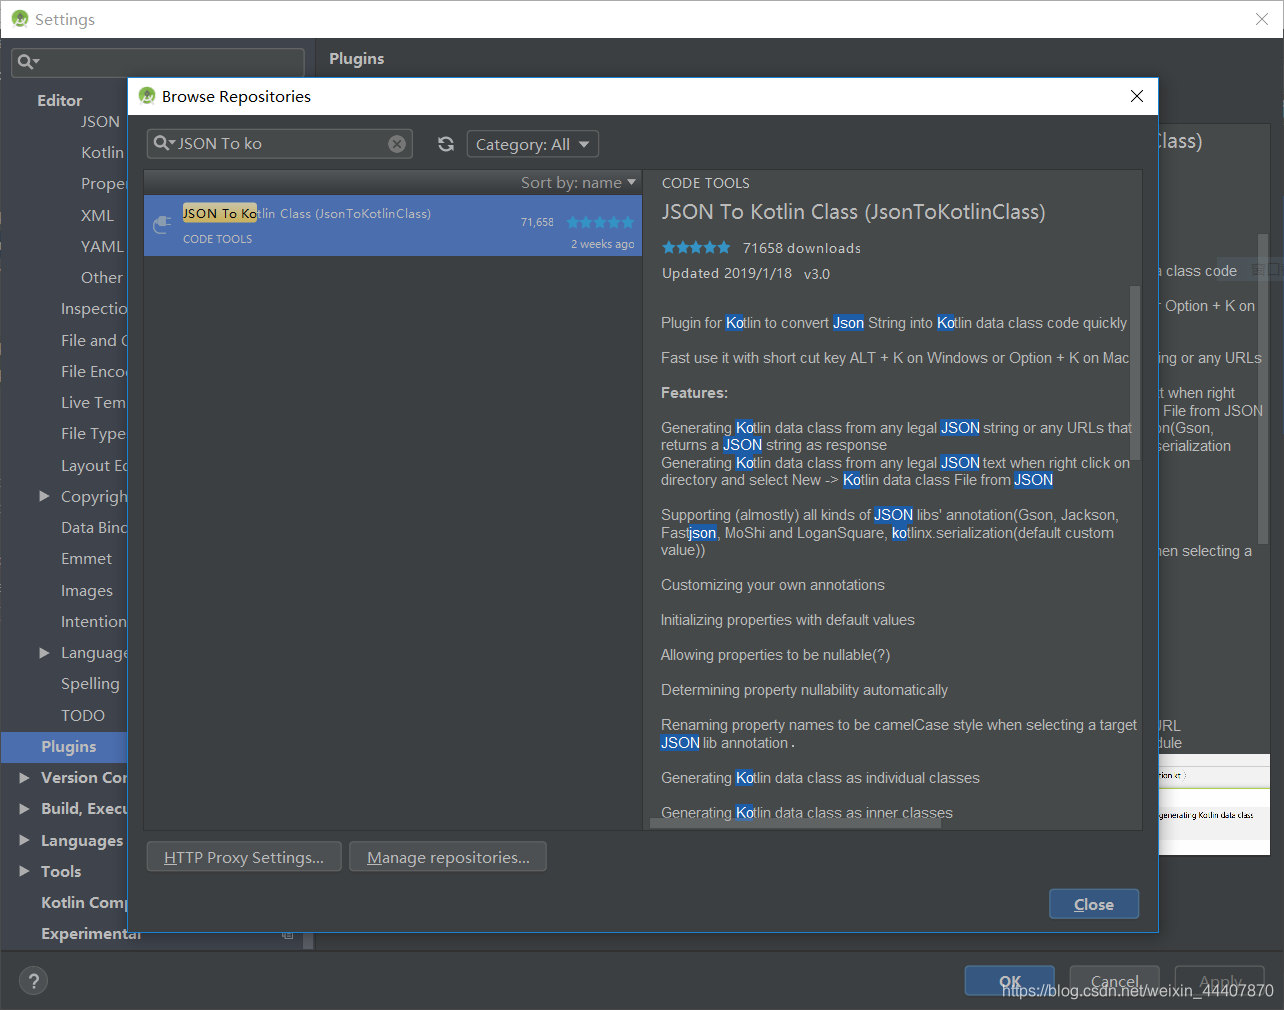
在开始写代码之前我们还要先安装一个插件,就是通过json数据生成kotlin对象的插件,在之前java开发中,我们通常使用的插件是GsonFormat,现在我们要使用一个插件JSON To Kotlin Class
点击File->Settings->Plugins->Browse repositories,在搜索框中输入JSON To Kotlin Class,然后点击install就可以自动下载安装插件了,注意,安装完成之后需要重启Android Studio.
-
代码实现
首先,我们给activity一个布局,让它看起来是这这样的
布局代码如下<?xml version="1.0" encoding="utf-8"?> <androidx.constraintlayout.widget.ConstraintLayout xmlns:android="http://schemas.android.com/apk/res/android" xmlns:app="http://schemas.android.com/apk/res-auto" xmlns:tools="http://schemas.android.com/tools" android:layout_width="match_parent" android:layout_height="match_parent" tools:context=".MainActivity"> <EditText android:id="@+id/editText" android:layout_width="200dp" android:layout_height="wrap_content" android:layout_marginStart="8dp" android:layout_marginTop="8dp" android:layout_marginEnd="8dp" android:ems="10" android:hint="pleas input the name" android:inputType="textPersonName" app:layout_constraintStart_toStartOf="parent" app:layout_constraintTop_toTopOf="parent" tools:ignore="Autofill" />

