sections介绍
- word支持section的概念,即一个文档的划分部分,不同的部分均包含相同的页面布局设置,如相同的边距、页面方向等;
- 在每个section中可以定义页眉、页脚来应用于该section下的所有页面;
- 大部分word文档中都是默认有一个section;
访问section
>>> document = Document("xx.docx")
>>> sections = document.sections
>>> sections
<docx.parts.document.Sections object at 0x1deadbeef>
>>> len(sections)
3
>>> section = sections[0]
添加section
>>> current_section = doc.sections[-1]
>>> current_section.start_type
NEW_PAGE (2)
>>> new_section = doc.add_section(WD_SECTION.ODD_PAGE)
>>> new_section.start_type
ODD_PAGE (4)
section对象有11个属性:
- section.start_type, 该部分的中断类型;
from docx.enum.section import WD_SECTION

section = document.sections[0]
section.start_type = WD_SECTION.NEW_PAGE
- section.orientation,页面方向,如portrait 纵向,landscape横向;
- section.page_width 页面宽度;如Inches(8.5);
- section.page_height 页面高度;
- section.left_margin 文本内容距离页面的左边距;
- section.right_margin 右边距;如1143000,可以继续调用right_margin属性.inches/pt/cm 获取对应单位的距离值;
- section.top_margin 上边距;
- section.bottom_margin 下边距;
- section.gutter
- section.header_distance 与页眉的距离;
- section.footer_distance 与页脚的距离;
页眉、页脚
每个section对象有自己的页眉、页脚,
访问方式:
>>> section = doc.sections[0]
>>> header = section.header
>>> header
<docx.section._Header object at 0x...>
>>> footer = section.footer

>>> header._element   # 获取底层的xml元素,依次遍历内部的CT_P、CT_Tbl对象并解析即可;
>>> footer._element
综合案例:
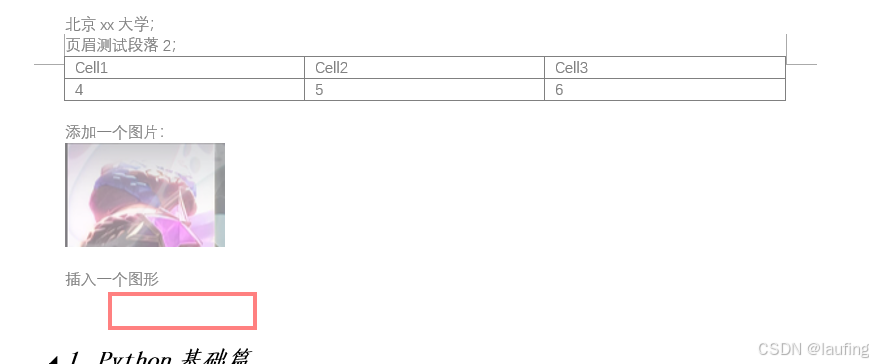
在word中添加如下页眉内容,并解析(解析页脚类似):
- 四个段落文本;
- 一个表格;
- 一个图片;
- 一个矩形框图形;
完整代码:
def get_graphic_with_pywin32(doc_path):
    """ 基于pywin32 解析文档主体中的图形 """
    global graphics
    word = get_word_instance()
    doc = word.Documents.Open(doc_path)
    for section in doc.Sections:
        for header in section.Footers:
            for shape in header.Shapes:
                inline_shape = shape.ConvertToInlineShape()
                bdata = inline_shape.Range.EnhMetaFileBits.tobytes()  # 直接保存无法查看
                img = PillowImage.open(BytesIO(bdata))
                img.save("./{}.png".format(shape.Name))
                with open("./{}.png".format(shape.Name), "rb") as f:
                    bdata = f.read()  # 读取的字节 与 image.tobytes() 不一样
                graphics[