Windows主机监控
NAT网段下不能建立
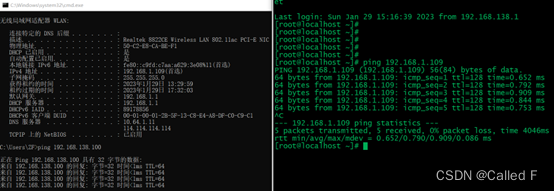
查看真机IP,真机和NAT网段的虚拟机可以互通
但服务器用NAT模式下,和真机都不能建立监控关系。
桥接网络
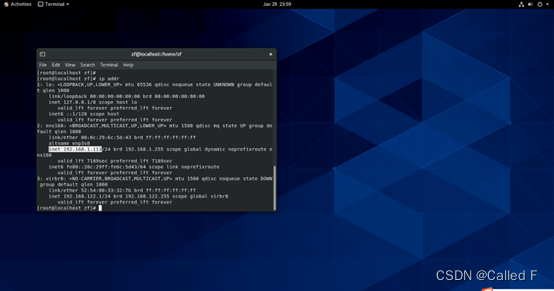
服务器虚拟机采用桥接网络
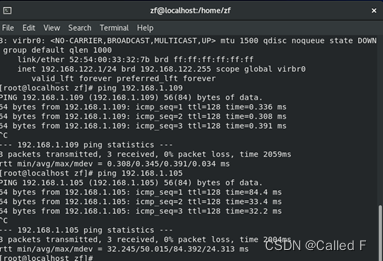
服务器能PING通我的真机192.168.1.109和另一台同局域网的电脑192.168.1.105
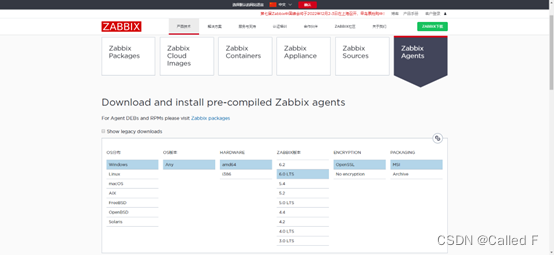
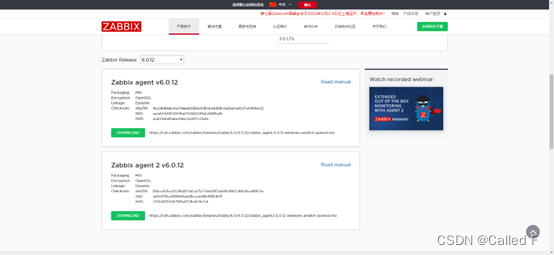
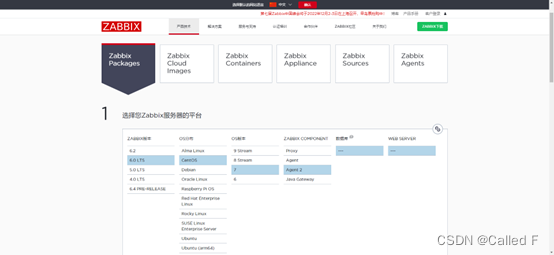
Agent2官网下载
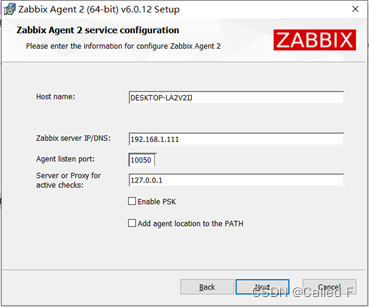
真机为WIN10专业版,去官网下载Windows版agent2
https://www.zabbix.com/cn/download?zabbix=6.0&os_distribution=centos&os_version=7&components=proxy&db=mysql&ws=
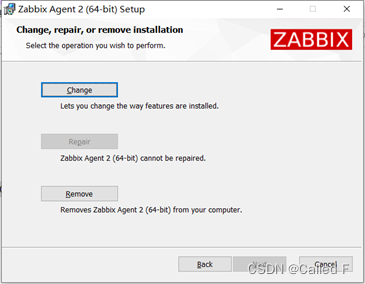
暂时不知道怎么卸载,如果后面要卸载的话再运行这个安装程序卸载它就行了
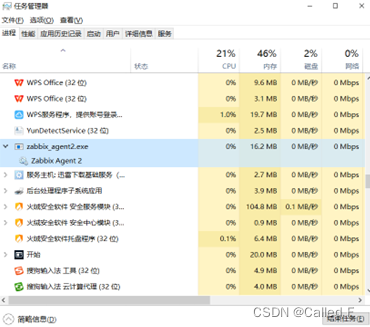
查看任务管理器确认agent客户端已经运行
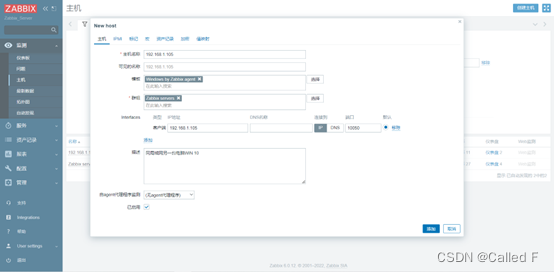
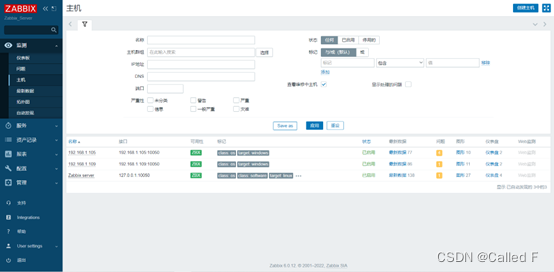
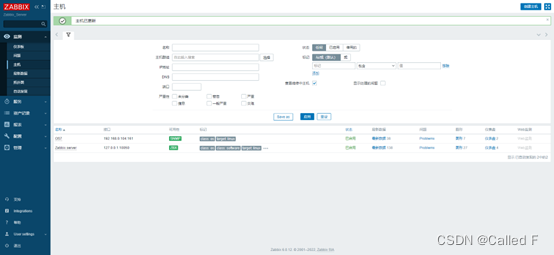
添加Windows监控主机
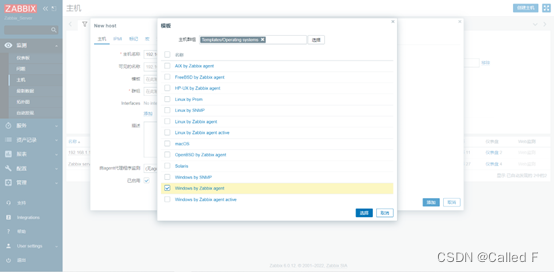
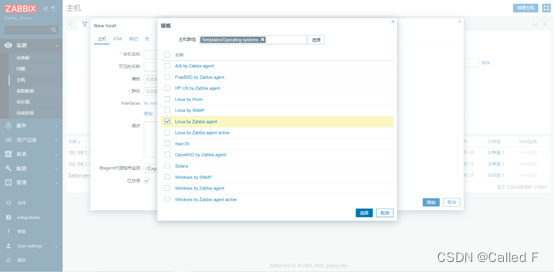
创建主机选择模板
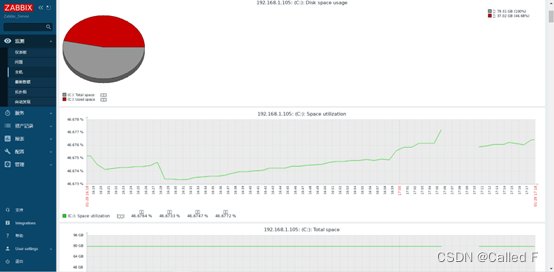
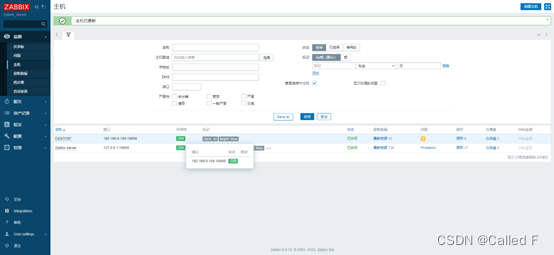
Windows添加监控完成
LINUX主机监控,官网Agent2安装方式
确认Sever和Client互通
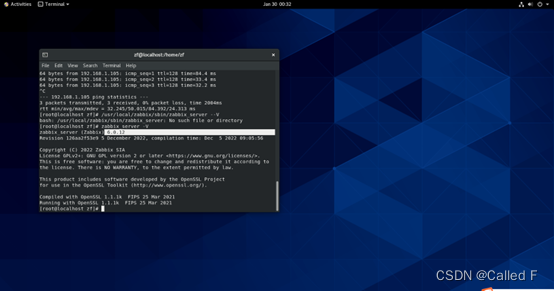
查看服务器上Zabbix的版本是6.0.12
zabbix server -v
桥接IP为192.168.0.105
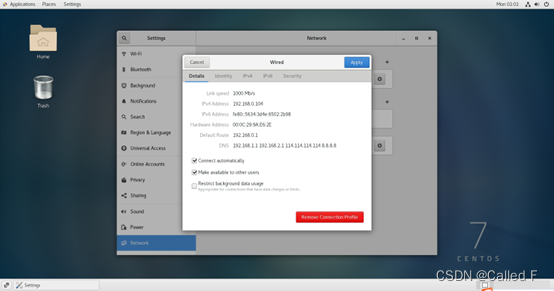
另一台LINUX虚拟机为CentOS 7.9版本,同样设置为桥接网络,IP目前为192.168.0.104
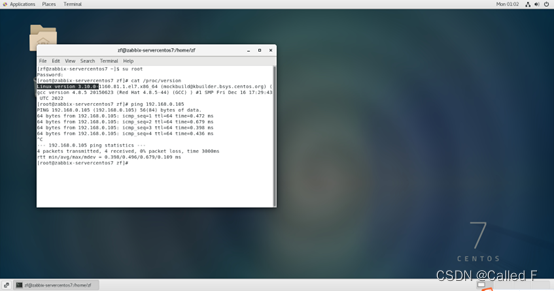
和Zabbix服务器是连通的,查看系统版本是3.10
cat /proc/version
CentOS 7(被监控端)系统优化
关掉防火墙和Selinux后重启
sudo setenforce 0
sudo sed -i “s/SELINUX=enforcing/SELINUX=disabled/g” /etc/selinux/config
sudo systemctl stop firewalld.service
sudo systemctl disable firewalld.service
更换清华源
cd /etc/yum.repos.d/
mv CentOS-Base.repo CentOS-Base.repo.bak 将原先的源备份
vim CentOS-Base.repo 新写一个源
vim cd /etc/yum.repos.d/CentOS-Base.repo
将下面的内容全部复制进这个文件即可
大家也可以去尝试其他的换源操作,只要正确换源了能用yum就行
#CentOS-Base.repo
#The mirror system uses the connecting IP address of the client and the
#update status of each mirror to pick mirrors that are updated to and
#geographically close to the client. You should use this for CentOS updates
#unless you are manually picking other mirrors.
#If the mirrorlist= does not work for you, as a fall back you can try the
#remarked out baseurl= line instead.
[base]
name=CentOS-
r
e
l
e
a
s
e
v
e
r
−
B
a
s
e
b
a
s
e
u
r
l
=
h
t
t
p
s
:
/
/
m
i
r
r
o
r
s
.
t
u
n
a
.
t
s
i
n
g
h
u
a
.
e
d
u
.
c
n
/
c
e
n
t
o
s
/
releasever - Base baseurl=https://mirrors.tuna.tsinghua.edu.cn/centos/
releasever−Basebaseurl=https://mirrors.tuna.tsinghua.edu.cn/centos/releasever/os/KaTeX parse error: Expected 'EOF', got '#' at position 11: basearch/ #̲mirrorlist=http…releasever&arch=$basearch&repo=os
gpgcheck=1
gpgkey=file:///etc/pki/rpm-gpg/RPM-GPG-KEY-CentOS-7
#released updates
[updates]
name=CentOS-
r
e
l
e
a
s
e
v
e
r
−
U
p
d
a
t
e
s
b
a
s
e
u
r
l
=
h
t
t
p
s
:
/
/
m
i
r
r
o
r
s
.
t
u
n
a
.
t
s
i
n
g
h
u
a
.
e
d
u
.
c
n
/
c
e
n
t
o
s
/
releasever - Updates baseurl=https://mirrors.tuna.tsinghua.edu.cn/centos/
releasever−Updatesbaseurl=https://mirrors.tuna.tsinghua.edu.cn/centos/releasever/updates/KaTeX parse error: Expected 'EOF', got '#' at position 11: basearch/ #̲mirrorlist=http…releasever&arch=$basearch&repo=updates
gpgcheck=1
gpgkey=file:///etc/pki/rpm-gpg/RPM-GPG-KEY-CentOS-7
#additional packages that may be useful
[extras]
name=CentOS-
r
e
l
e
a
s
e
v
e
r
−
E
x
t
r
a
s
b
a
s
e
u
r
l
=
h
t
t
p
s
:
/
/
m
i
r
r
o
r
s
.
t
u
n
a
.
t
s
i
n
g
h
u
a
.
e
d
u
.
c
n
/
c
e
n
t
o
s
/
releasever - Extras baseurl=https://mirrors.tuna.tsinghua.edu.cn/centos/
releasever−Extrasbaseurl=https://mirrors.tuna.tsinghua.edu.cn/centos/releasever/extras/KaTeX parse error: Expected 'EOF', got '#' at position 11: basearch/ #̲mirrorlist=http…releasever&arch=$basearch&repo=extras
gpgcheck=1
gpgkey=file:///etc/pki/rpm-gpg/RPM-GPG-KEY-CentOS-7
#additional packages that extend functionality of existing packages
[centosplus]
name=CentOS-
r
e
l
e
a
s
e
v
e
r
−
P
l
u
s
b
a
s
e
u
r
l
=
h
t
t
p
s
:
/
/
m
i
r
r
o
r
s
.
t
u
n
a
.
t
s
i
n
g
h
u
a
.
e
d
u
.
c
n
/
c
e
n
t
o
s
/
releasever - Plus baseurl=https://mirrors.tuna.tsinghua.edu.cn/centos/
releasever−Plusbaseurl=https://mirrors.tuna.tsinghua.edu.cn/centos/releasever/centosplus/KaTeX parse error: Expected 'EOF', got '#' at position 11: basearch/ #̲mirrorlist=http…releasever&arch=$basearch&repo=centosplus
gpgcheck=1
enabled=0
gpgkey=file:///etc/pki/rpm-gpg/RPM-GPG-KEY-CentOS-7
yum makecache
yum update
如果提示yum被锁住了,删除这个pid文件即可
rm -rf /var/run/yum.pid
可以按照这位博主的方式去清华源安装agent2
在镜像网站直接下载对应zabiix版本的agent客户端(例如我的就是zabbix6.0.12)
https://blog.csdn.net/qq_40880022/article/details/128205432
官网Agent2安装
安装Zabbix源
#rpm -Uvh https://repo.zabbix.com/zabbix/6.0/rhel/7/x86_64/zabbix-release-6.0-4.el7.noarch.rpm
yum clean all
如果有进程pid需要等待
rm -f /var/run/yum.pid
安装agent2
#yum install zabbix-agent2 zabbix-agent2-plugin-*
更改配置文件
vi /etc/zabbix/zabbix_agent2.conf
grep -v “^#” /etc/zabbix/zabbix_agent2.conf
启动服务
#systemctl restart zabbix-agent2
#systemctl enable zabbix-agent2
添加主机
SNMP 协议方式监控LINUX主机
客户端(192.168.0.104)
yum -y install net-snmp net-snmp-utils
rpm -ql net-snmp
vim /etc/snmp/snmpd.conf
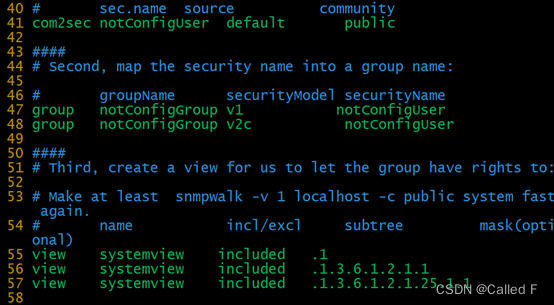
在第55行设置OID范围为最大view systemview included .1
systemctl restart snmpd.service #启动SNMP服务
systemctl enable snmpd.service #开机启动SNMP服务
服务器端(192.168.0.105)
yum -y install net-snmp net-snmp-utils
systemctl restart snmpd.service #启动SNMP服务
systemctl enable snmpd.service #开机启动SNMP服务
测试snmp命令:
snmpwalk -v 2c -c public 192.168.0.104 .1.3.6.1.4.1.2021.11.10.0
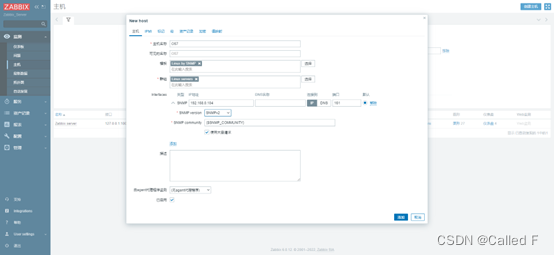
创建主机
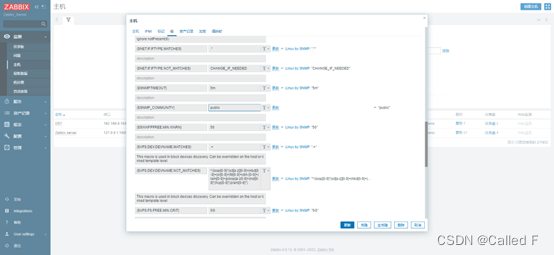
需要更改一些SNMP口令,在配置文件中如果改了community值,在这里也要对应更改
