关于Grounding DINO的环境搭建可以参考我的以前的博客,链接如下所示
如何在Linux上离线部署Grounding DINO-CSDN博客
这个博客主要来介绍如何利用Grounding DINO这个项目去进行目标检测的自动化标注。并且给出了相关的代码已经实验验证。
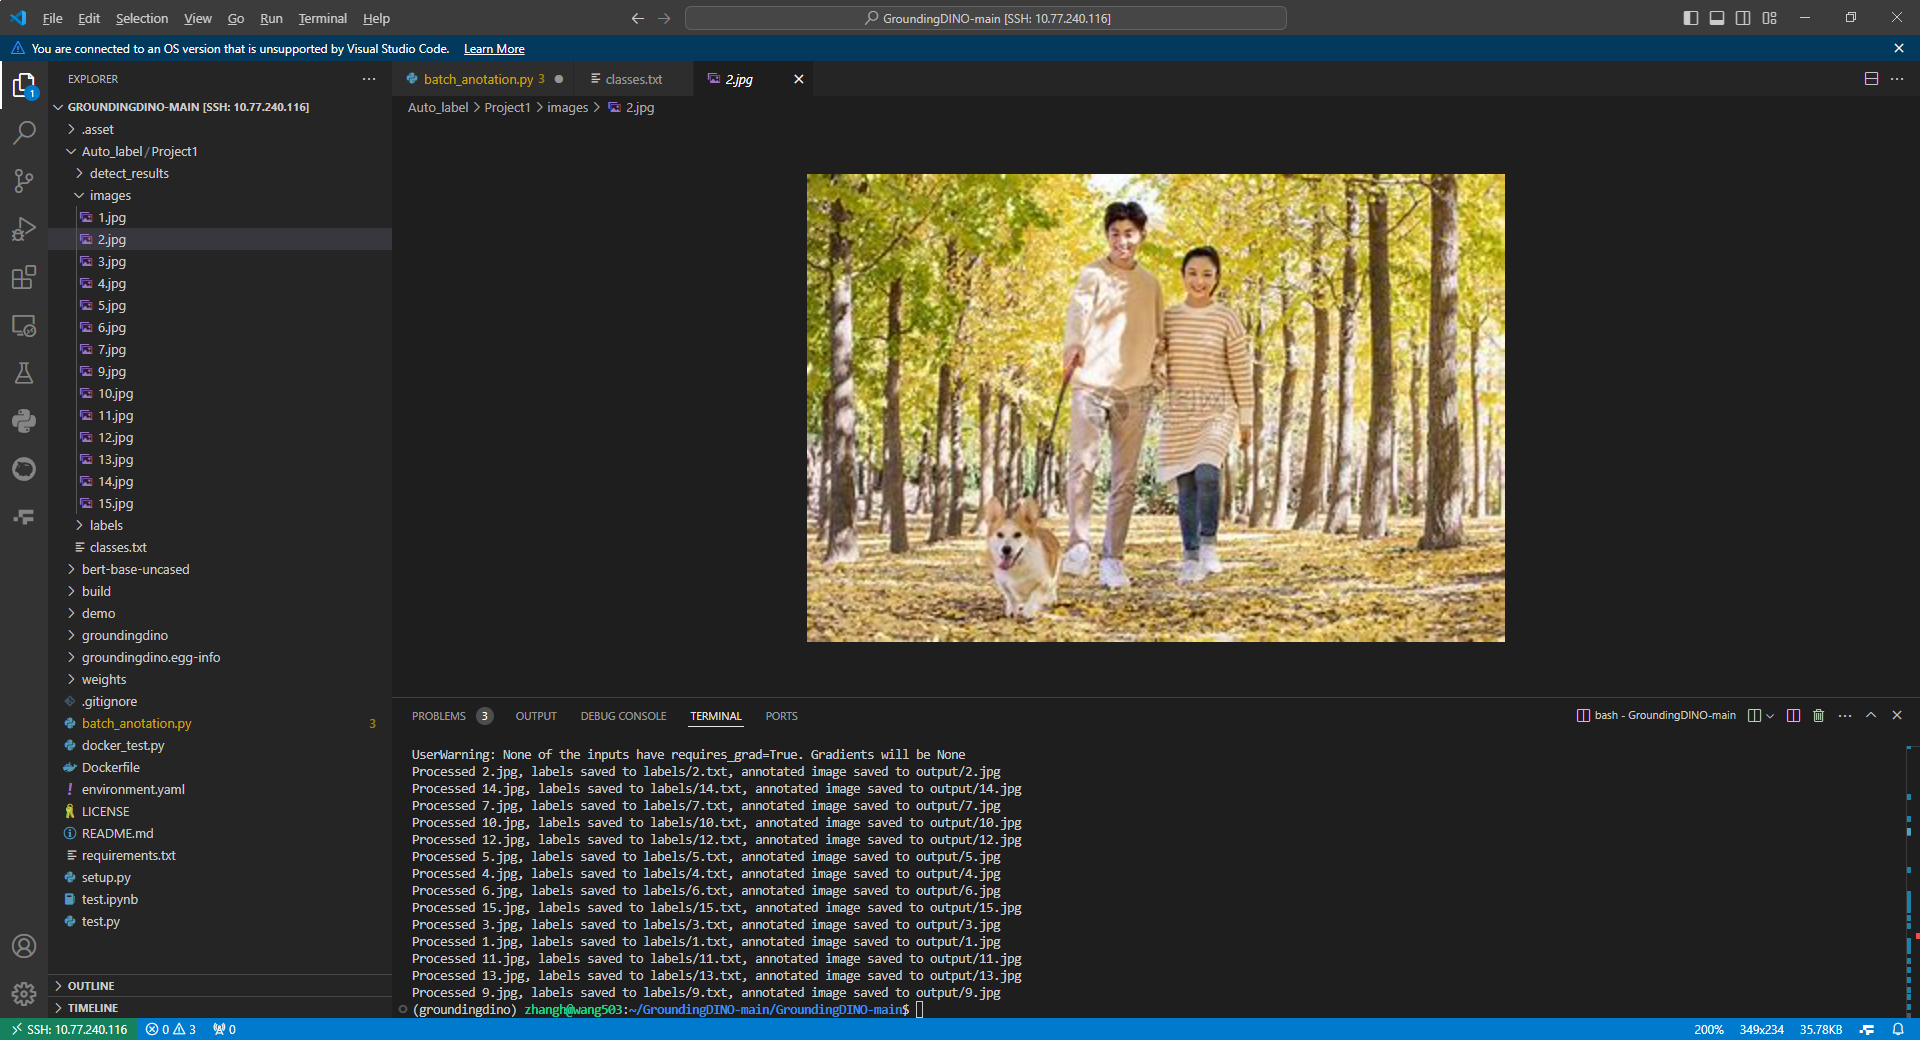
1.数据集准备
2. 开始实验
2.1 批量标注参考代码如下:
import os
import cv2
import torch
from torchvision.ops import box_convert
from groundingdino.util.inference import load_model, load_image, predict, annotate

# 配置路径
MODEL_CONFIG_PATH = "groundingdino/config/GroundingDINO_SwinT_OGC.py"
MODEL_WEIGHTS_PATH = "weights/groundingdino_swint_ogc.pth"
PROJECT_ROOT="Auto_label/Project1/" # 自动检测的根路径
IMAGE_FOLDER = PROJECT_ROOT + "images"  # 输入图片文件夹
OUTPUT_FOLDER = PROJECT_ROOT + "detect_results"  # 输出标注图片的文件夹
LABELS_FOLDER = PROJECT_ROOT + "labels"  # 输出YOLO标签的文件夹
CLASSES_FILE = PROJECT_ROOT + "classes.txt"  # 类别文件

# YOLO标签格式转换函数
def convert_to_yolo_format(xyxy, image_width, image_height):
    """
    将 `xyxy` 坐标转换为 YOLO 格式的 `x_center, y_center, width, height`
    """
    x_min, y_min, x_max, y_max = xyxy
    x_center = (x_min + x_max) / 2.0 / image_width
    y_center = (y_min + y_max) / 2.0 / image_height
    width = abs(x_max - x_min) / image_width
    height = abs(y_max - y_min) / image_height
    return x_center, y_center, width, height

# 加载类别文件
def load_classes(classes_file):
    with open(classes_file, "r") as f:
        return [line.strip() for line in f.readlines()]

# 主检测与标签生成函数
def process_images(model, classes, image_folder, output_folder, labels_folder):
    os.makedirs(output_folder, exist_ok=True)
    os.makedirs(labels_folder, exist_ok=True)

    for image_file in os.listdir(image_folder):
        if not image_file.lower().endswith(('.png', '.jpg', '.jpeg')):
            continue

        # 加载图片
        image_path = os.path.join(image_folder, image_file)
        image_source, image = load_image(image_path)
        h, w, _ = image_source.shape

        # 推理检测
        boxes, logits, phrases = predict(
            model=model,
            image=image,
            # caption="car . coach . bus . truck . tricycle . person . twowheelsvehicle . taxi . license_plate . other_vehicles",
            caption="person . car . dog . cat",
            box_threshold=0.35, #0.35
            text_threshold=0.25 # 0.25
        )

        # 缩放坐标并转换为 `xyxy`
        yolo_boxes = boxes * torch.Tensor([w, h, w, h])
        xyxy_boxes = box_convert(boxes=yolo_boxes, in_fmt="cxcywh", out_fmt="xyxy").numpy()

        # 创建YOLO标签文件
        label_file = os.path.join(labels_folder, os.path.splitext(image_file)[0] + ".txt")
        with open(label_file, "w") as label_f:
            for xyxy, phrase in zip(xyxy_boxes, phrases):
                # 获取类别索引
                class_idx = classes.index(phrase) if phrase in classes else -1
                if class_idx == -1:
                    continue  # 跳过不在类别文件中的目标

                # 转换坐标格式
                x_center, y_center, width, height = convert_to_yolo_format(xyxy, w, h)

                # 写入YOLO标签文件
                label_f.write(f"{class_idx} {x_center:.6f} {y_center:.6f} {width:.6f} {height:.6f}\n")

        # 标注图片并保存
        annotated_frame = annotate(image_source=image_source, boxes=boxes, logits=logits, phrases=phrases)
        output_image_path = os.path.join(output_folder, image_file)
        cv2.imwrite(output_image_path, annotated_frame)

        print(f"Processed {image_file}, labels saved to {label_file}, annotated image saved to {output_image_path}")

# 主函数
if __name__ == "__main__":
    # 加载模型和类别
    model = load_model(MODEL_CONFIG_PATH, MODEL_WEIGHTS_PATH)
    classes = load_classes(CLASSES_FILE)

    # 处理图片并生成标签
    process_images(model, classes, IMAGE_FOLDER, OUTPUT_FOLDER, LABELS_FOLDER)
上面的注释非常详细了,就不过多赘述了。
主要根据自己的环境修改以下内容
- 配置路径
- 提示词
2.2 开始实验
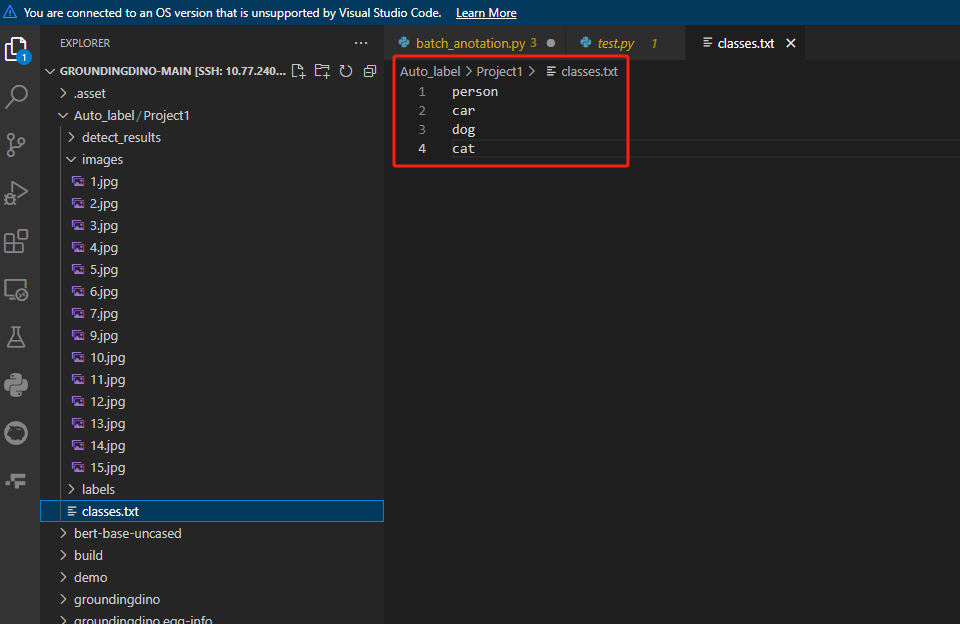
我主要想检测,因此我的提升词设置如下:
caption="person . car . dog . cat",
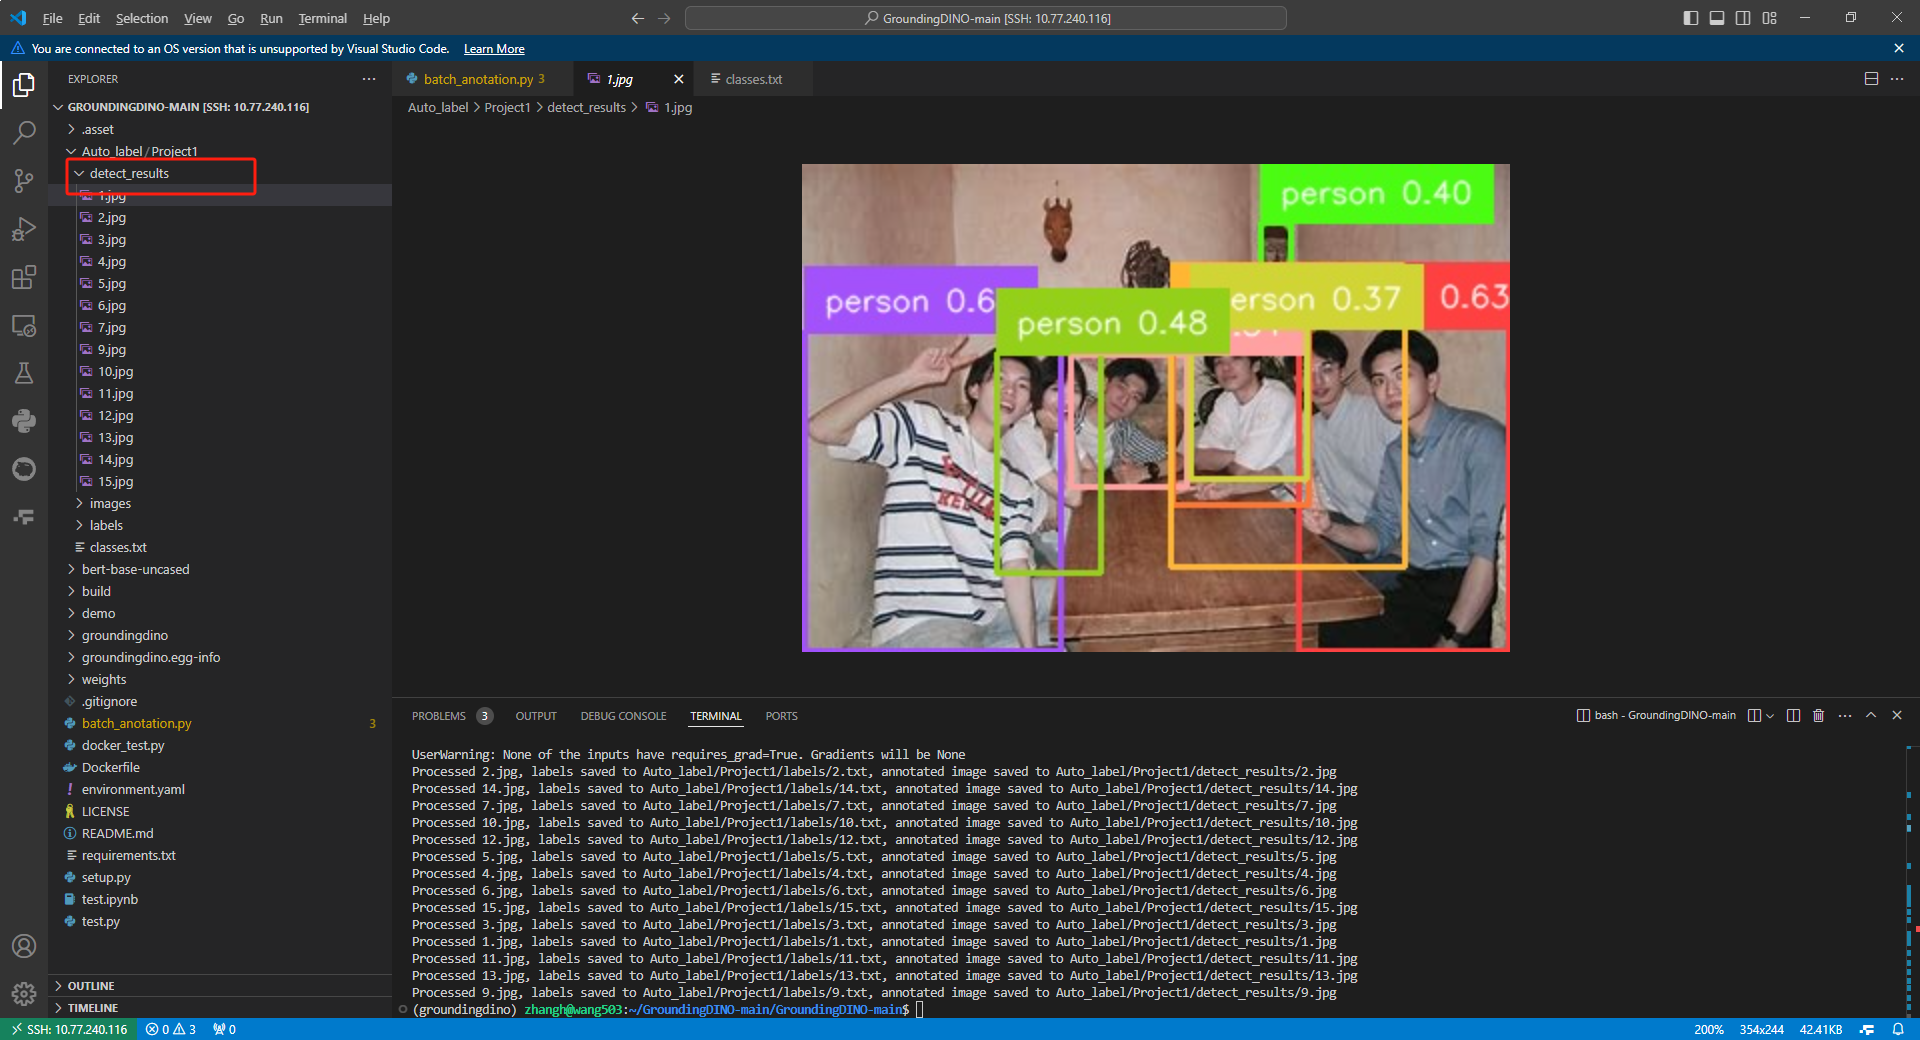
检测结果
Auto_label/Project1/detect_results文件夹
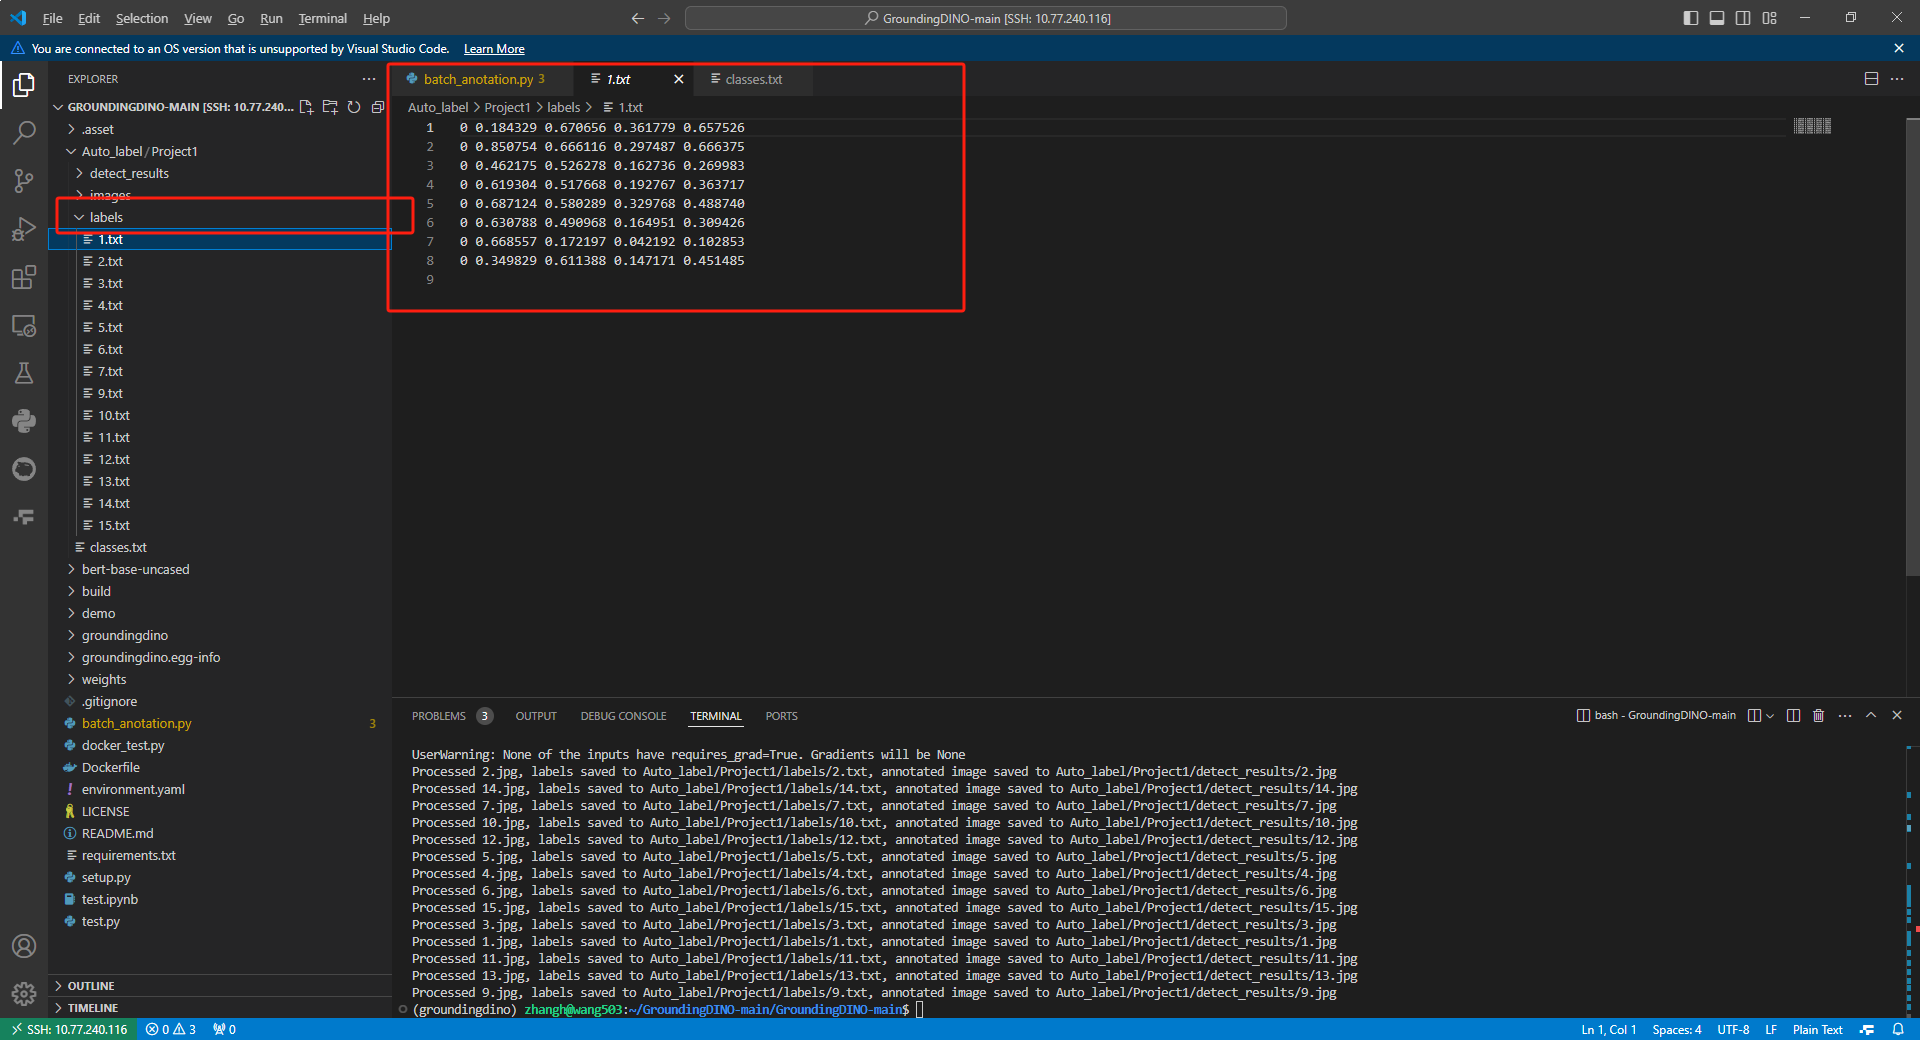
标签文件
Auto_label/Project1/labels文件夹
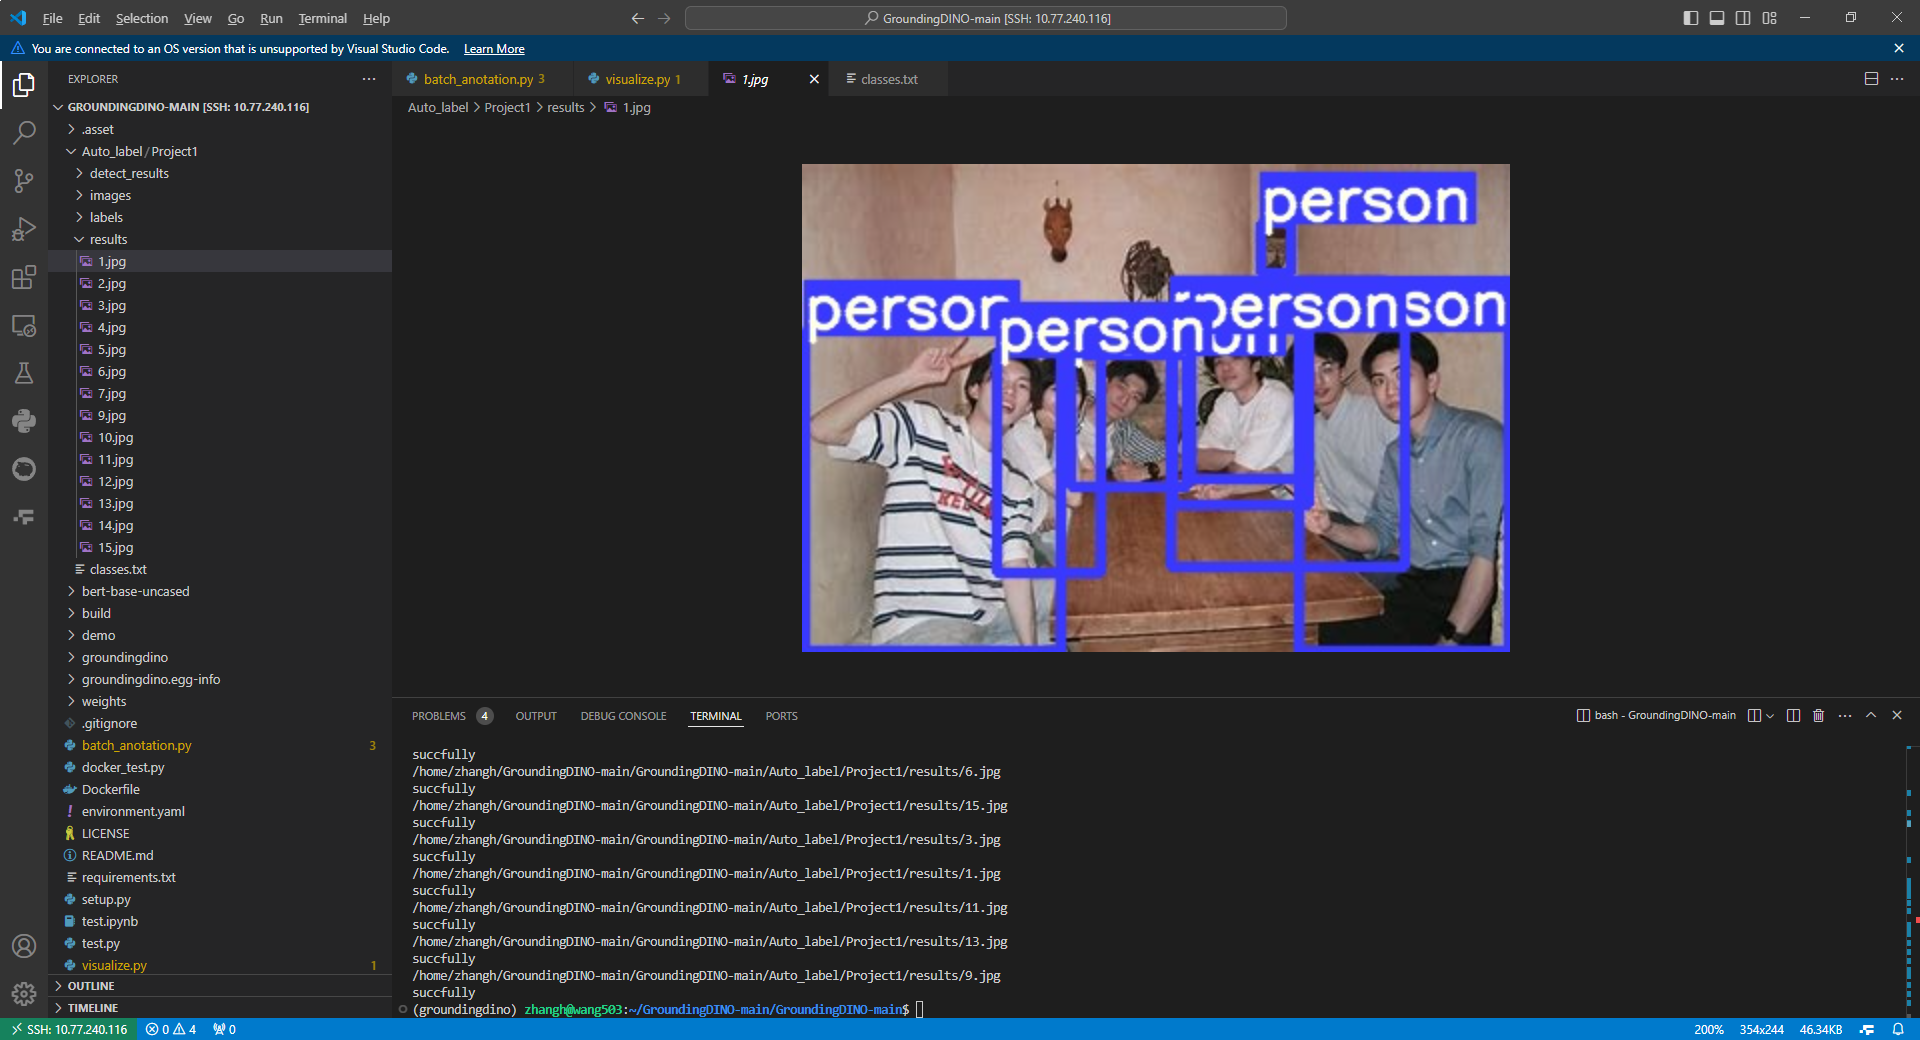
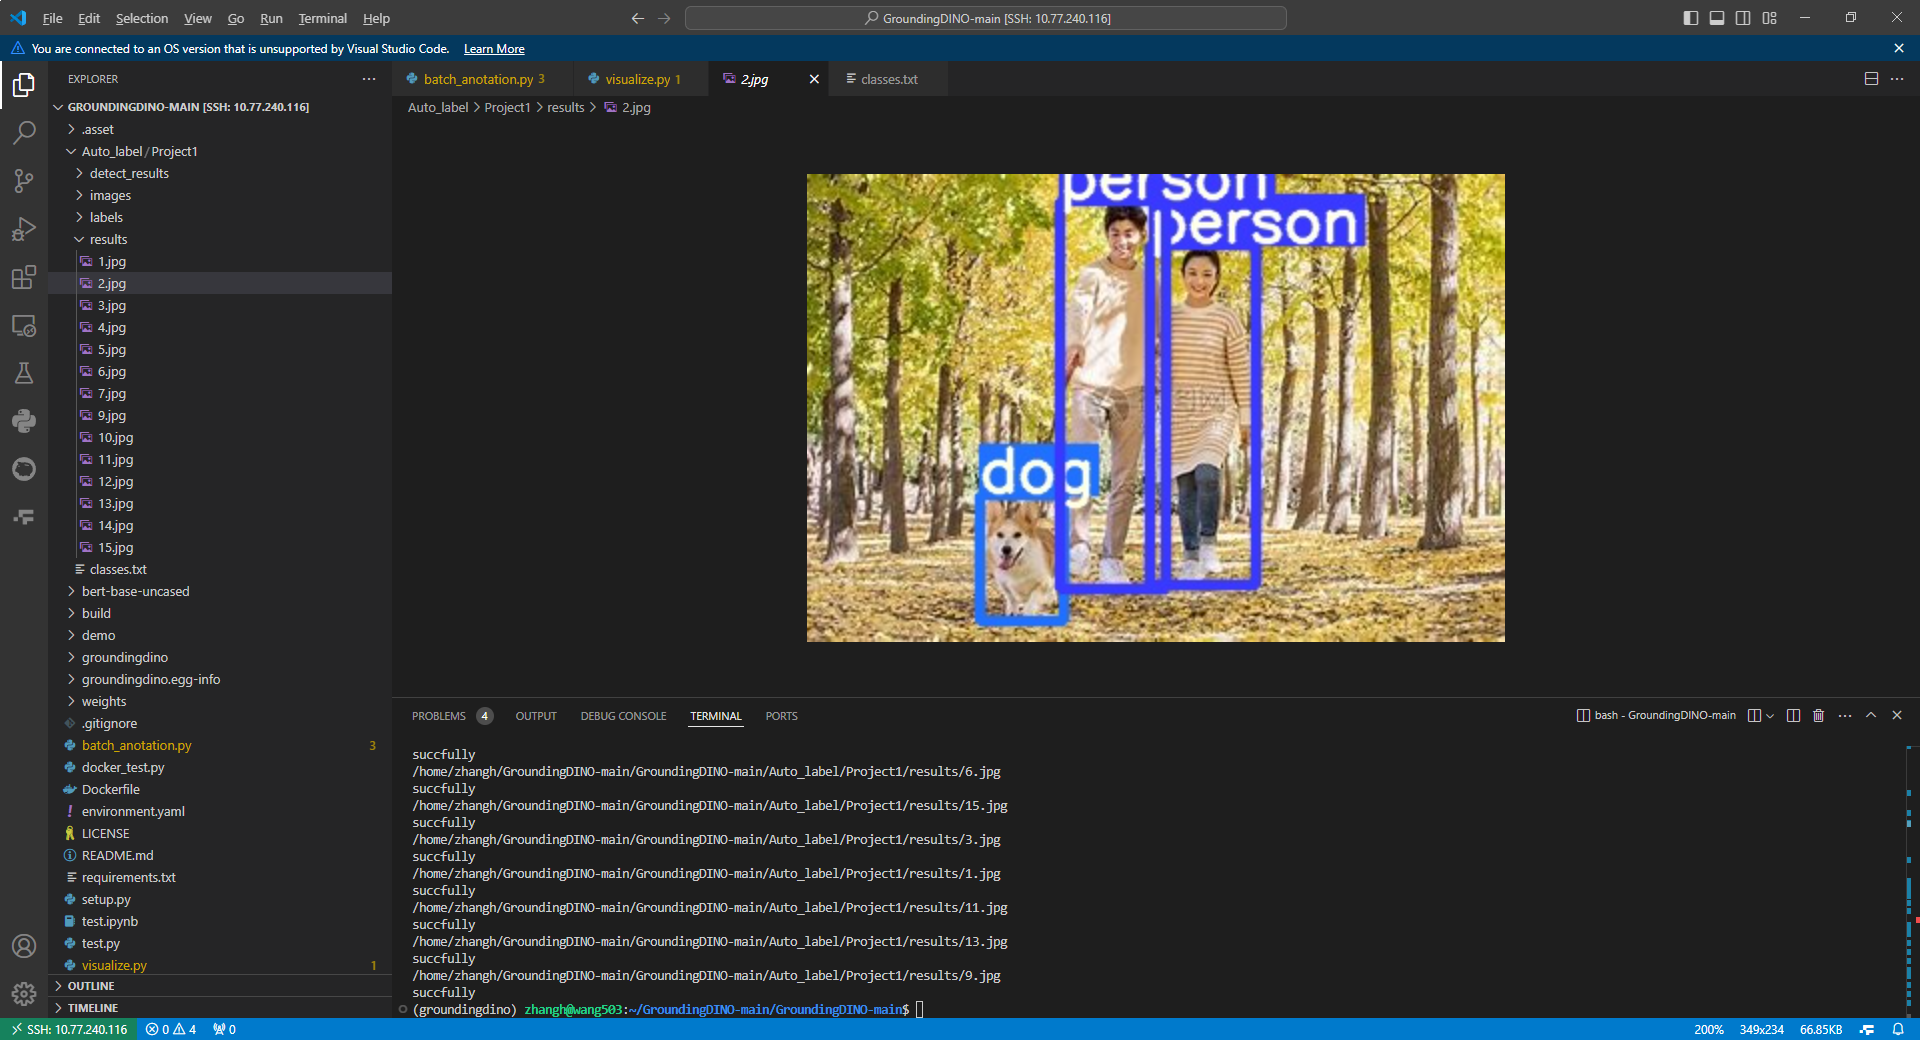
2.3 实验验证
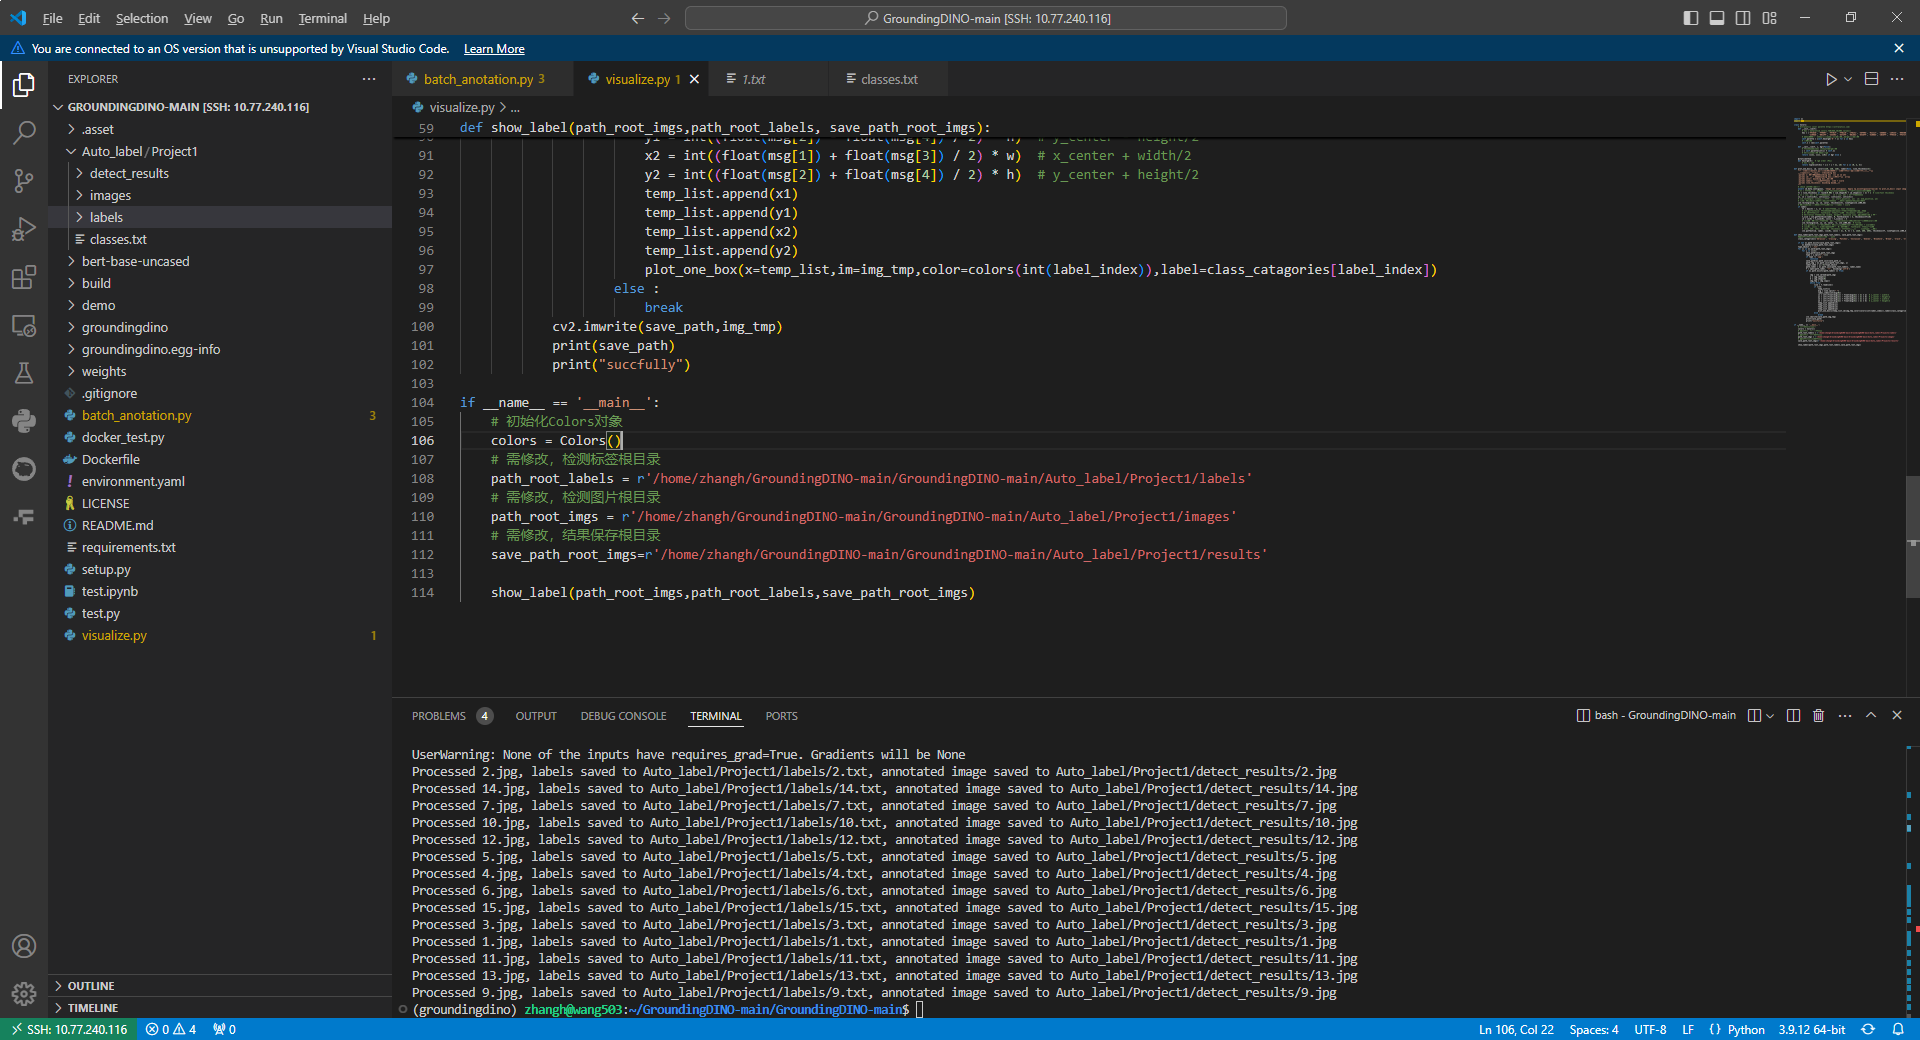
分析获得标签是否正确,可以可视化标签,可视化标签代码可以参考我以前的博客,链接如下所示
目标检测-可视化YOLO格式标签_yolo标签可视化-CSDN博客
非常的完美!!!
最近有更新了Grounding DINO-X,其效果更好,链接如下
