目录
1.进入到/usr/local/下,下载php的安装包(php的下载网址)
5.编辑虚拟机hosts,能让其访问到www.php.com页面
12.登陆mysql,输入mysql -uroot -p,之后回车
一、nginx的安装
这个我在前面写过,具体请看:
二、php的下载安装
1.进入到/usr/local/下,下载php的安装包(php的下载网址)
cd /usr/local/
wget https://www.php.net/distributions/php-7.4.6.tar.gz
2.解压
tar -zxvf php-7.4.6.tar.gz
3.进入到php-7.4.6下,安装需要的依赖包
cd php-7.4.6
yum install -y libxml2 libxml2-devel openssl-devel curl-devel libjpeg-devel libpng-devel freetype-devel libzip-devel oniguruma-devel sqlite-devel
4.预编译php
./configure --prefix=/usr/local/php74 --with-config-file-path=/etc/php74 --with-fpm-user=nginx --with-fpm-group=nginx --enable-fpm --enable-opcache --enable-inline-optimization --disable-debug --disable-rpath --enable-shared -enable-mysqlnd --with-mysqli=mysqlnd --with-pdo-mysql=mysqlnd --enable-mysqlnd-compression-support --with-iconv-dir --with-zlib --enable-xml --disable-rpath --enable-bcmath --enable-shmop --enable-sysvsem --enable-inline-optimization --with-curl --enable-mbregex --enable-mbstring --enable-intl --enable-ftp --enable-gd --enable-gd-jis-conv --with-jpeg --with-freetype --with-openssl --with-mhash --enable-pcntl --enable-sockets --with-xmlrpc --with-zip --enable-soap --with-gettext --enable-fileinfo --with-pear --enable-maintainer-zts --with-ldap=shared --without-gdbm --with-zip
5.编译
make && make install
6.配置环境变量
vim /etc/profile
PATH=$PATH:/usr/local/php74/bin #我这里的目录是php74注意别写错
source /etc/profile
# 此时执行
php -v #即可看到php信息
7.为php提供配置文件
cp /usr/local/php-7.4.16/php.ini-production /usr/local/php74/php.ini
8.修改php.ini,设置错误信息级别
vim /usr/local/php74/php.ini
display_errors = On //原来是off
9.为php-fpm提供配置文件
cd /usr/local/php74/etc
cp php-fpm.conf.default php-fpm.conf
vim php.fpm.conf
去掉pid=run/php-fpm.pid前面的分号
cd ./php-fpm.d
cp www.conf.default www.conf
10.启动php
cd /usr/local/php74/sbin/
./php-fpm
11.将php-fpm添加至service服务
cd /usr/local/php-7.4.16/sapi/fpm
cp init.d.php-fpm /etc/init.d/php-fpm
#赋予脚本可执行命令,添加开机自启动
chmod +x /etc/init.d/php-fpm
chkconfig --add php-fpm
chkconfig php-fpm on
12.启动php
systemctl restart php-fpm.service
systemctl status php-fpm.service
三、整合nginx和php-fpm
1.修改nginx的配置文件
vim /usr/local/nginx/nginx.conf
2.编辑内容如下
worker_processes 1;
events {
worker_connections 1024;
}
http {
include mime.types;
default_type application/octet-stream;log_format main '$remote_addr - $remote_user [$time_local] "$request" '
'$status $body_bytes_sent "$http_referer" '
'"$http_user_agent" "$http_x_forwarded_for"';access_log logs/access.log main;
sendfile on;
keepalive_timeout 65;server {
listen 80;
server_name localhost;location / {
root html;
index index.html index.htm;}
error_page 500 502 503 504 /50x.html;
location = /50x.html {
root html;
}location ~ \.php$ {
root html;
fastcgi_pass 127.0.0.1:9000;
fastcgi_index index.php;
fastcgi_param SCRIPT_FILENAME $document_root$fastcgi_script_name; include fastcgi_params;
}}
server {
listen 80;
server_name www.php.com;location / {
root /usr/local/nginx/html/php;
index index.html index.htm index.php;
}
location ~ \.php$ {
root html;
fastcgi_pass 127.0.0.1:9000;
fastcgi_index index.php;
fastcgi_param SCRIPT_FILENAME $document_root$fastcgi_script_name; include fastcgi_params;
}}
# ip 100
server {
listen 80;
server_name 192.168.191.100;
location / {
root /usr/local/nginx/html/ip/100;
index index.html;
}
}# ip 200
server {
listen 80;
server_name 192.168.191.200;
location / {
root /usr/local/nginx/html/ip/200;
index index.html;
}
}# port 100
server {
listen 100;
server_name 192.168.191.129;
location / {
root /usr/local/nginx/html/port/100;
index index.html;
}
}
# port 200
server {
listen 200;
server_name 192.168.191.129;
location / {
root /usr/local/nginx/html/port/200;
index index.html;
}
}
# www.jiege.com
server {
listen 80;
server_name www.jiege.com;
location / {
root /usr/local/nginx/html/name/jiege;
index index.html;
}
}}
3.创建php文件
cd /usr/local/nginx/html/php/
vim index.php
4.编辑以下内容
<?php
phpinfo();
?>
5.编辑虚拟机hosts,能让其访问到www.php.com页面
vim /etc/hosts
6.内容如下
192.168.191.129 www.php.com
7.编辑物理主机的hosts文件
C:\Windows\System32\drivers\etc
8.编辑内容如下
192.168.191.129 www.php.com
9.启动nginx和php
cd /usr/local/nginx/sbin/
./nginx
cd /usr/local/php/sbin/
./php-fpm
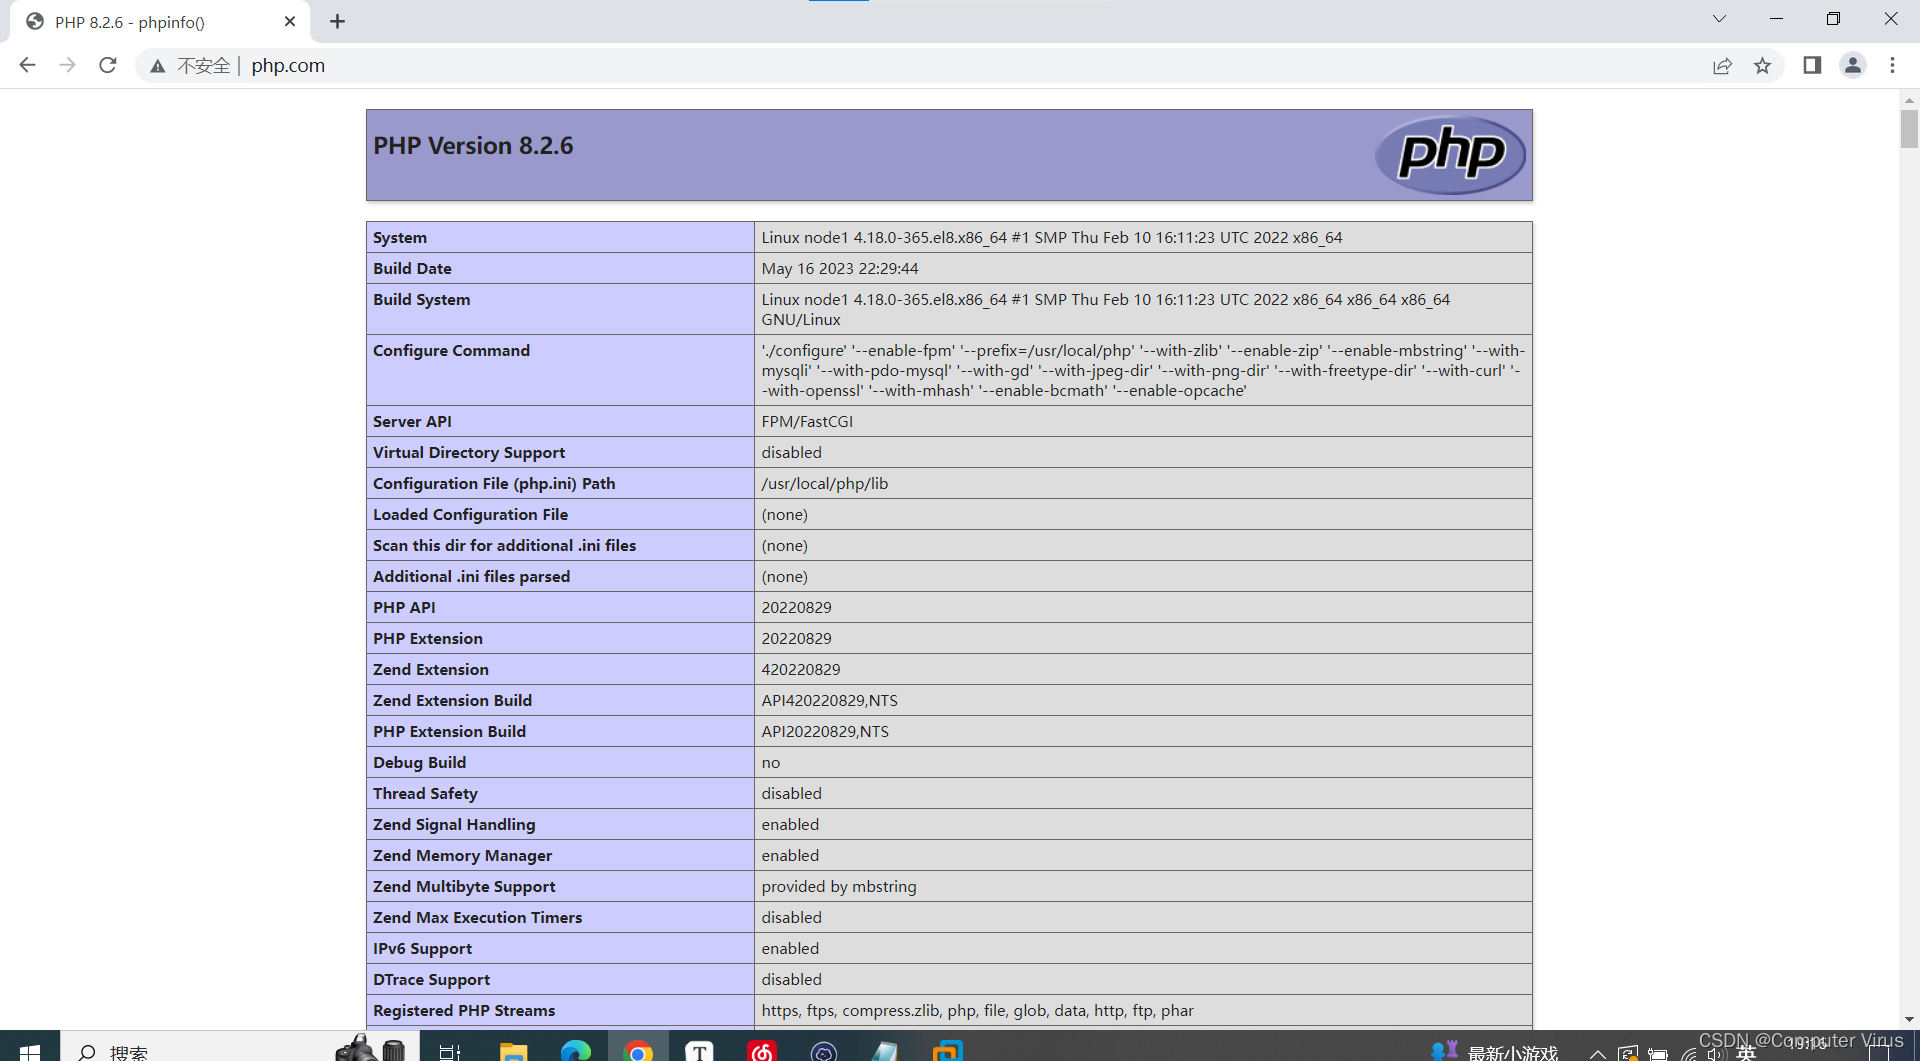
10.通过物理机访问php页面,www.php.com
11.至此php+nginx搭建完成
12.关闭php-fpm服务
killall php-fpm
13.卸载php的命令
rpm -qa|grep php
四、搭建mysql
1.配置mysql的yum源
wget http://dev.mysql.com/get/mysql57-community-release-el7-8.noarch.rpm
2.安装mysql源
yum localinstall mysql57-community-release-el7-8.noarch.rpm
3.检查是否安装
yum repolist enabled | grep "mysql.*-community.*"
4.安装mysql的依赖模块
yum module disable mysql
5.安装mysql
yum install mysql-community-server --nogpgcheck
6.启动mysql
systemctl restart mysqld.service
7.查看状态
systemctl restart mysqld.service
8.修改mysql密码
vim /etc/my.cnf
9.编辑以下内容
[mysqld]
skip-grant-tables
10.重启mysql
systemctl restart mysqld
11.登陆mysql,输入mysql -uroot -p,之后回车
mysql -uroot -p
use mysql
12.设置密码
update user set password=password('root') where user='root';
13.设置远程访问
GRANT ALL PRIVILEGES ON *.* TO 'root'@'%'IDENTIFIED BY 'root' WITH GRANT OPTION;
14.刷新一下数据库
flush privileges;
15.退出mysql
exit
16.注释掉/etc/my.cnf
# skip-grant-tables
17.重启mysql
systemctl restart mysqld.service
18.重新登陆mysql
mysql -uroot -proot
19.mysql至此成功
五、总结
别问我怎么做出来的,两天时间,边排错边配置,头大,你们自己看着自己弄吧,由于配置的时候经常有些问题,不过我都给你们解决了,所以我就不粘图片了,你们自己加油。按照我的走绝对没问题。
