MeshFlow视频降噪算法
-
Meshflow 视频降噪算法来自于 2017 年电子科技大学一篇高质量论文。
-
该论文提出了一个新的运动模型MeshFlow,它是一个空间平滑的稀疏运动场 (spatially smooth sparse motion field),其运动矢量 (motion vectors) 仅在网格顶点 (mesh vertexes) 处定义,它可被视为一个下采样的dense flow。具体来说,我们在视频帧上放置一个2D网格,然后跟踪连续帧之间的图像角点 (image corners),从而在每个特征位置生成运动矢量,然后将这些运动矢量转移到其对应的附近网格顶点,以使每个顶点从其周围特征中累积几个运动。MeshFlow是一个稀疏的运动矢量2D数组,其包含所有网格顶点处的运动。
-
该模型具有轻量级、非参数化、空间变形体等内在特征,能够有效地实现多帧图像的去噪。具体来说,meshflow是在相邻帧之间进行估计的,这些帧用于在一个滑动时间窗口内对齐帧。一个去噪的帧是由几帧在空间和时间的方式与离群拒绝融合产生的。各种具有挑战性的例子证明了该方法的有效性和实用性。
-
关于算法原理详细介绍可参考:视频降噪算法 Meshflow 介绍
Windows环境实验过程
- 源码下载:
git clone https://github.com/AlbusPeter/MeshFlow_Video_Denoising.git - README.md查看项说明
MeshFlow_Video_Denoising
Source Code for MeshFlow Video Denoising

OpenCV Version:2.4.11


This source code may not have the same processing speed as the paper illustrated. Because I replace the original matching algorithm into a simple one. This may also influence the quality of the denoising result a little. For more project detail, including the academic paper, project abstract and test data, please visiting the project page at http://www.liushuaicheng.org/ICIP/2017/index.html.


Usage
Create a new folder build
Inside the folder, using the code below for cmake to build the project files:
cmake DCMAKE_BUILD_TYPE=Release ..
Move the test video into this new folder and run this project.

For Visual Studio users, when run the project file, you should change the single startup project option in the solution property into the correct one (not the ALLBUILD.EXE).

For Windows users, using Cmakelists.txt as the cmakelist. (Remember to change the path for the OpenCV build folder.)
For Linux users, using Cmakelists_Linux.txt as the cmakelist.


For further questions, feel free to contact me at [email protected].
Thanks Guo Heng who helped me on the Cmake lists.

Citation
If you find this useful in your research, please cite our paper "Meshflow Video Denoising" (PDF):

@inproceedings{ren2017meshflow,
  title={Meshflow video denoising},
  author={Ren, Zhihang and Li, Jiajia and Liu, Shuaicheng and Zeng, Bing},
  booktitle={2017 IEEE International Conference on Image Processing (ICIP)},
  pages={2966--2970},
  year={2017},
  organization={IEEE}
}
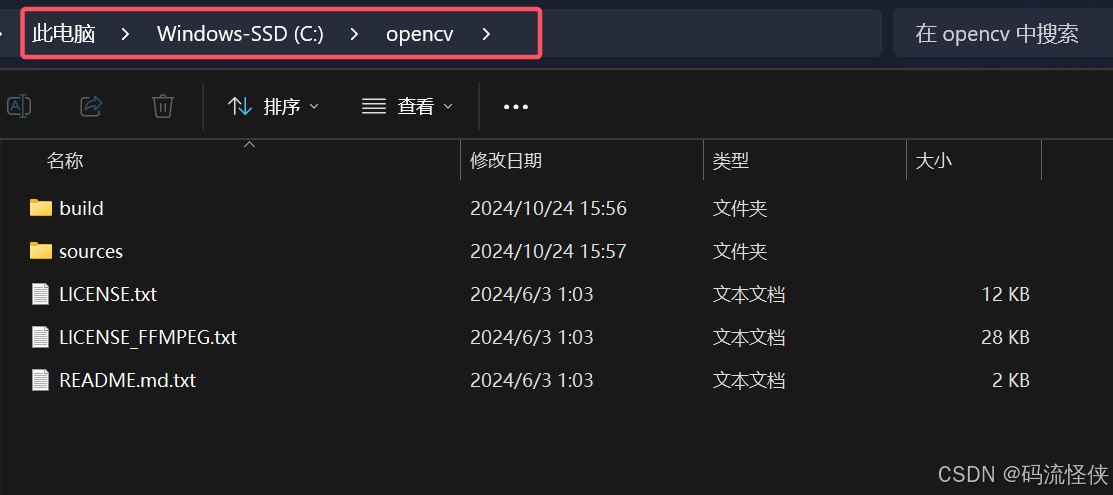
- 查看本机openCV版本和安装路径:
C:\opencv\build
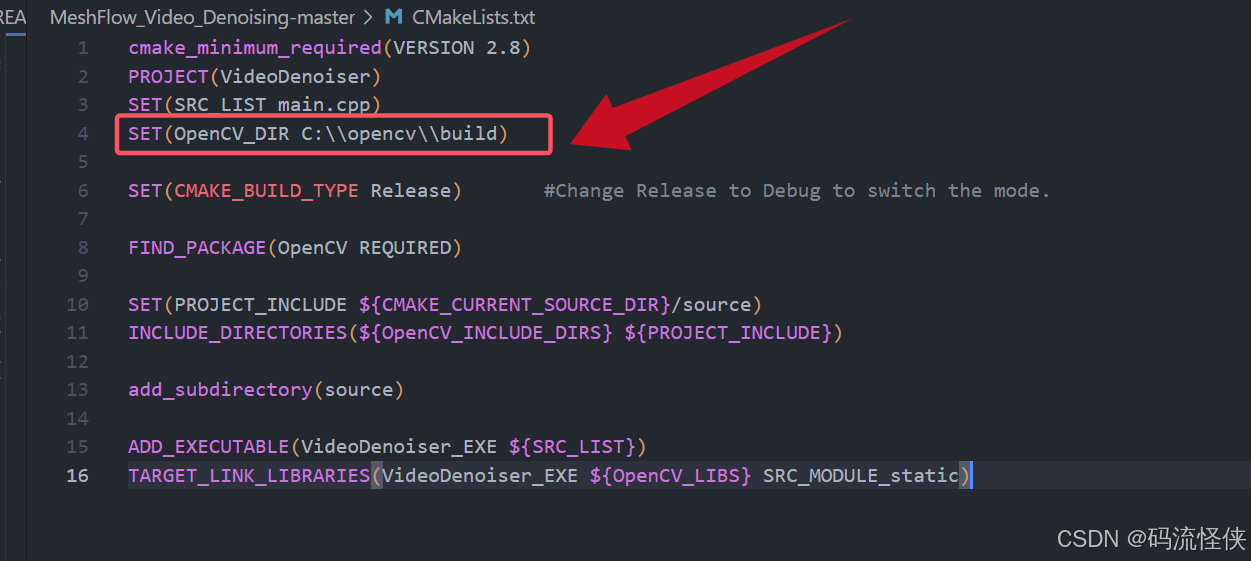
- 查看项目中
Cmakelists.txt文件,修改OpenCV依赖路径;
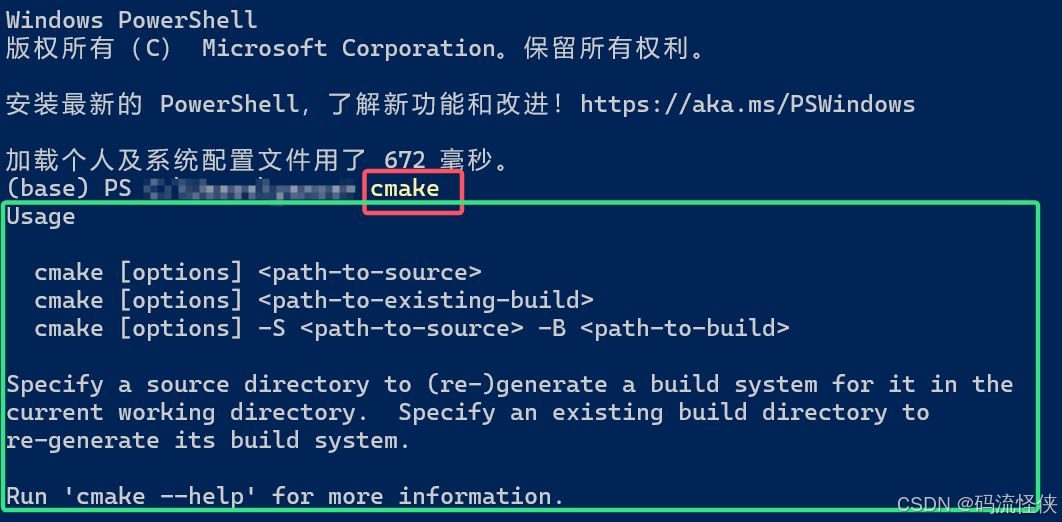
- 由于编译依赖cmake,因此查看本设备cmake安装情况,PowerShell输入命令:
cmake,有输出表示本机已经配置了cmake环境,否则需要实现配置cmake环境;
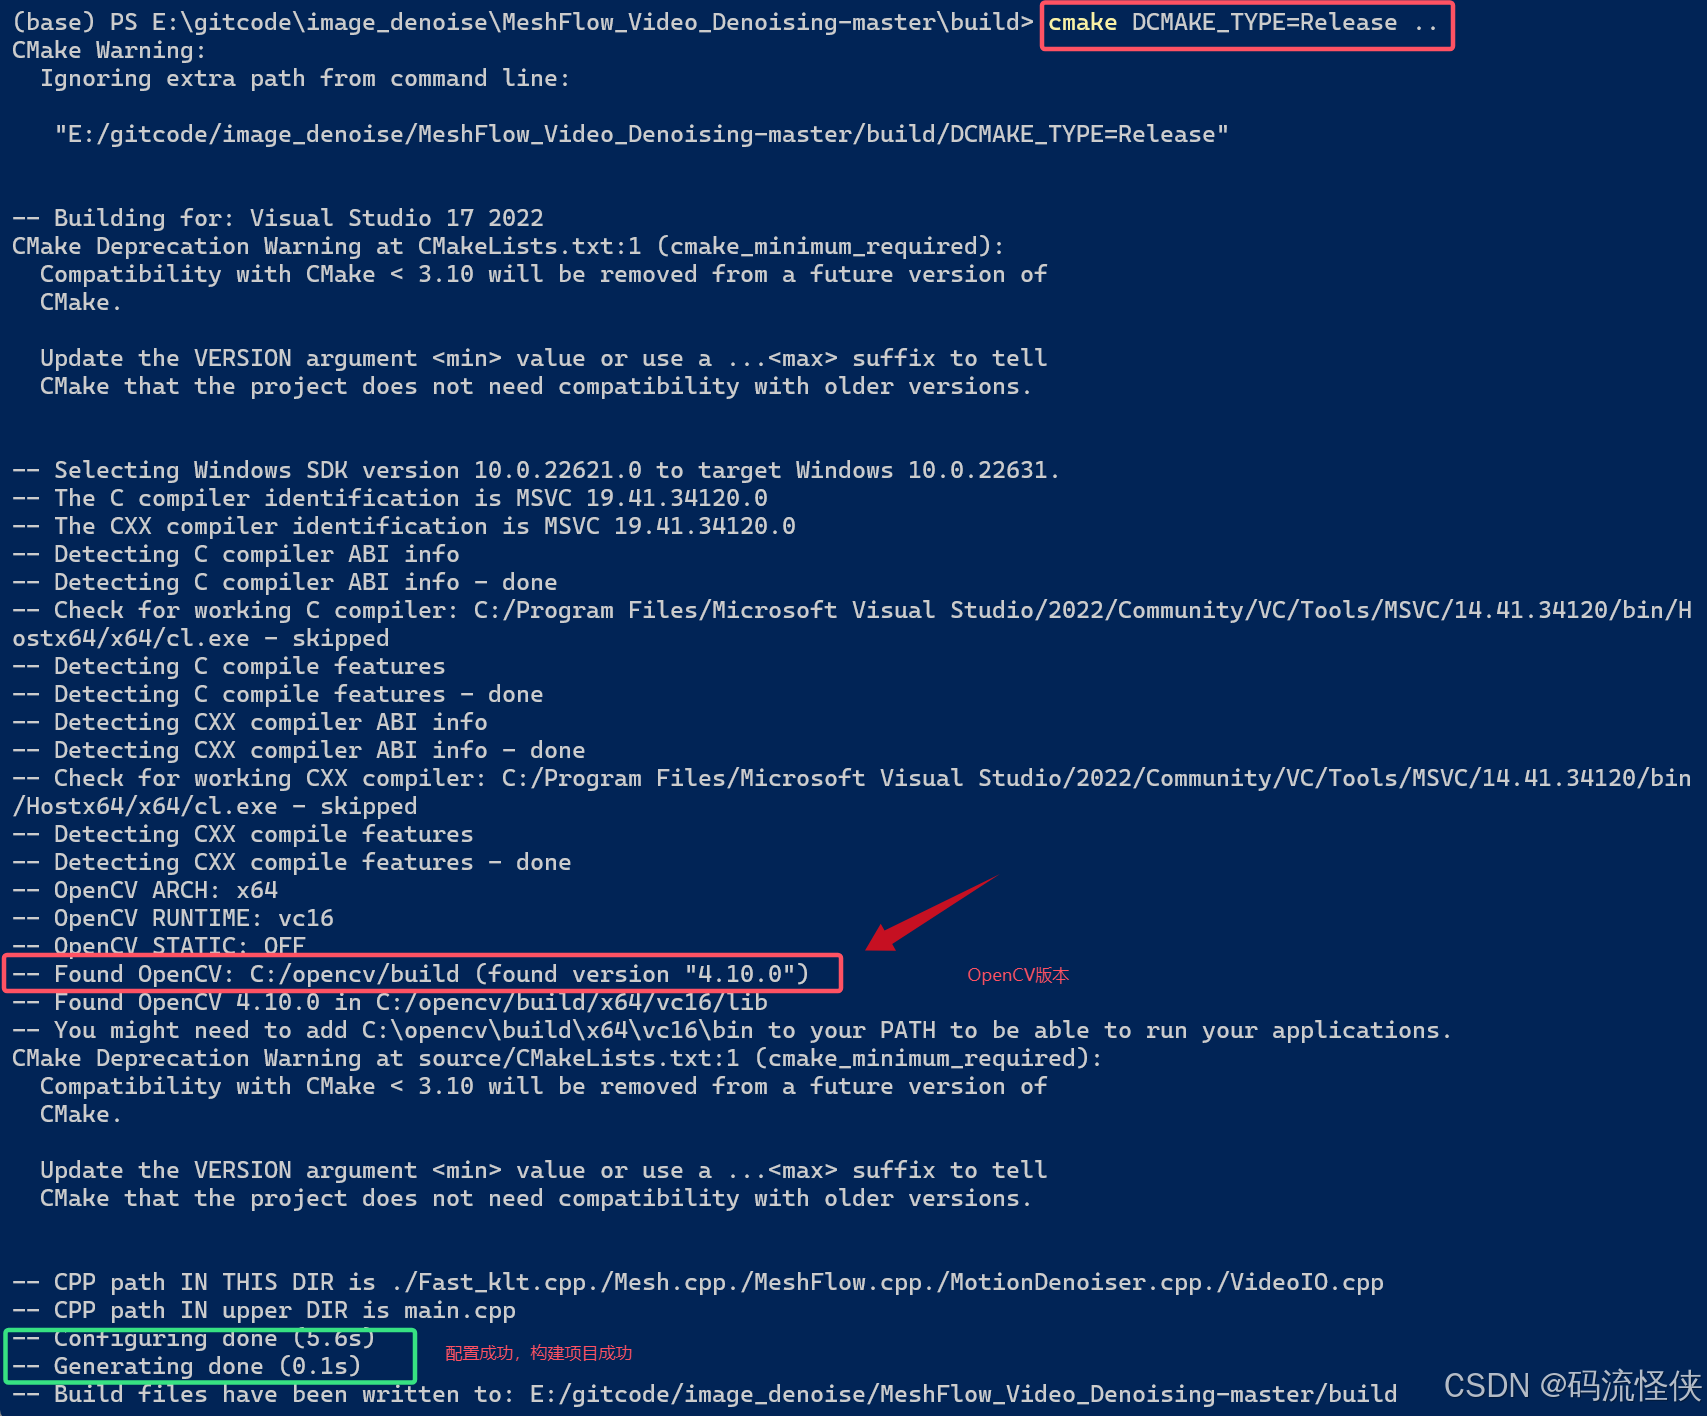
- 在项目中新建build目录,cd到该build目录,输入编译命令:
cmake DCMAKE_BUILD_TYPE=Release ..一段时间后完成项目构建;【本设备已经事先安装好了VS2022】
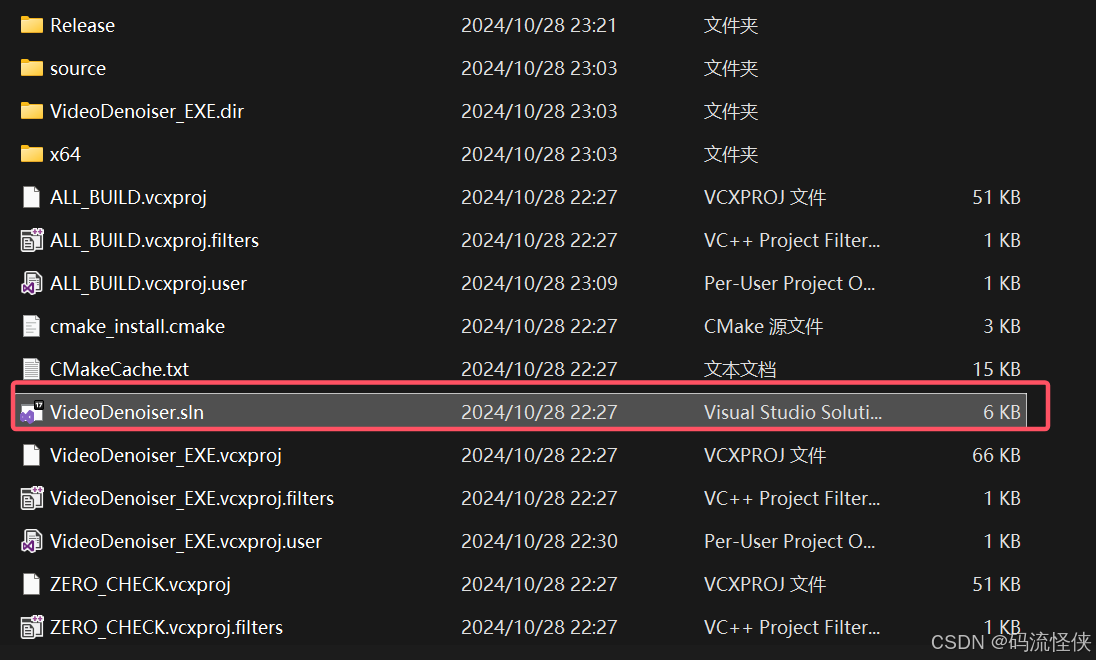
- 在build目录发现生成了VS工程文件;
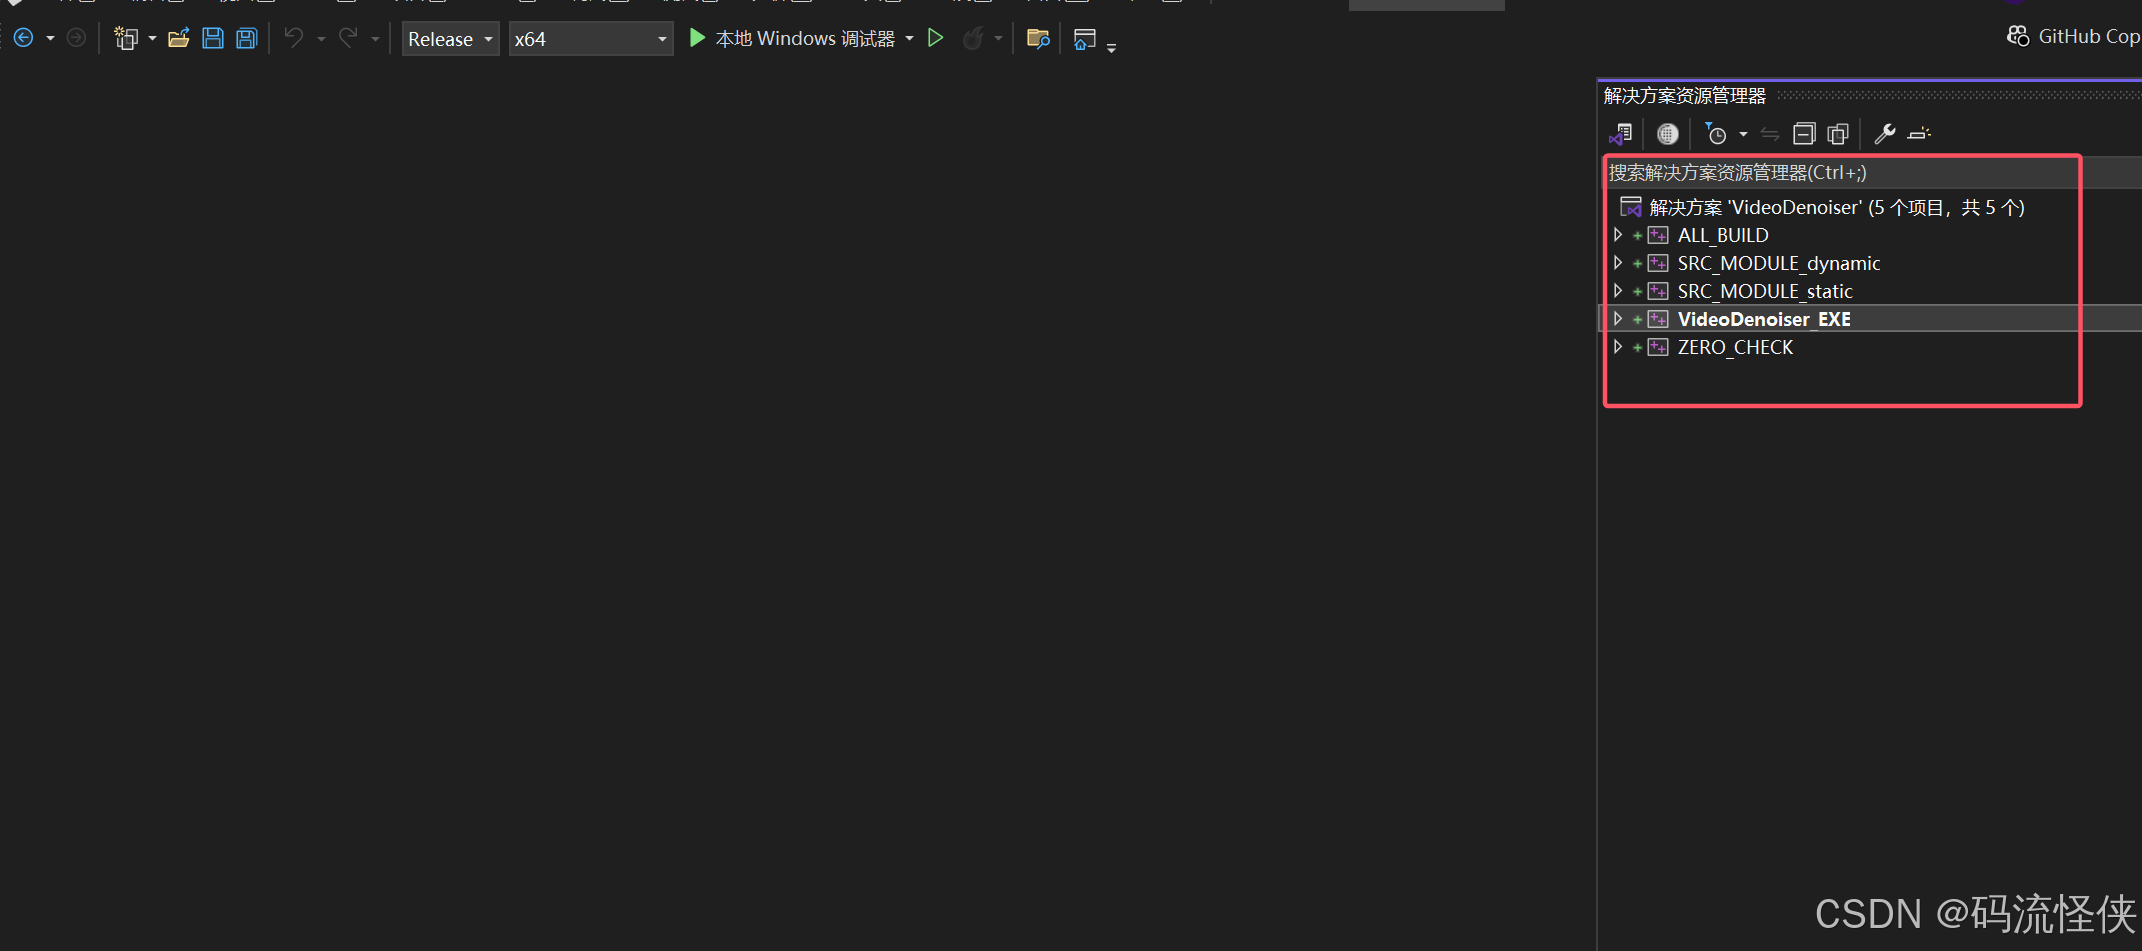
- 利用VS2022打开项目,项目结构如下;讲VideoDenoiser_EXE配置成启动项目,并设置成Release编译环境;
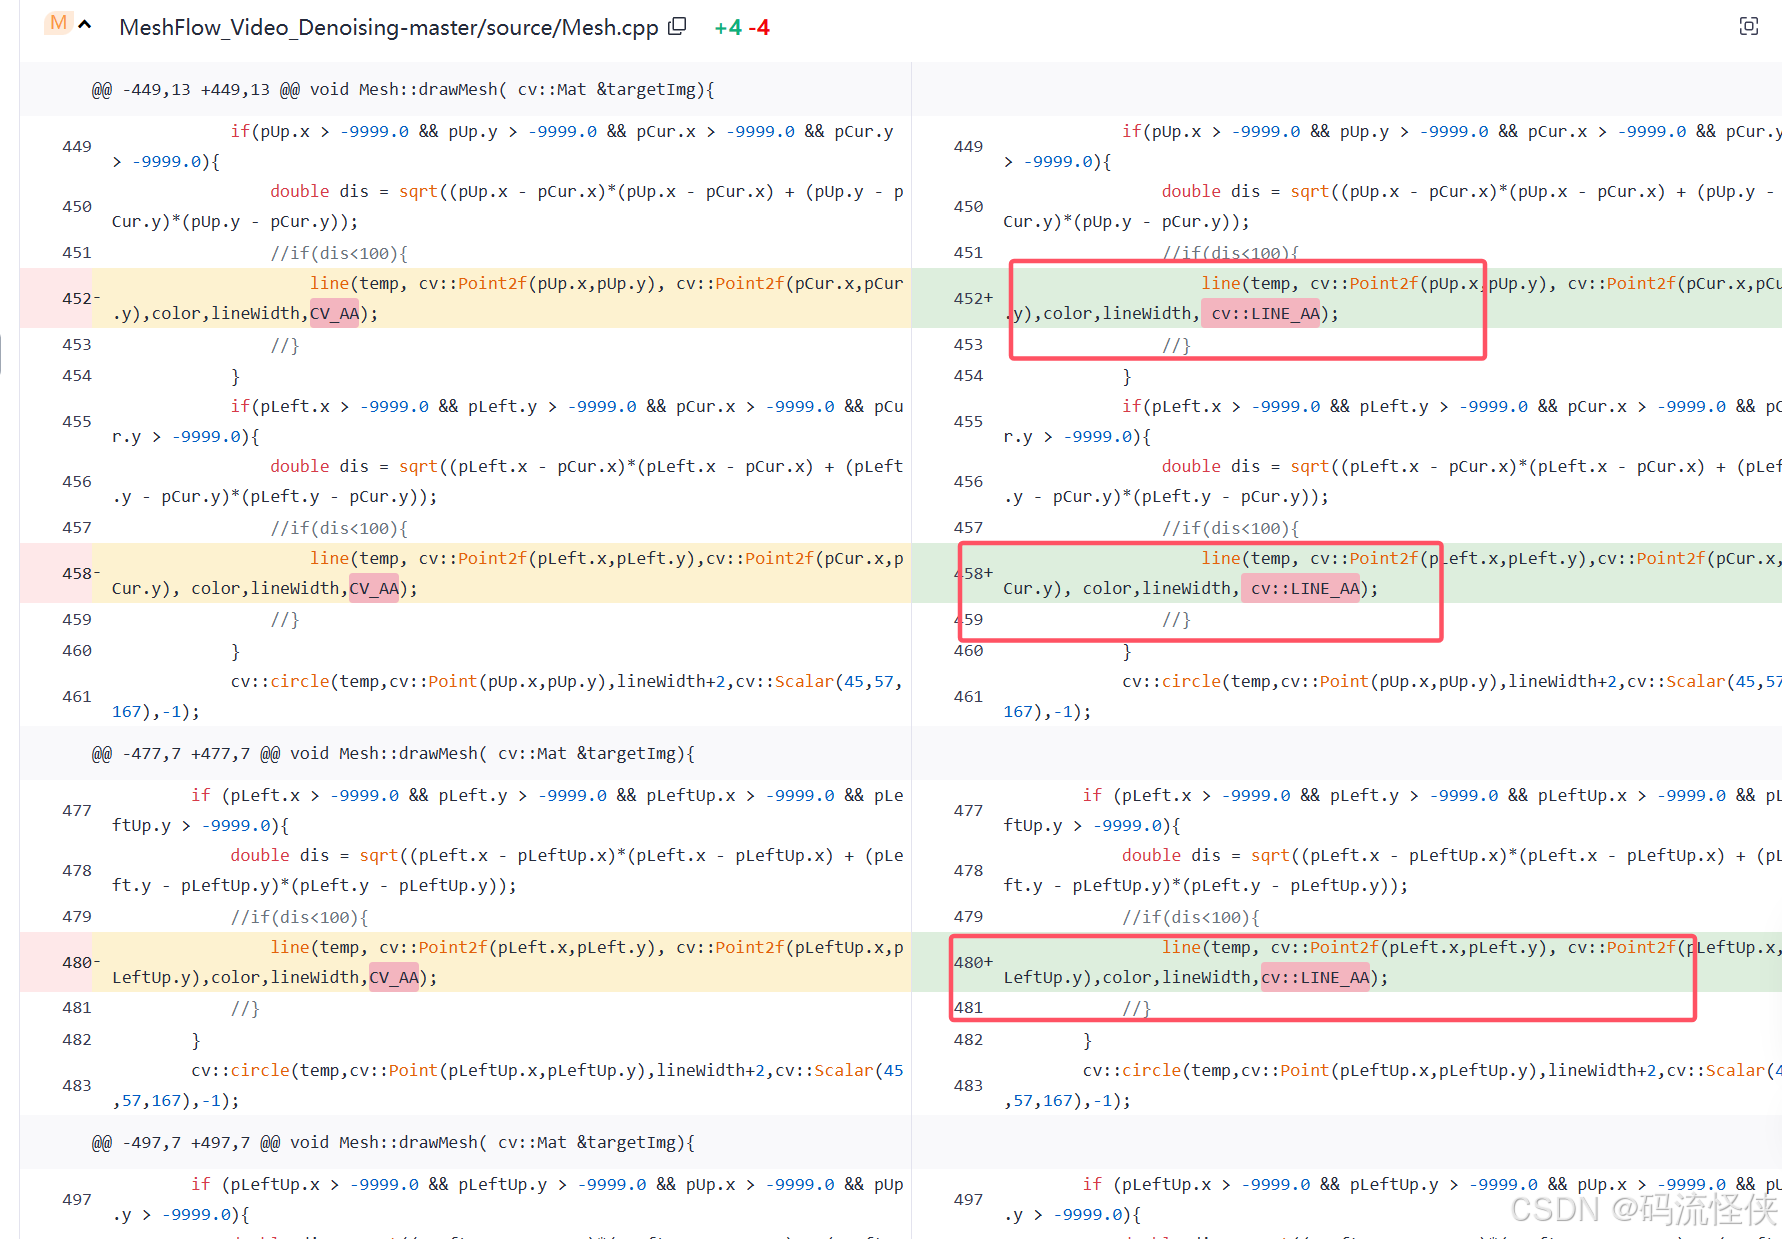
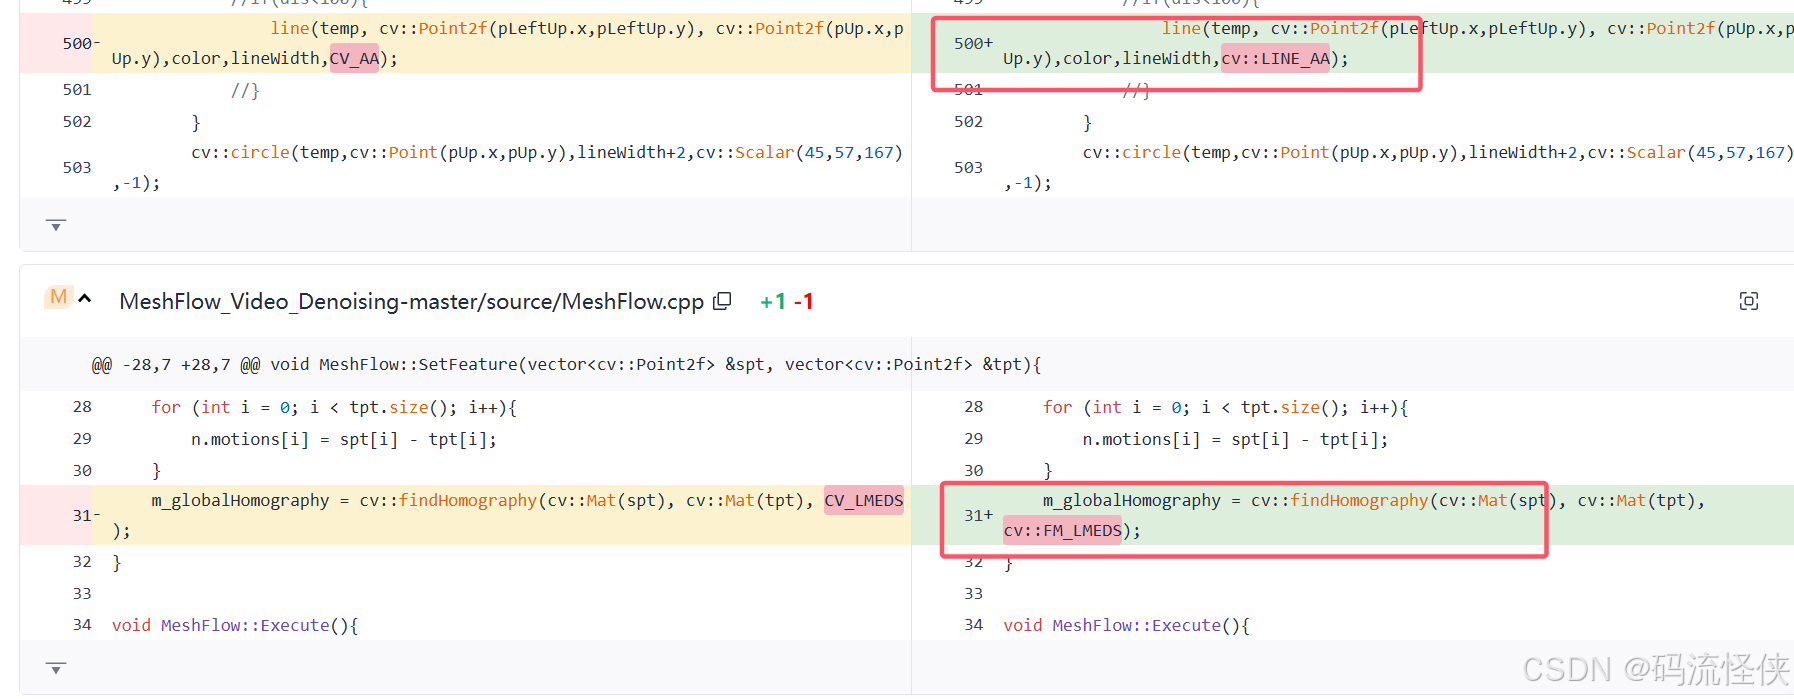
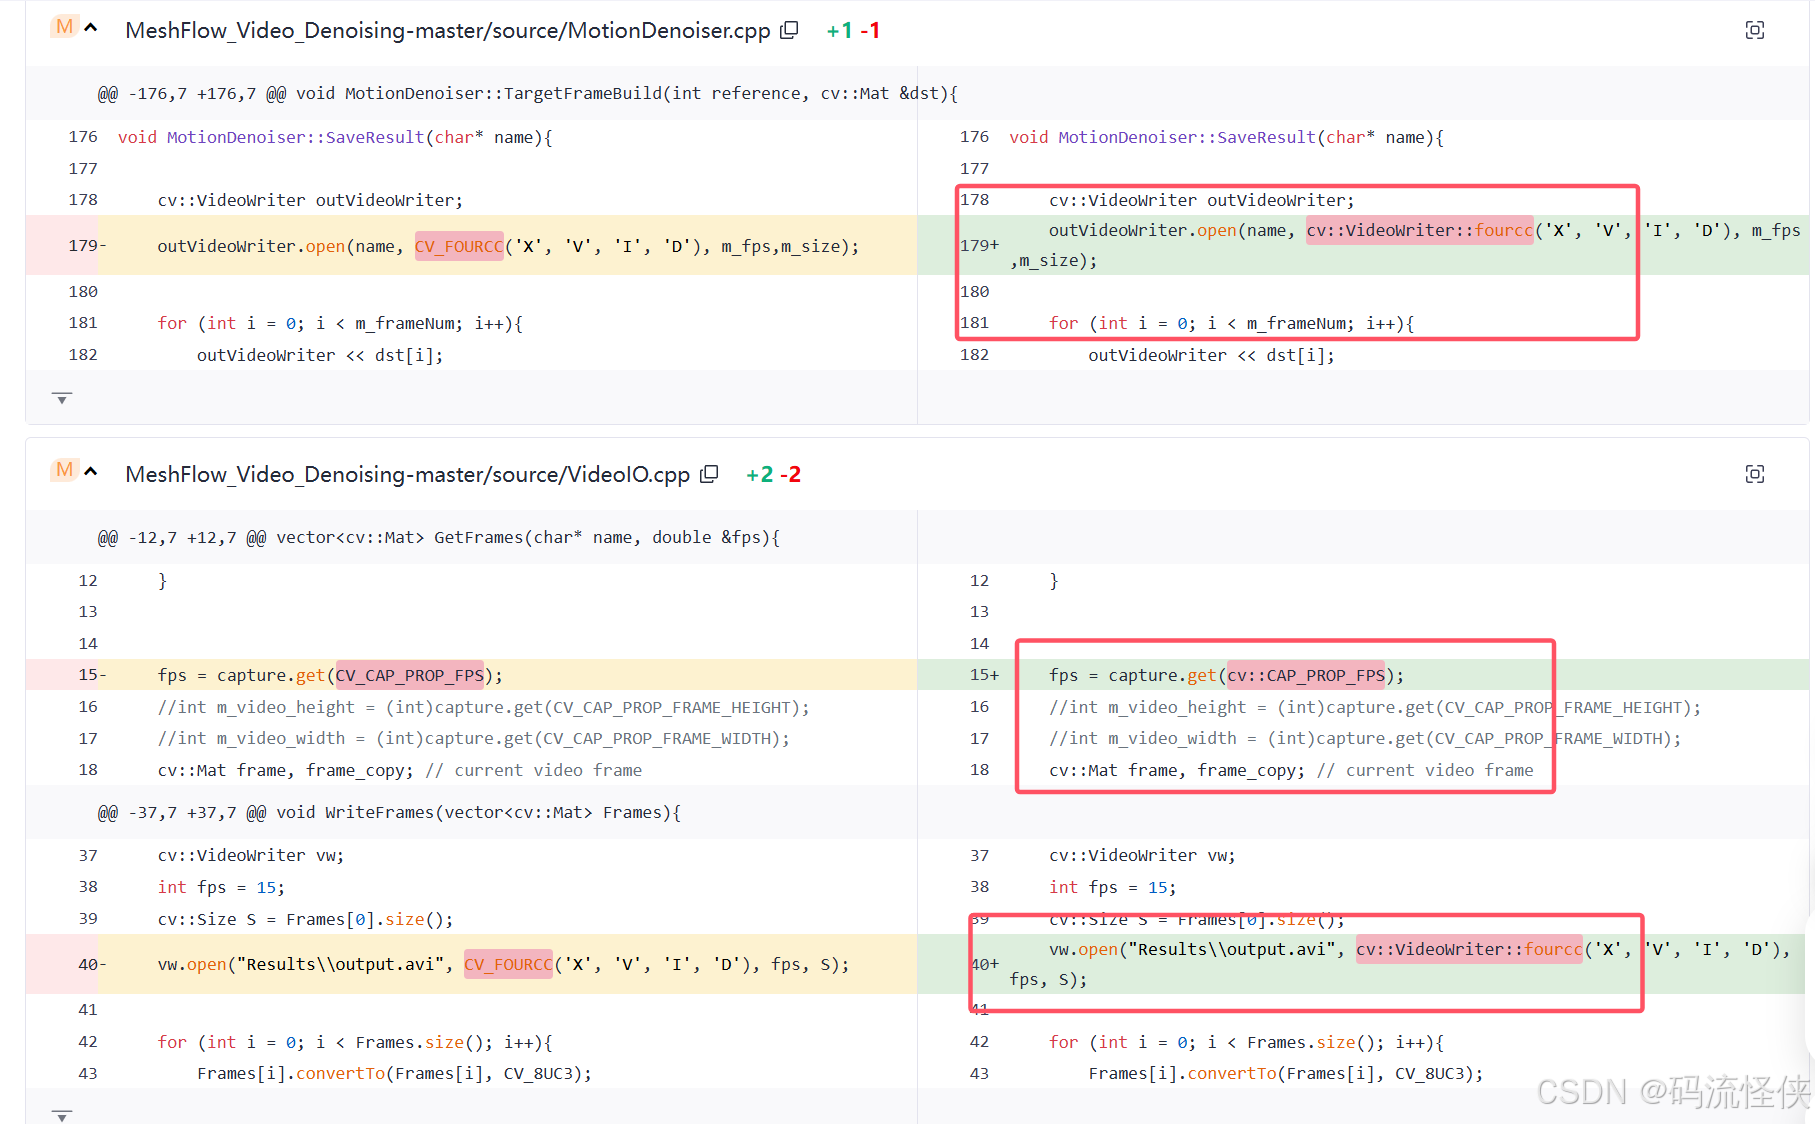
- 直接编译会一堆报错,因为项目依赖的OpenCV版本是2.4.11版本,而本设备的OpenCV版本是4.10.0版本,许多原有的变量都废弃或者更新变化了,因此需要在编译过程中修改相应的报错;主要修改如下:
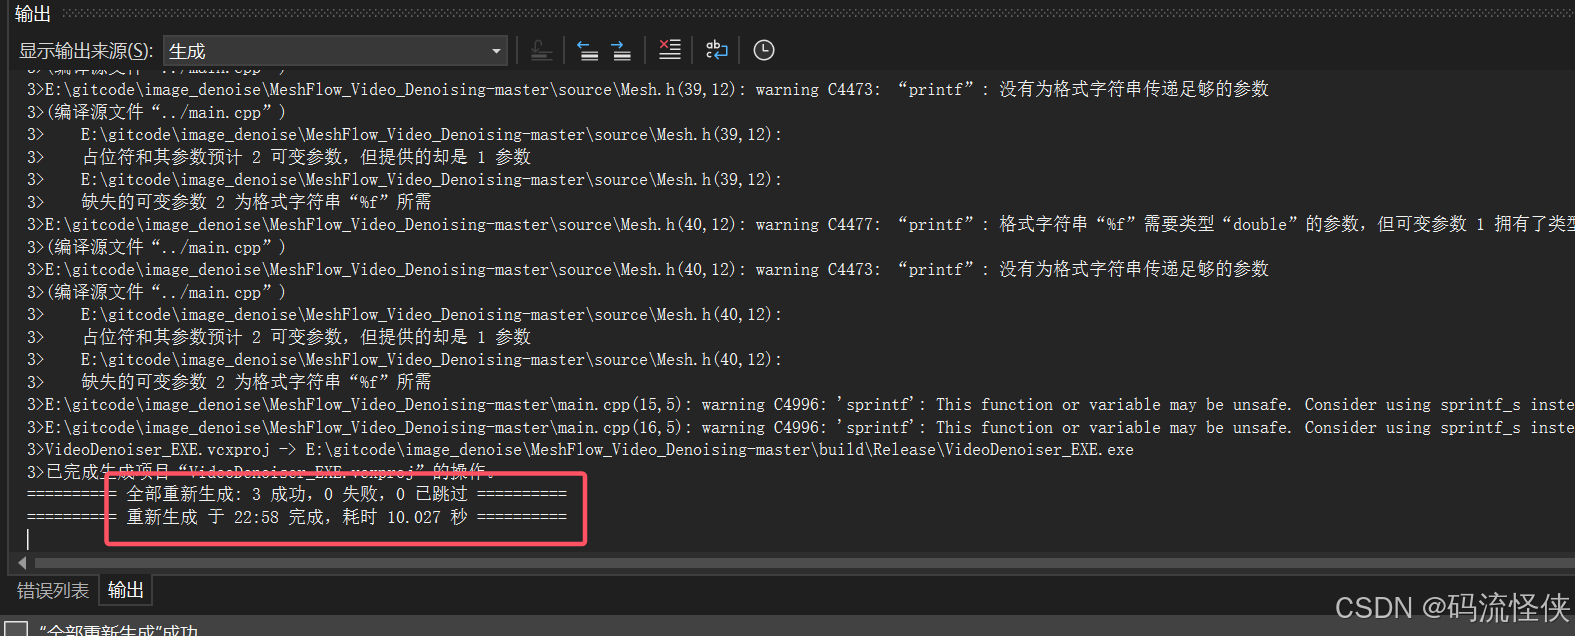
- 编译成功,在项目build\Release目录中生成了对应的exe可执行文件;
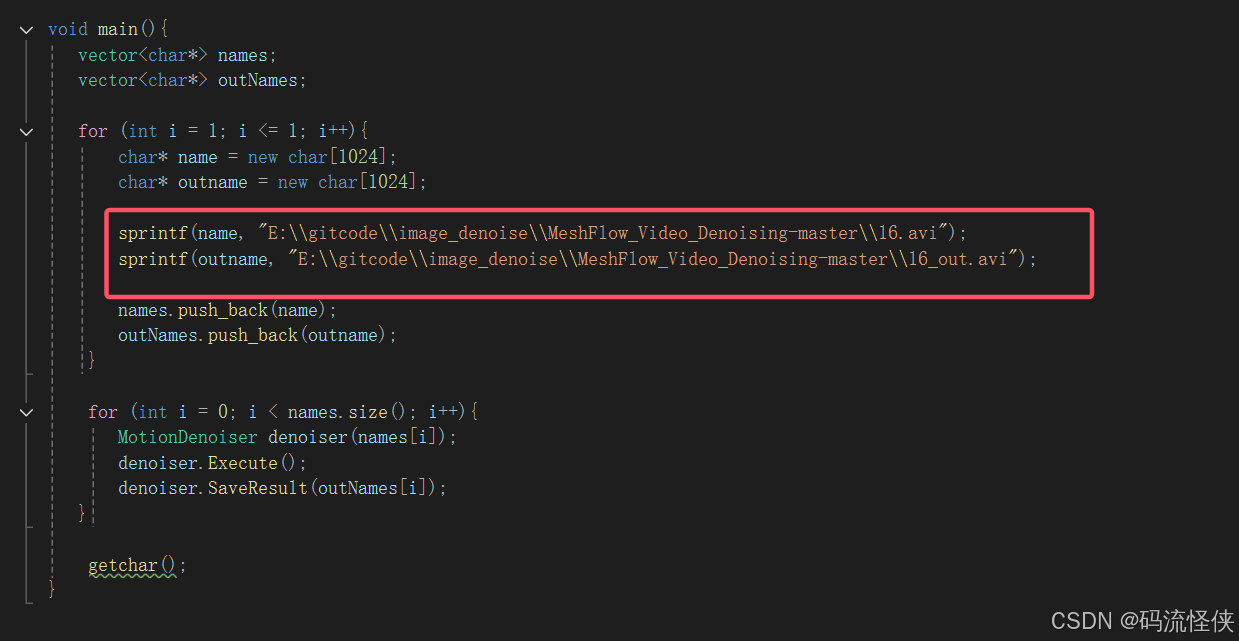
- 在mian函数中修改测试视频路径;
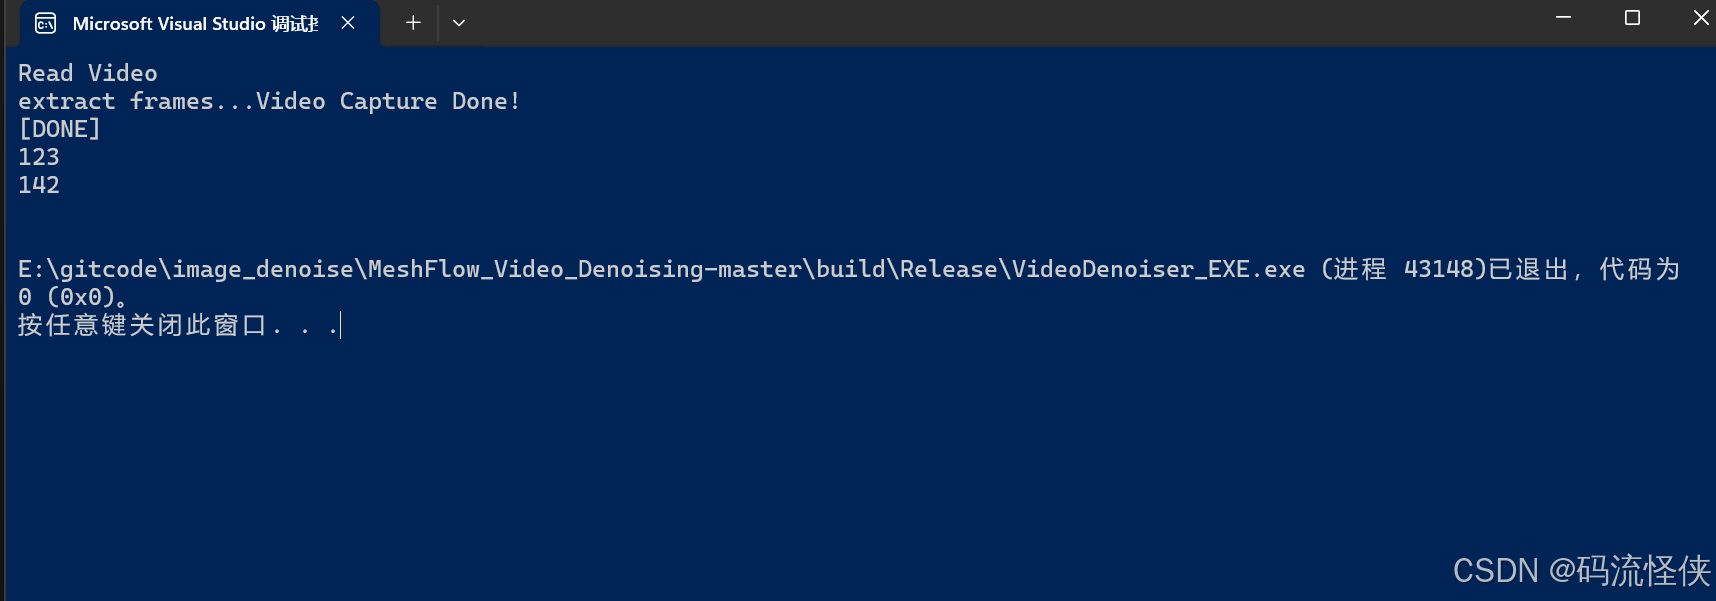
12. 运行,一段时间后,回车↩︎,视频降噪处理结束;
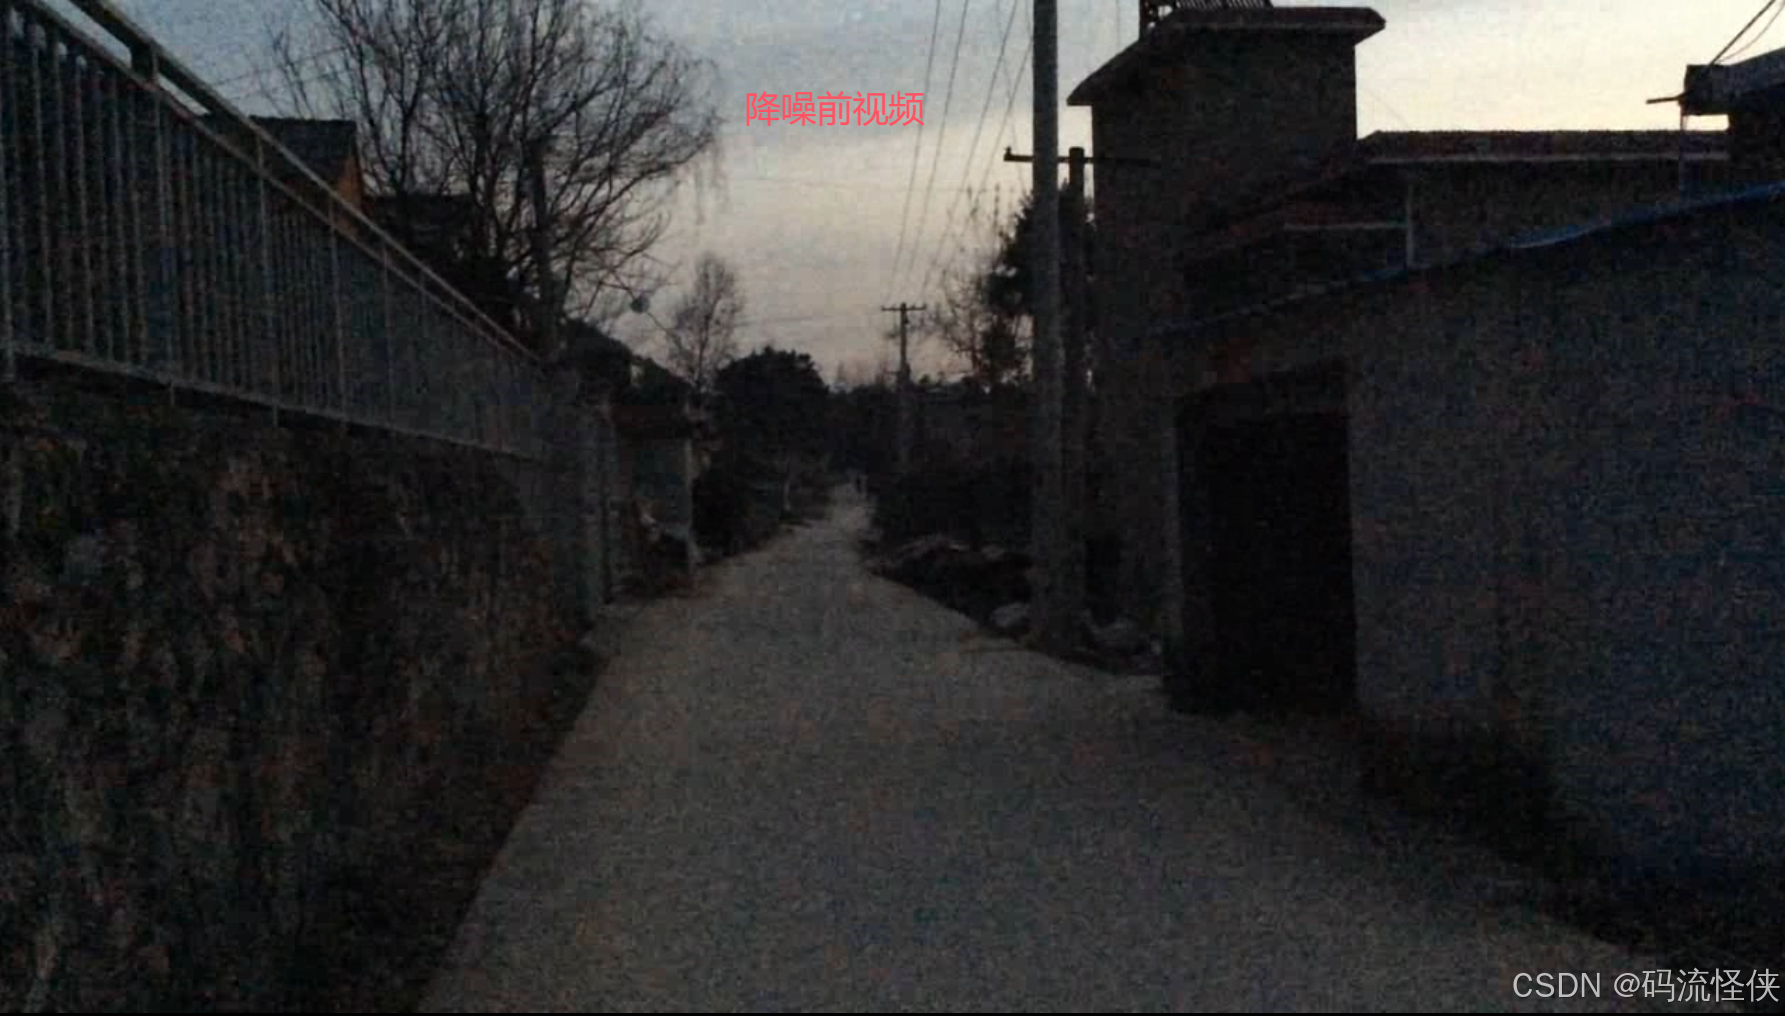
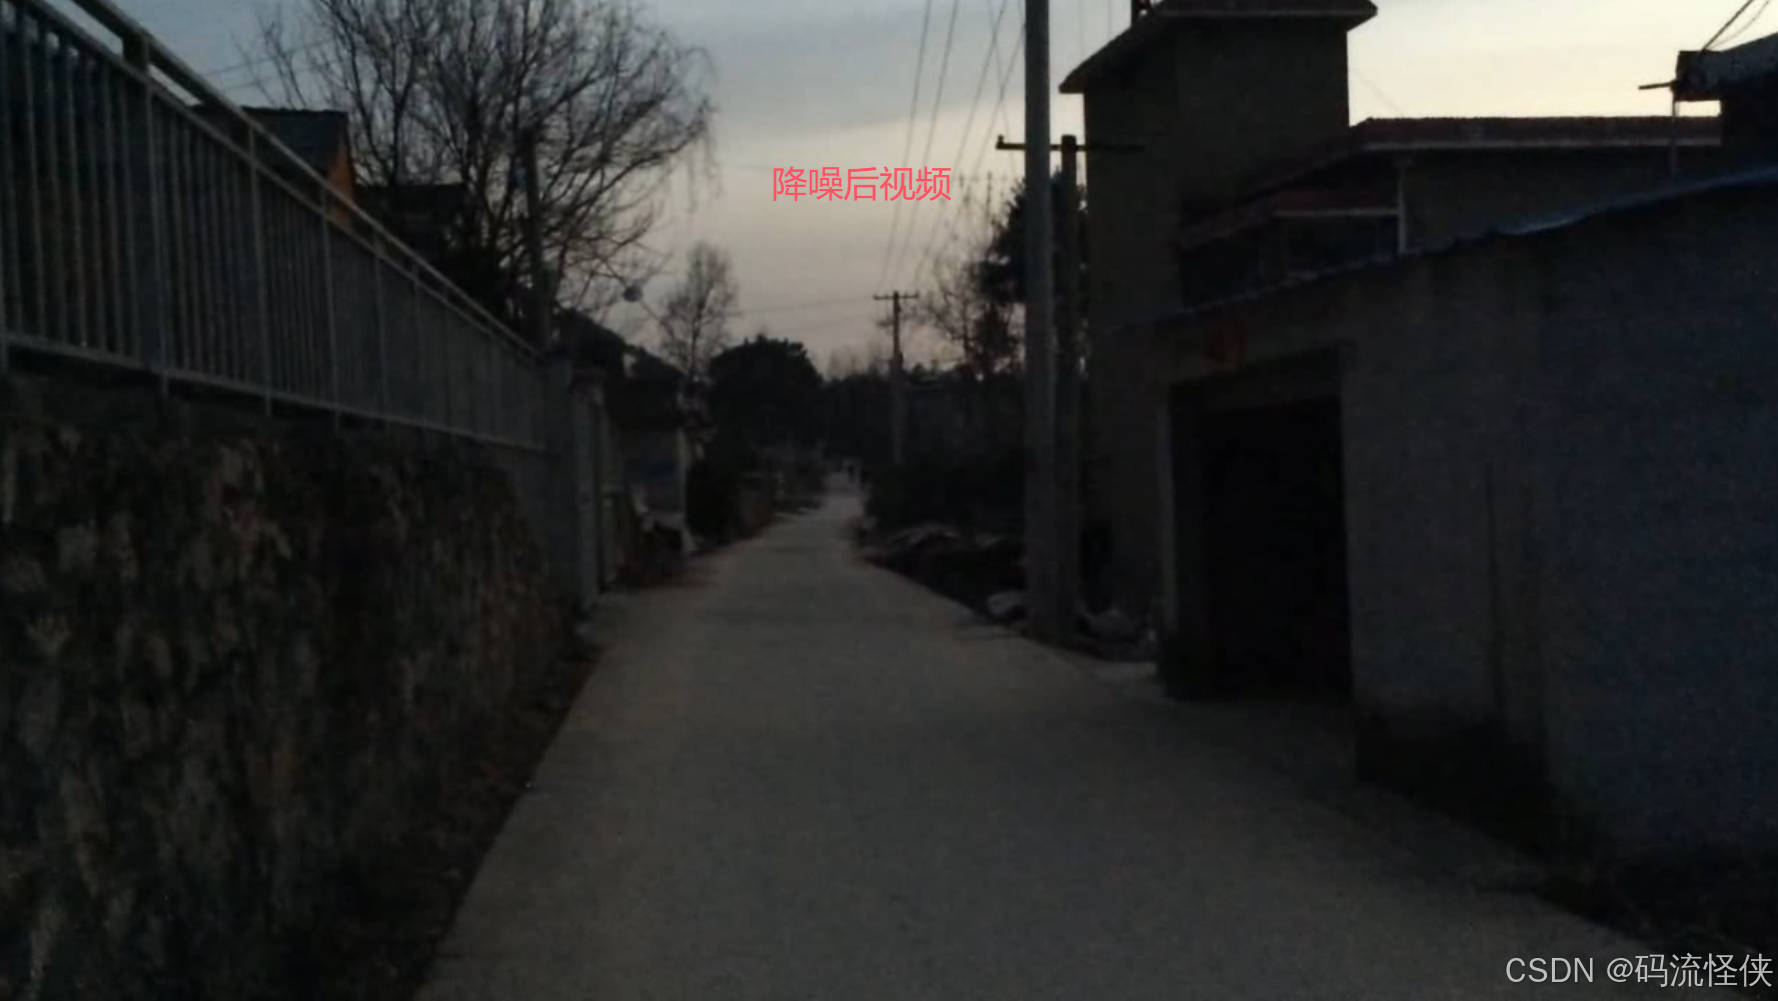
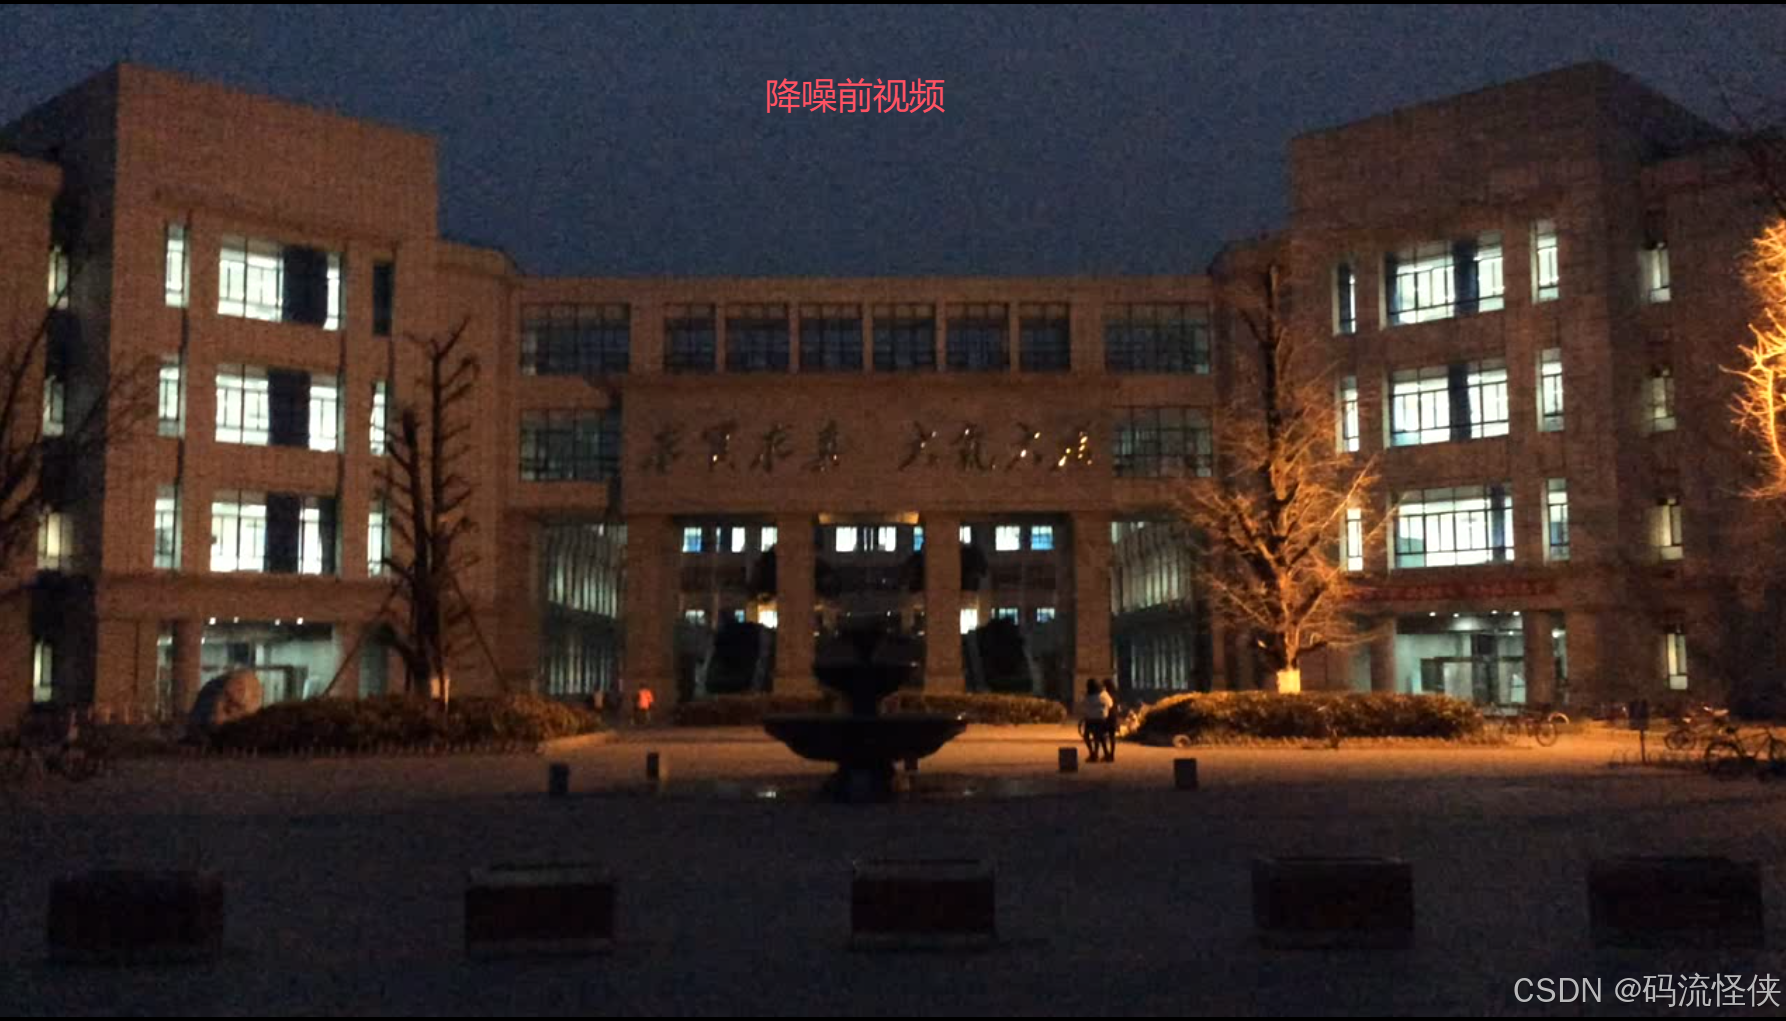
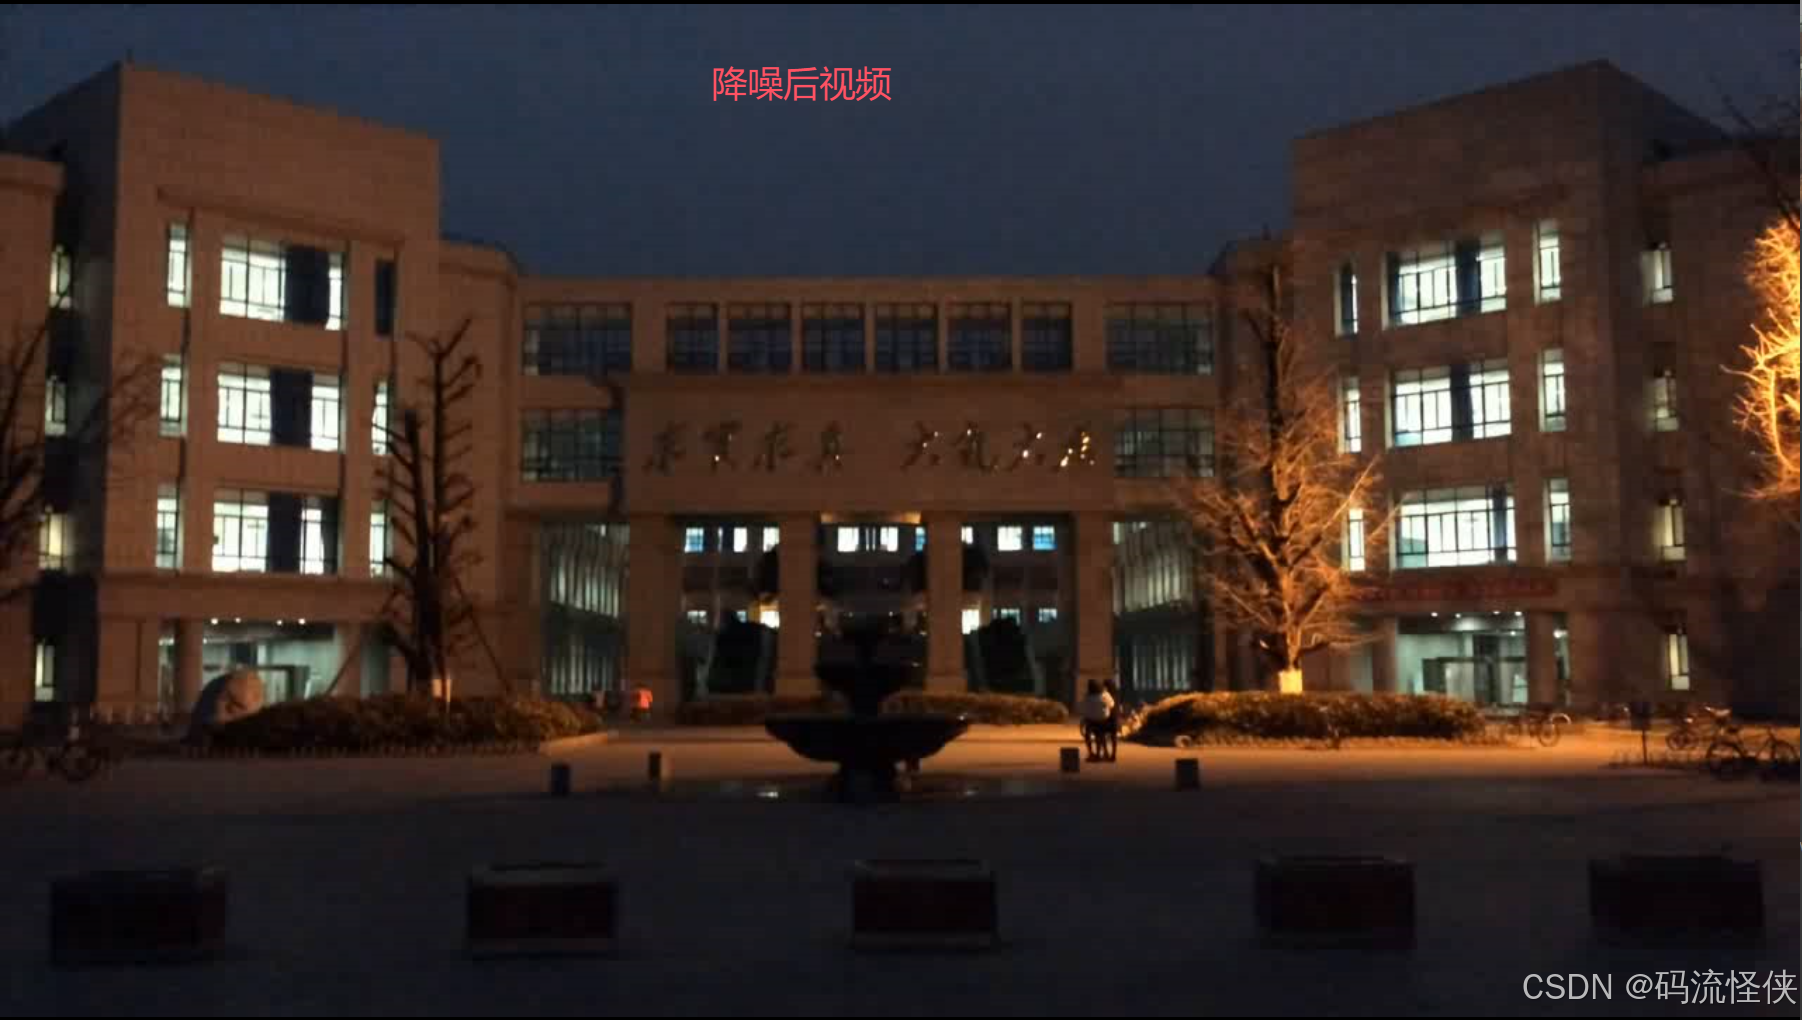
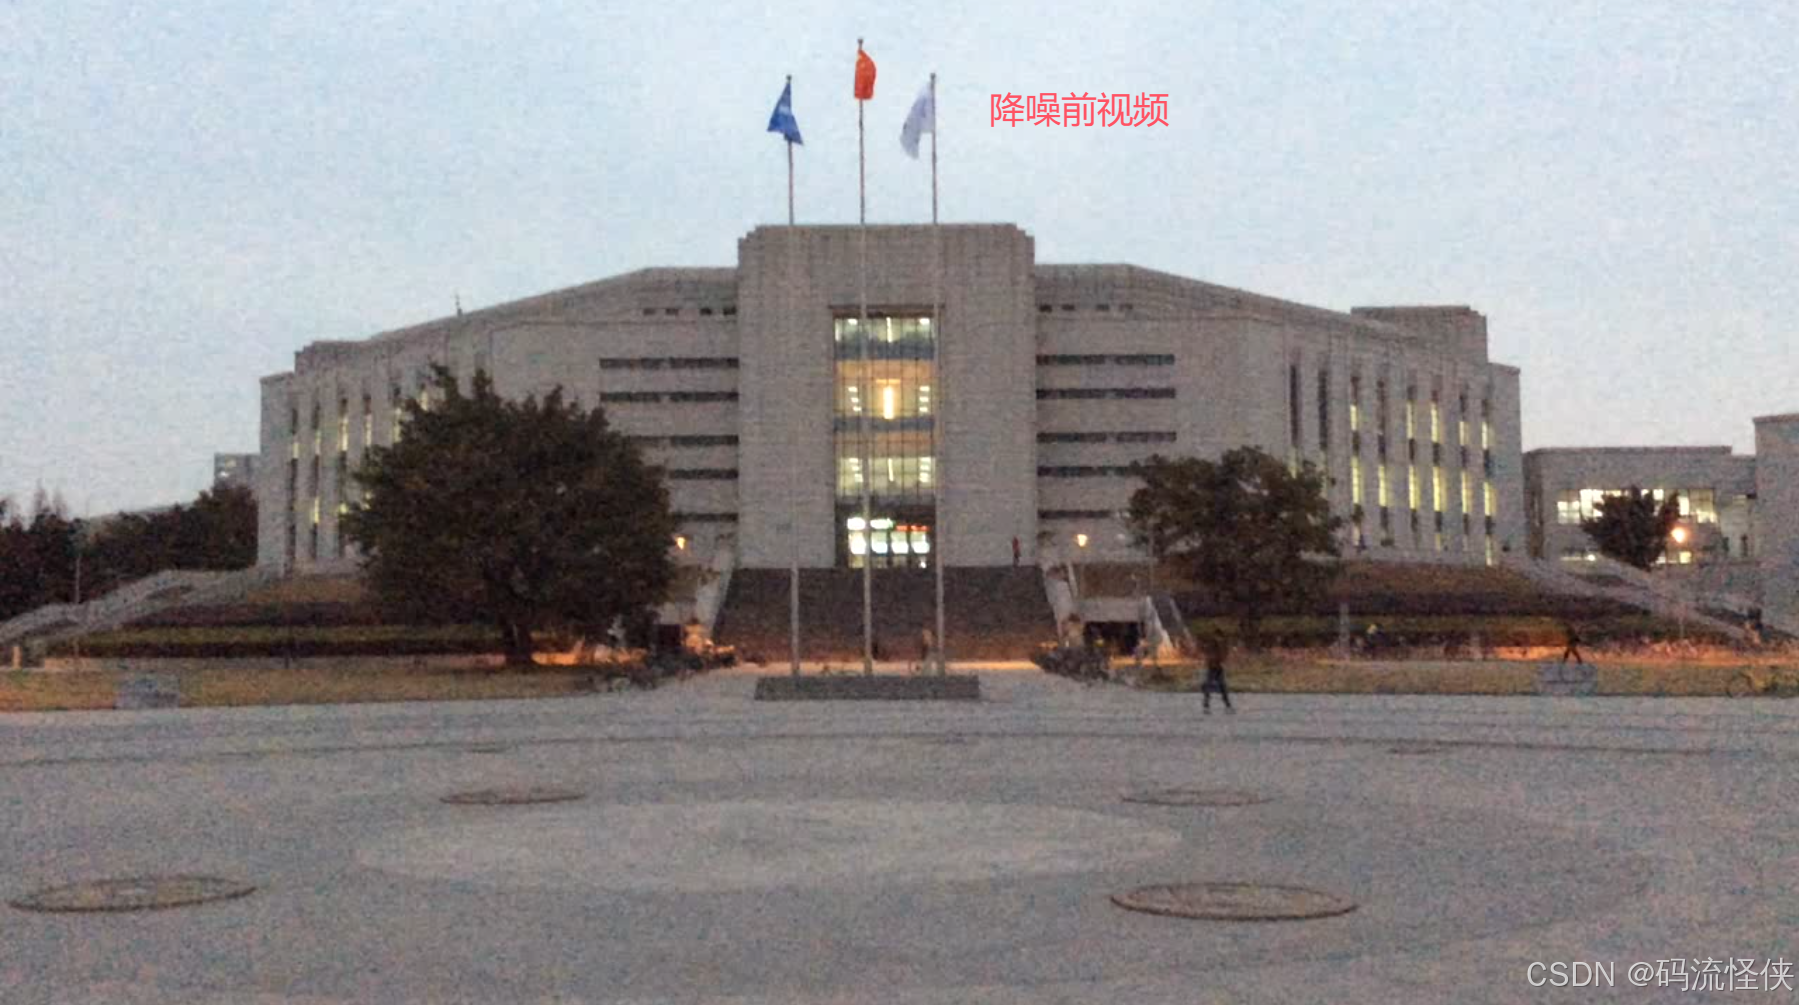
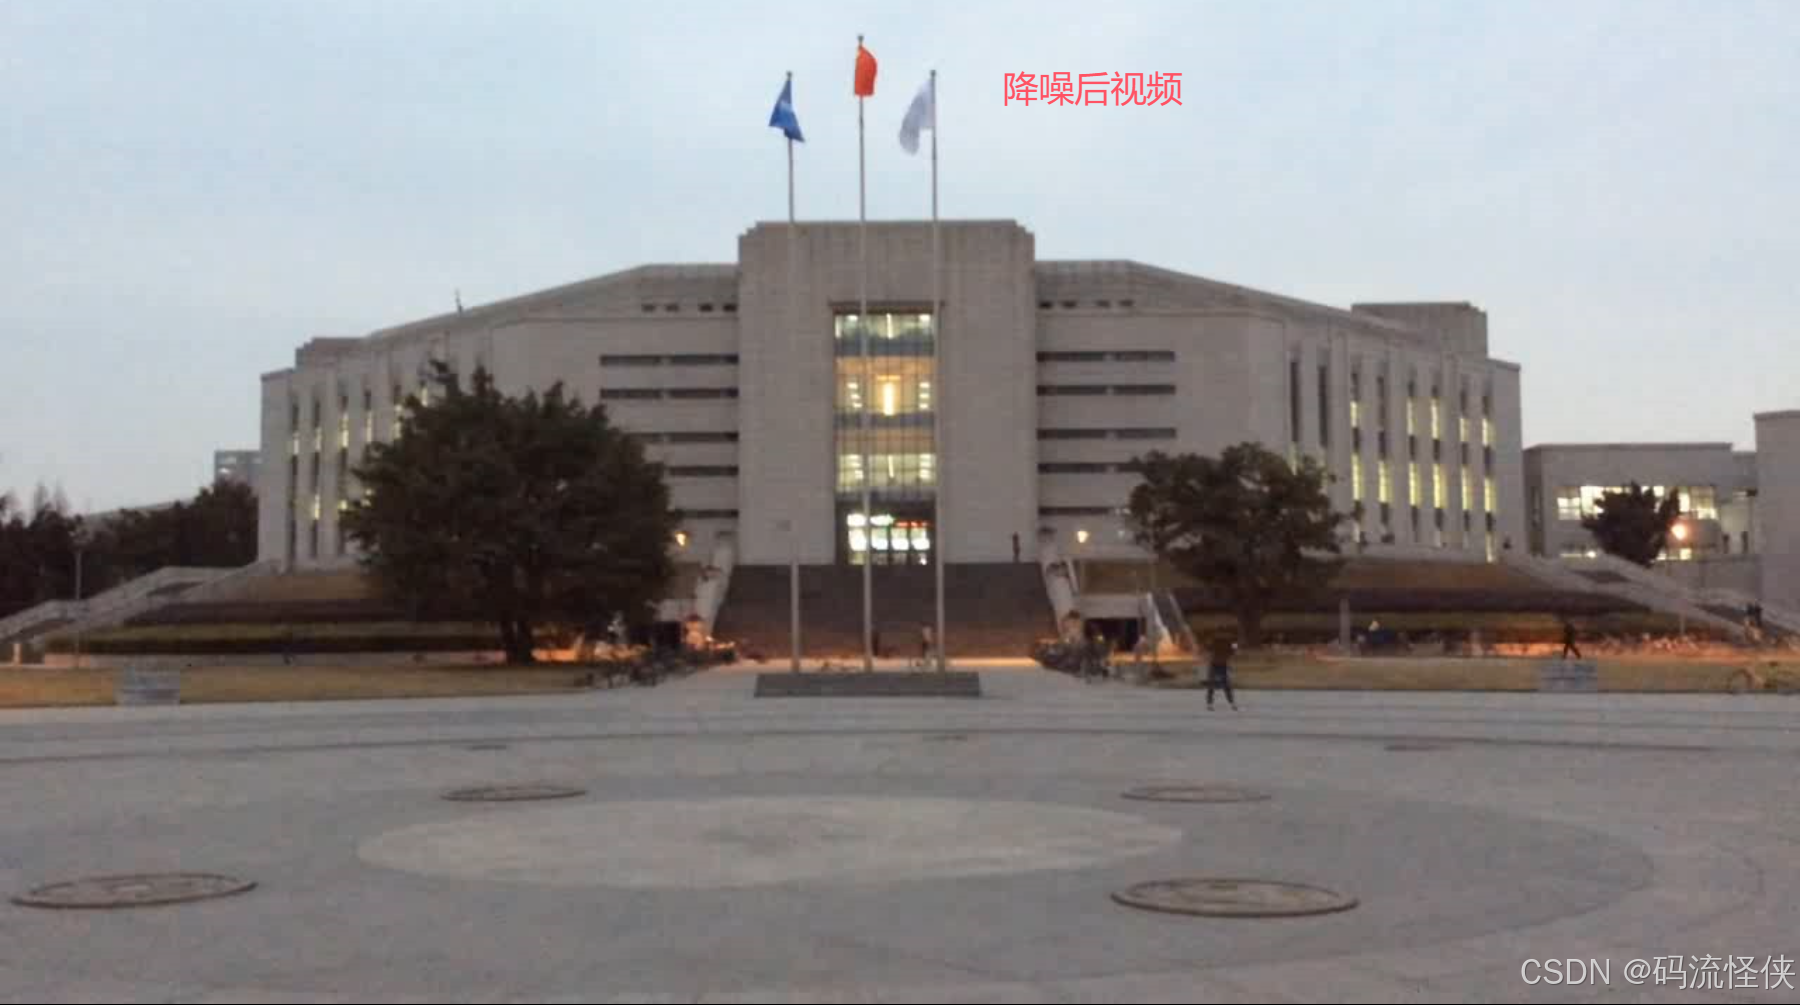
13. 查看降噪前后对比图,整体效果还不错。
14. 实验项目中其他一些噪声视频;
15. 整体降噪效果还不错,比 hqdn3d 强不少,但耗时也多不少;看源码未做汇编加速,后续深入研究源码分析原理。
