使用requestAnimationFrame绘制动画
- 在
canvas中的动画,我们可以理解为,canvas在一遍又一遍的绘制相同的东西。为了更好的适应人体的眼睛,我们绘制图像的间隔最好在16毫秒。 - 当然在
JavaScript中setInterval()函数也可以实现间隔16毫秒后继续绘制,不过它将始终以相同的速度绘制,而不管用户使用的是哪种浏览器,用户在做什么。会导致,它可以工作,但是效率不高。 requestAnimationFrame浏览器在下次重绘之前调用指定的回调函数。在某个时候,当浏览器准备就绪时,浏览器将调用您的绘图函数。这使浏览器可以完全控制图形,因此可以在需要时降低帧速率。通过将其锁定为每秒60帧的屏幕刷新速率,还可以使动画更加平滑。
不同浏览器的支持可能不一样,实现一个通用函数。
window.requestAnimFrame = (function(){
  return  window.requestAnimationFrame       ||
          window.webkitRequestAnimationFrame ||
          window.mozRequestAnimationFrame    ||
          window.oRequestAnimationFrame      ||
          window.msRequestAnimationFrame     ||
          function( callback ){
            window.setTimeout(callback, 1000 / 60);
          };
})();
简单示例
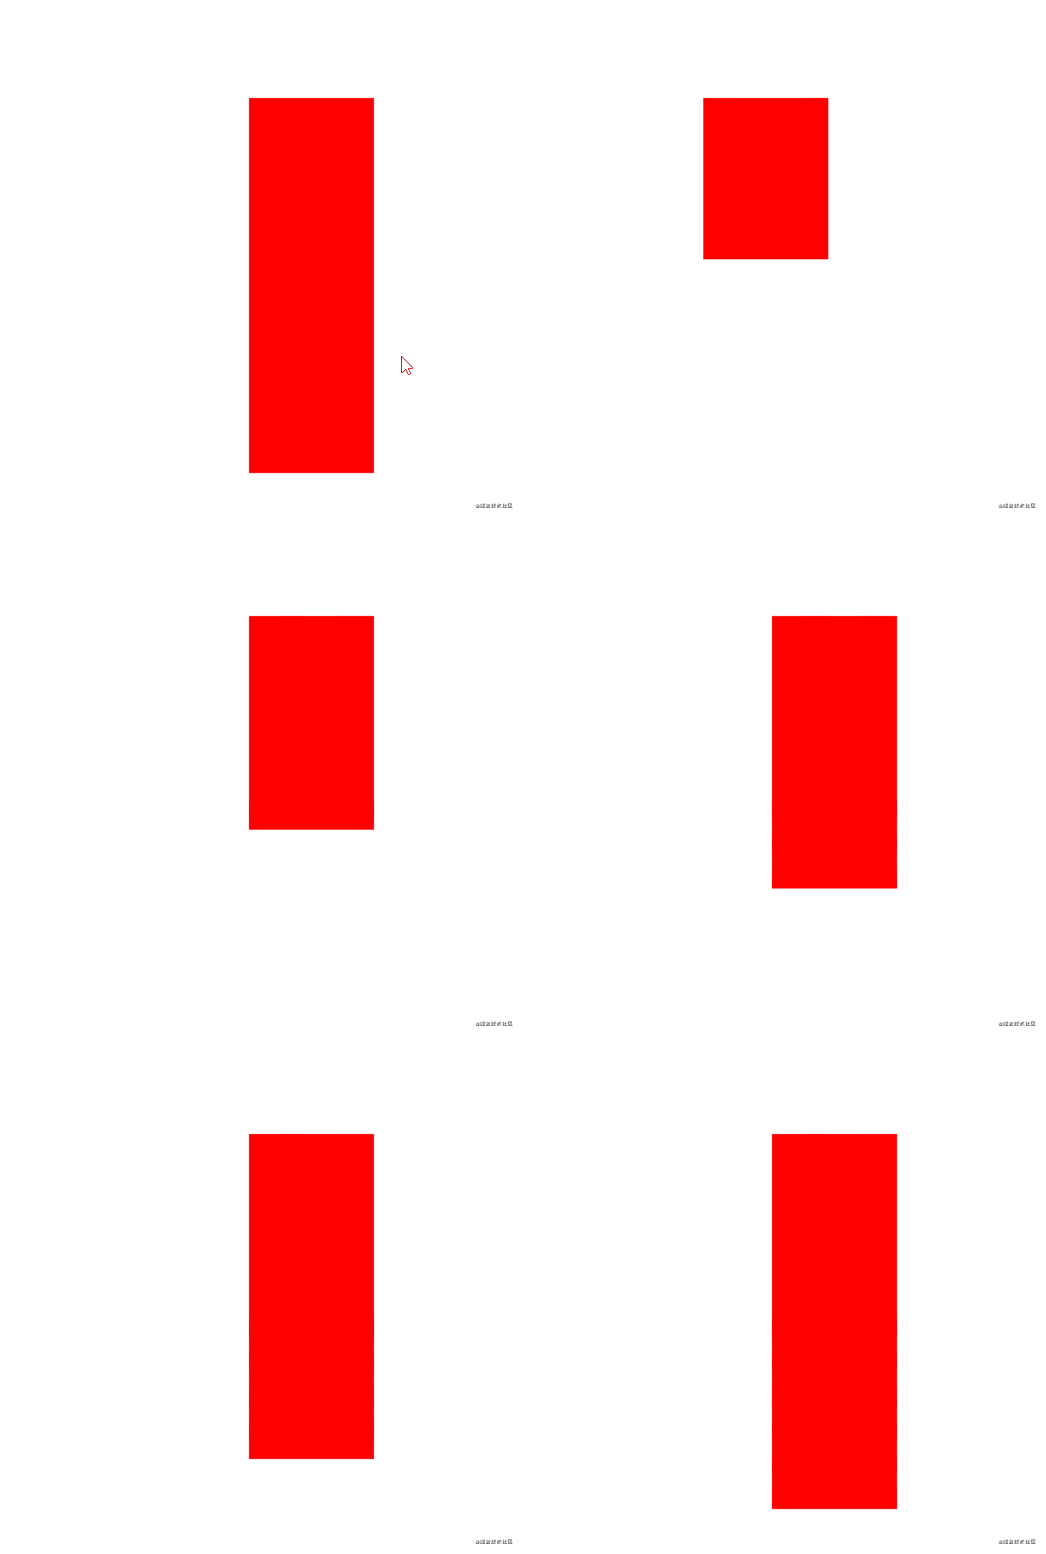
让正方形,一边移动一边修改为长方形。
<!DOCTYPE html>
<html lang="en">
  <body>
    <canvas width="500" height="500" id="canvas"></canvas>
    <script type="text/javascript">
      window.requestAnimFrame = (function () {
        return (
          window.requestAnimationFrame ||
          window.webkitRequestAnimationFrame ||
          window.mozRequestAnimationFrame ||
          window.oRequestAnimationFrame ||
          window.msRequestAnimationFrame ||
          function (callback) {
            window.setTimeout(callback, 1000 / 60)
          }
        )
      })()

      var canvas = document.getElementById('canvas')
      var c = canvas.getContext('2d')
      var x = 0
      var y = 0
      function drawIt() {
        window.requestAnimFrame(drawIt)
        // 清除画布啊
        c.clearRect(0, 0, canvas.width, canvas.height)

        c.fillStyle = 'red'
        c.fillRect(x, 100, 100, 100 + y)
        x += 5
        y += 1
        if (x > 200) {
          x = 200
        }
        if (y > 200) {
          y = 200
        }
      }
      window.requestAnimFrame(drawIt)
    </script>
  </body>
</html>
粒子动画
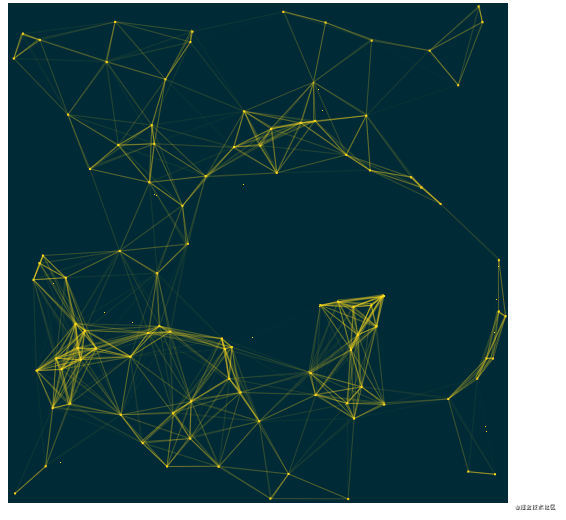
这里我们创建一定数量粒子,对两个粒子的距离进行计算,当粒子距离在规定长度内,对两粒子连线。然后让粒子动起来,根据粒子间距离判断是否连线。
首先我们绘制一定数量的粒子,计算粒子间距离然后连线。
<!DOCTYPE html>
<html lang="en">
  <body>
    <canvas width="500" height="500" id="canvas"></canvas>
    <script type="text/javascript">
      // 动画兼容函数
      window.requestAnimFrame = (function () {
        return (
          window.requestAnimationFrame ||
          window.webkitRequestAnimationFrame ||
          window.mozRequestAnimationFrame ||
          window.oRequestAnimationFrame ||
          window.msRequestAnimationFrame ||
          function (callback) {
            window.setTimeout(callback, 1000 / 60)
          }
        )
      })()

      const canvas = document.getElementById('canvas')
      const context = canvas.getContext('2d')

      // 创建粒子
      var dots = []
      for (var i = 0; i < 100; i++) {
        dots.push({
          x: Math.random() * canvas.width, // x  , y  为  粒子坐标
          y: Math.random() * canvas.height,
          xa: Math.random() * 3 - 1, // xa , ya 为  粒子 xy 轴加速度
          ya: Math.random() * 3 - 1,
          max: 100 // 连线的最大距离 px
        })
      }

      // 绘制粒子
      function drawDots() {
        // 先清空
        context.clearRect(0, 0, canvas.width, canvas.height)
        context.fillStyle = 'rgba(0,43,54,1)'
        context.fillRect(0, 0, canvas.width, canvas.height)

        // 循环加载粒子
        dots.forEach((dot) => {
          // 粒子位移
          dot.x += dot.xa
          dot.y += dot.ya

          // 遇到边界将 加速度 反向
          dot.xa *= dot.x > canvas.width || dot.x < 0 ? -1 : 1
          dot.ya *= dot.y > canvas.height || dot.y < 0 ? -1 : 1

          // 绘制点
          context.fillRect(dot.x - 1, dot.y - 1, 2, 2)
          context.fillStyle = 'rgba(255,218,27,1)'

          drawLine(dot, dots)
        })
      }

      /**
       * 计算距离 并连线
       * @param dot 当前点
       * @param dots 所有点
       */
      function drawLine(dot, dots) {
        for (var i = 0; i < dots.length; i++) {
          var item = dots[i]

          // 过滤错误信息
          if (dot === item || item.x === null || item.y === null) continue
          // 创建变量
          let xc = dot.x - item.x,
            yc = dot.y - item.y,
            dis = '',
            ratio = ''

          // 两个粒子之间的距离
          dis = Math.sqrt(xc * xc + yc * yc)

          // 判断 粒子 之间的距离
          if (dis < item.max) {
            // 计算距离比 -- 用于线 厚度
            ratio = (item.max - dis) / item.max
            // 画线
            context.beginPath()
            context.lineWidth = ratio / 2
            context.strokeStyle = 'rgba(255,218,27,1)'
            context.moveTo(dot.x, dot.y)
            context.lineTo(item.x, item.y)
            context.stroke()
          }
        }
      }

      drawDots()
      //
    </script>
  </body>
</html>
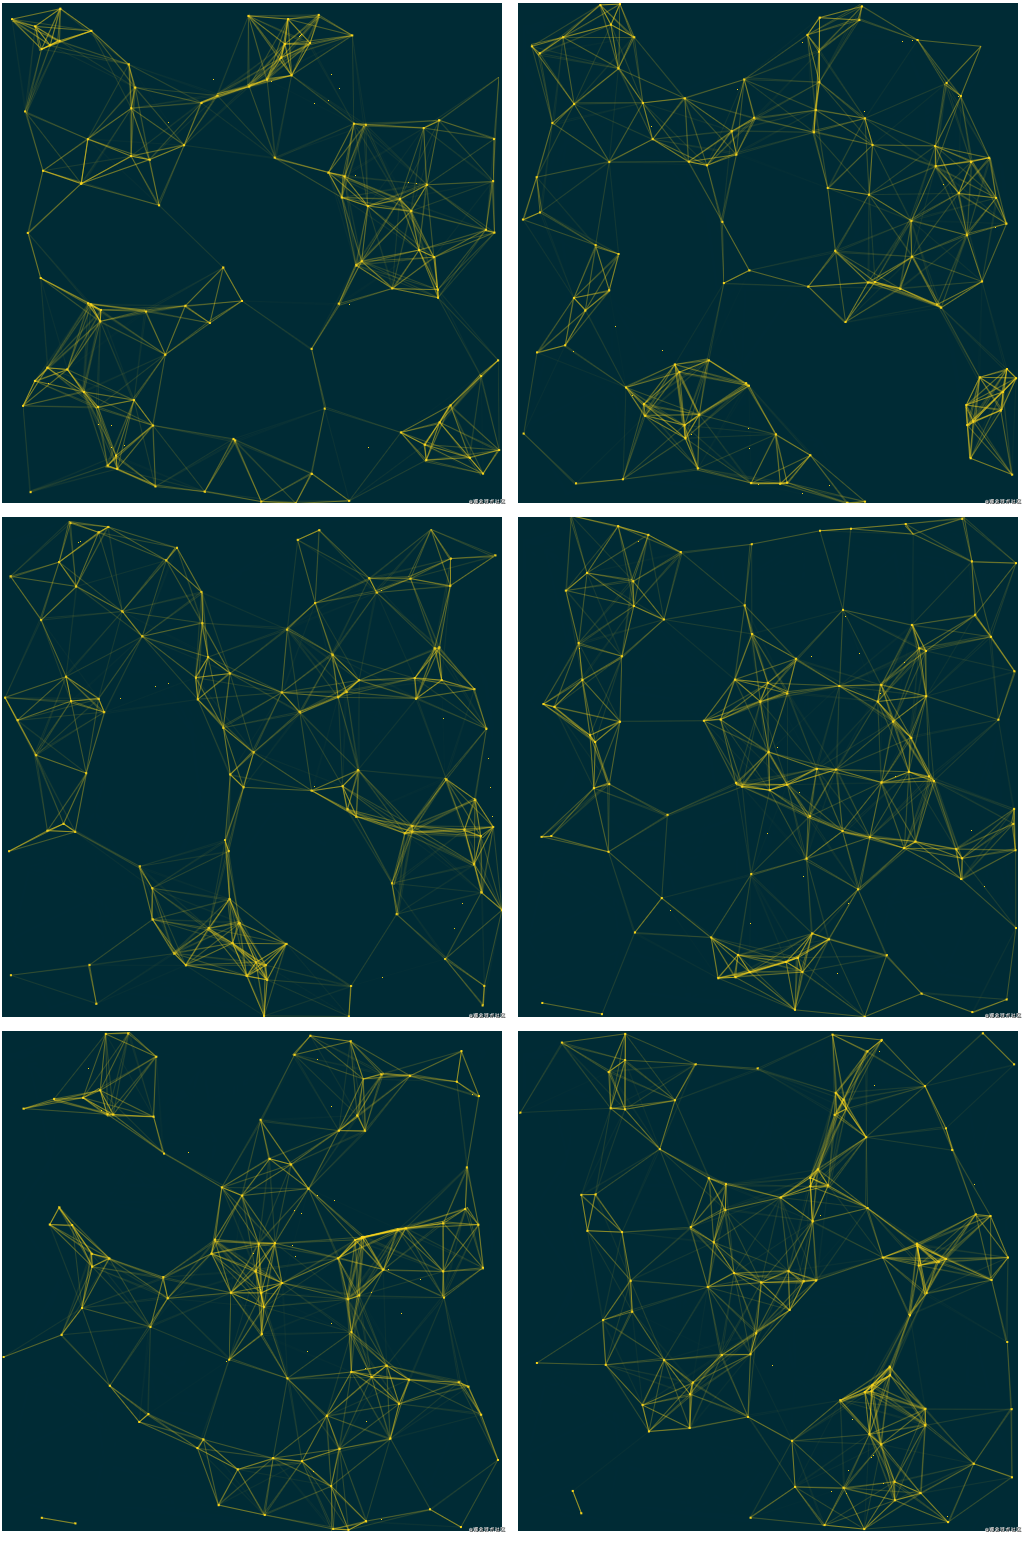
然后就是让画布一遍又一遍的绘制相同的东西。只需创建一个动画函数反复执行。
...
function animate() {
    requestAnimFrame(animate)
    drawDots()
}
animate()
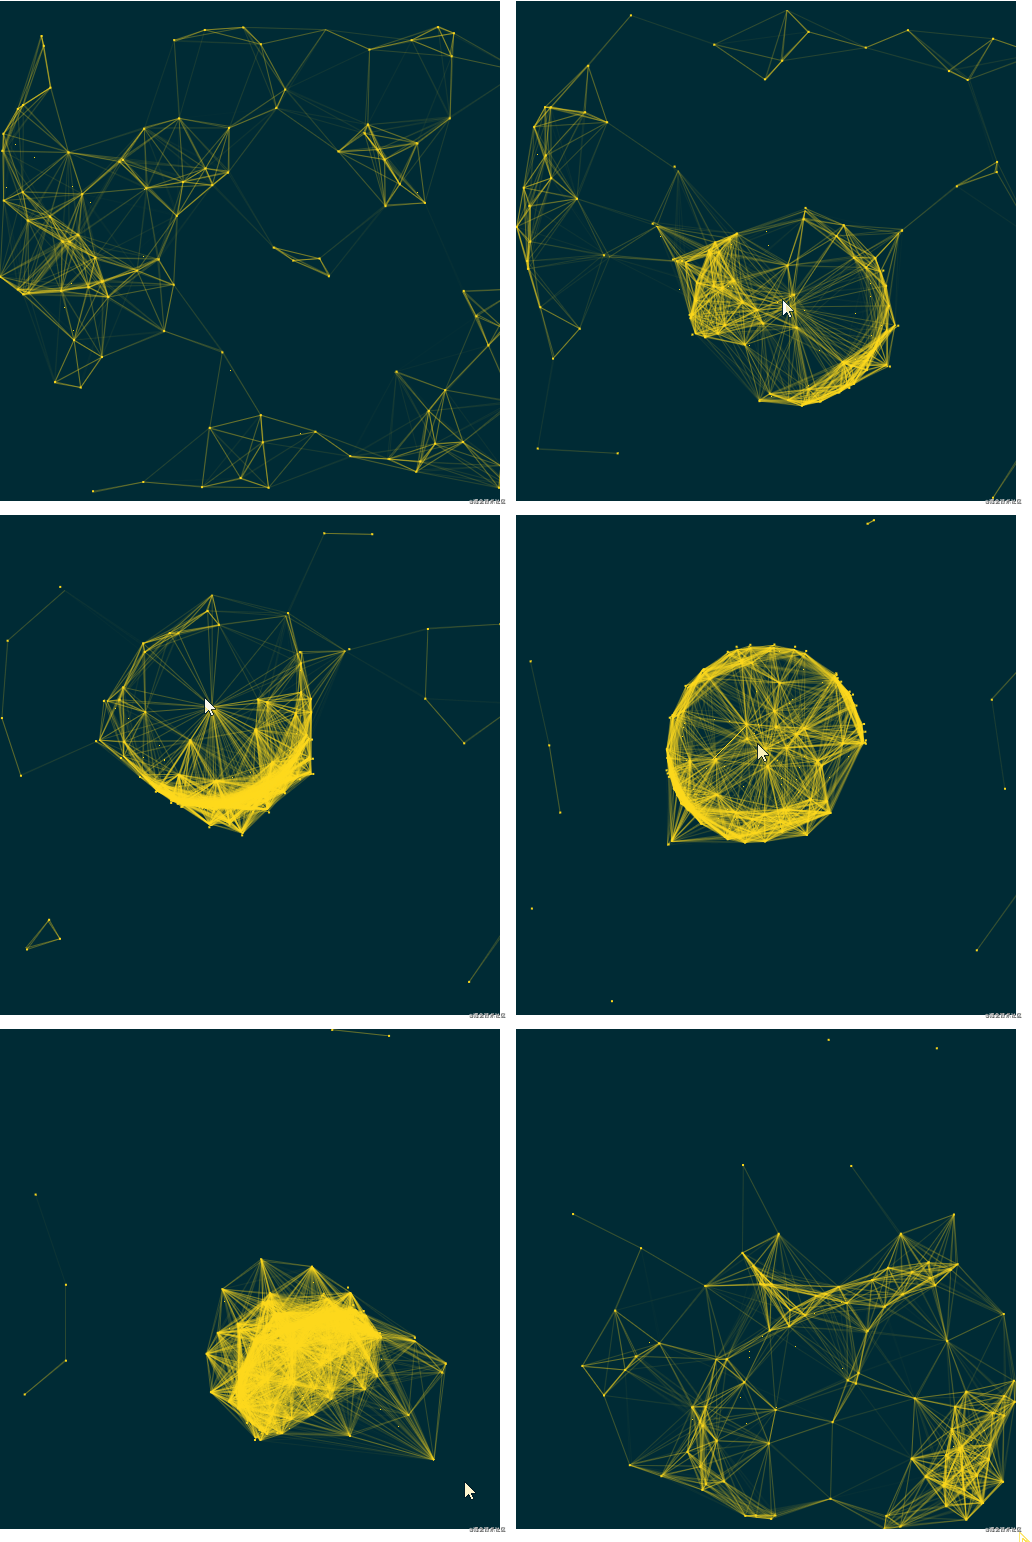
当然我们也可以加入鼠标互动事件。先获取鼠标在画布上的位置,生成鼠标粒子对象,把对象加入数组中。
在计算画线时,判读是否是鼠标对象,如果是修改其他粒子的位移速度和方向。
...
// 鼠标粒子
let warea = {
    x: null,
    y: null,
    max: 200 // 鼠标位置 和点的连线
}
//获取鼠标活动时的鼠标坐标
window.onmousemove = (e) => {
    warea.x = e.clientX
    warea.y = e.clientY
}
//鼠标移出界面时清空
window.onmouseout = (e) => {
    warea.x = null
    warea.y = null
}
...

function drawLine(dot, dots) {
    // 加入鼠标位 粒子
    var ndots = [warea].concat(dots)

    for (var i = 0; i < ndots.length; i++) {
      var item = ndots[i]
...
    // 判断 粒子 之间的距离
    if (dis < item.max) {
        // 如果是鼠标,则让其他粒子向鼠标的位置移动
        if (item === warea && dis > item.max / 2) {
          dot.x -= xc * 0.03
          dot.y -= yc * 0.03
        }
...
雪碧图动画
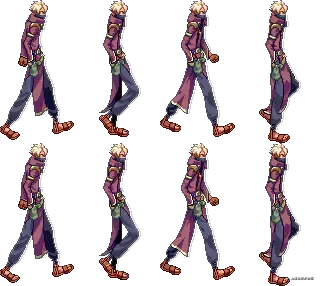
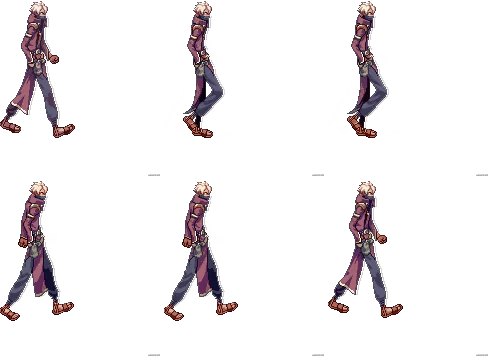
什么是雪碧?
在一张大图里面,包含了很多张小图,能通过展示图片的不同位置展示不同的小图。
<!DOCTYPE html>
<html lang="en">
  <body>
    <canvas width="500" height="500" id="canvas"></canvas>
    <script type="text/javascript">
      // 动画兼容函数
      window.requestAnimFrame = (function () {
        return (
          window.requestAnimationFrame ||
          window.webkitRequestAnimationFrame ||
          window.mozRequestAnimationFrame ||
          window.oRequestAnimationFrame ||
          window.msRequestAnimationFrame ||
          function (callback) {
            window.setTimeout(callback, 1000 / 60)
          }
        )
      })()

      const canvas = document.getElementById('canvas')
      const context = canvas.getContext('2d')

      var sprite_image = new Image()
      sprite_image.src = './1.png'

      var tick = 1// 刻度
      var x = 0
      var y = 0
      function loop() {
        tick++
        // 计算位置
        if (tick % 10 === 0) {
          x = x + 80
          if (x === 240) {
            x = 0
            if (y === 0) {
              y = 143
            } else {
              y = 0
            }
          }

          context.clearRect(0, 0, canvas.width, canvas.height)
          context.drawImage(sprite_image, x, y, 80, 140, 0, 0, 80, 140)
        }
        window.requestAnimFrame(loop)
      }

      loop()
    </script>
  </body>
</html>
雪碧图动画,实际上是在动画的不同帧中绘制的同一对象。每次更新屏幕时,我们都会通过刻度来计算当前的帧动画(雪碧图中小图的位置),然后绘制图像并更新刻度计数器。
