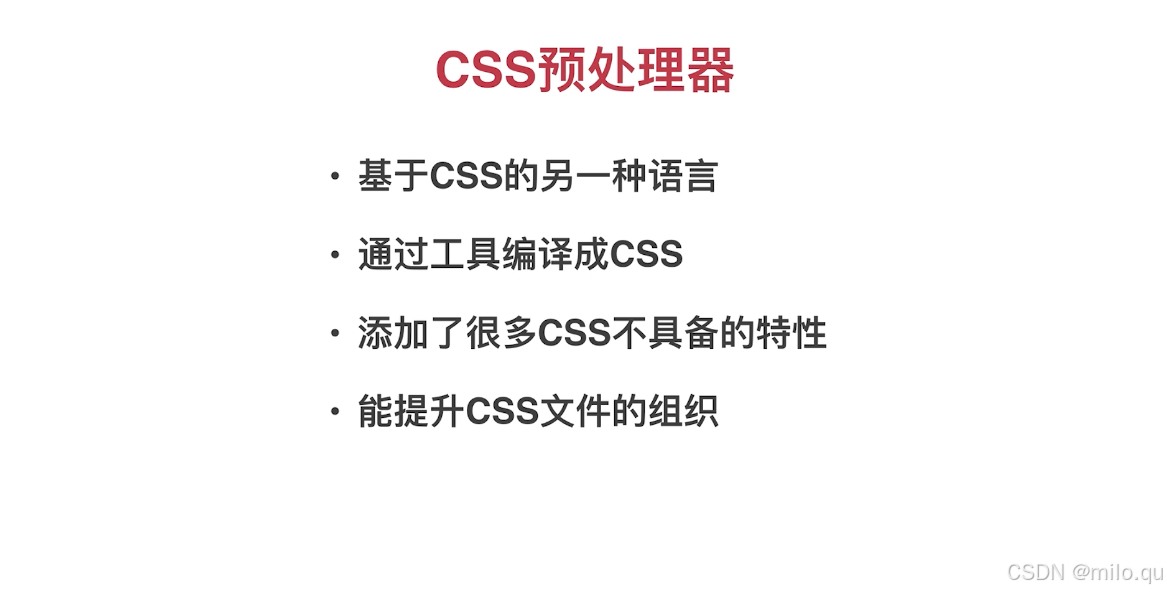
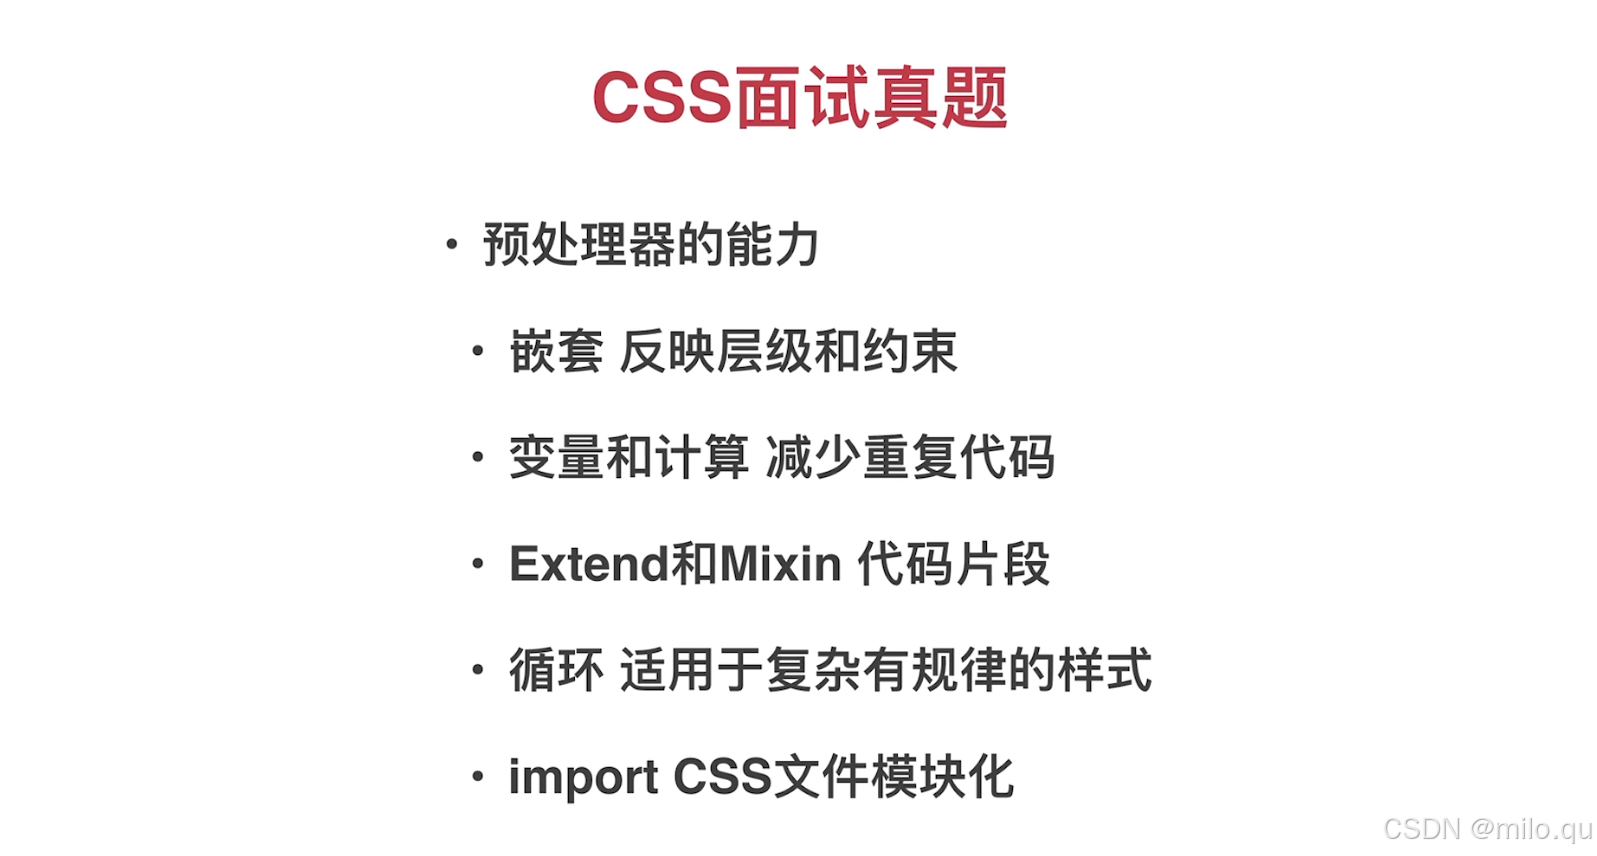
一、介绍
解释:
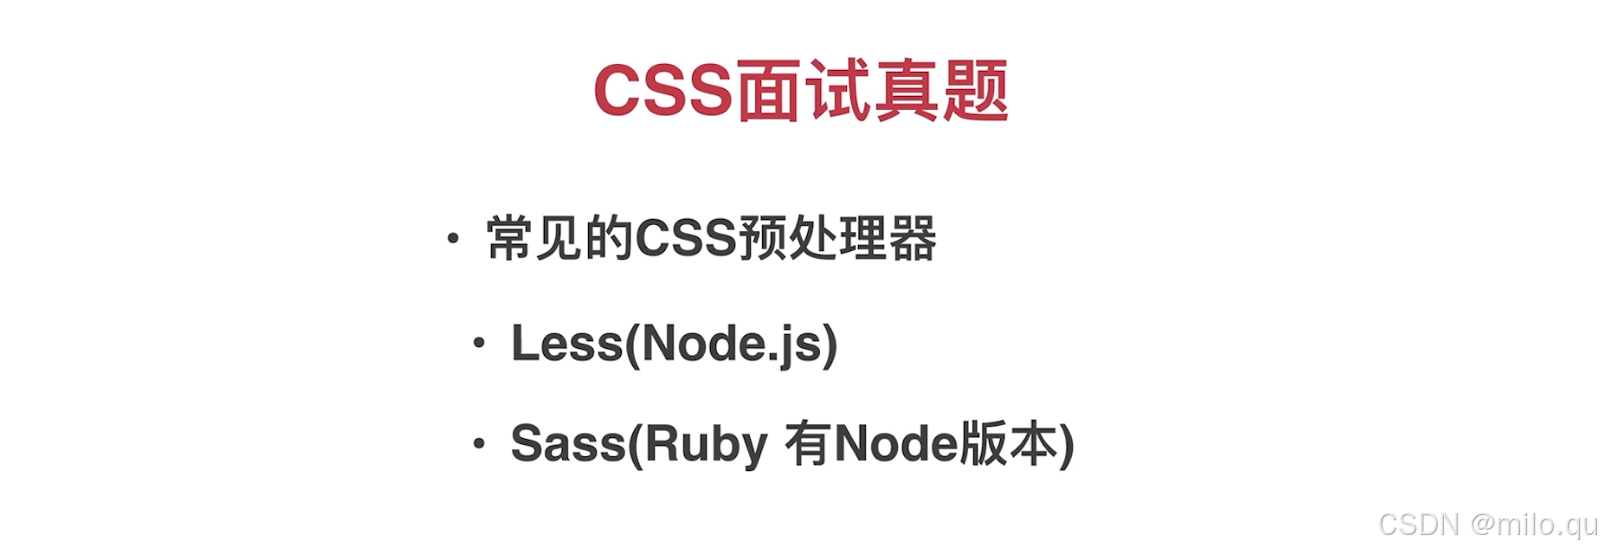
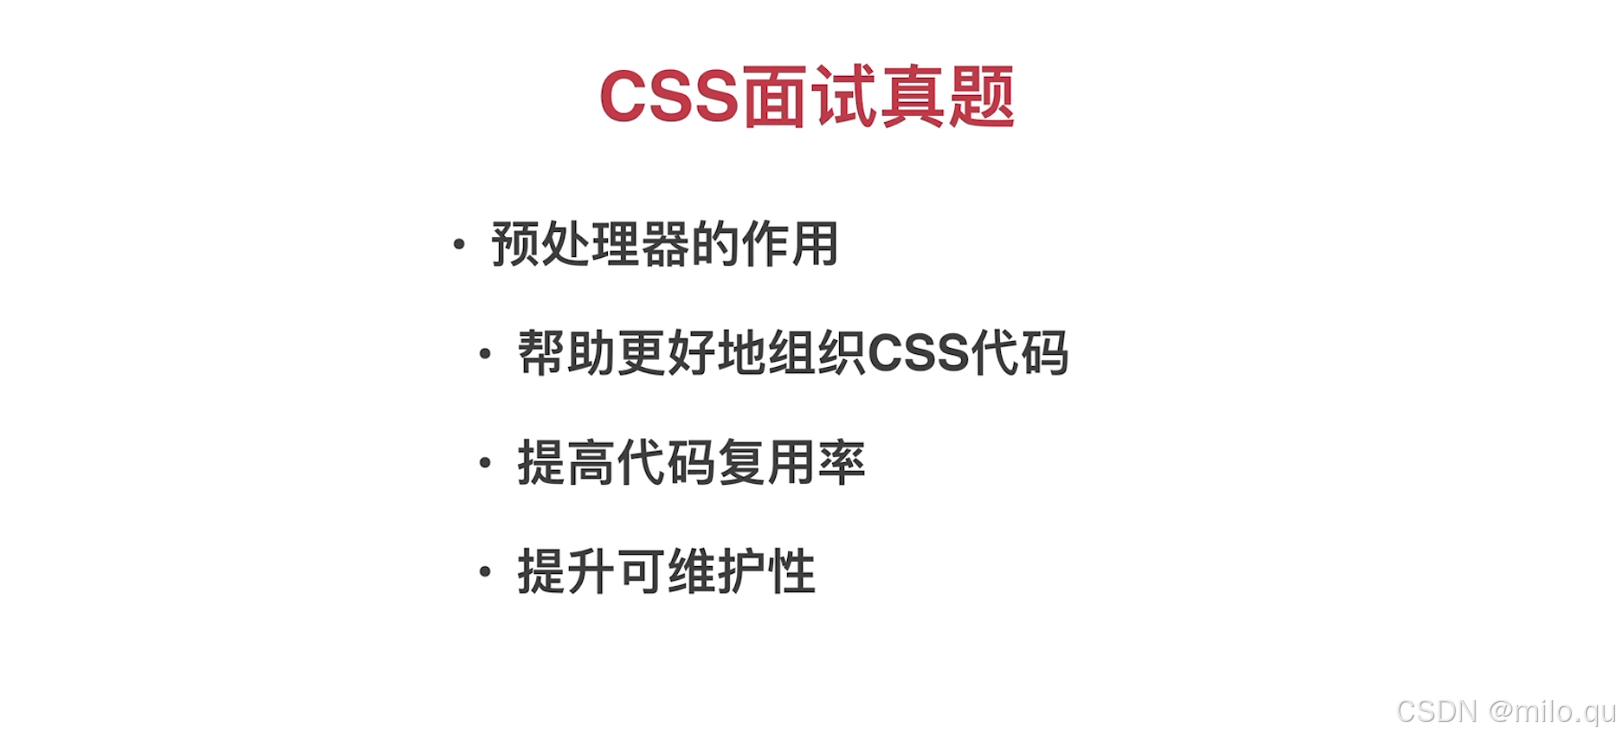
1、通过工具编译成CSS - 通过工具将CSS新的语法编译成老浏览器能识别的CSS;
解释:
1.less - 基于nodejs实现的,编译速度比较快,并且它有一个浏览器中可以直接使用的版本,不需要预先编译,入门相对简单,但是在一些复杂的实现上,显得相对繁琐;
2.sass - 后续的scss版本,都是基于ruby实现的,编译过程比较慢,但是这个问题可以通过移植版本解决,比如nodssass。
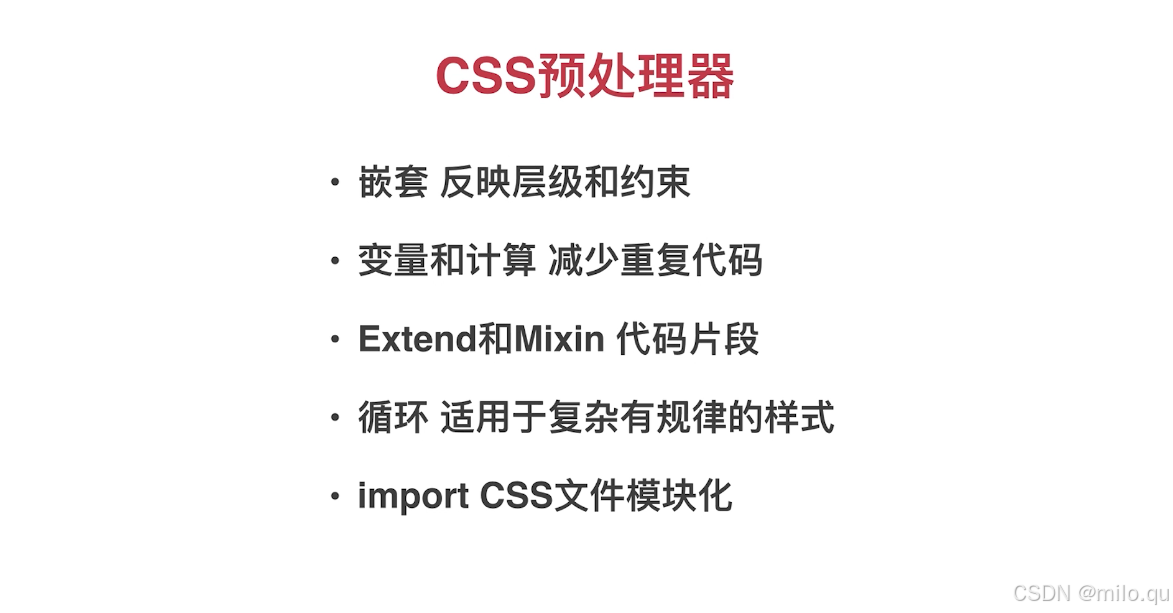
二、less嵌套
1.安装less编译工具
项目安装 - npm install less
全局安装 - npm install less -g
操作less命令:
项目安装 - ./node_modules/.bin/lessc
全局安装 - lessc
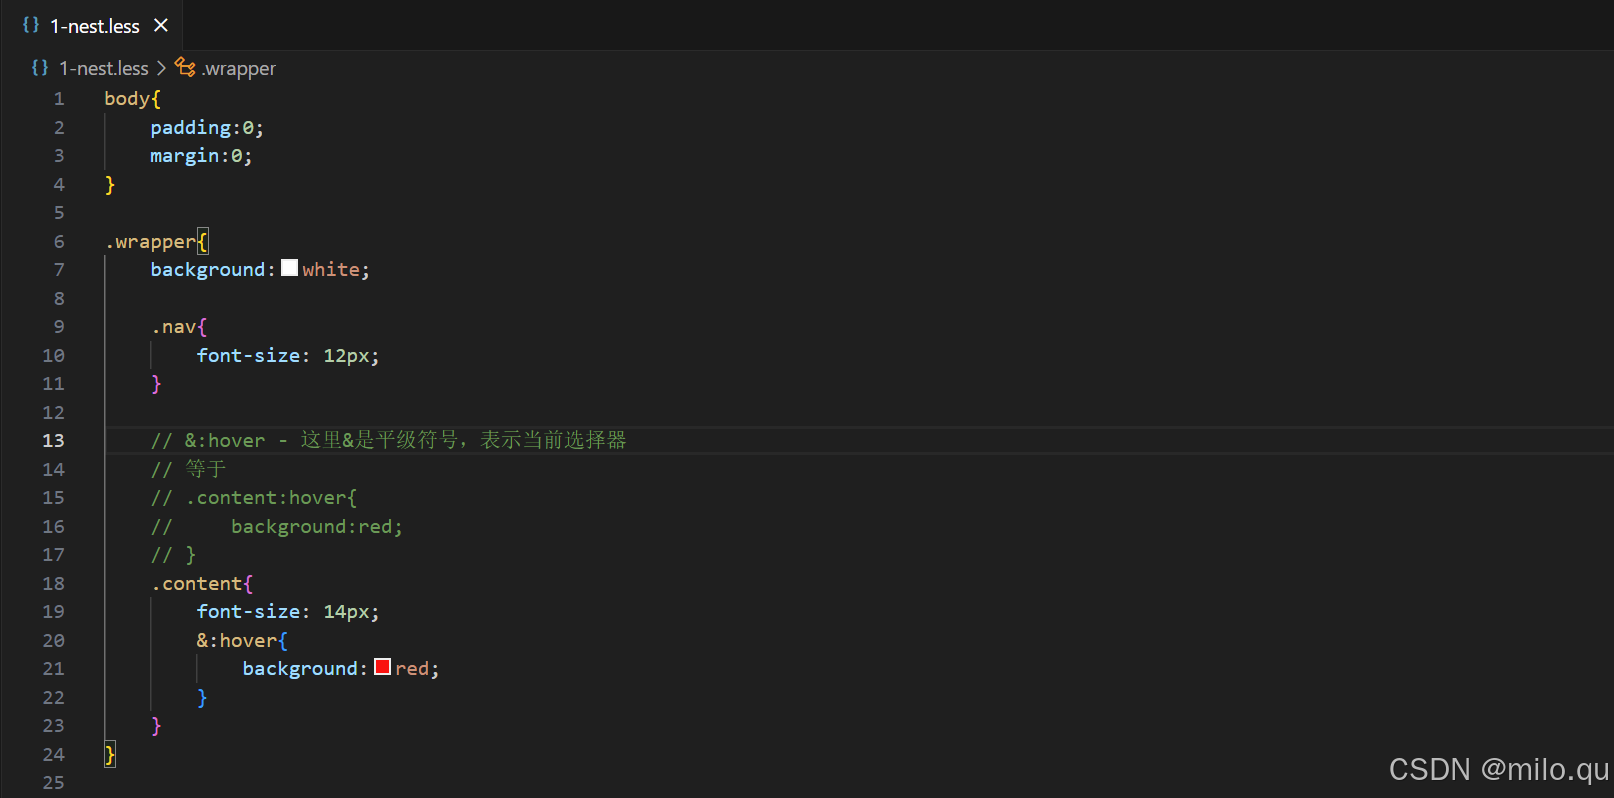
课程示例:
注意:
// &:hover - 这里&是平级符号,表示当前选择器
// 在上面CSS代码中等于
// .content:hover{
// background:red;
// }
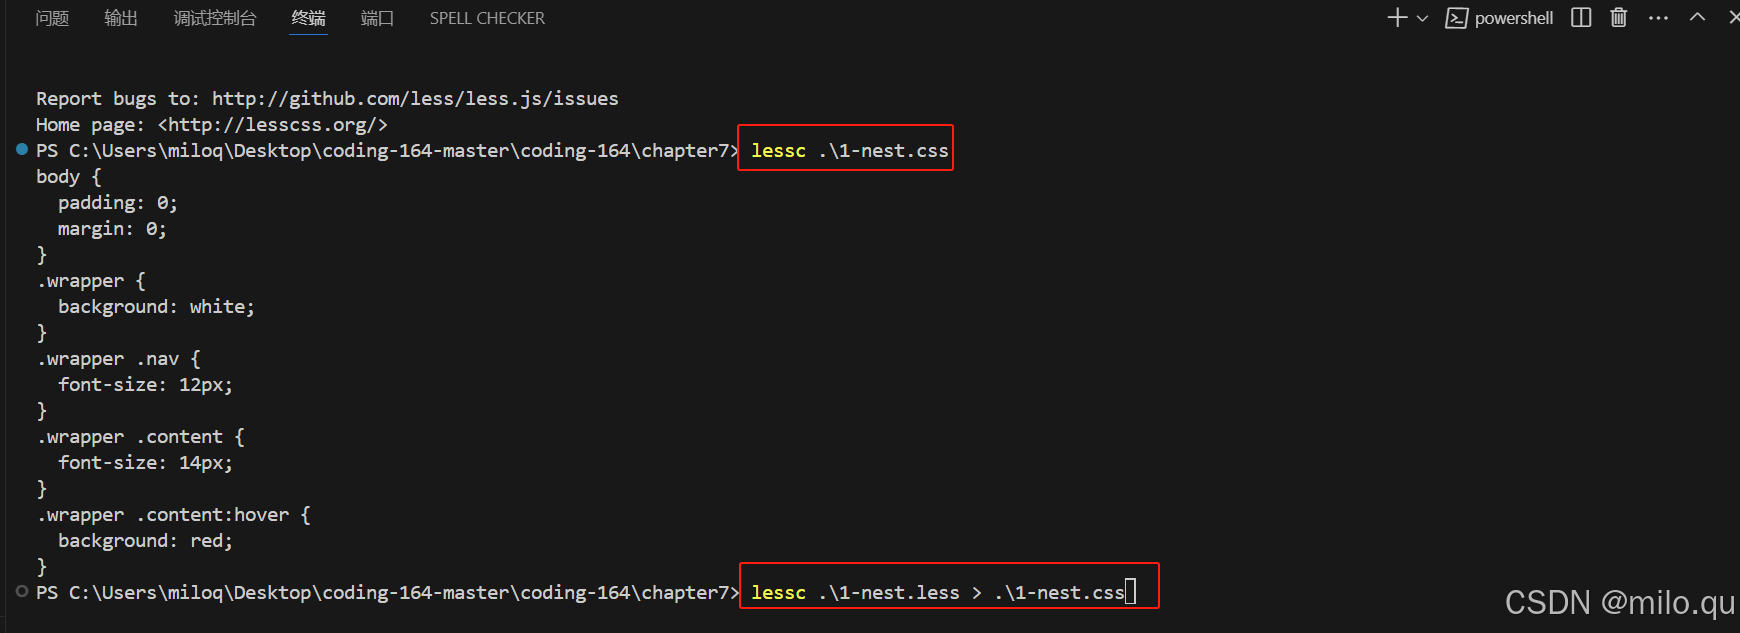
编译less文件:
编辑less - lessc 1-nest.less
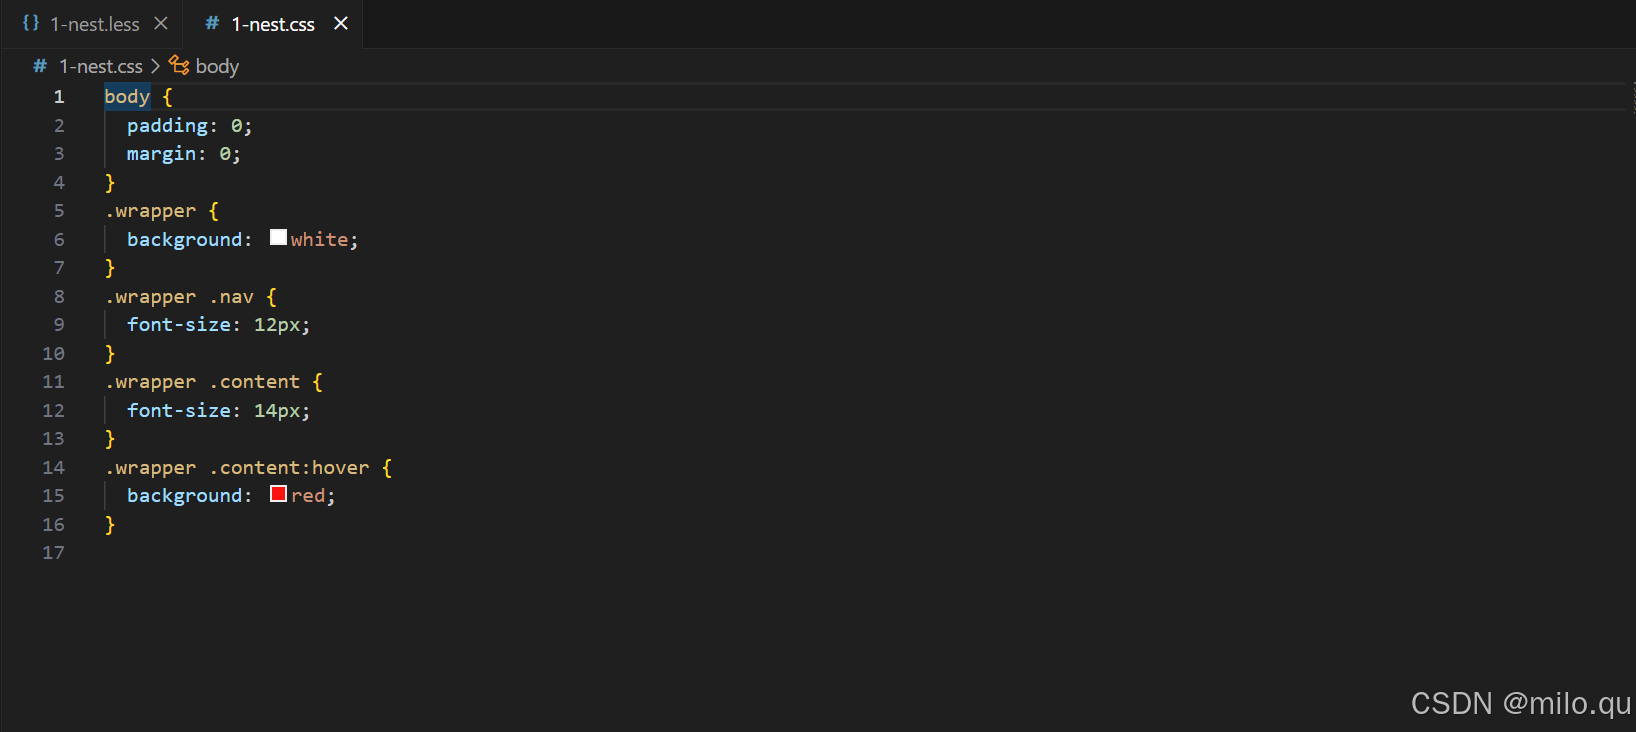
编译less并输出到指定文件 - lessc 1-nest.less > 1-nest.css
编译Less并输出结果:
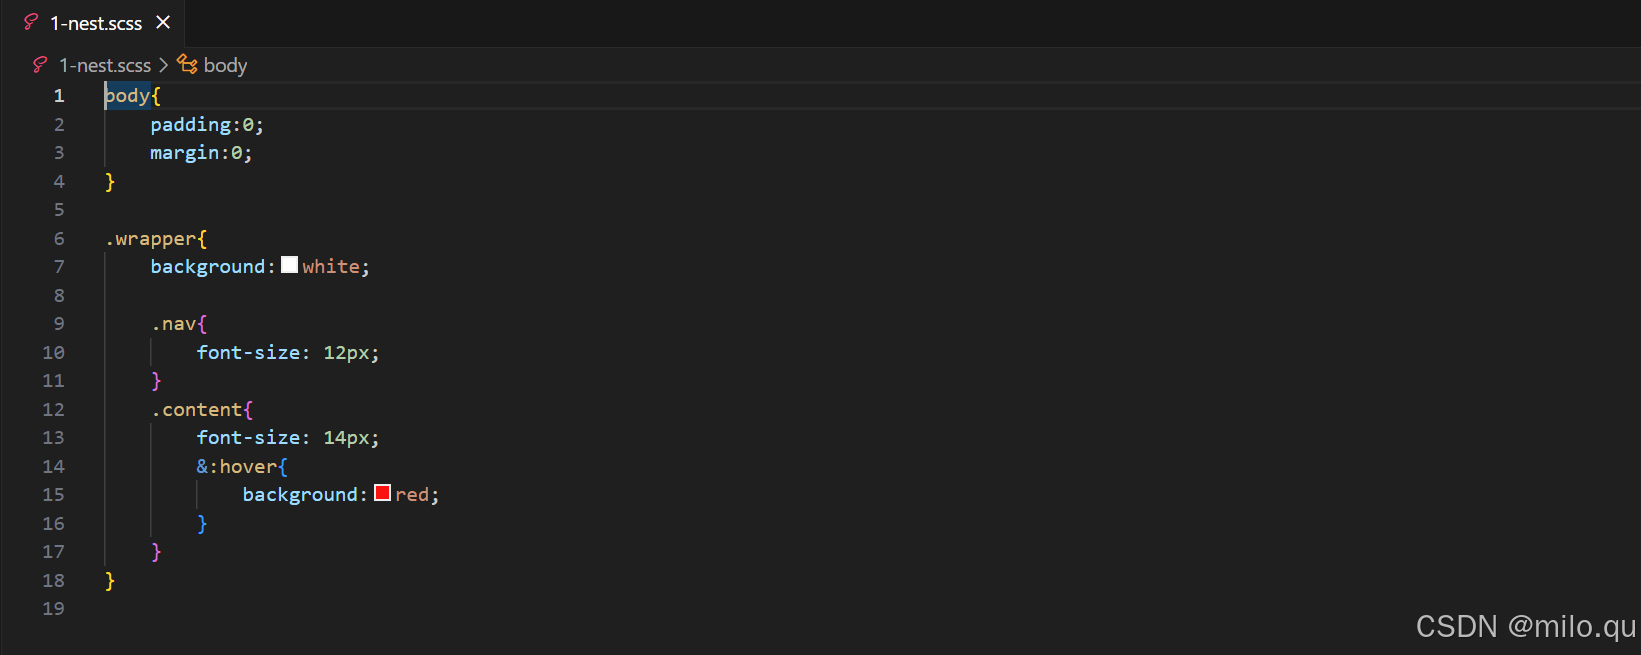
三、sass嵌套
项目安装 - npm install node-sass
全局安装 - npm install node-sass -g
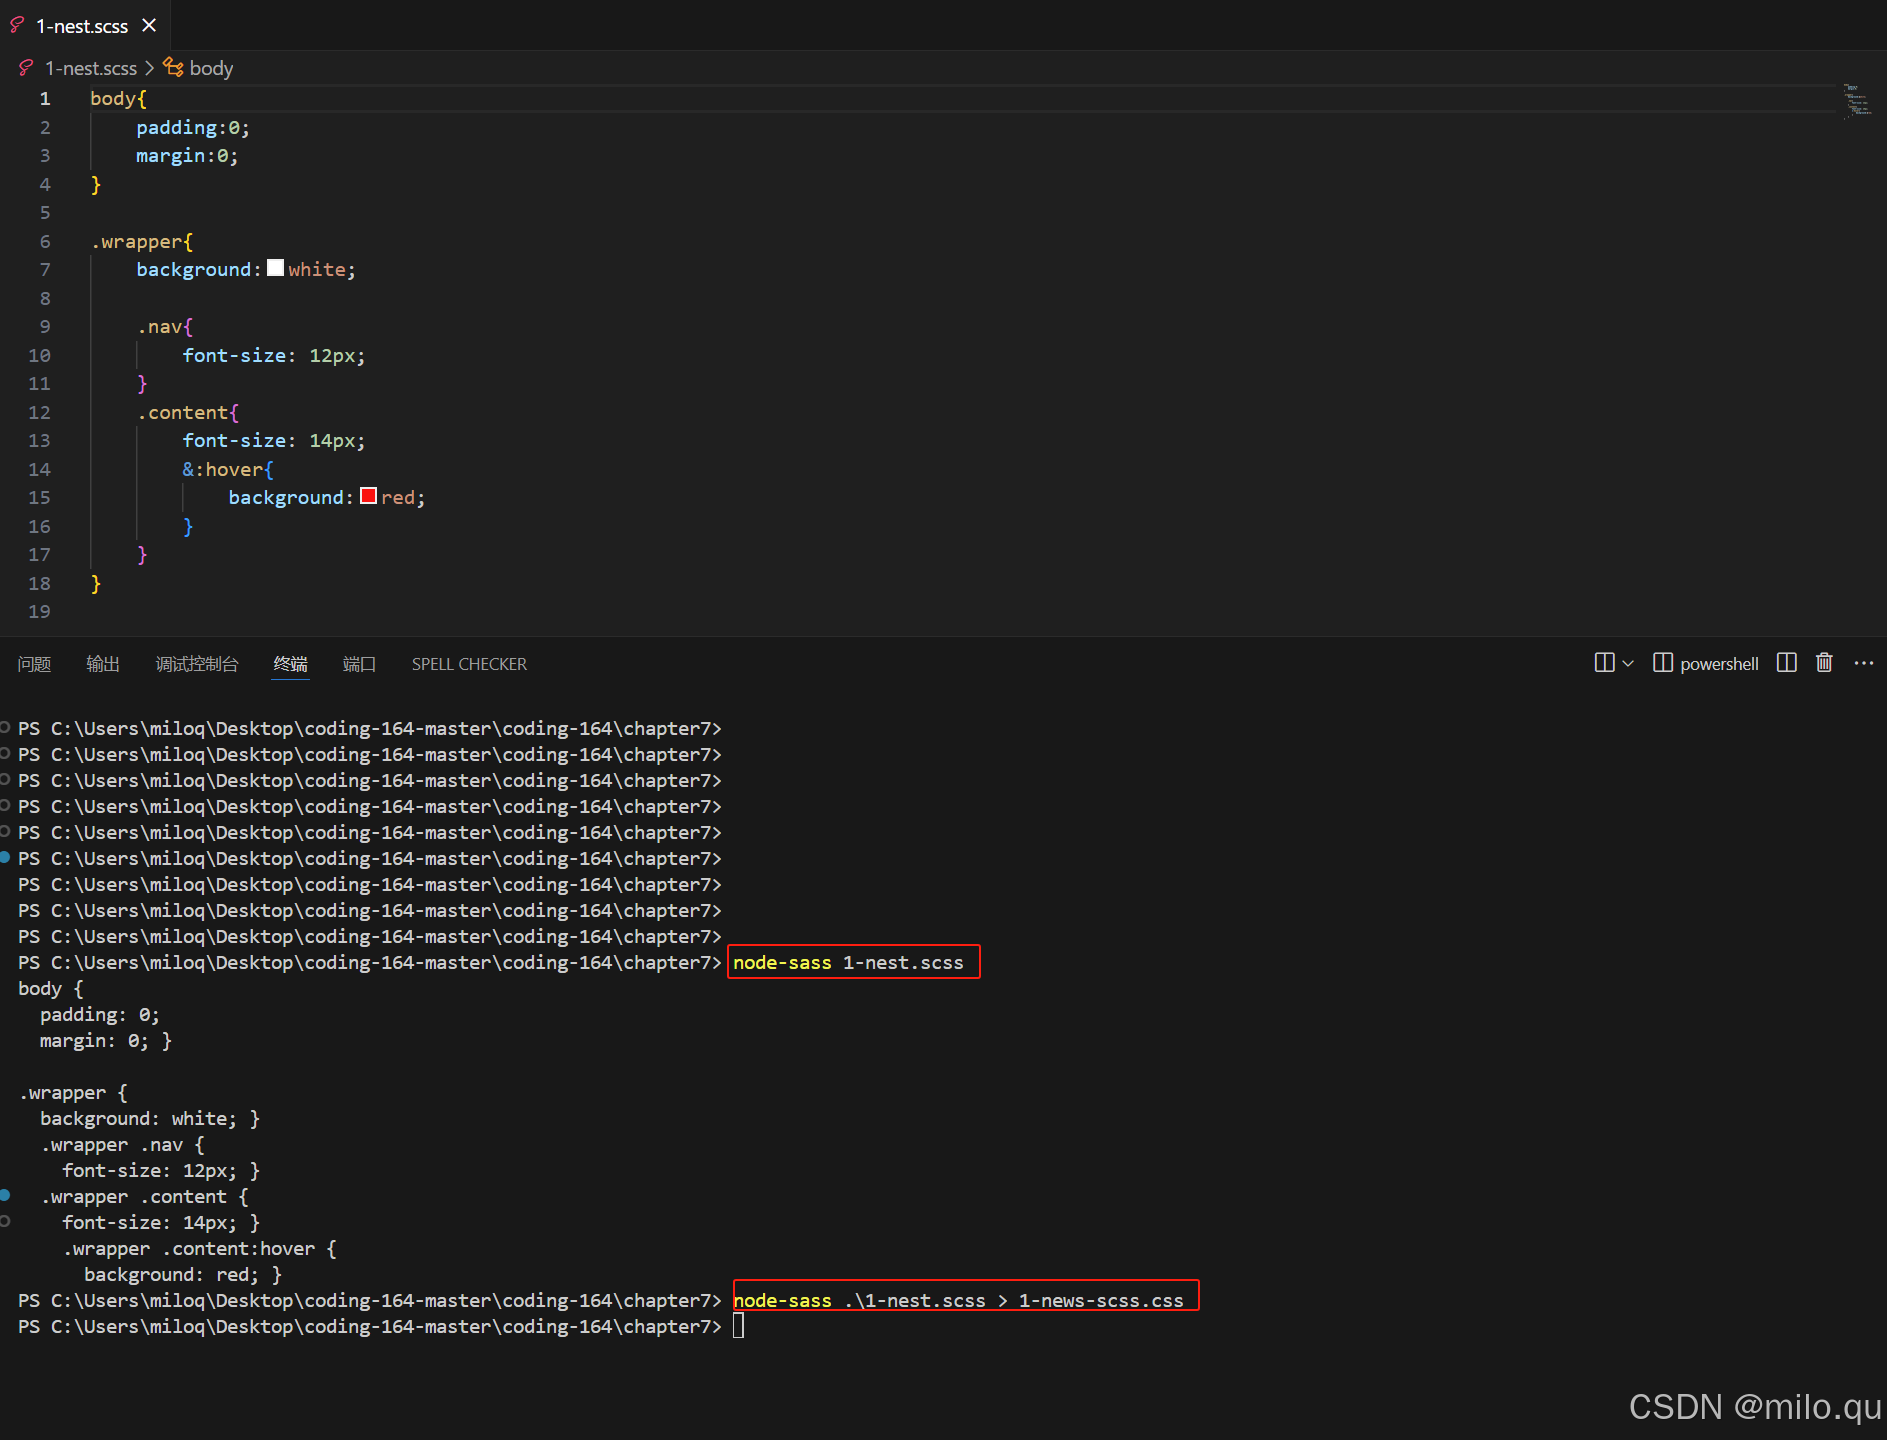
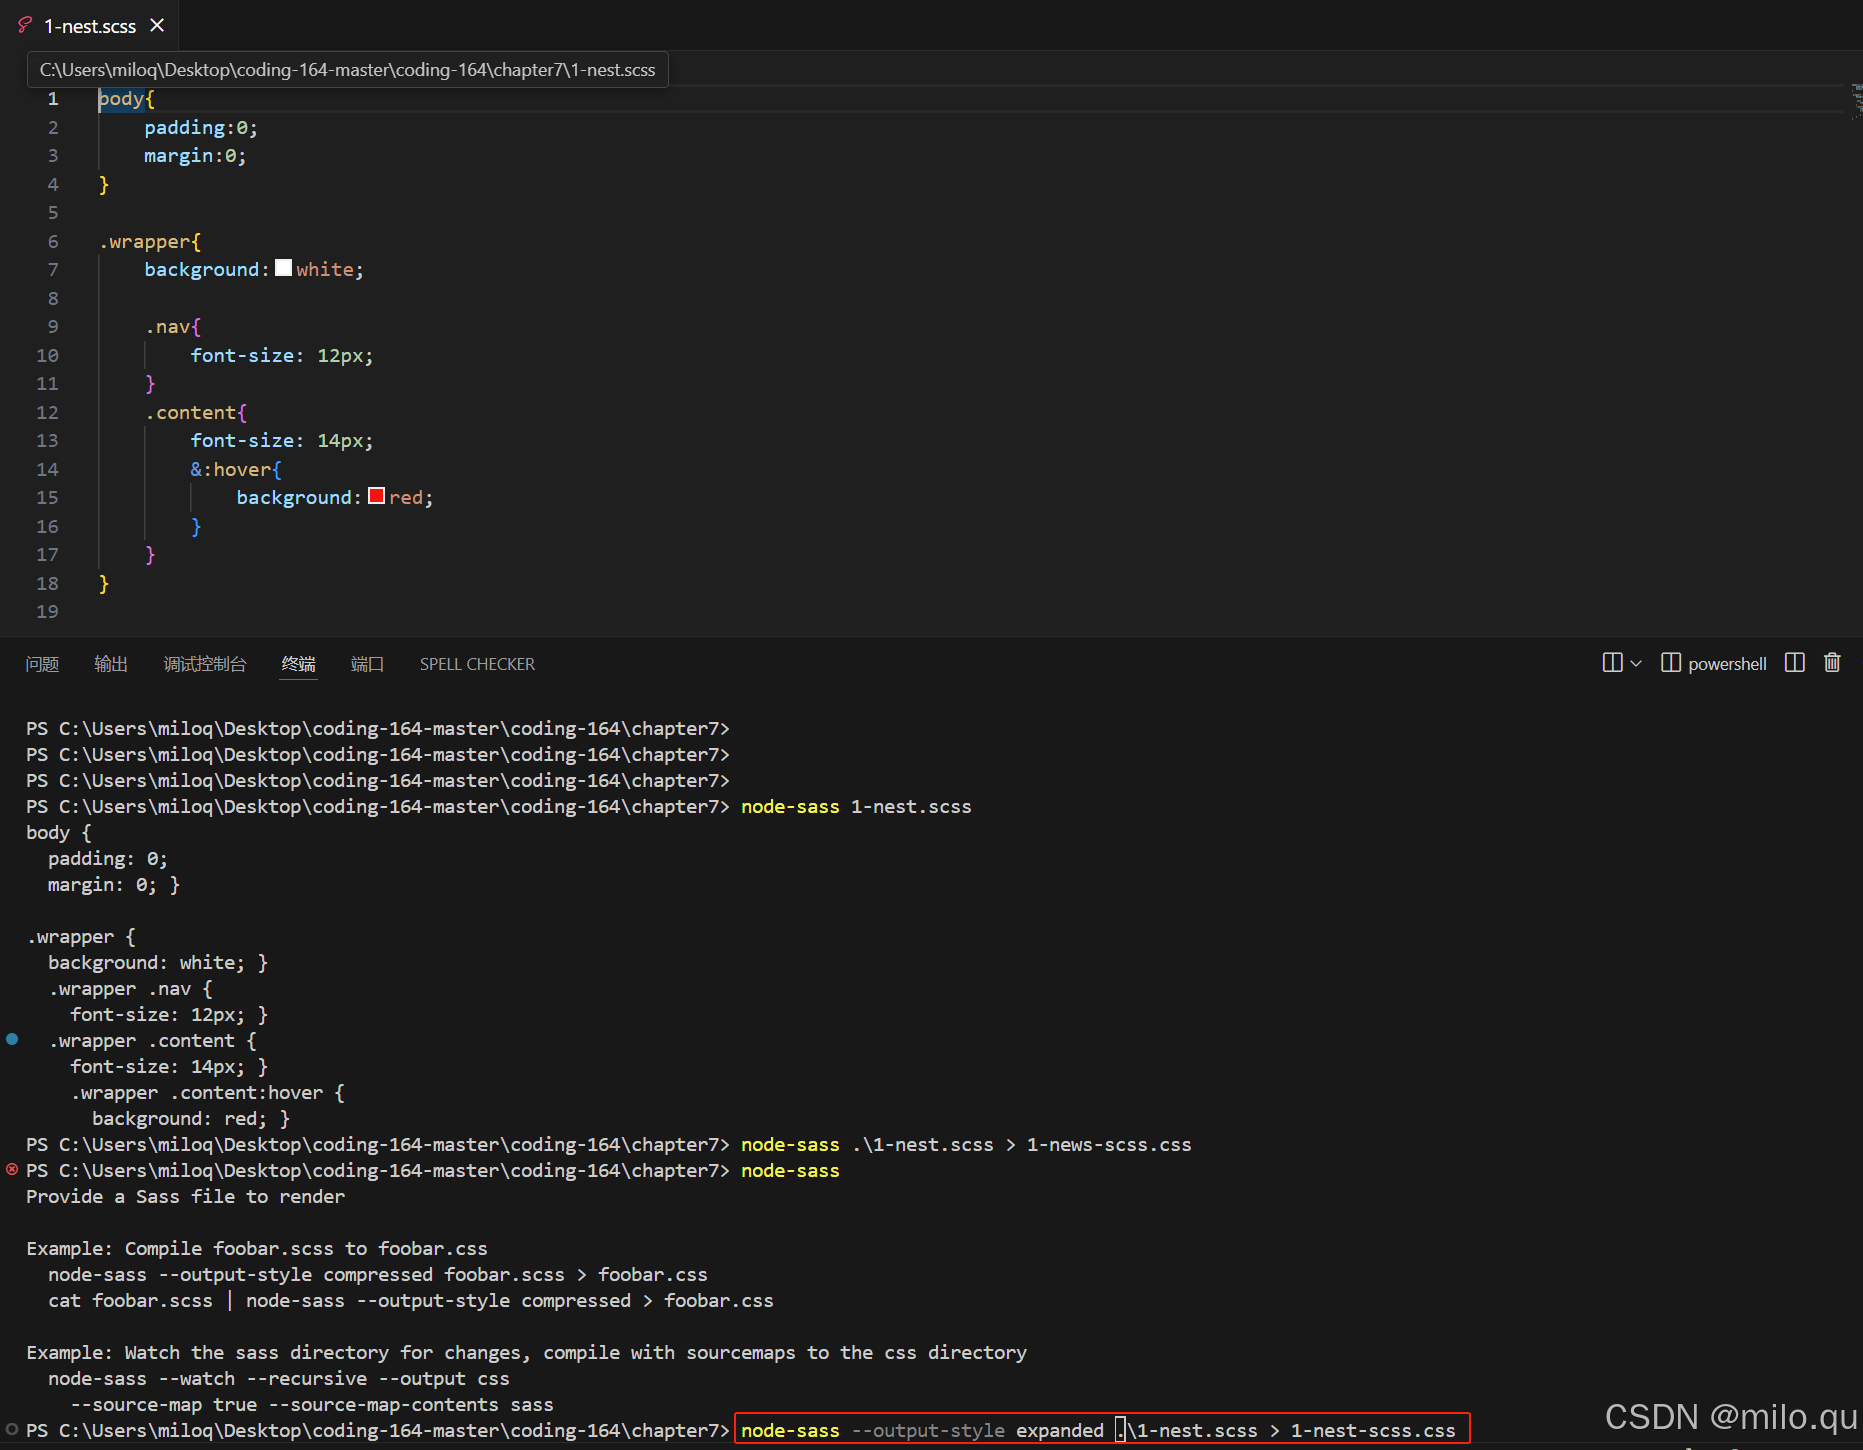
编译1-nest.scss
编辑scss - node-scss 1-nest.scss
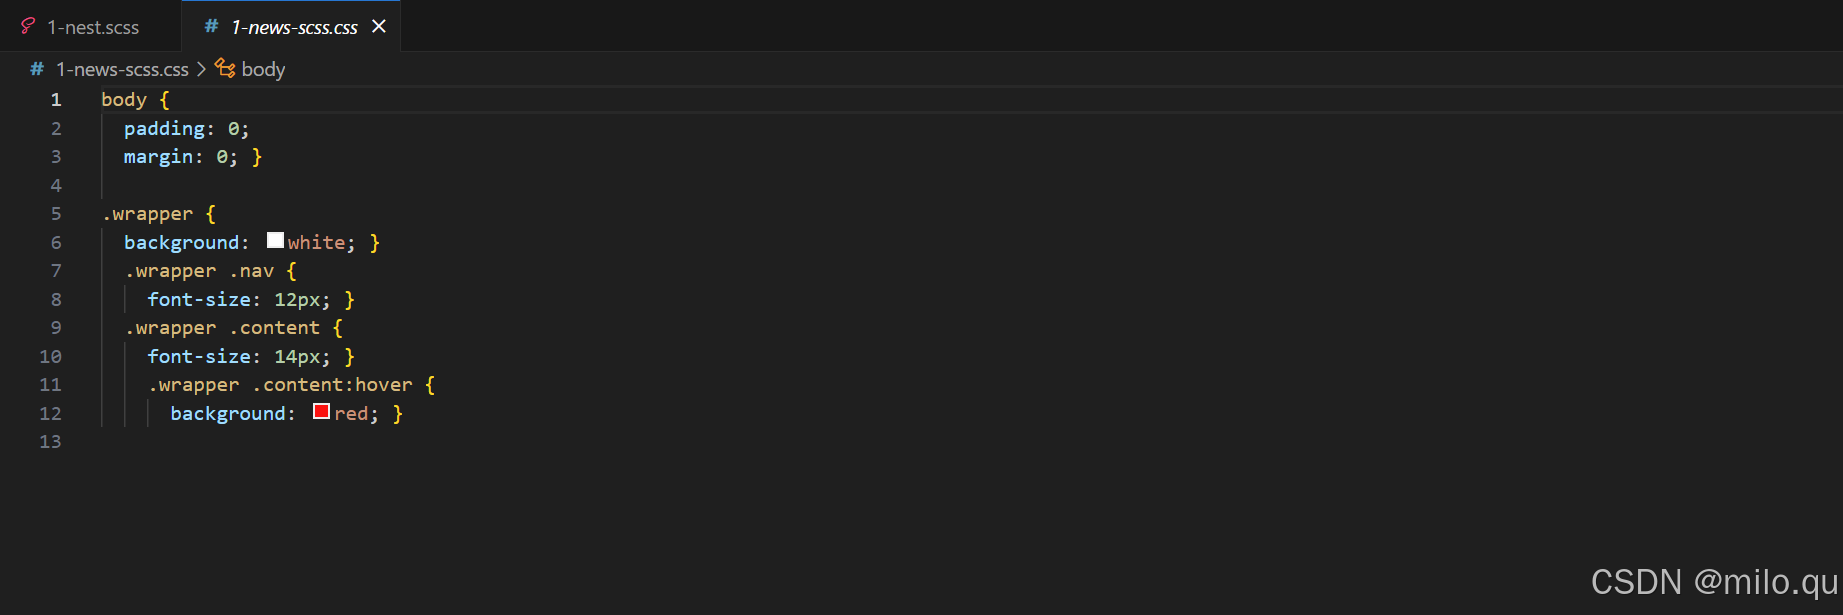
编译scss并输出到指定文件 - node-scss 1-nest.scss > 1-news-scss.css
编译结果:
编译结果跟less基本一致,sass输出有很多种格式,上图保留了嵌套结构输出,sass可以指定输出格式:
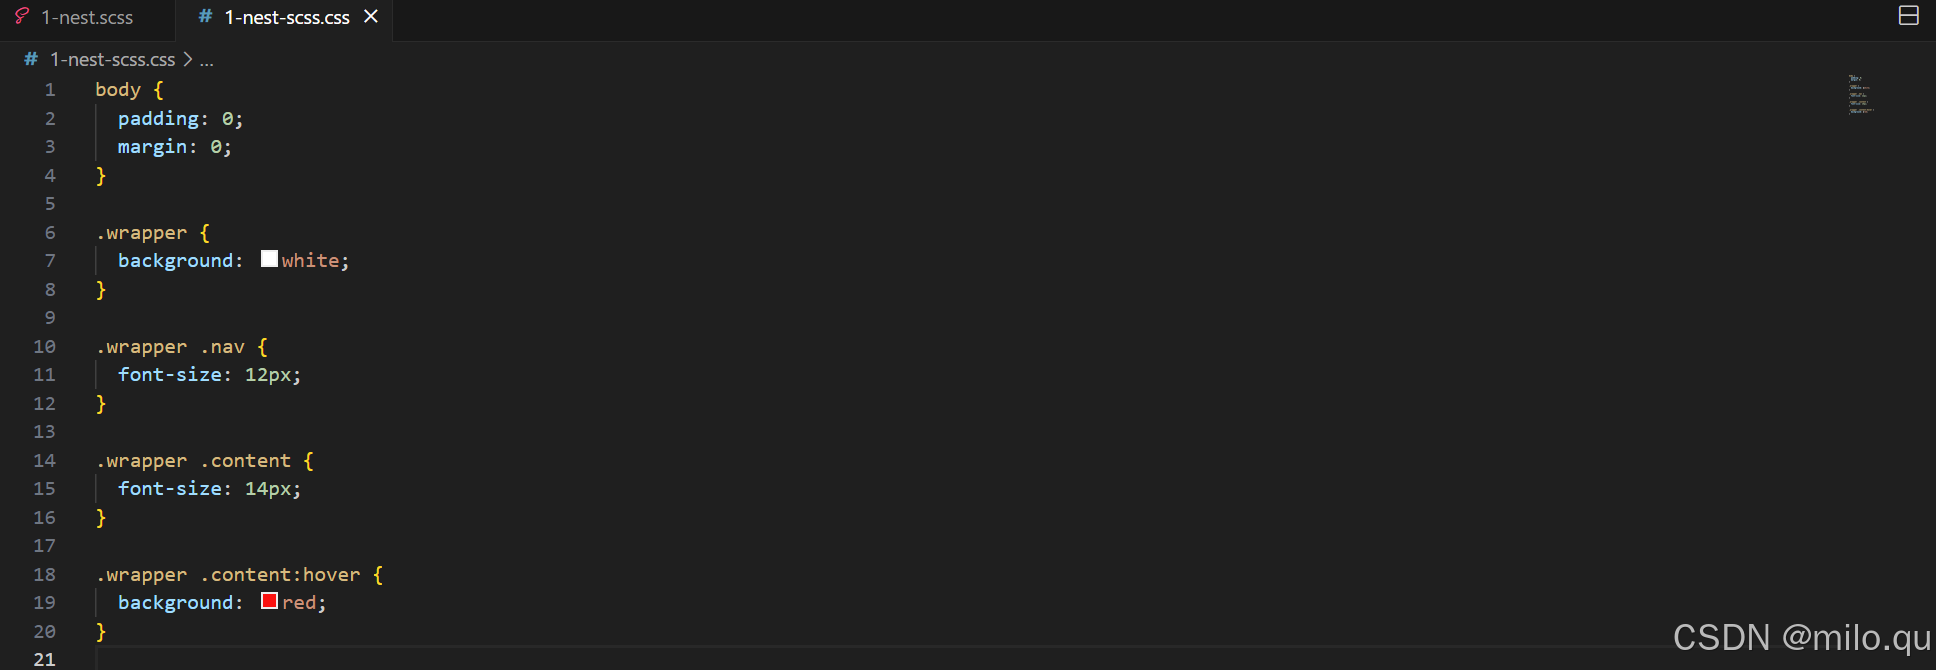
node-sass --output-style expanded .\1-nest.scss > 1-nest-scss.css

解释:--output-style expanded 将默认嵌套结构改为改平性结构
编译结果:
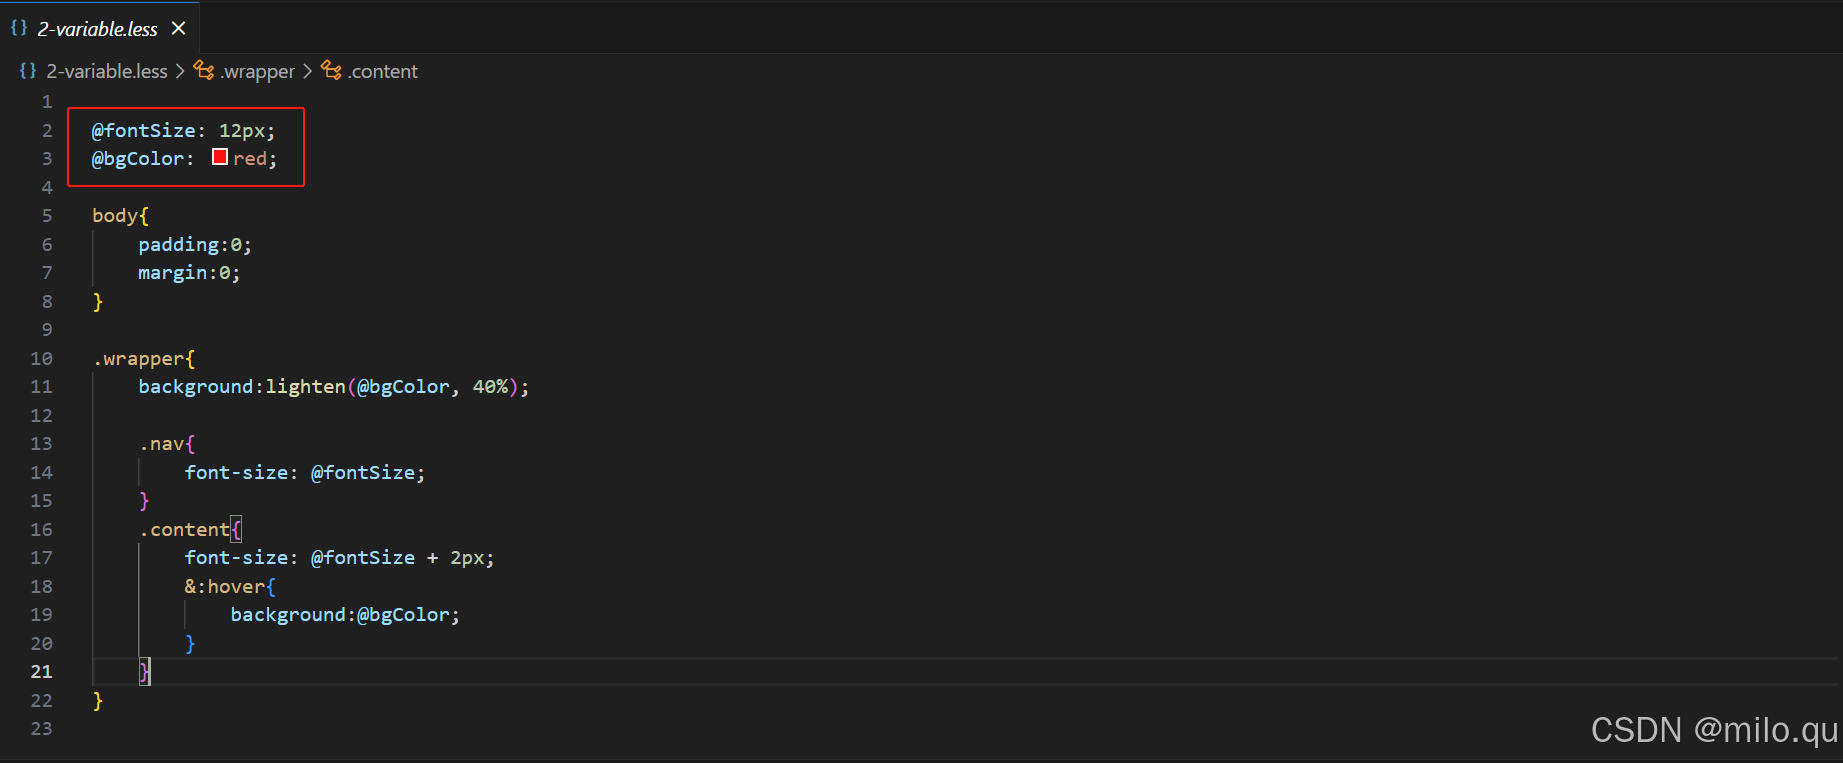
四、less变量
@fontSize: 12px;
@bgColor: red;

body{
    padding:0;
    margin:0;
}

.wrapper{
    background:lighten(@bgColor, 40%);

    .nav{
        font-size: @fontSize;
    }
    .content{
        font-size: @fontSize + 2px;
        &:hover{
            background:@bgColor;
        }
    }
}
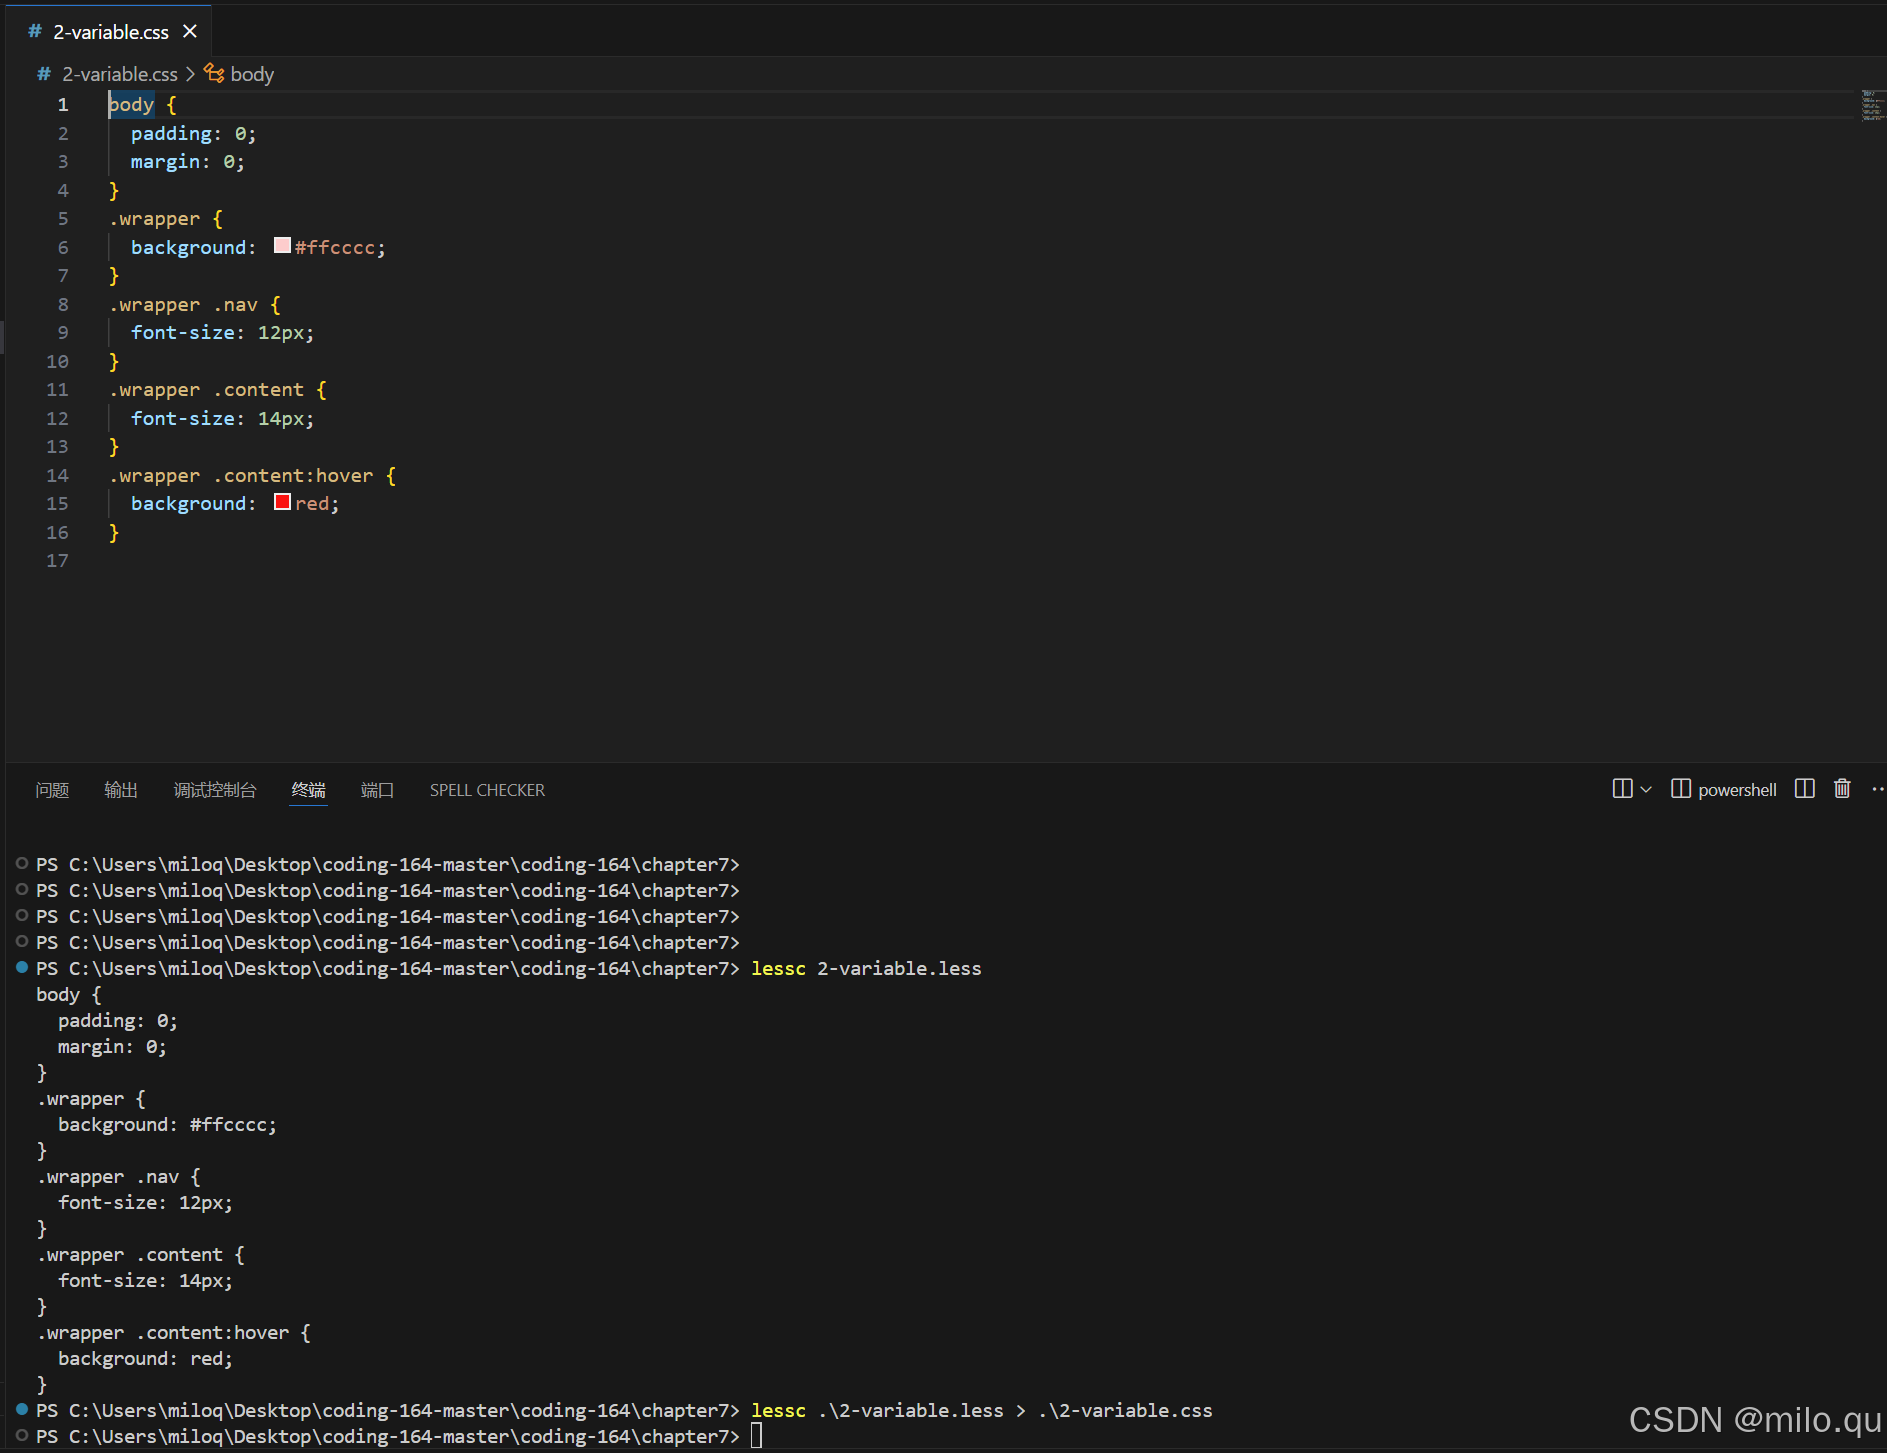
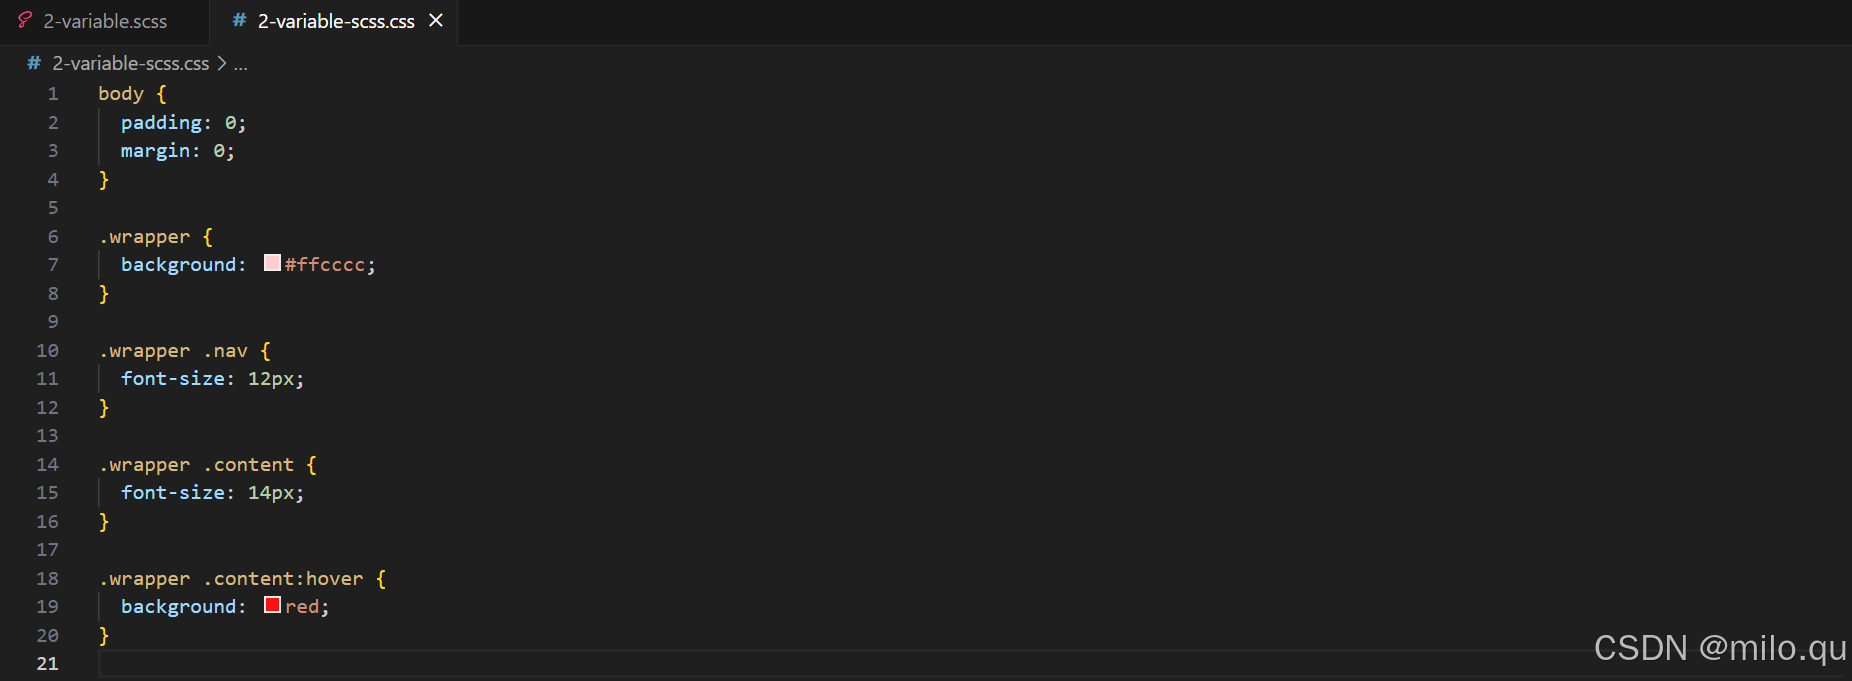
编译结果:
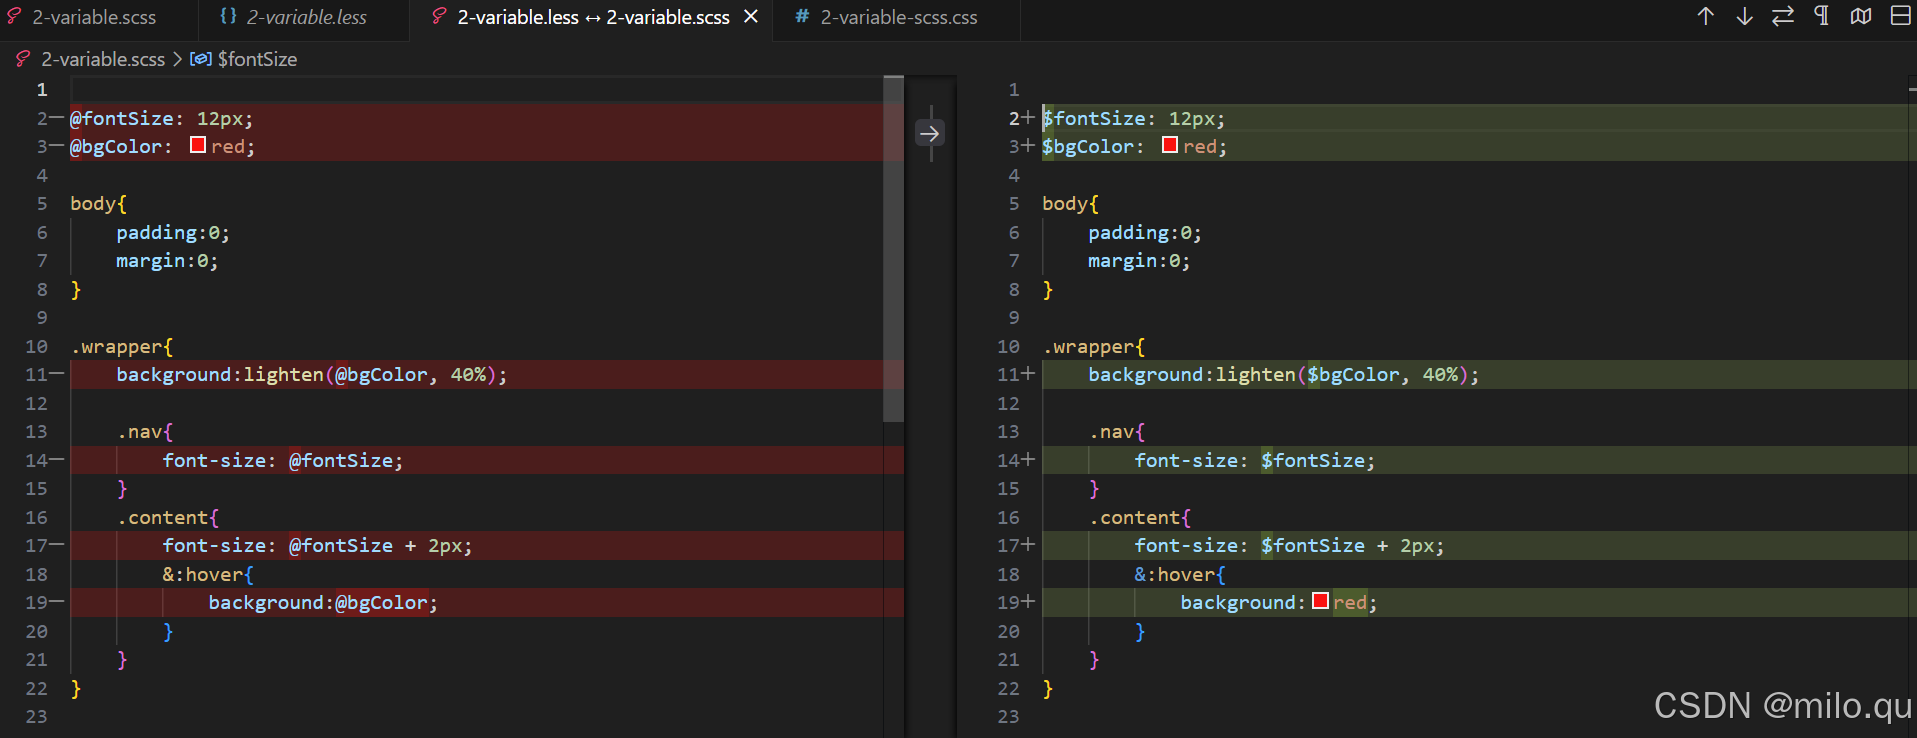
五、sass变量
解释:
1.sass变量和less变量的总体用法是一致的,区别在于less变量是用的@,sass变量用的是$。
为什么less变量使用@开头,而sass变量使用$开头?
这是因为less和sass的理念不一样,less希望尽量接近于CSS语法,在CSS中大量使用了@开头的CSS样式,而sass理念刚好相反,sass与CSS是不兼容的,所以应该尽量避免混淆,@在CSS中是有含义的,所以sass要避免使用@。
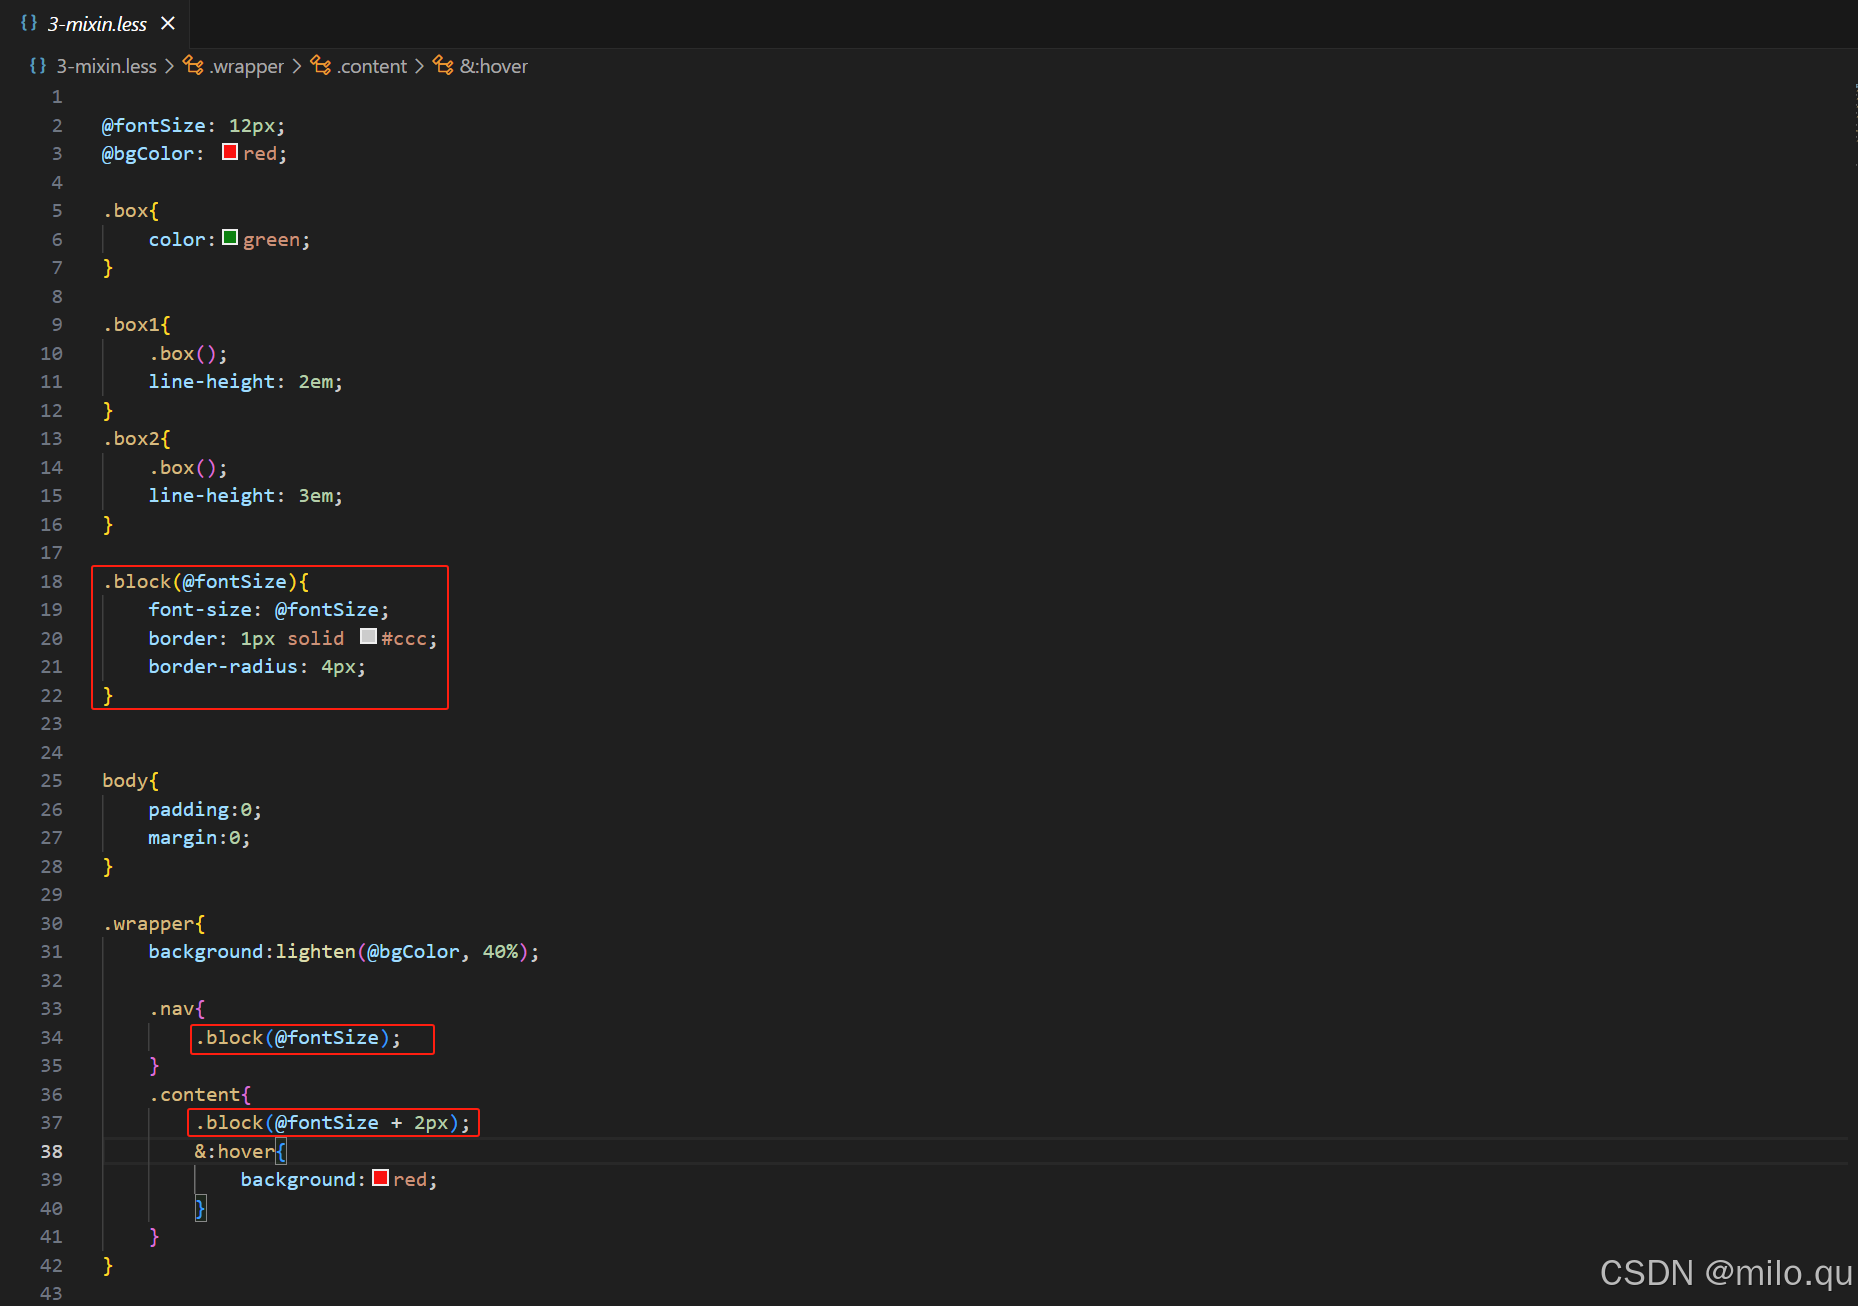
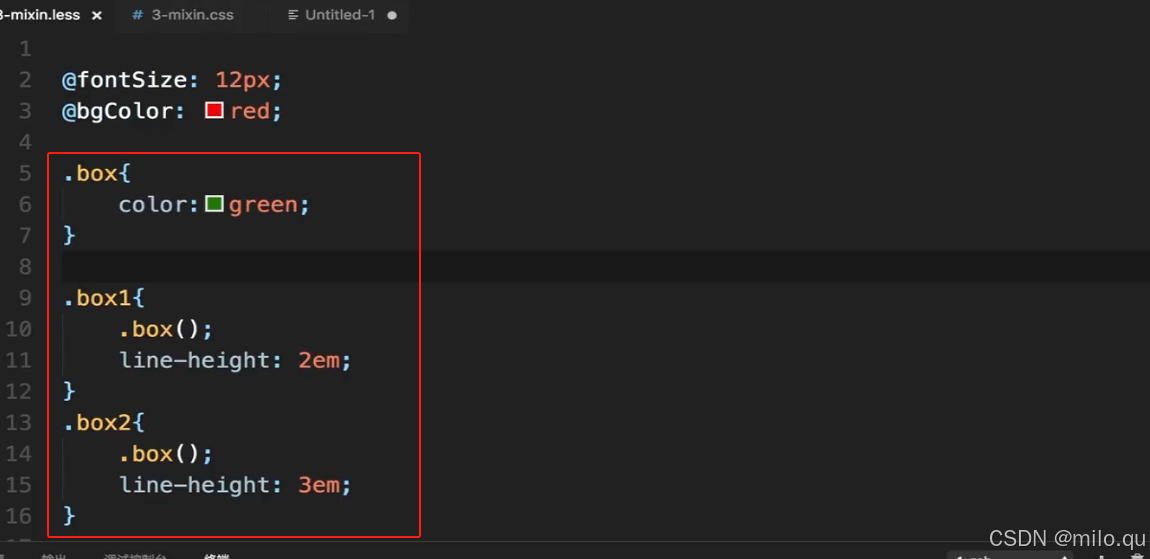
六、less mixin
mixin : 抽取公共样式,复用
@fontSize: 12px;
@bgColor: red;

.box{
    color:green;
}

.box1{
    .box();
    line-height: 2em;
}
.box2{
    .box();
    line-height: 3em;
}

.block(@fontSize){
    font-size: @fontSize;
    border: 1px solid #ccc;
    border-radius: 4px;
}


body{
    padding:0;
    margin:0;
}

.wrapper{
    background:lighten(@bgColor, 40%);

    .nav{
        .block(@fontSize);
    }
    .content{
        .block(@fontSize + 2px);
        &:hover{
            background:red;
        }
    }
}
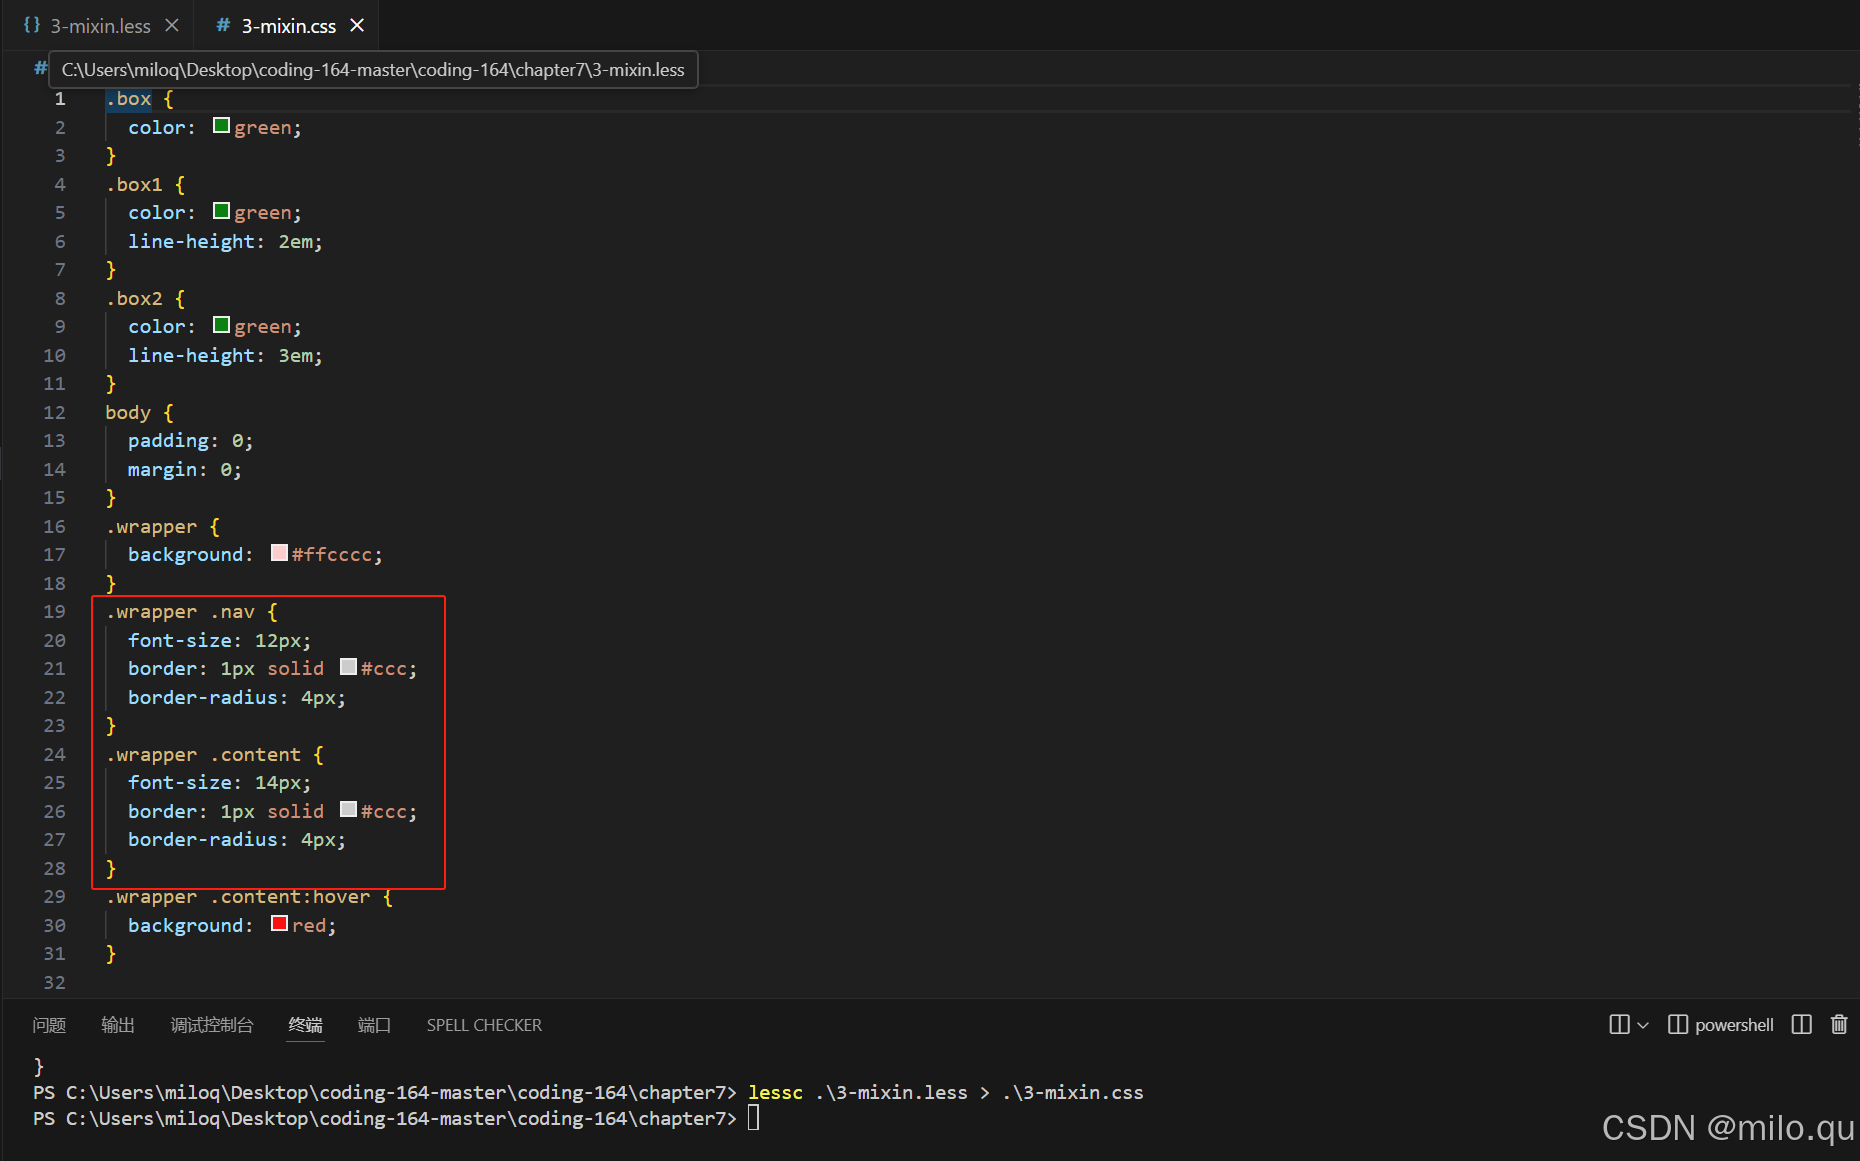
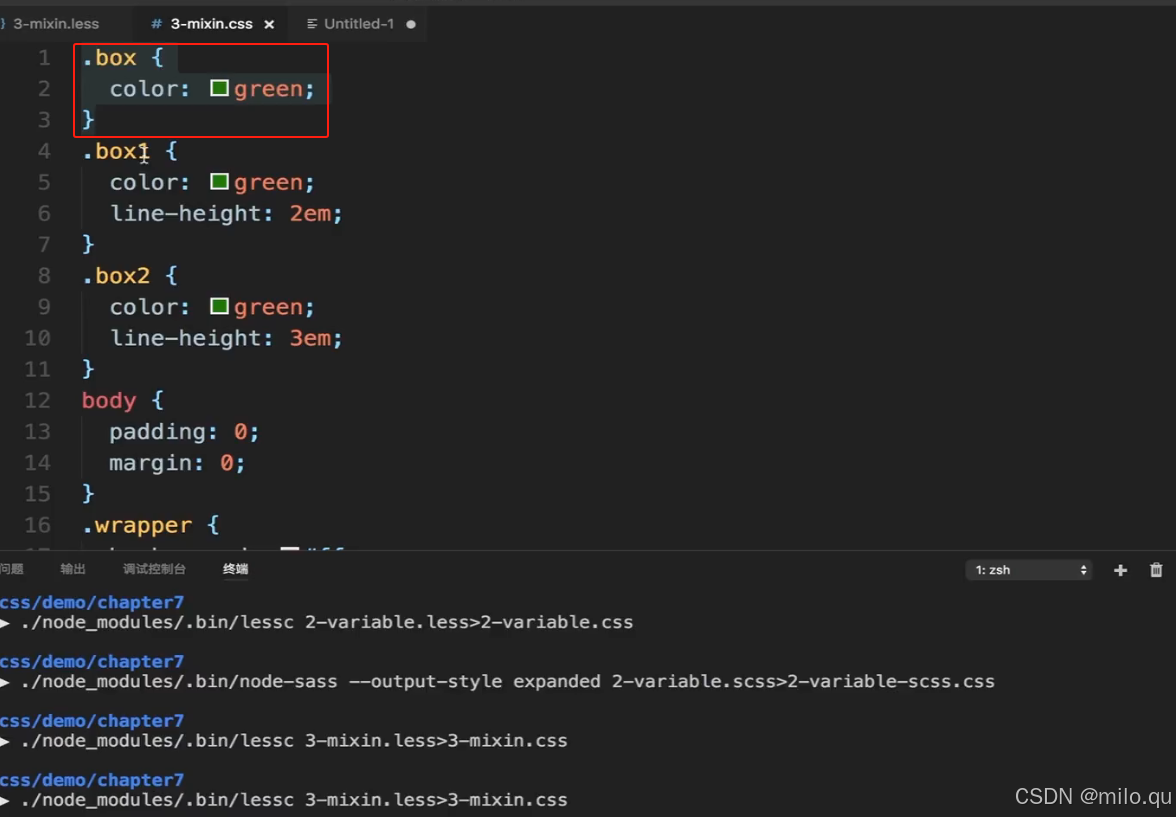
编译结果:
注意:
上图定义的.block(@fontsize)编译后没有了,这是因为加了"()",没有被编译出来,如果不加括号,就会被编译出来。
下面这段代码
.box没有括号,就会被编译出来,事实真的如此吗?编译下试试效果:
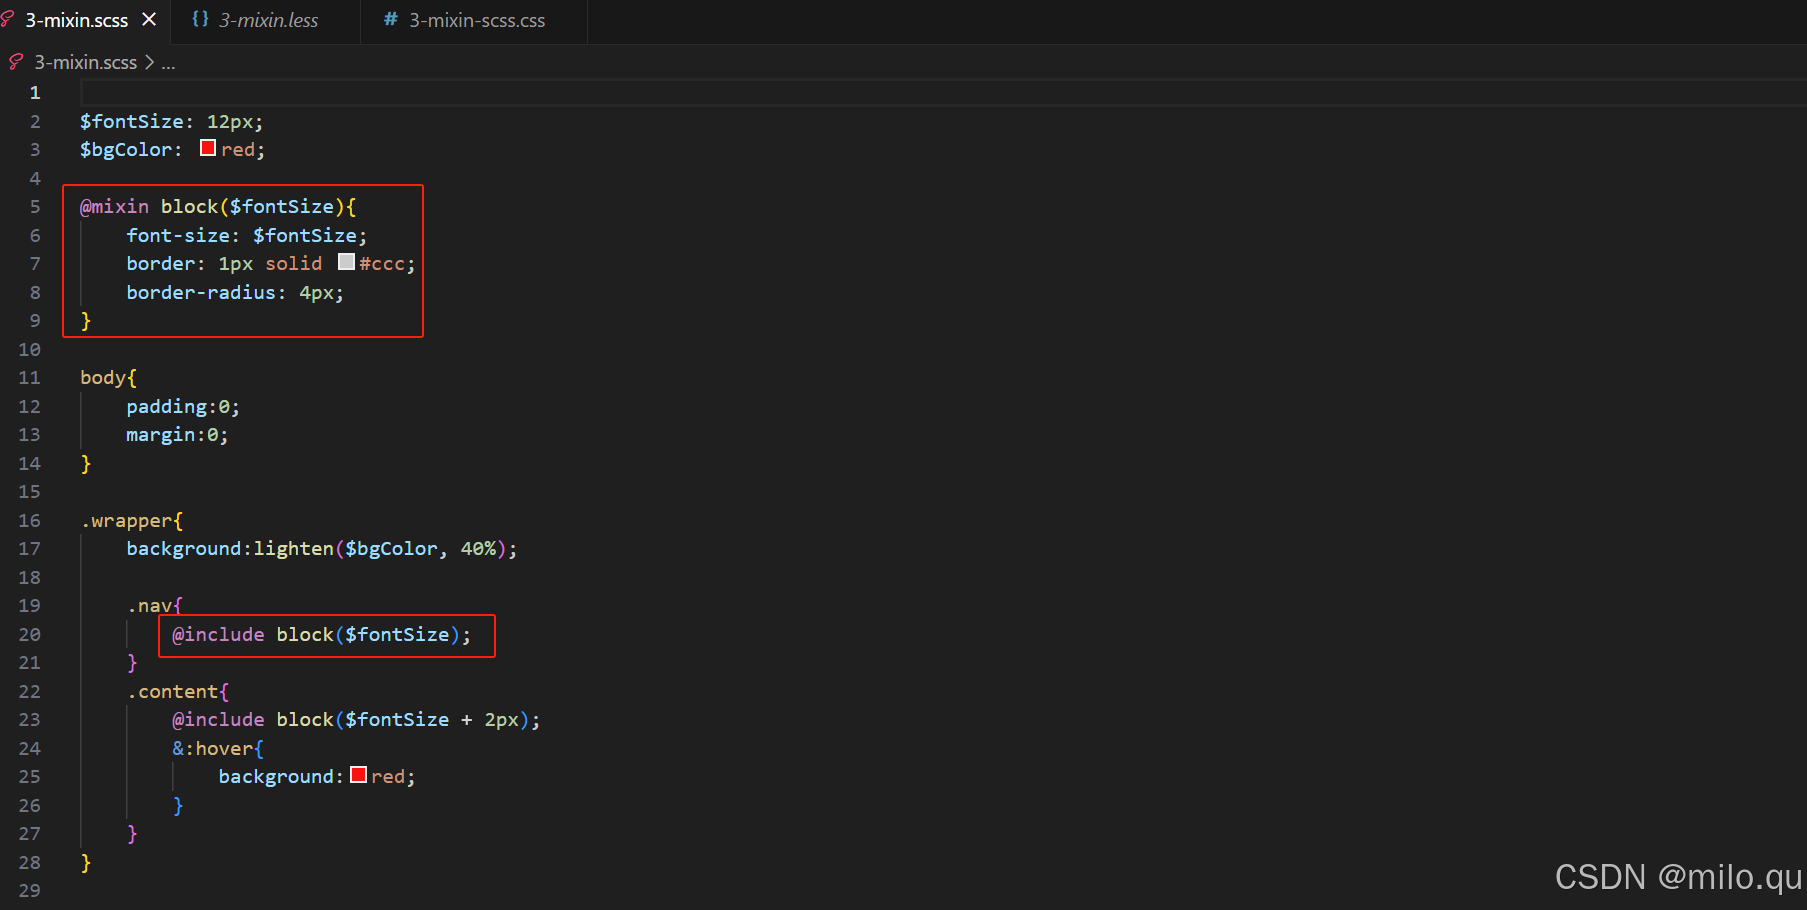
七、sass mixin
$fontSize: 12px;
$bgColor: red;

@mixin block($fontSize){
    font-size: $fontSize;
    border: 1px solid #ccc;
    border-radius: 4px;
}

body{
    padding:0;
    margin:0;
}

.wrapper{
    background:lighten($bgColor, 40%);

    .nav{
        @include block($fontSize);
    }
    .content{
        @include block($fontSize + 2px);
        &:hover{
            background:red;
        }
    }
}
区别:
1.在sass中必须显示生命@mixin,在需要引入的地方,也要使用@include进行引入,而不能像less一样,即是一个mixin,同时又可以是一个class样式;
2在sass中,@mixin的时候,没有"."。
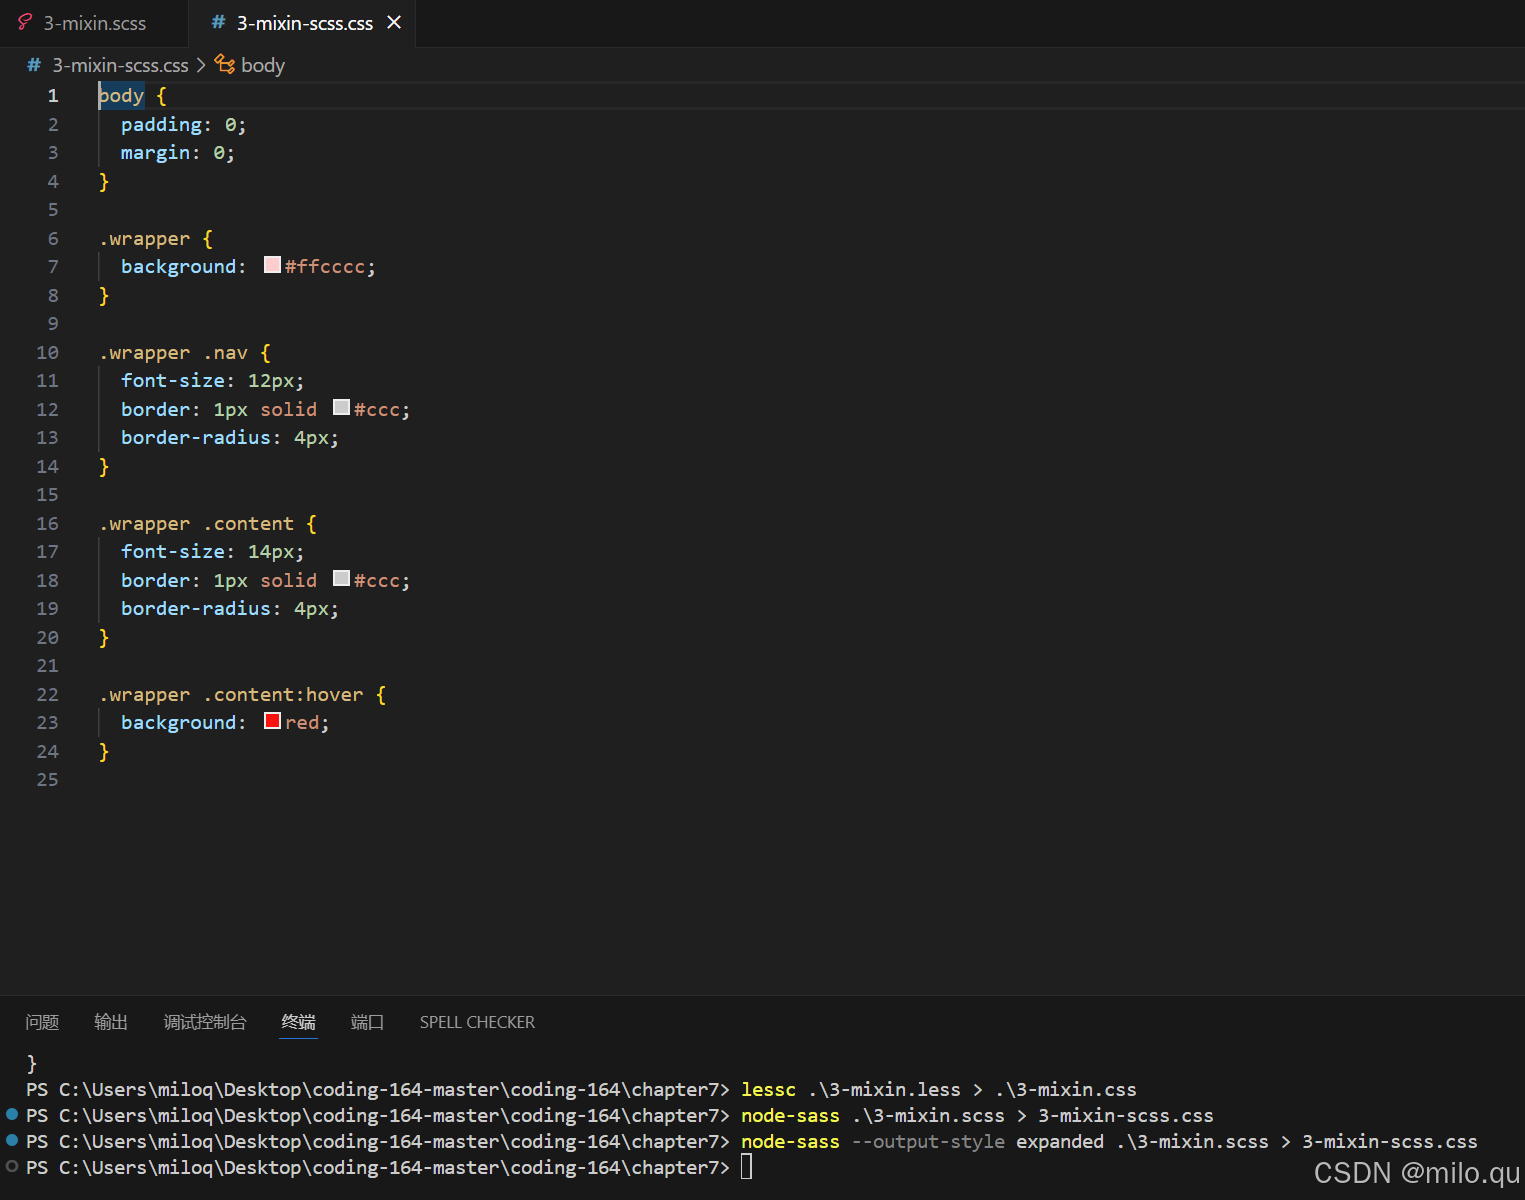
编译结果:
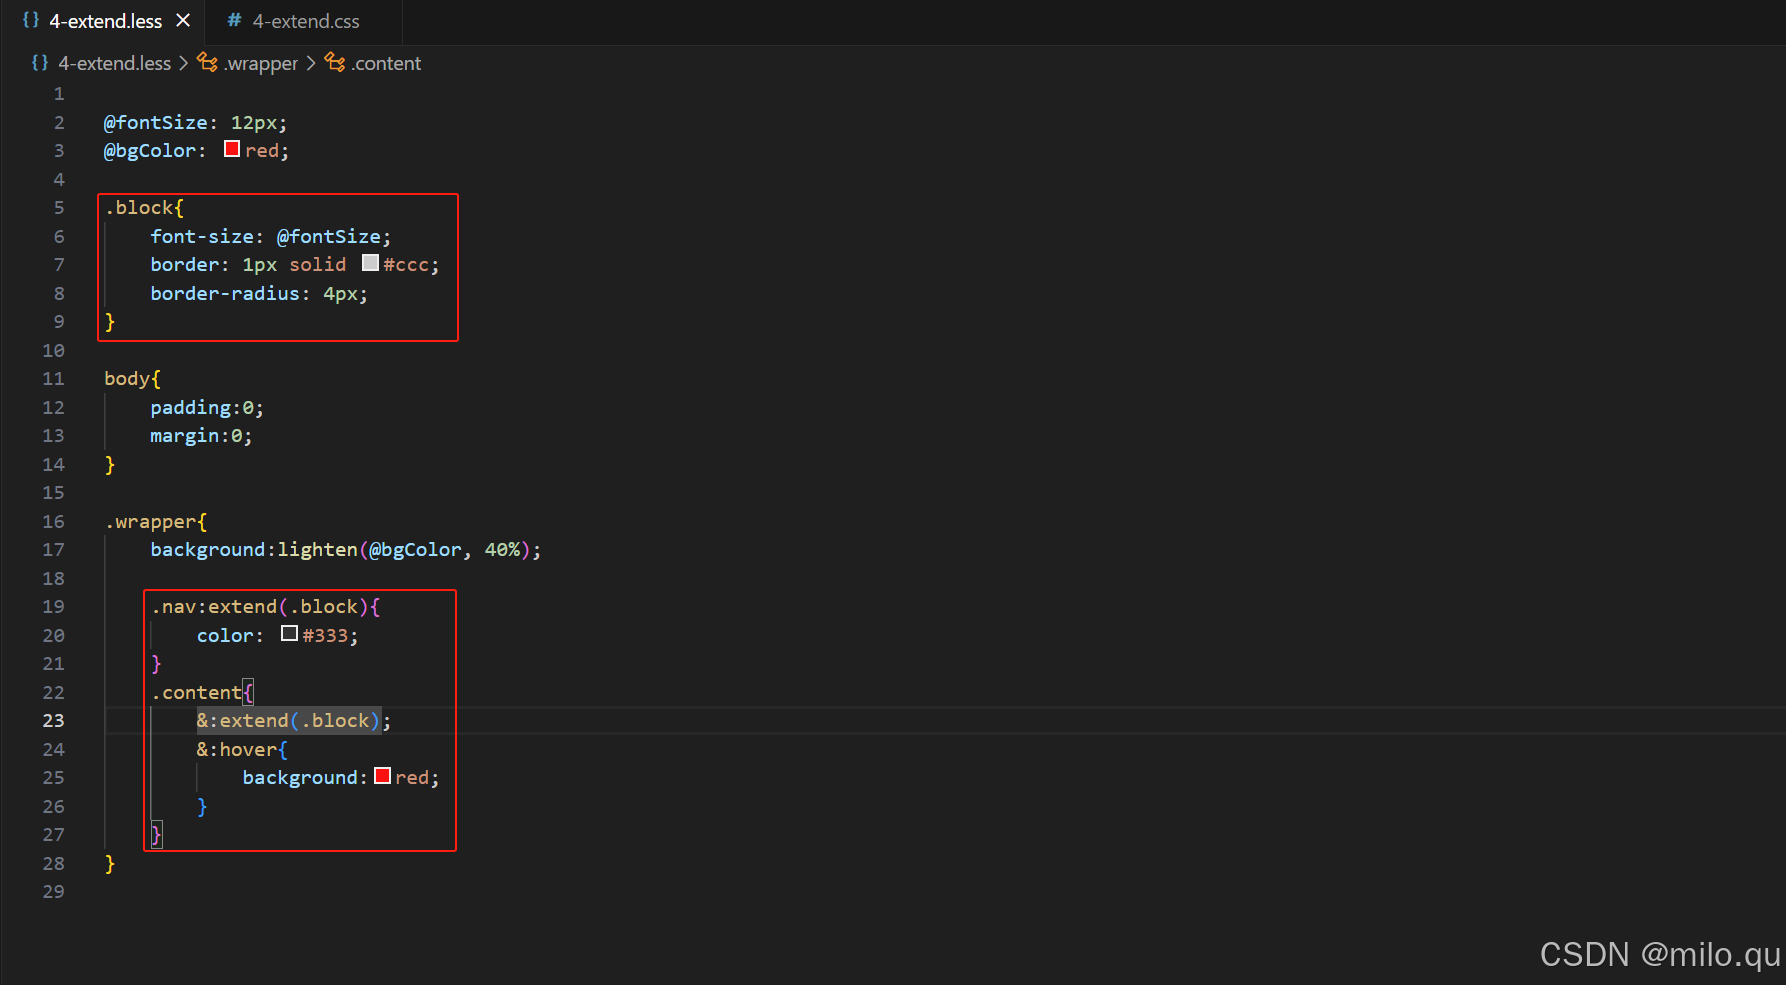
八、less extend
@fontSize: 12px;
@bgColor: red;

.block{
    font-size: @fontSize;
    border: 1px solid #ccc;
    border-radius: 4px;
}

body{
    padding:0;
    margin:0;
}

.wrapper{
    background:lighten(@bgColor, 40%);

    .nav:extend(.block){
        color: #333;
    }
    .content{
        &:extend(.block);
        &:hover{
            background:red;
        }
    }
}
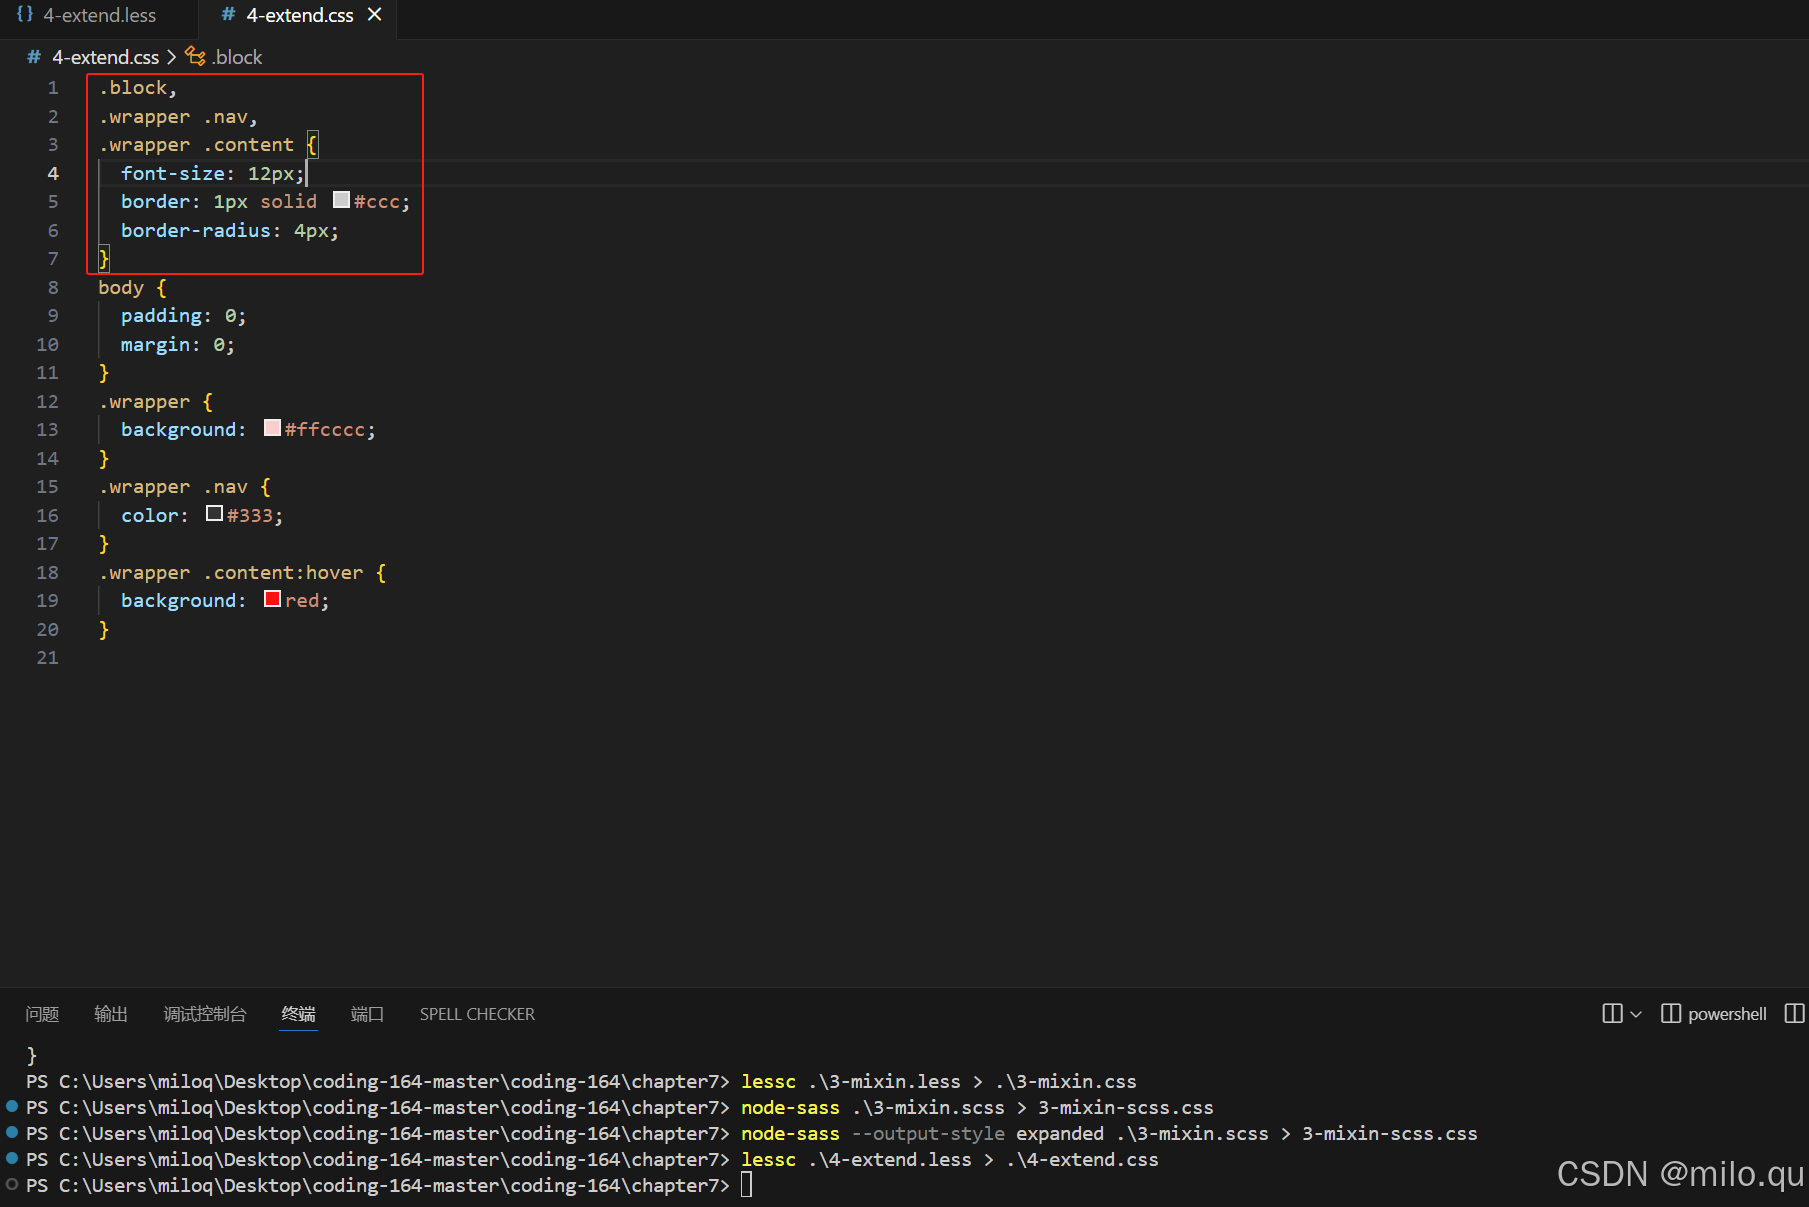
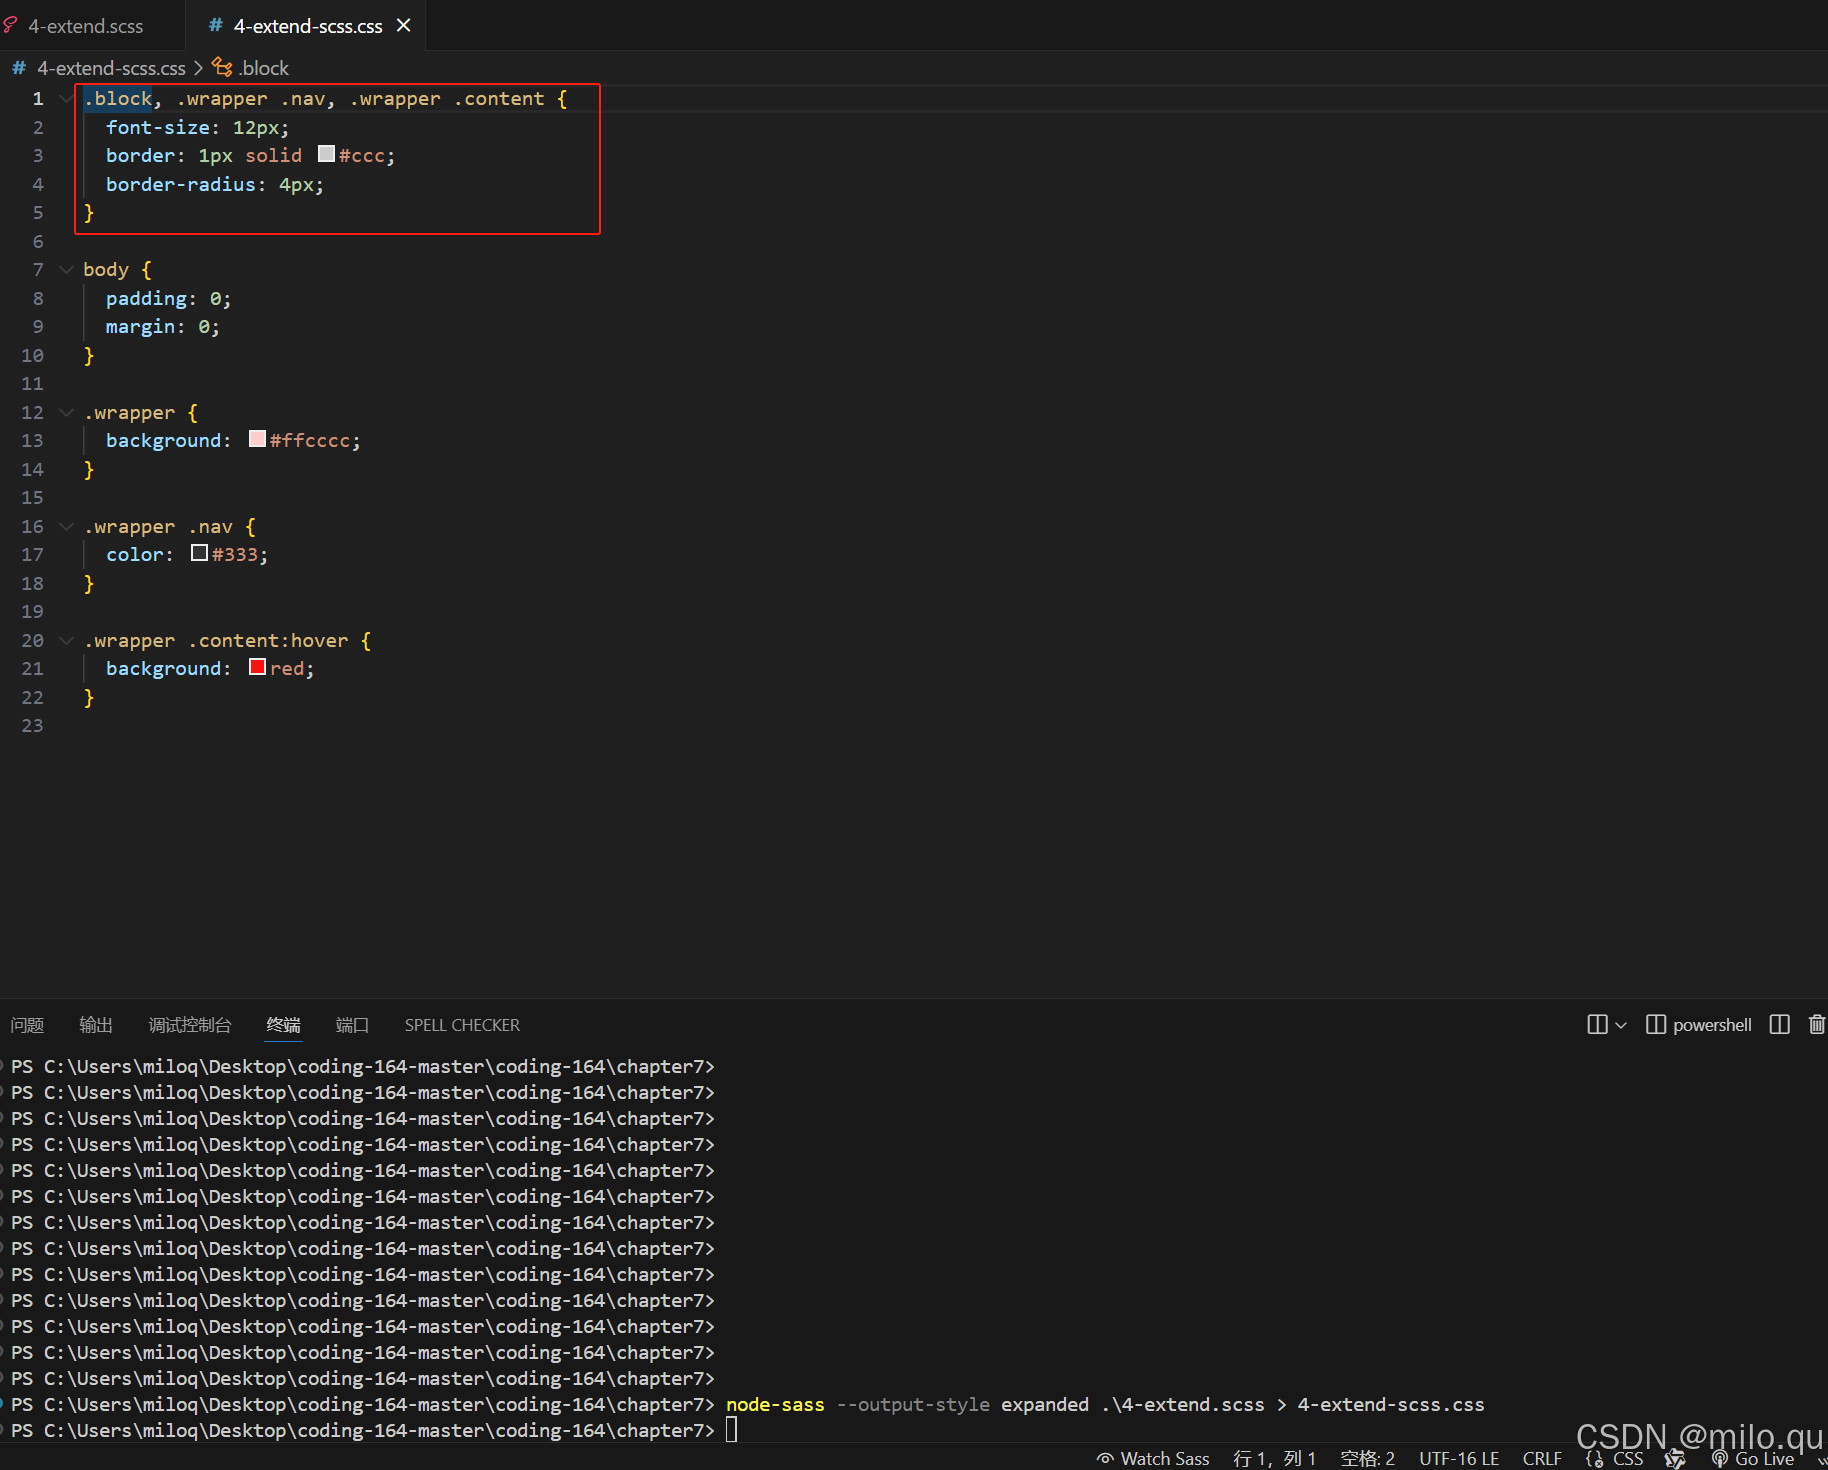
编译结果:
大白话:
mixin和extend都可以实现代码的复用,但他们的方式完全不同,mixin是吧公共的代码编译到每个代码段内,而extend是把公共的样式提取出来,单独的样式放在下面。extend方便我们提取代码,产生更小的代码,场景比较复杂,可能就需要会用mixin。
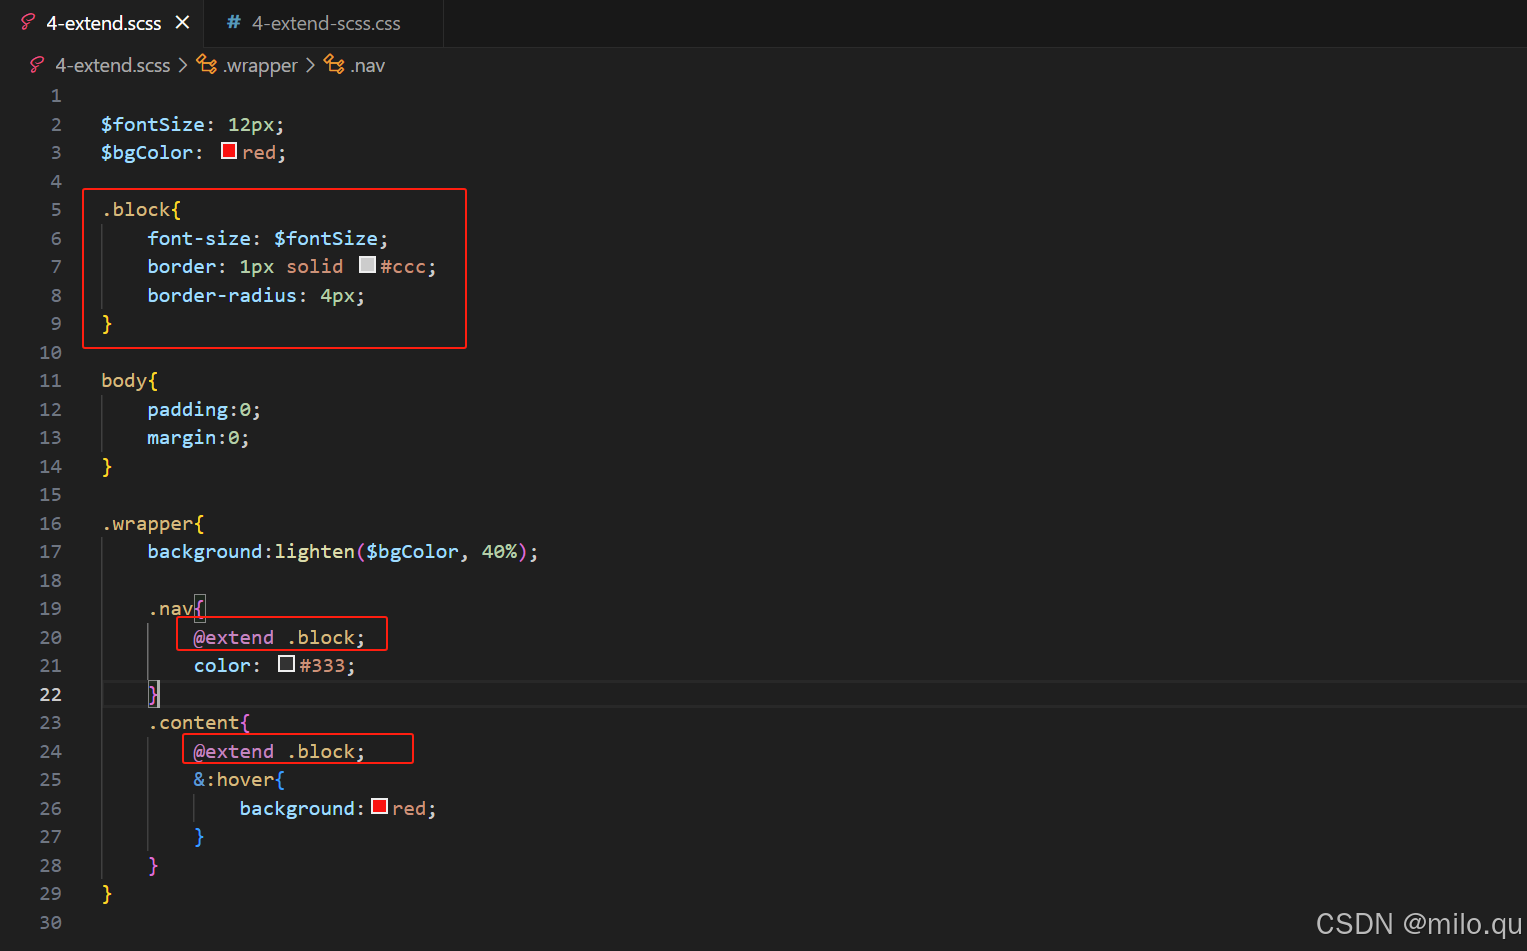
九、sass extend
$fontSize: 12px;
$bgColor: red;

.block{
    font-size: $fontSize;
    border: 1px solid #ccc;
    border-radius: 4px;
}

body{
    padding:0;
    margin:0;
}

.wrapper{
    background:lighten($bgColor, 40%);

    .nav{
        @extend .block;
        color: #333;
    }
    .content{
        @extend .block;
        &:hover{
            background:red;
        }
    }
}
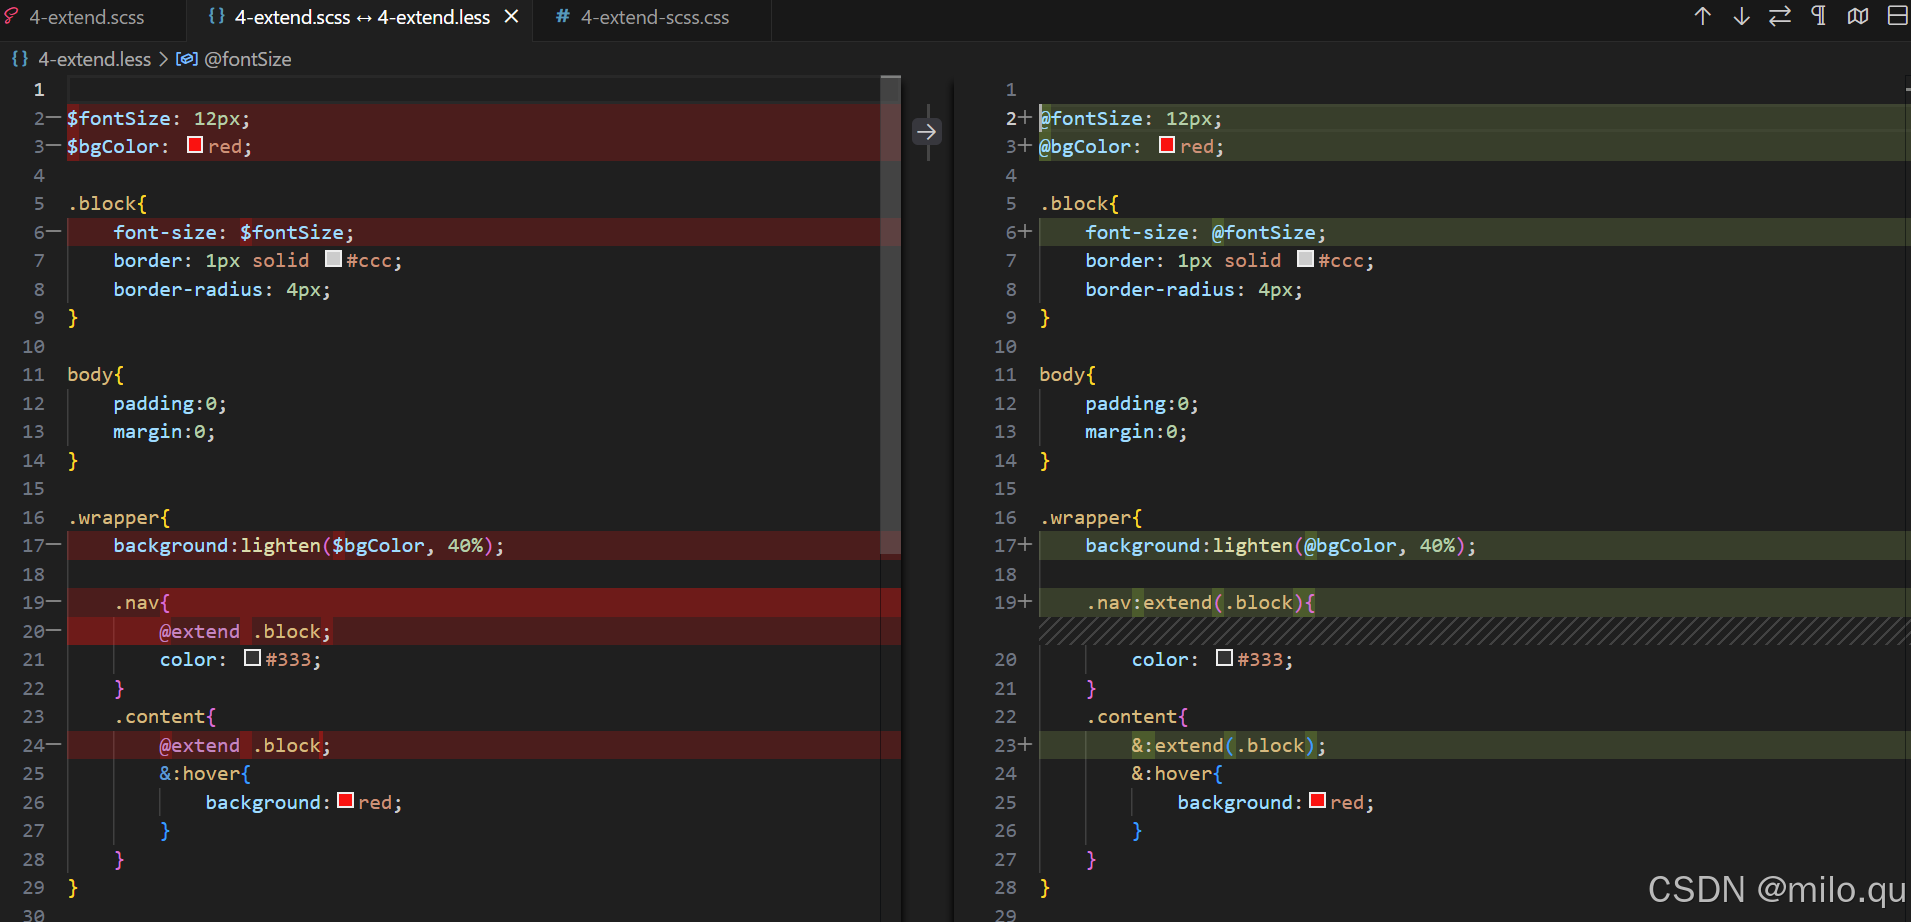
less extend和sass extend区别:
编译结果:
十、less loop
.gen-col(@n) when (@n > 0){
    .gen-col(@n - 1);
    .col-@{n}{
        width: 1000px/12*@n;
    }
}

.gen-col(12);
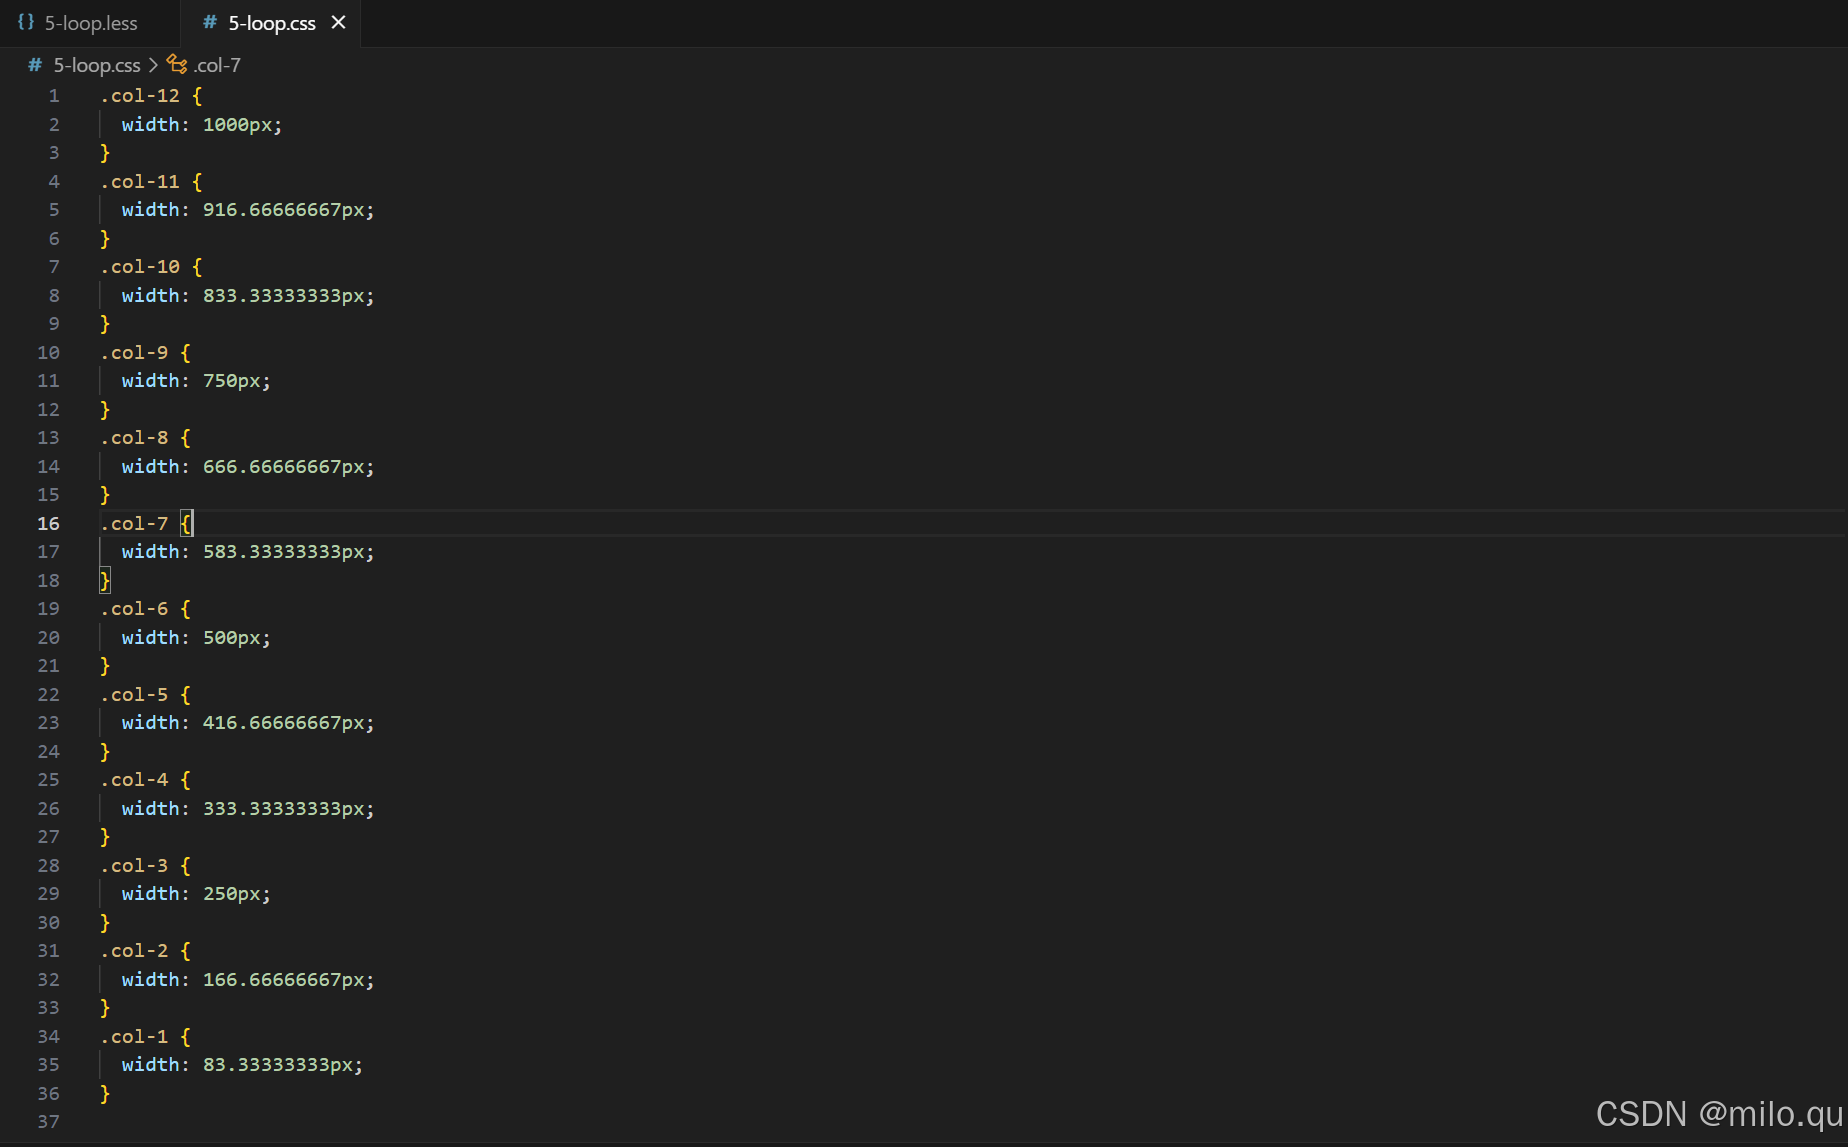
/* 在less中,不支持循环的方式,想要循环必须要使用递归的方式来完成*/
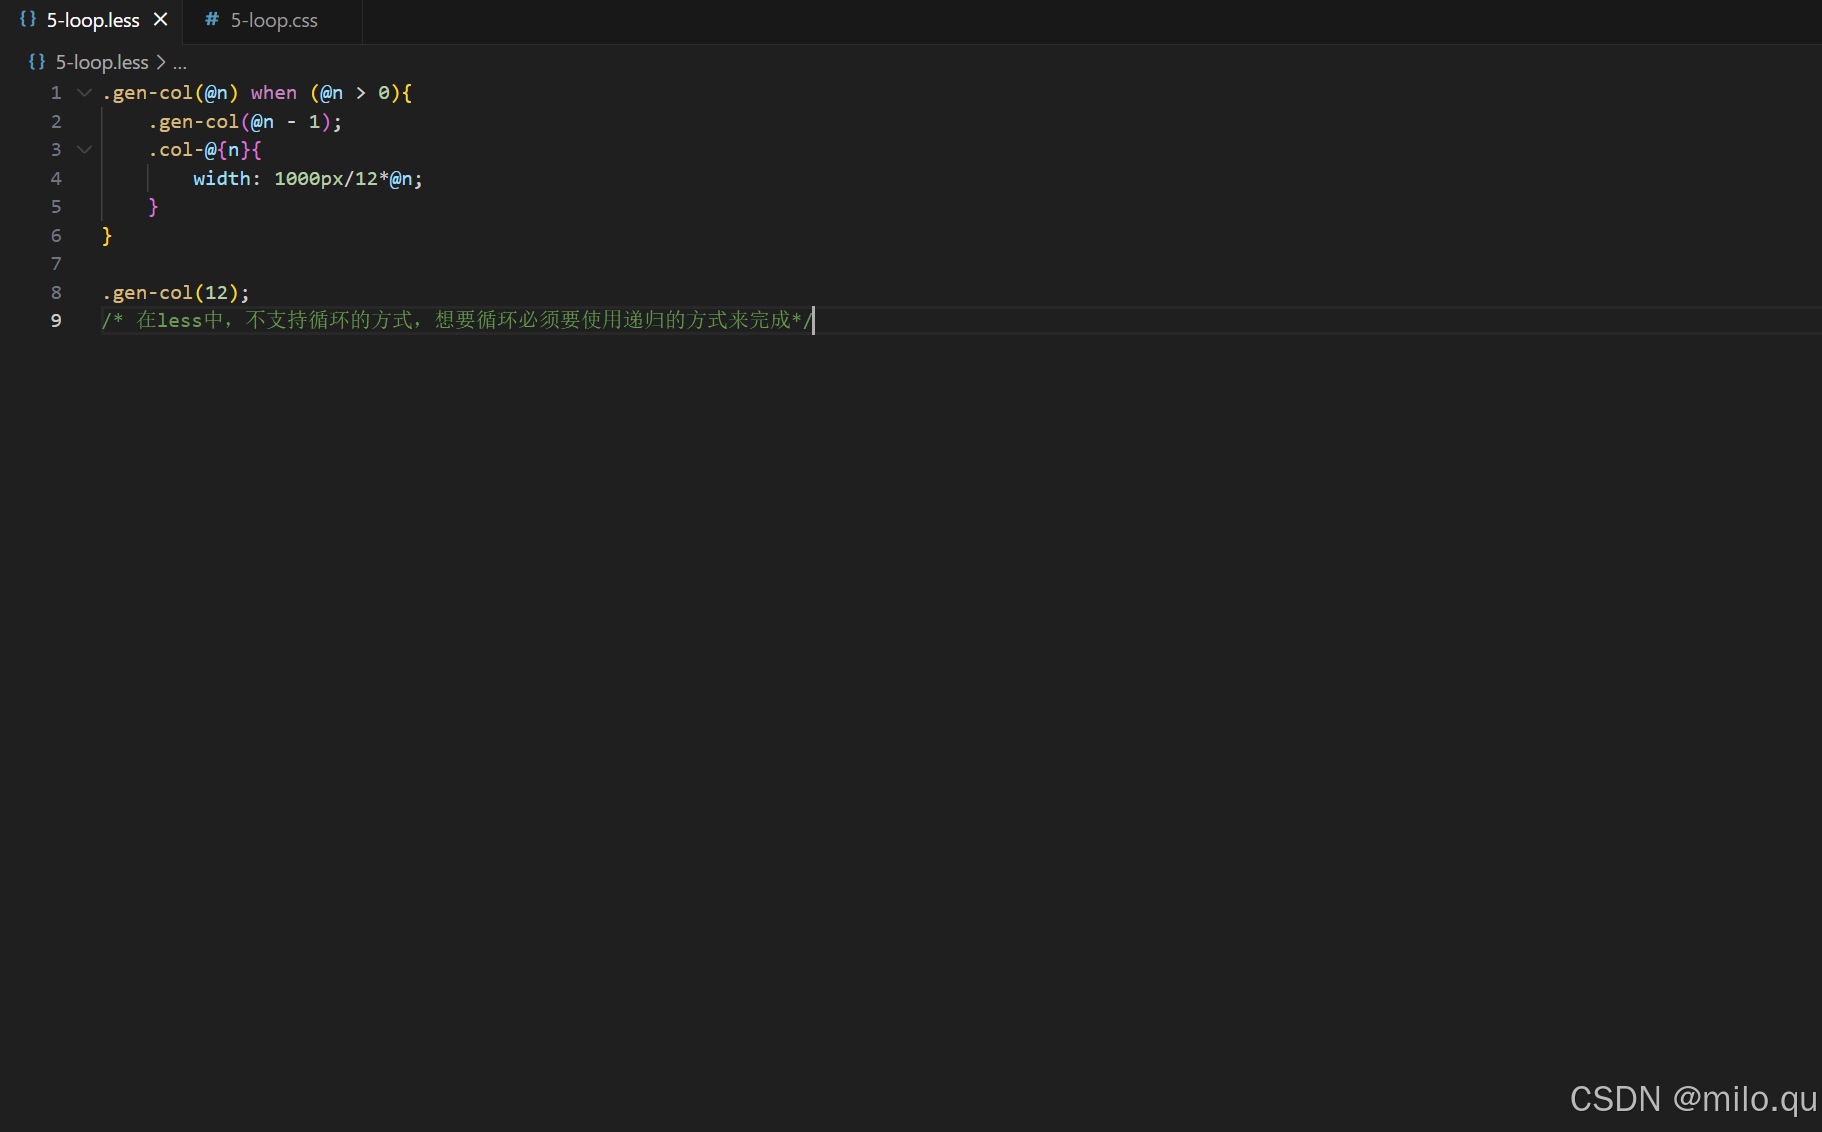
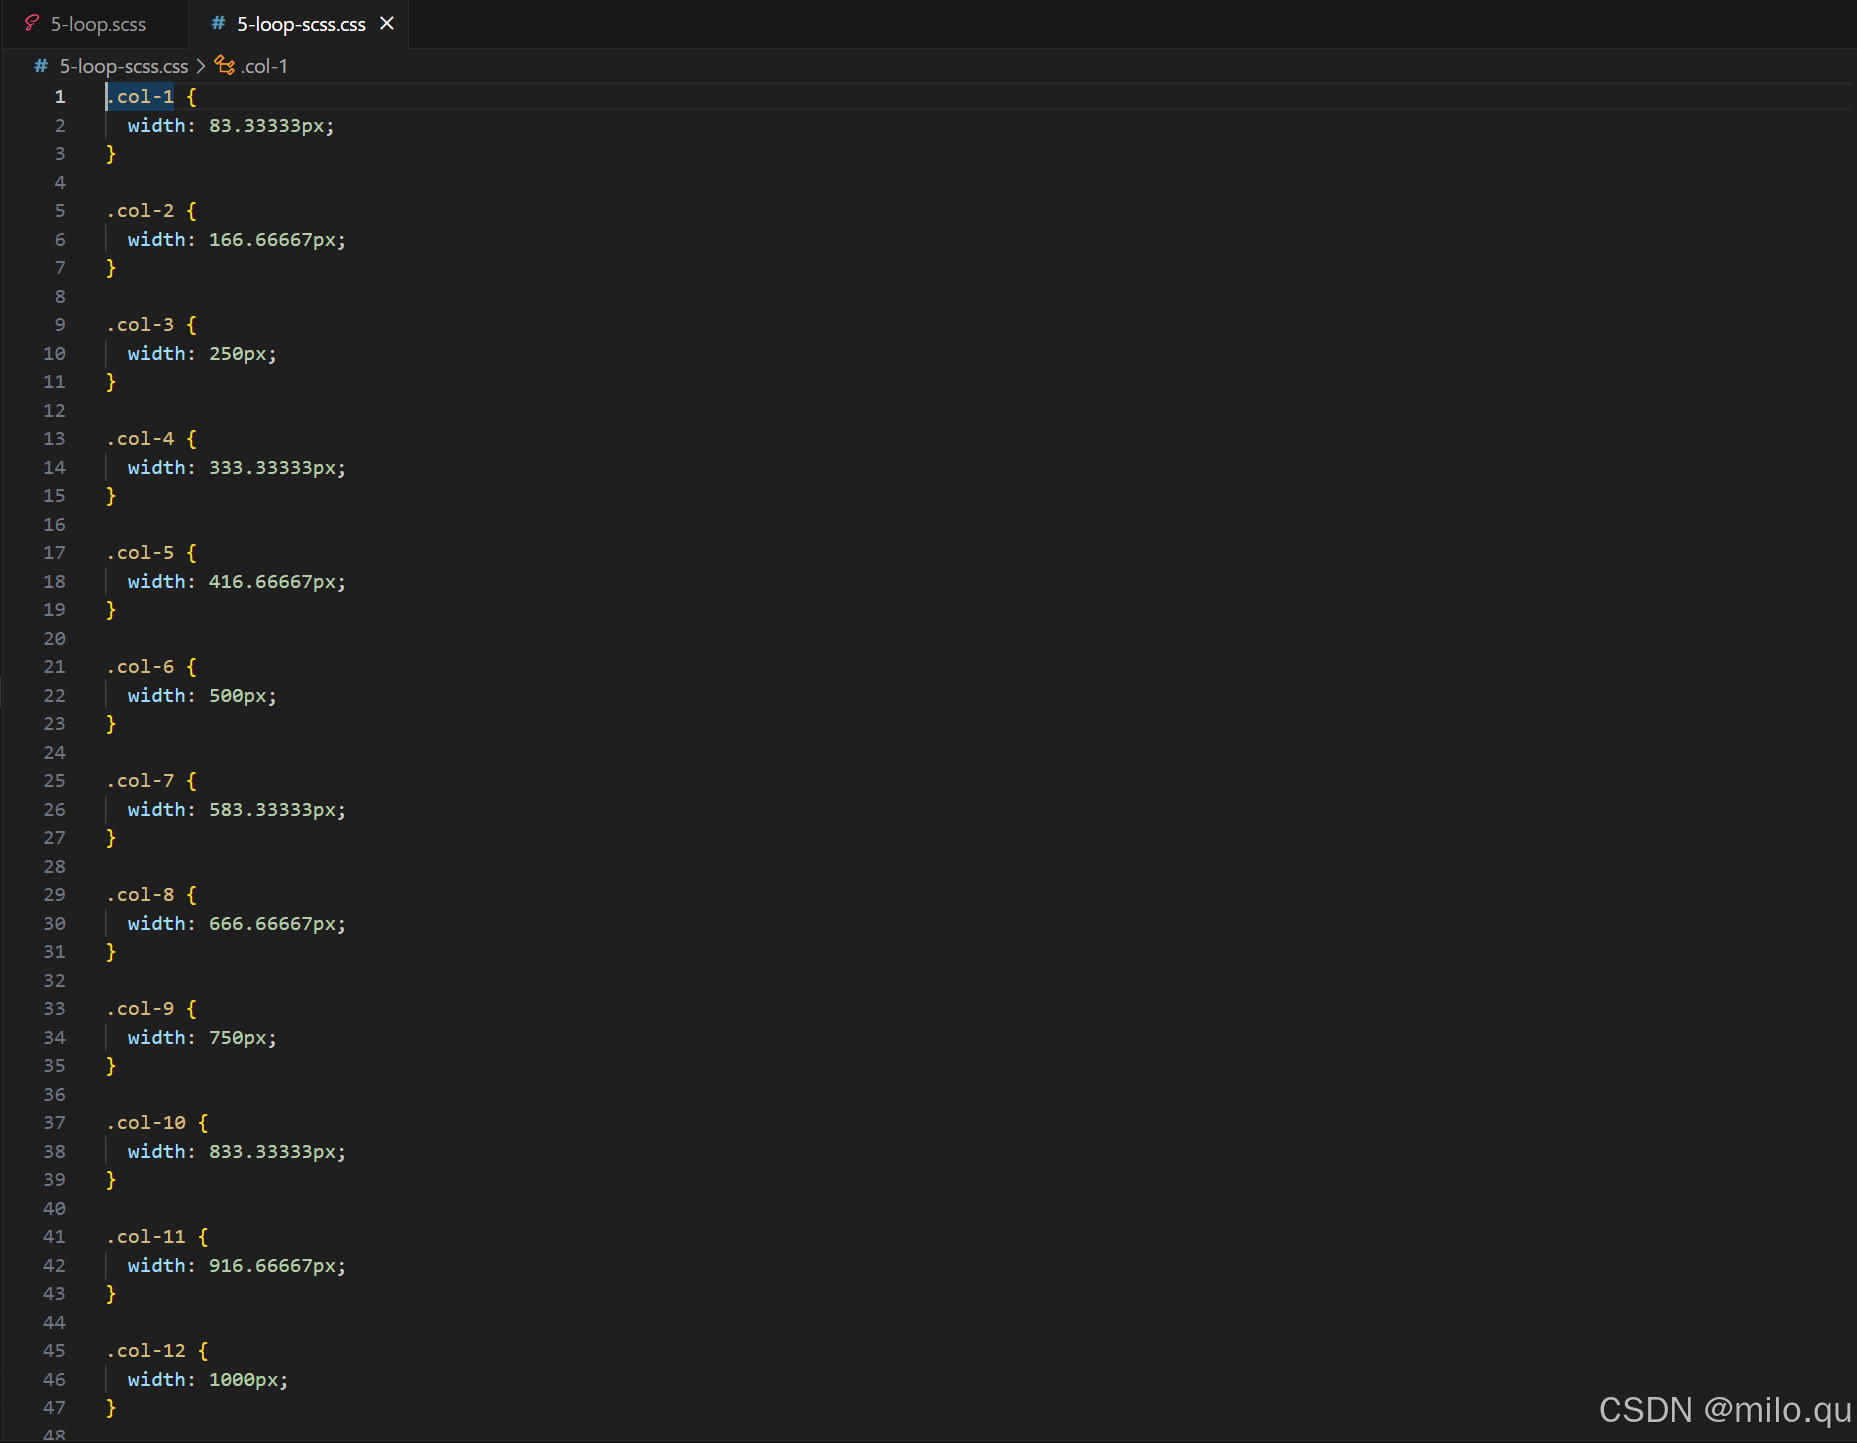
编译结果:
十一、sass loop
// @mixin gen-col($n){
//     @if $n > 0 {
//         @include gen-col($n - 1);
//         .col-#{$n}{
//             width: 1000px/12*$n;
//         }
//     }
// }

// @include gen-col(12);


@for $i from 1 through 12 {
    .col-#{$i} {
        width: 1000px/12*$i;
    }
}

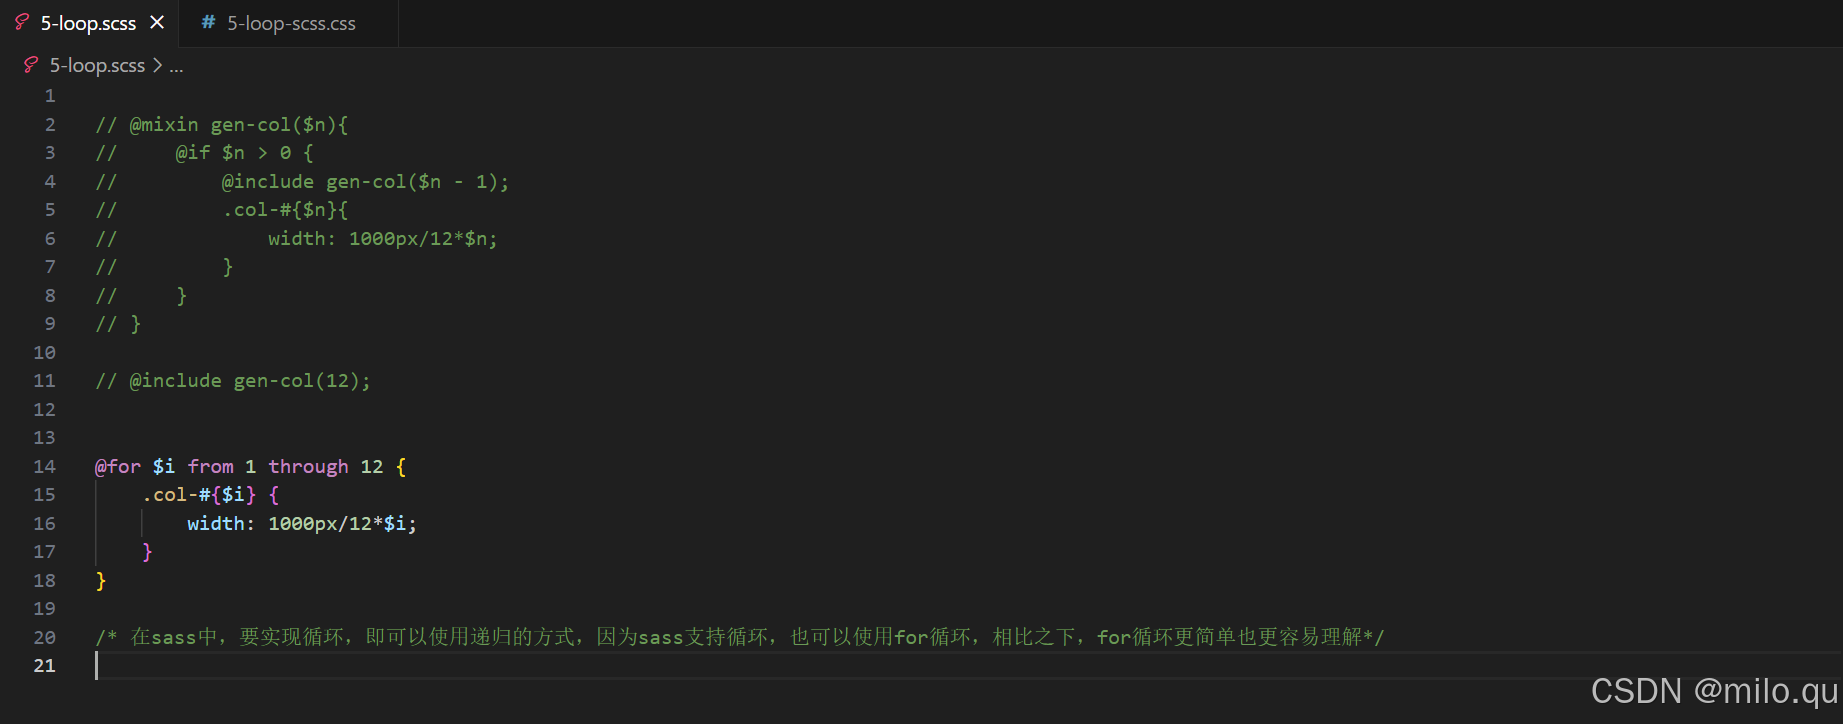
/* 在sass中,要实现循环,即可以使用递归的方式,因为sass支持循环,也可以使用for循环,相比之下,for循环更简单也更容易理解*/
编译结果:
十二、less import
在CSS中,本身是有import这个语法的,但是CSS自身的import不会做合并、复用、连接之类的事情,只是简单的合并到一块,并且只能一个一个去通过http去加载,如果拆分的很细的话,可能带能性能上的影响。
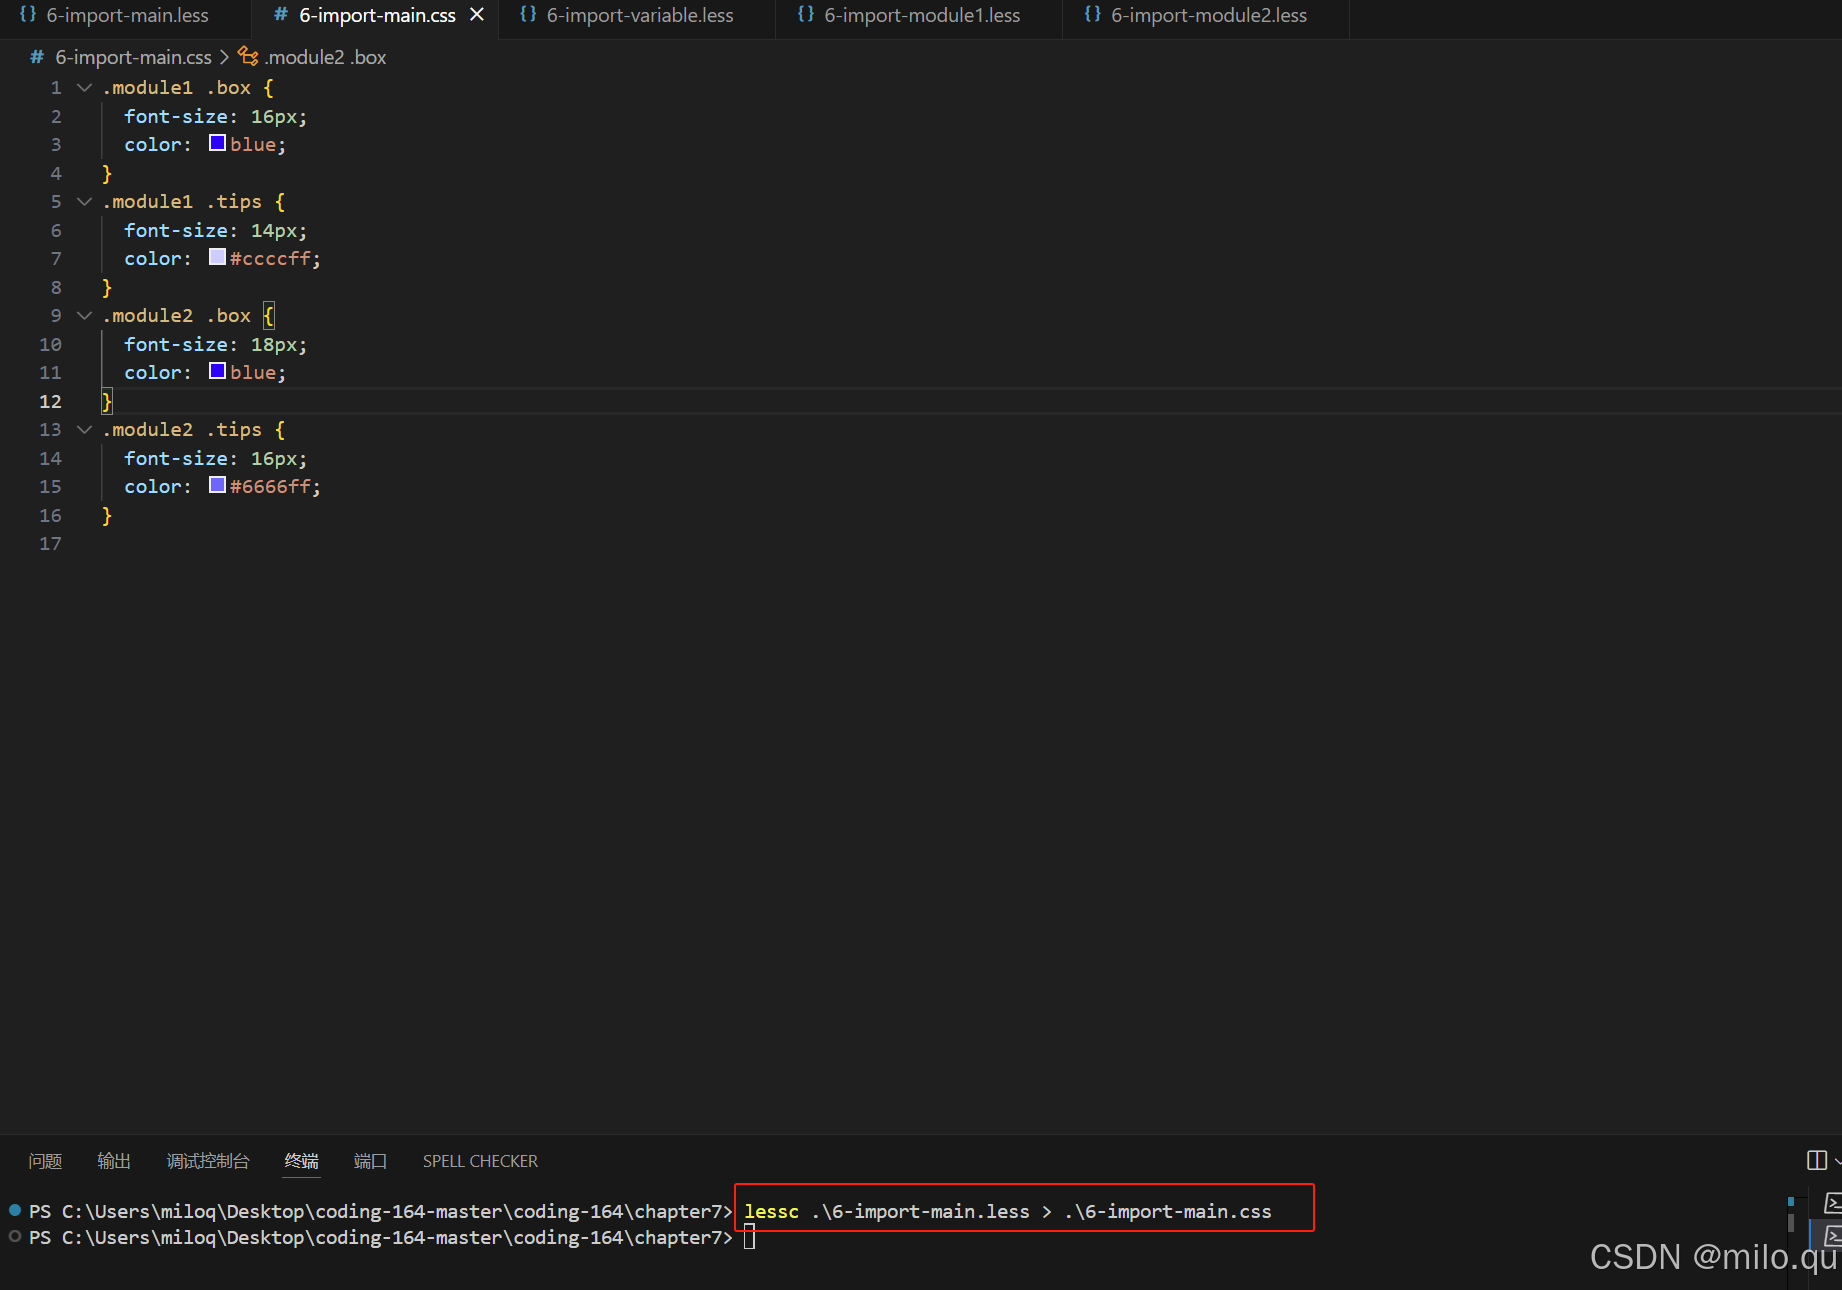
less预处理,对这种情况做了优化,通过@Import引入进来,在编译的时候,将它们合并在一起,最终产生一个CSS文件。
编译结果:
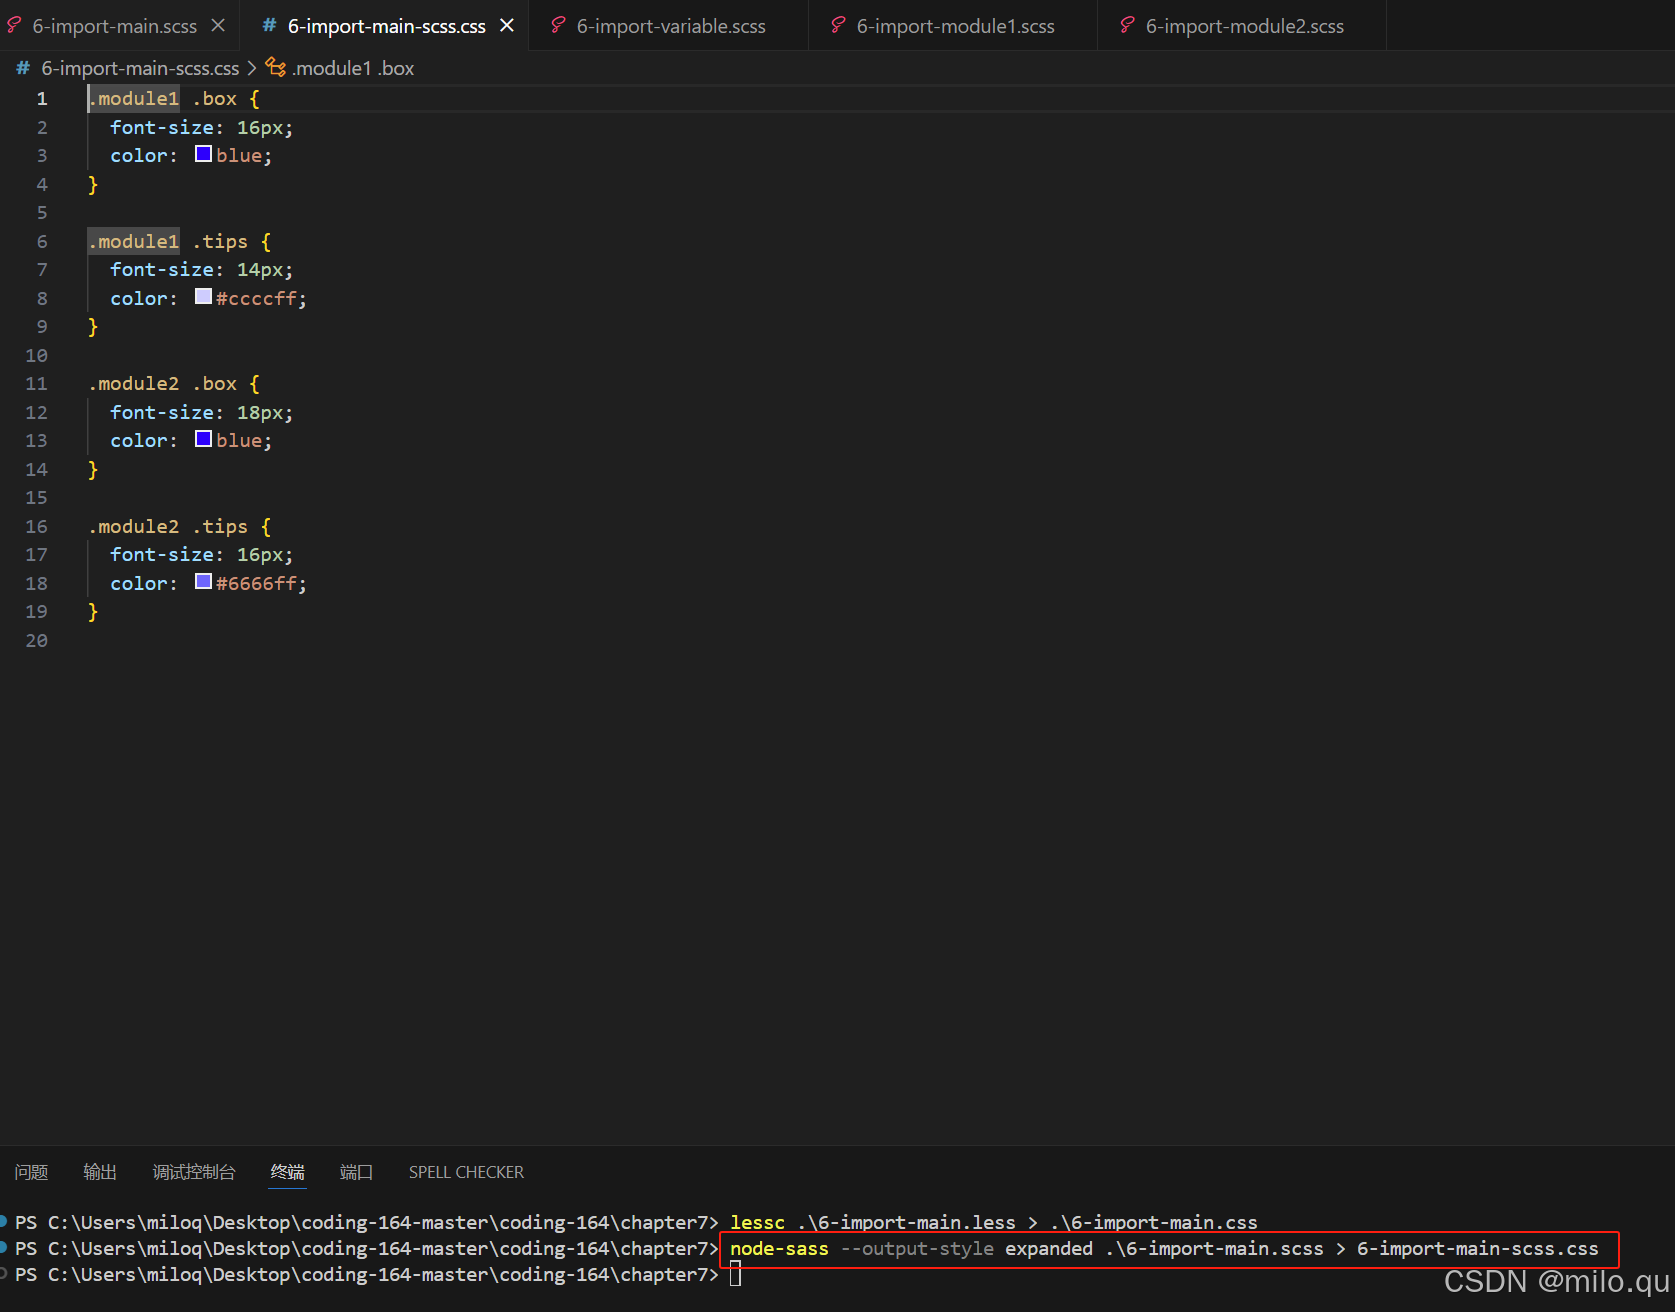
十三、sass import
编译结果:
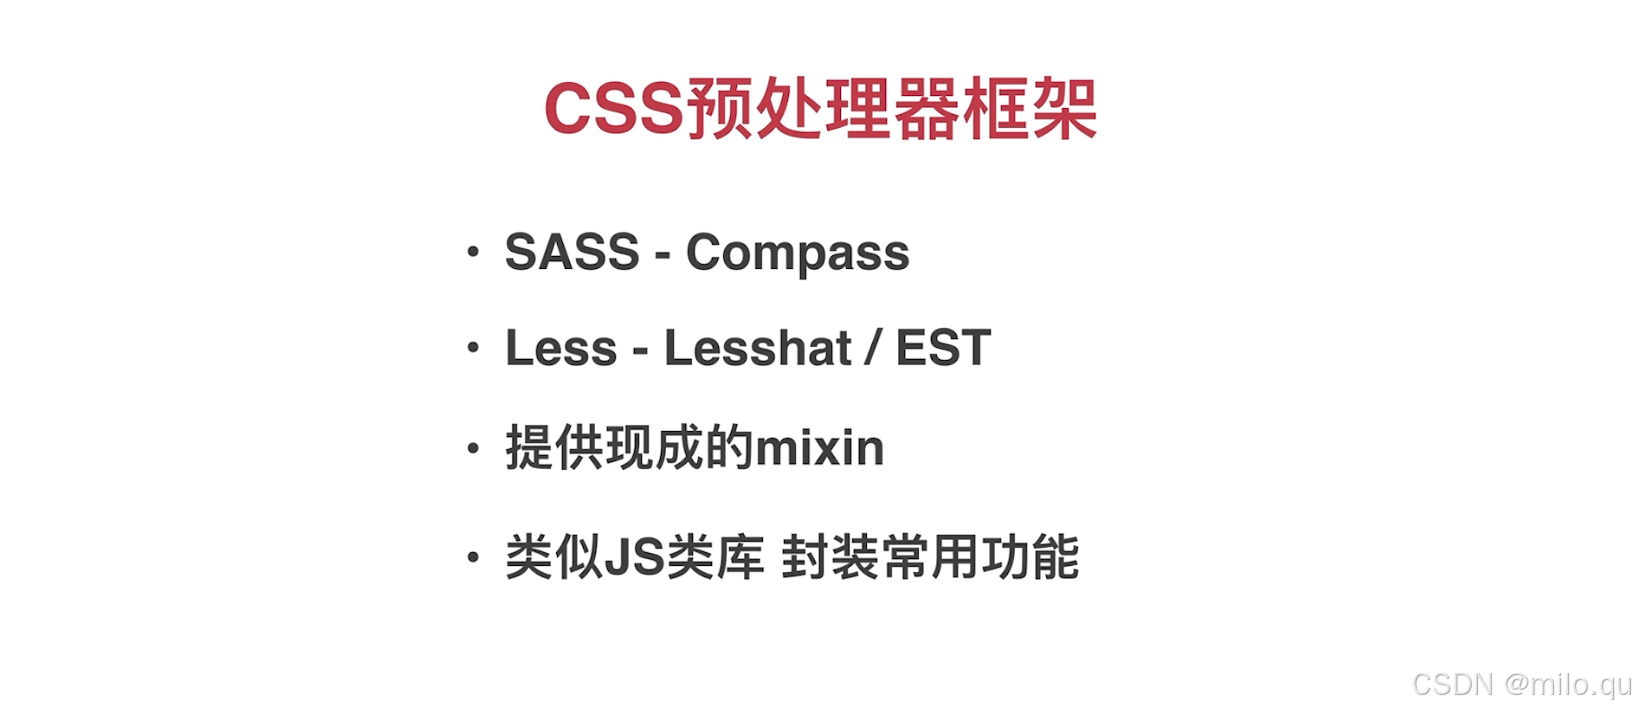
十四、预处理器
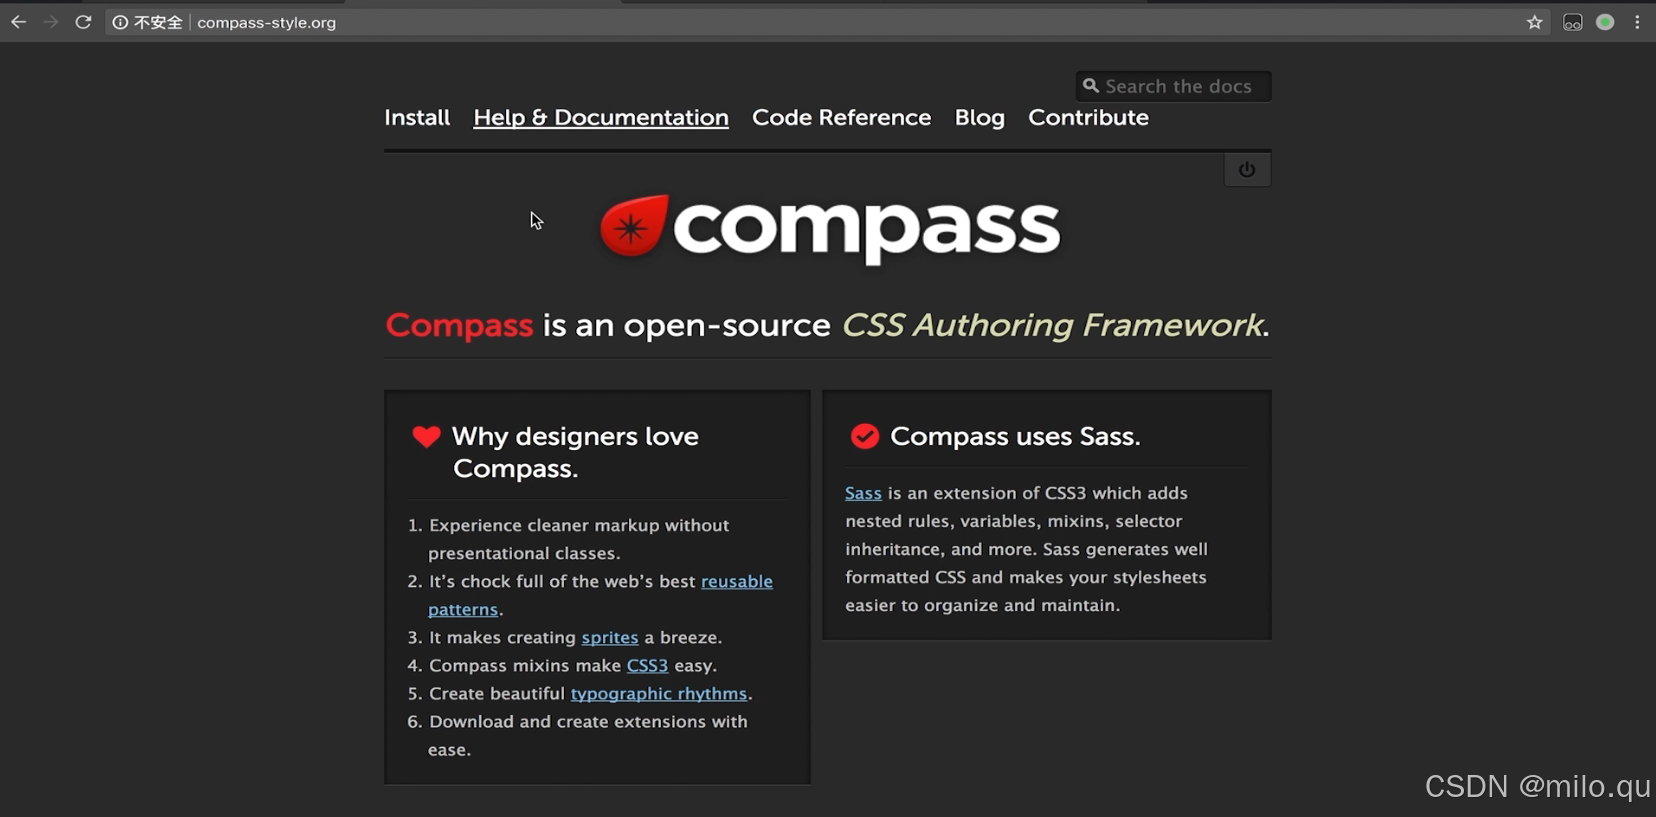
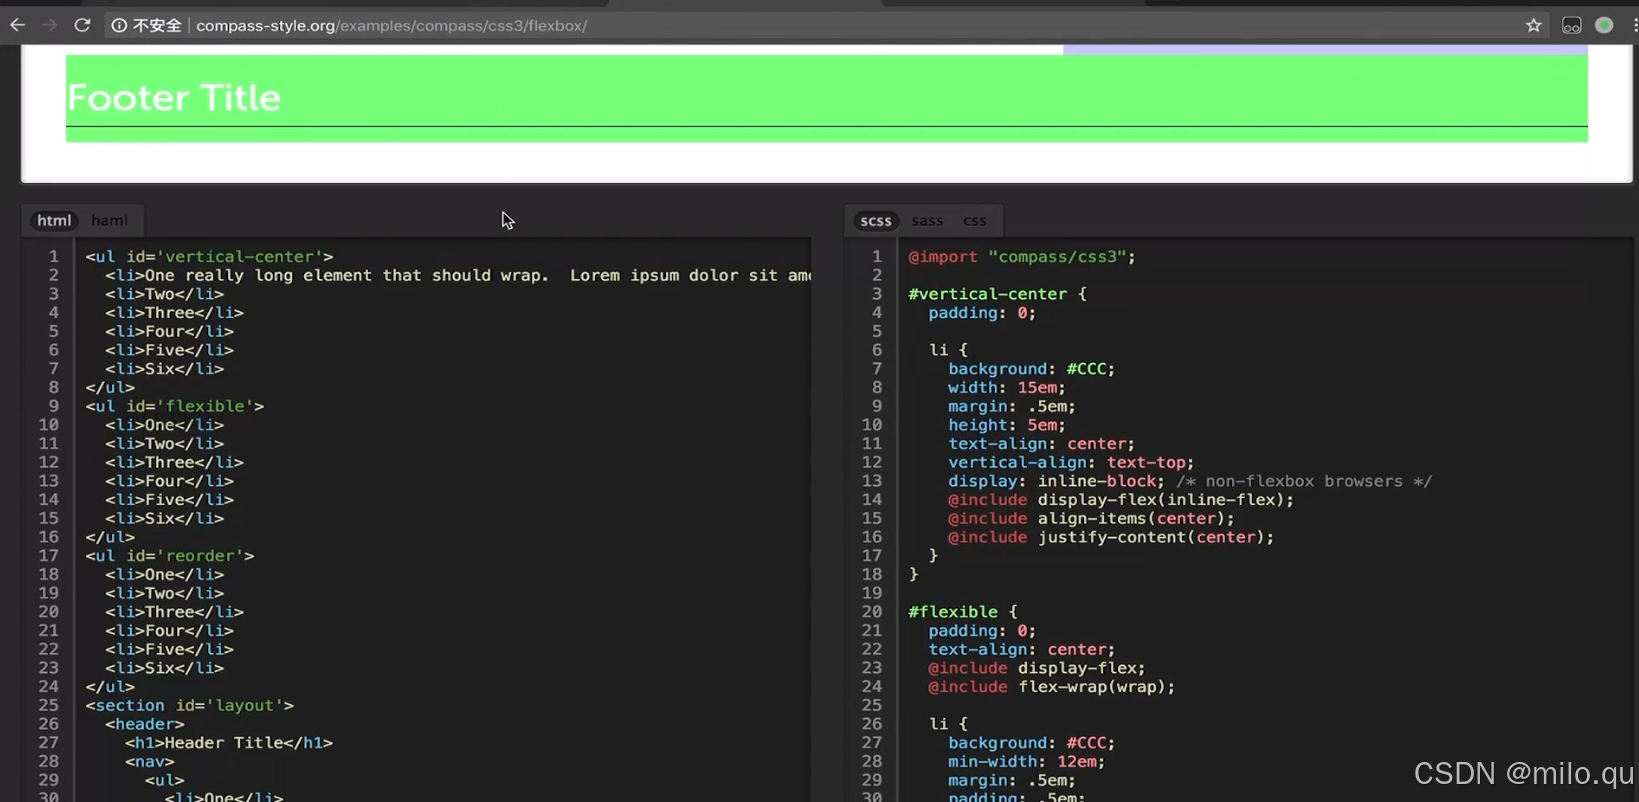
sass - Compass
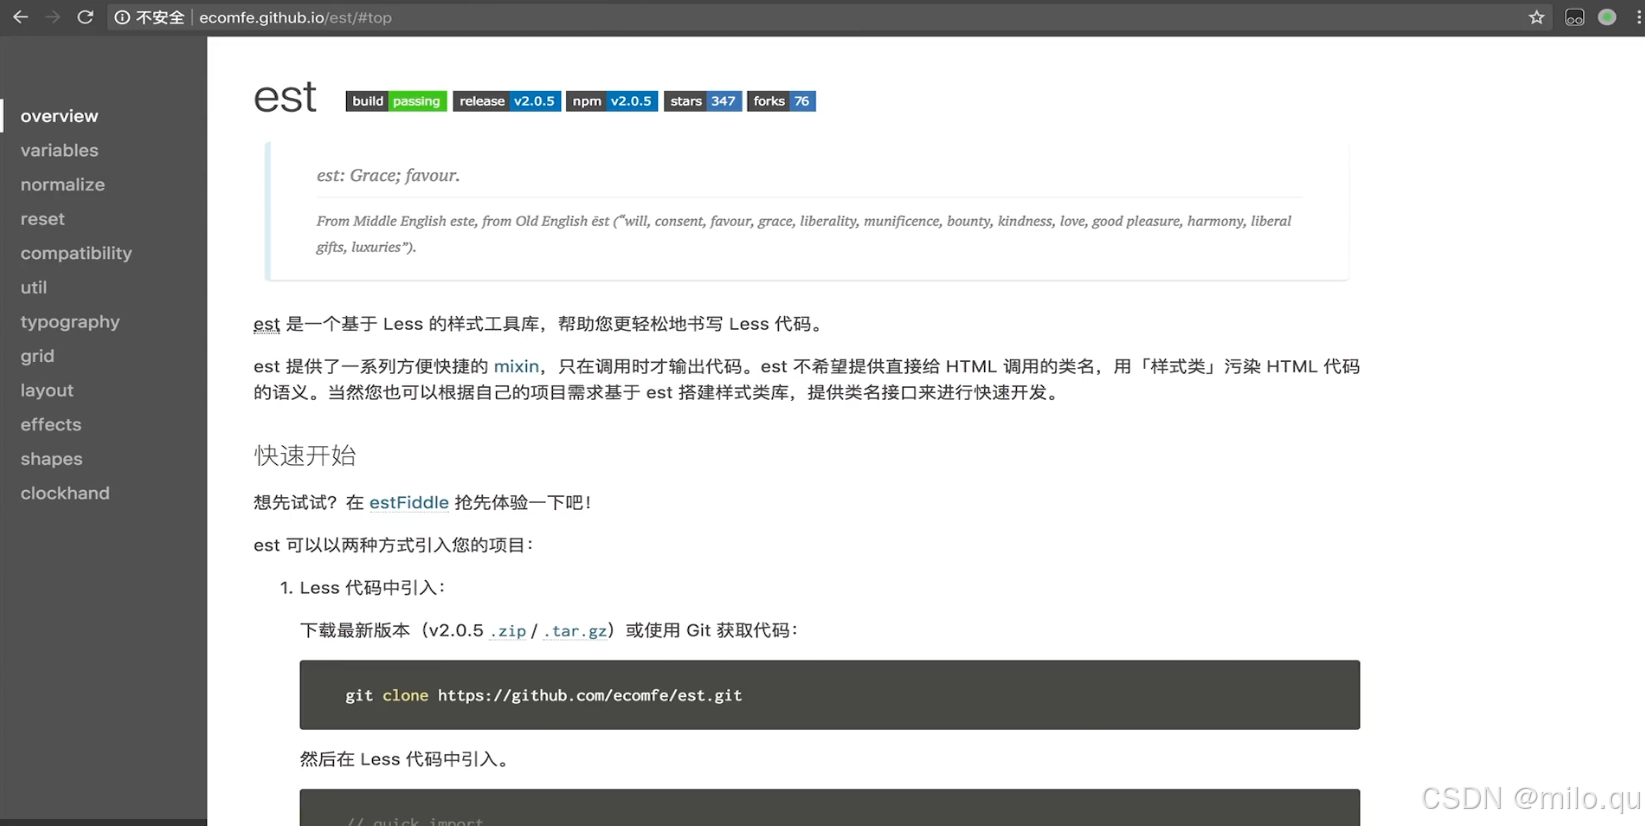
less - est
官网:https://ecomfe.github.io/est/#top
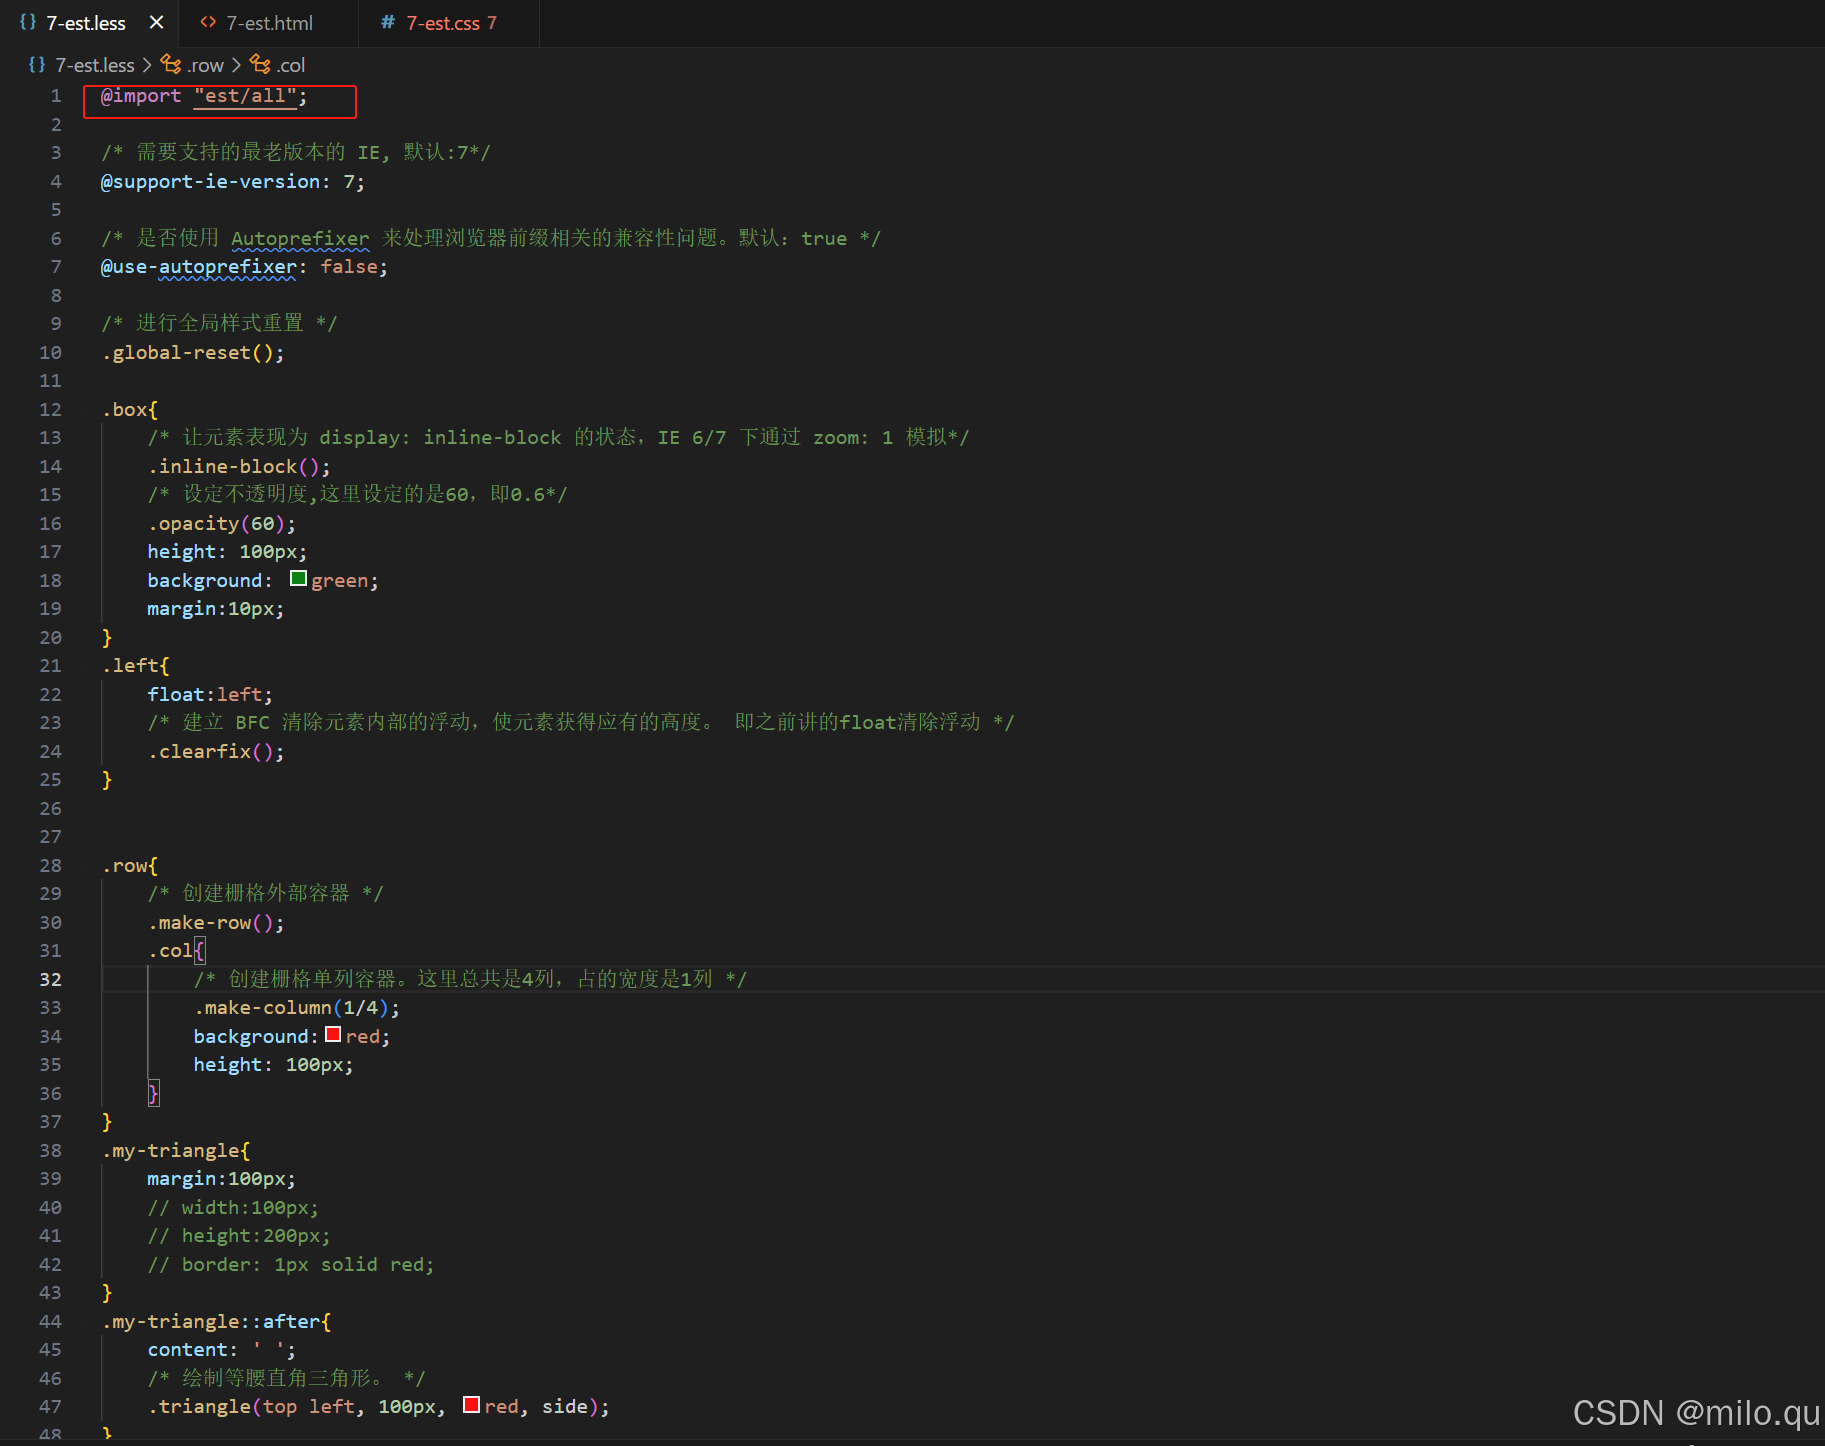
这里演示est的使用:
1.首先,在顶部引入est的所有文件:
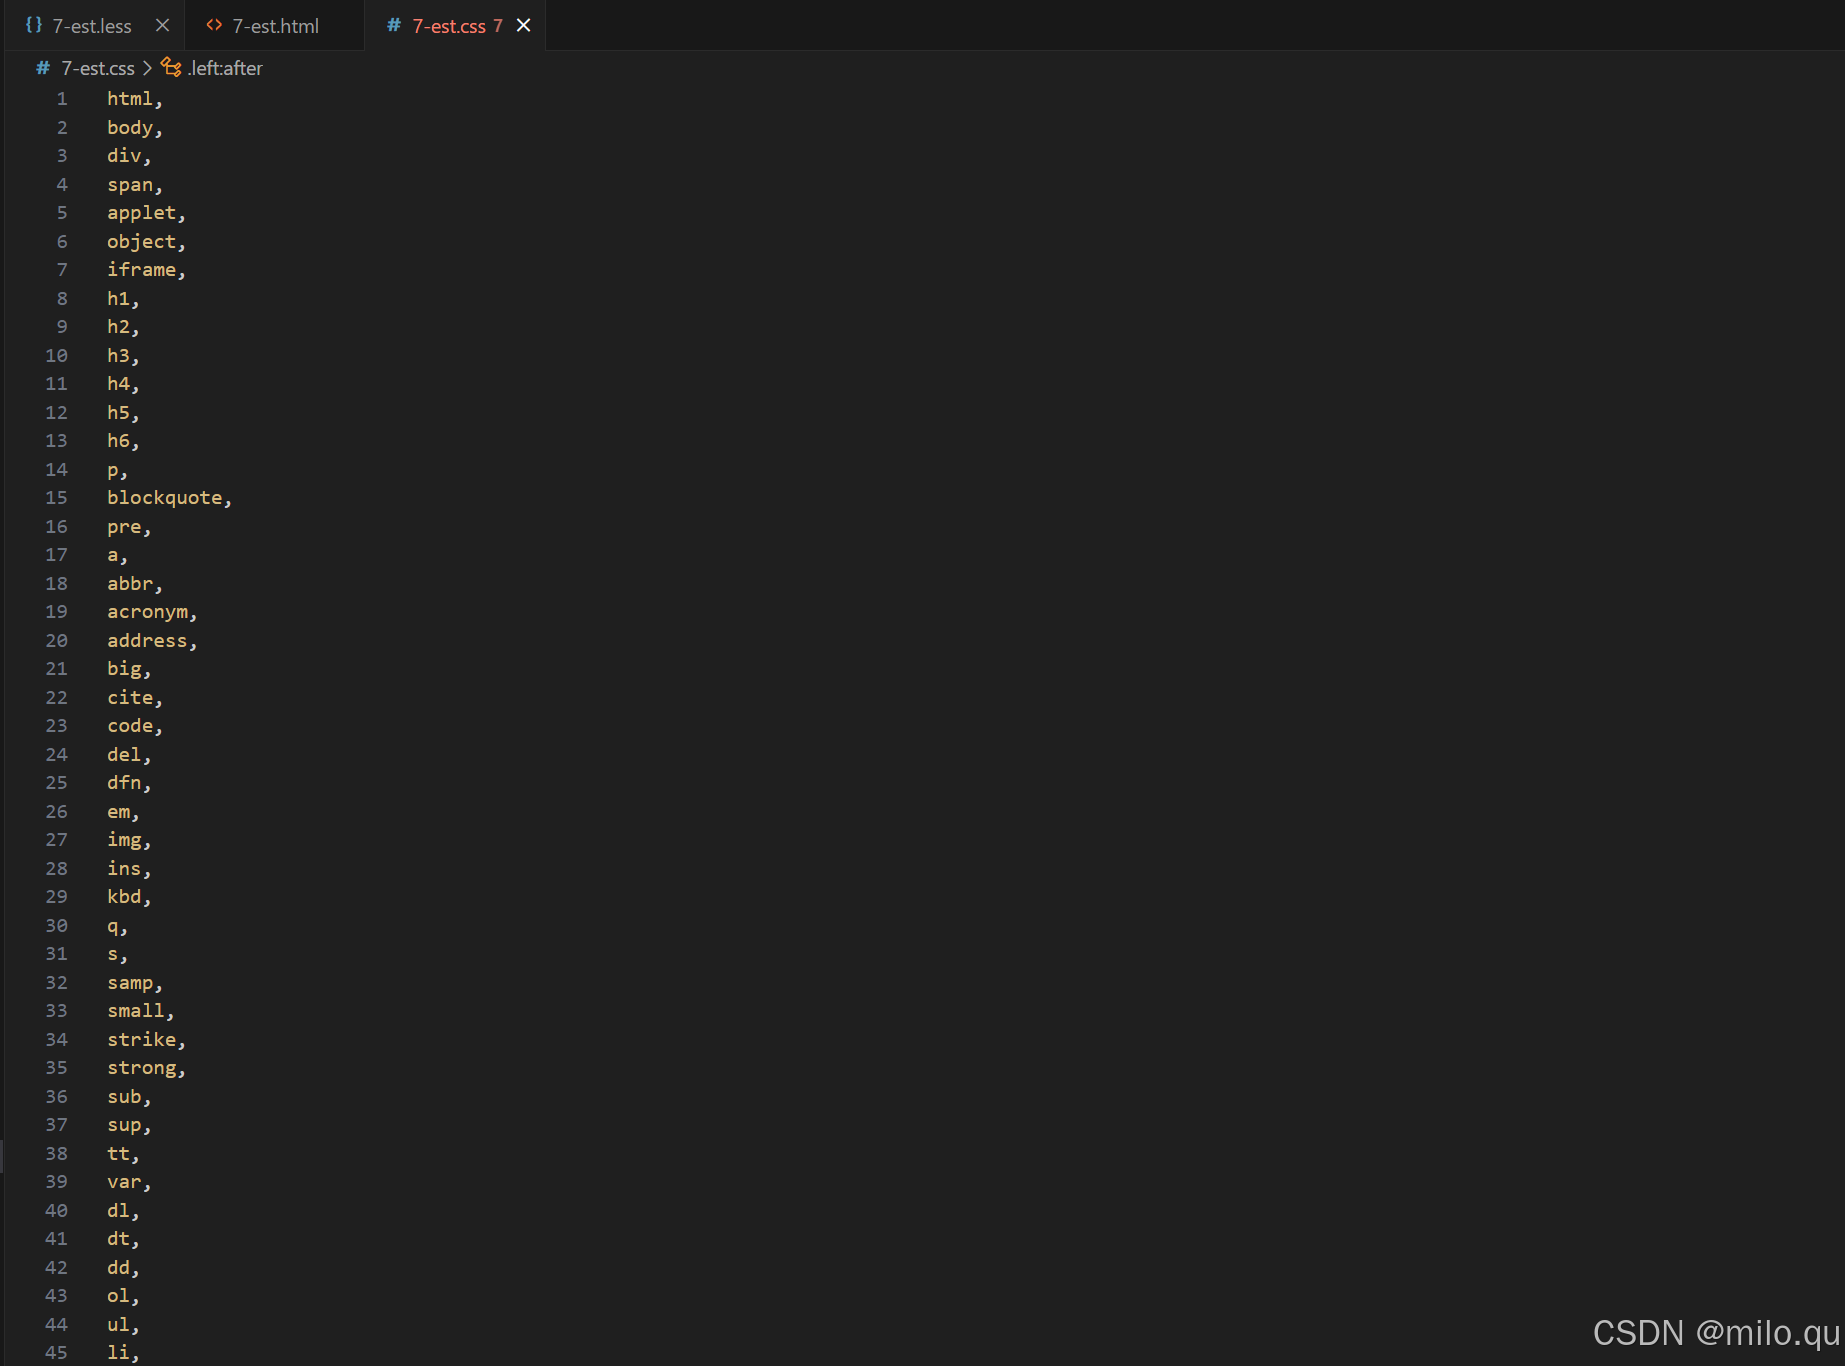
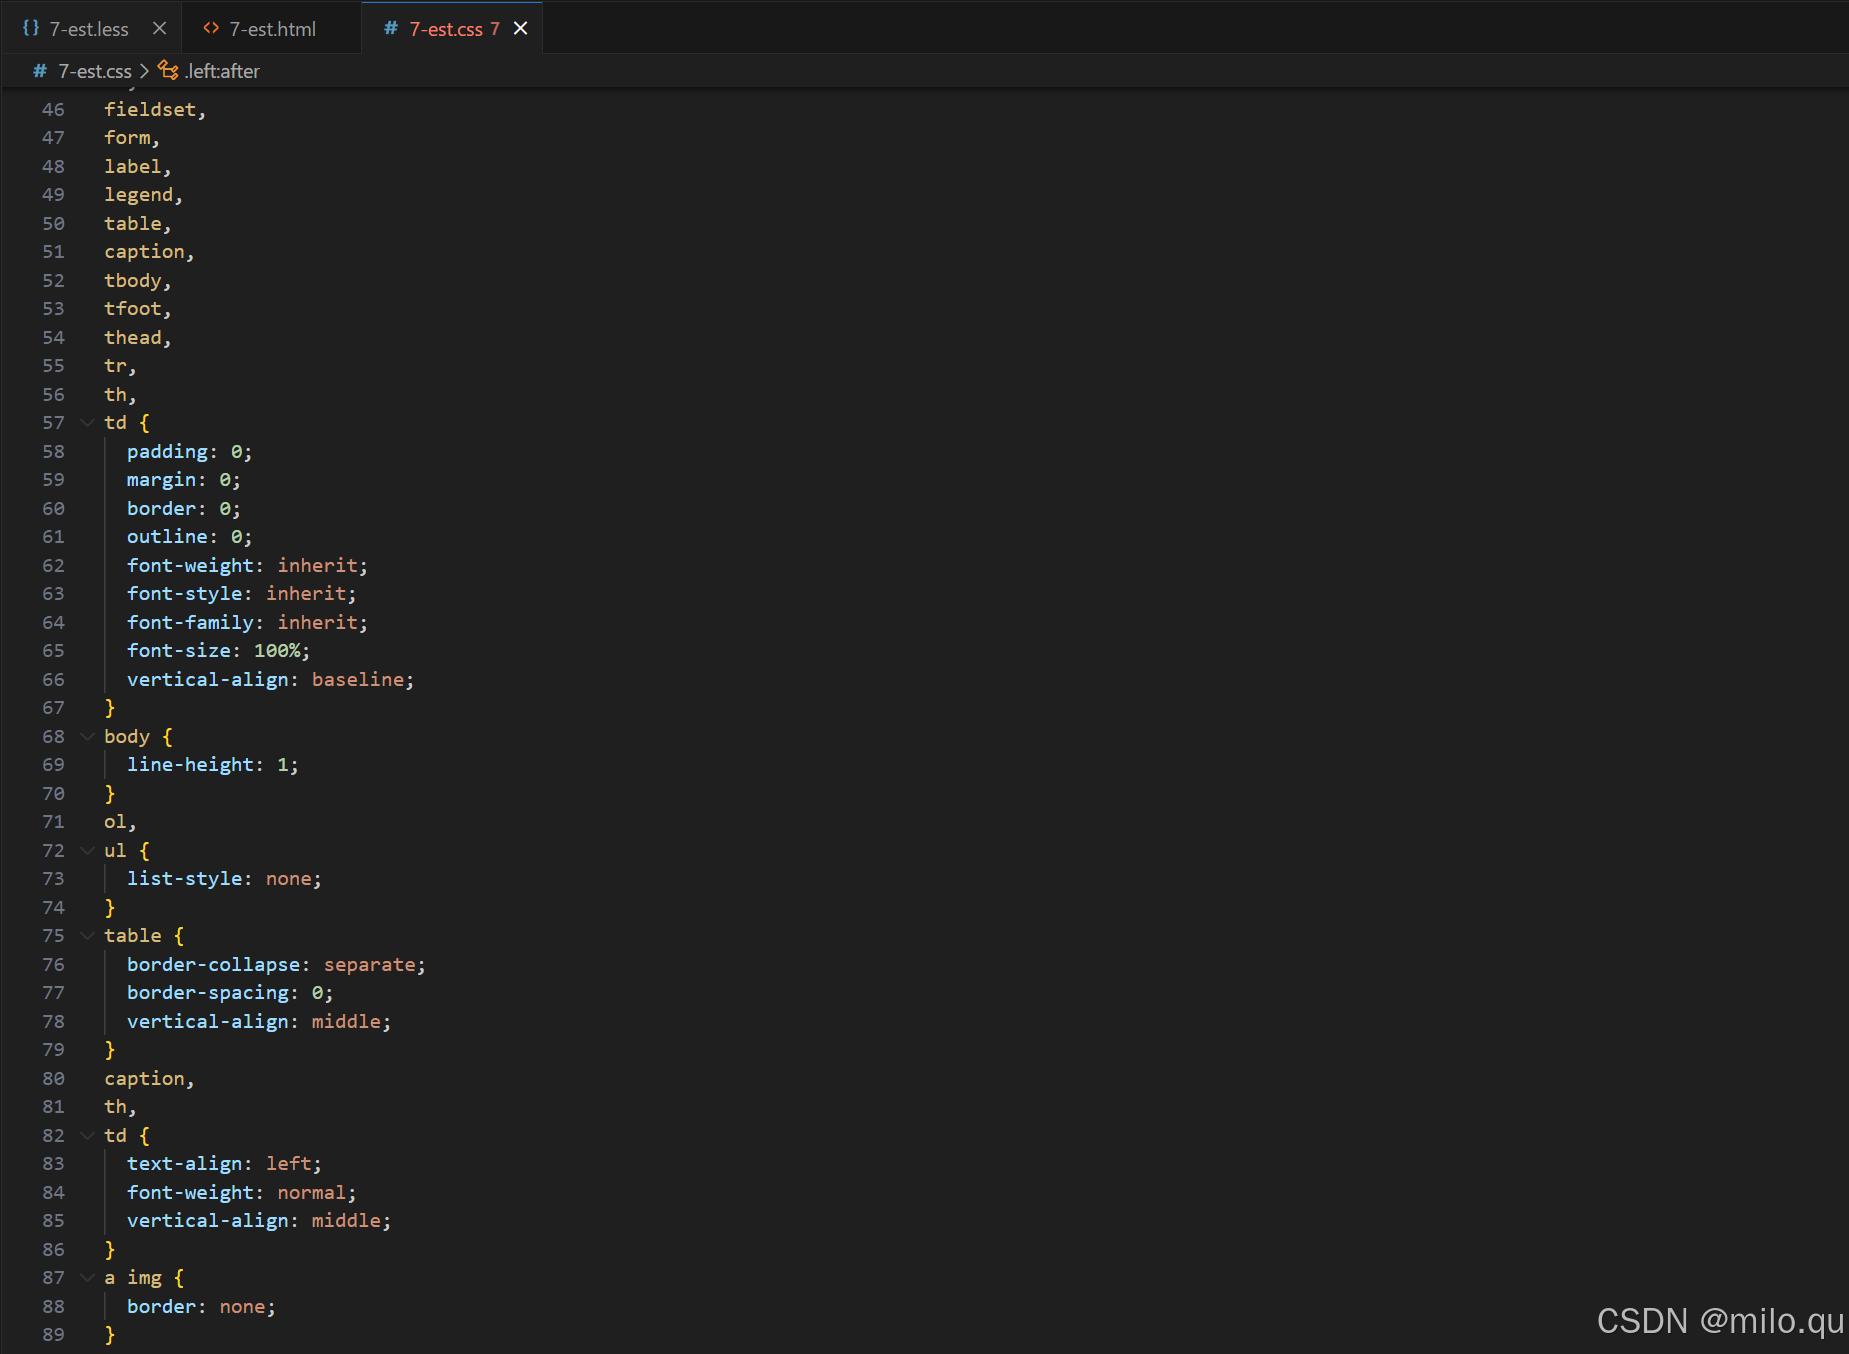
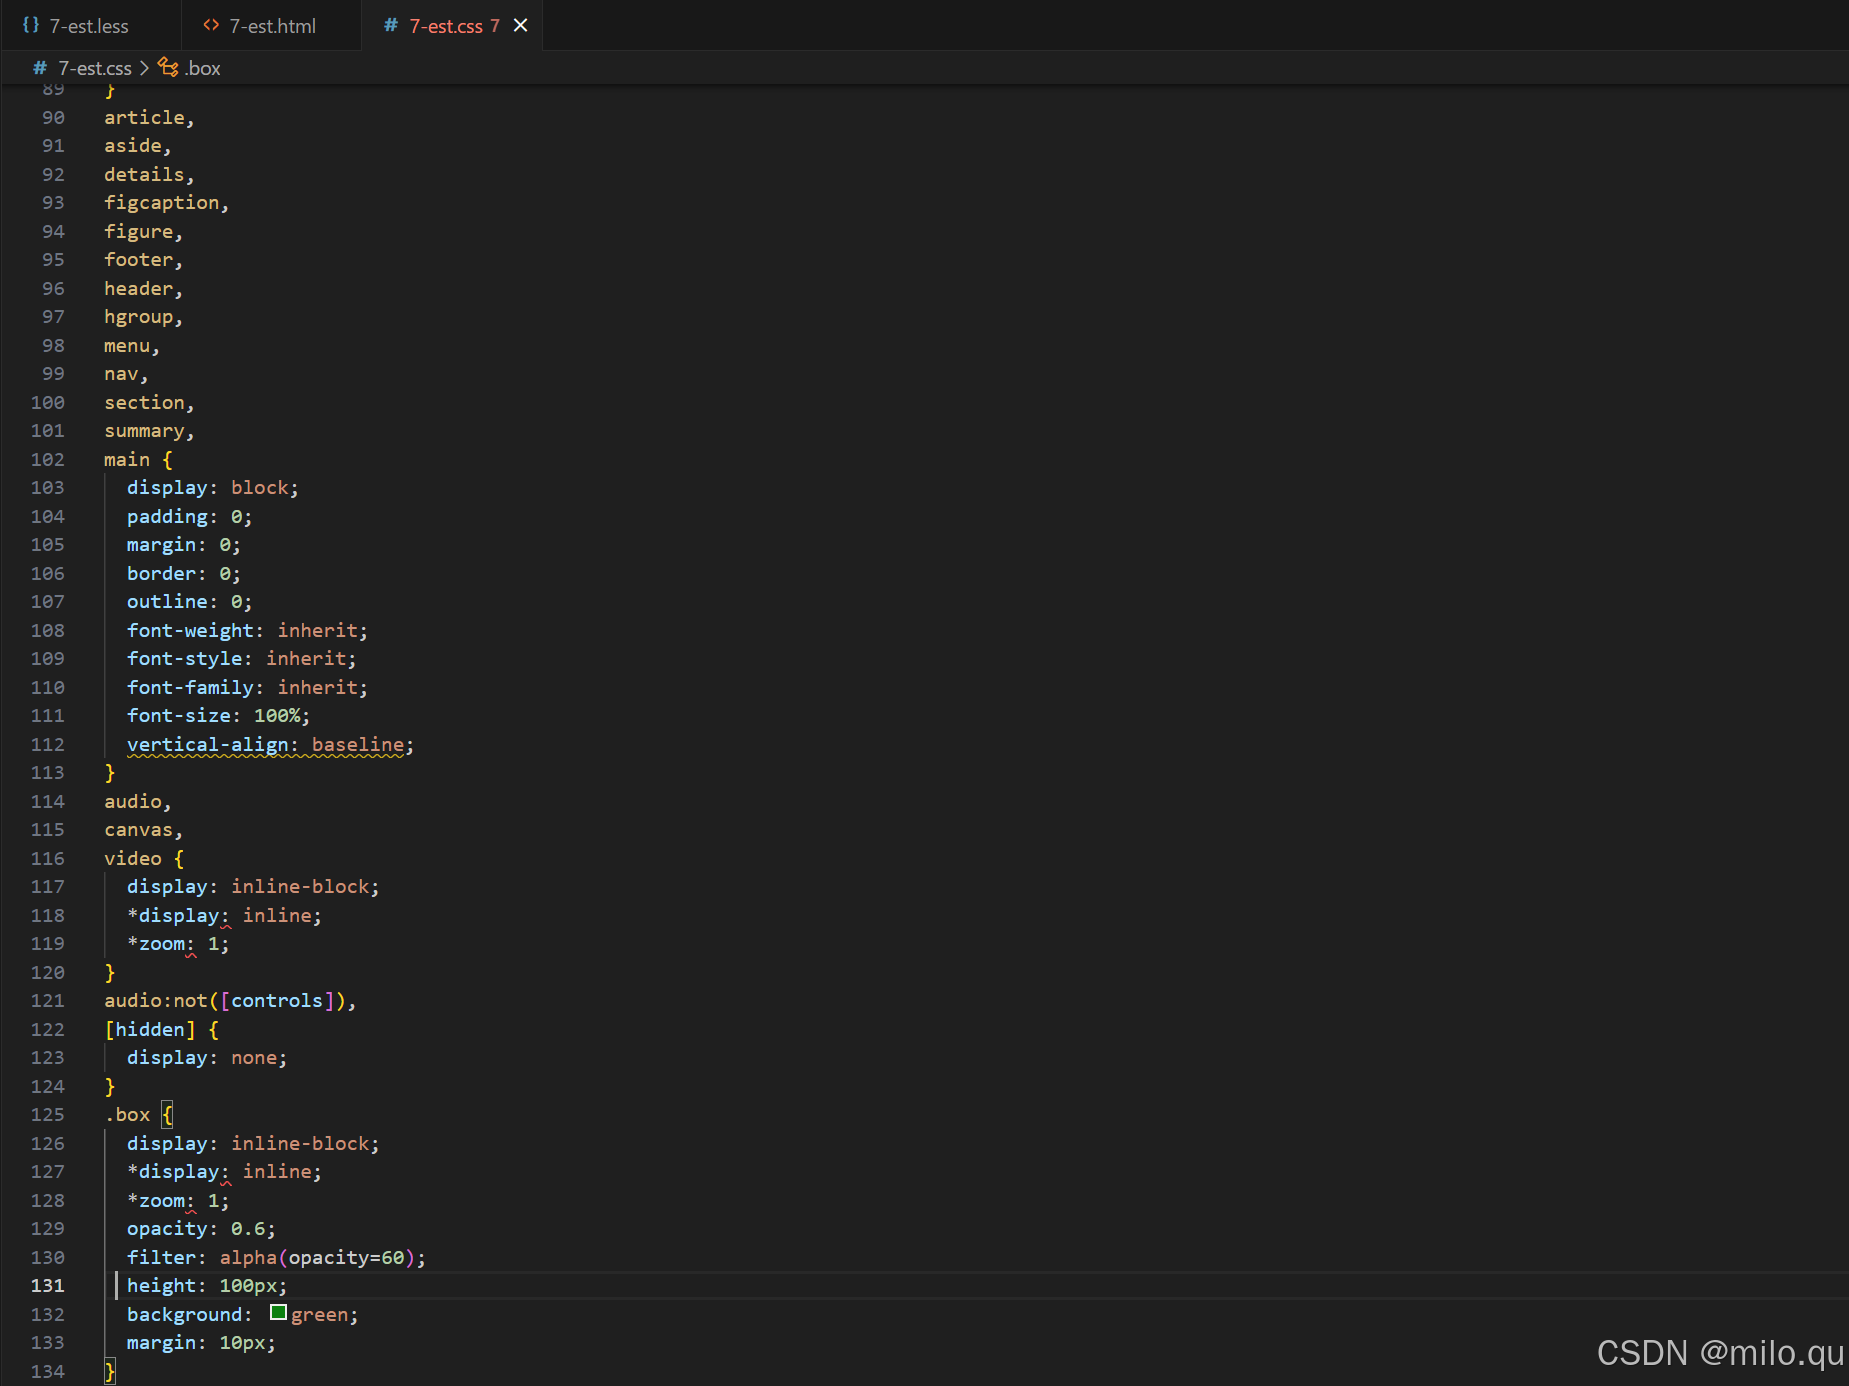
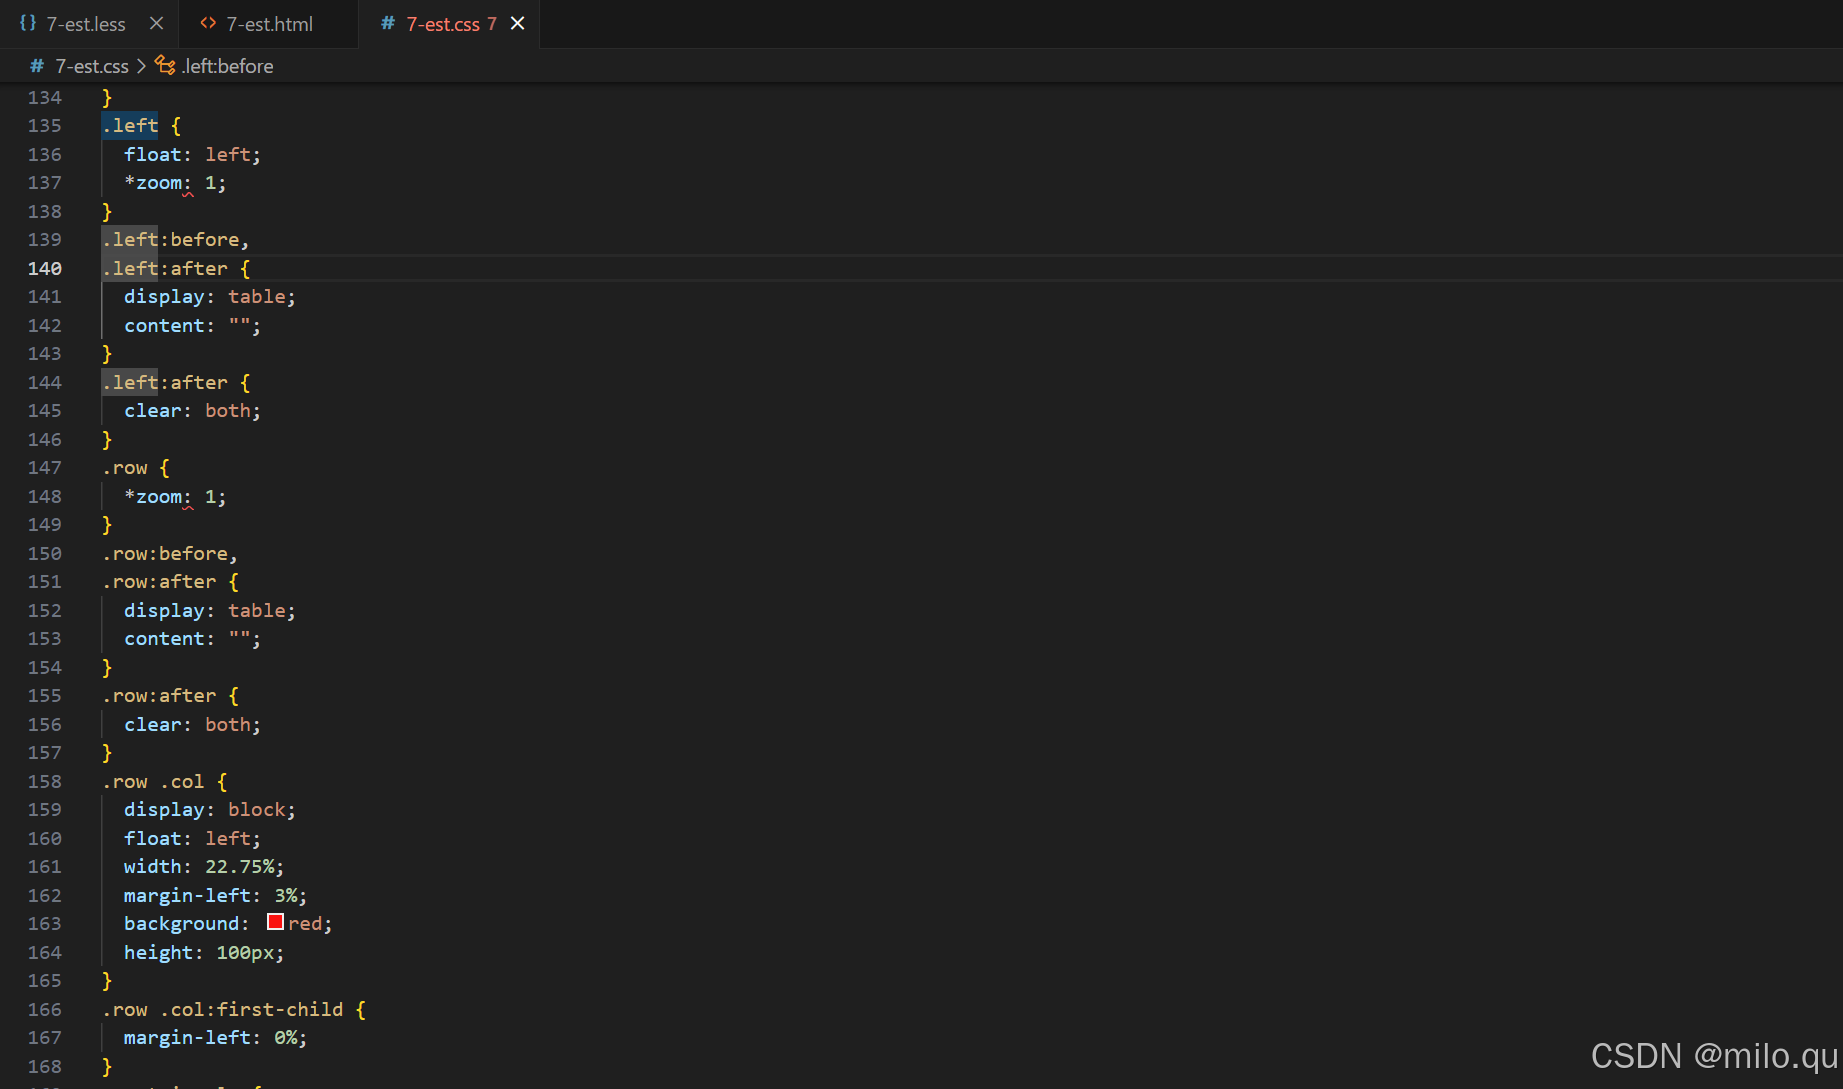
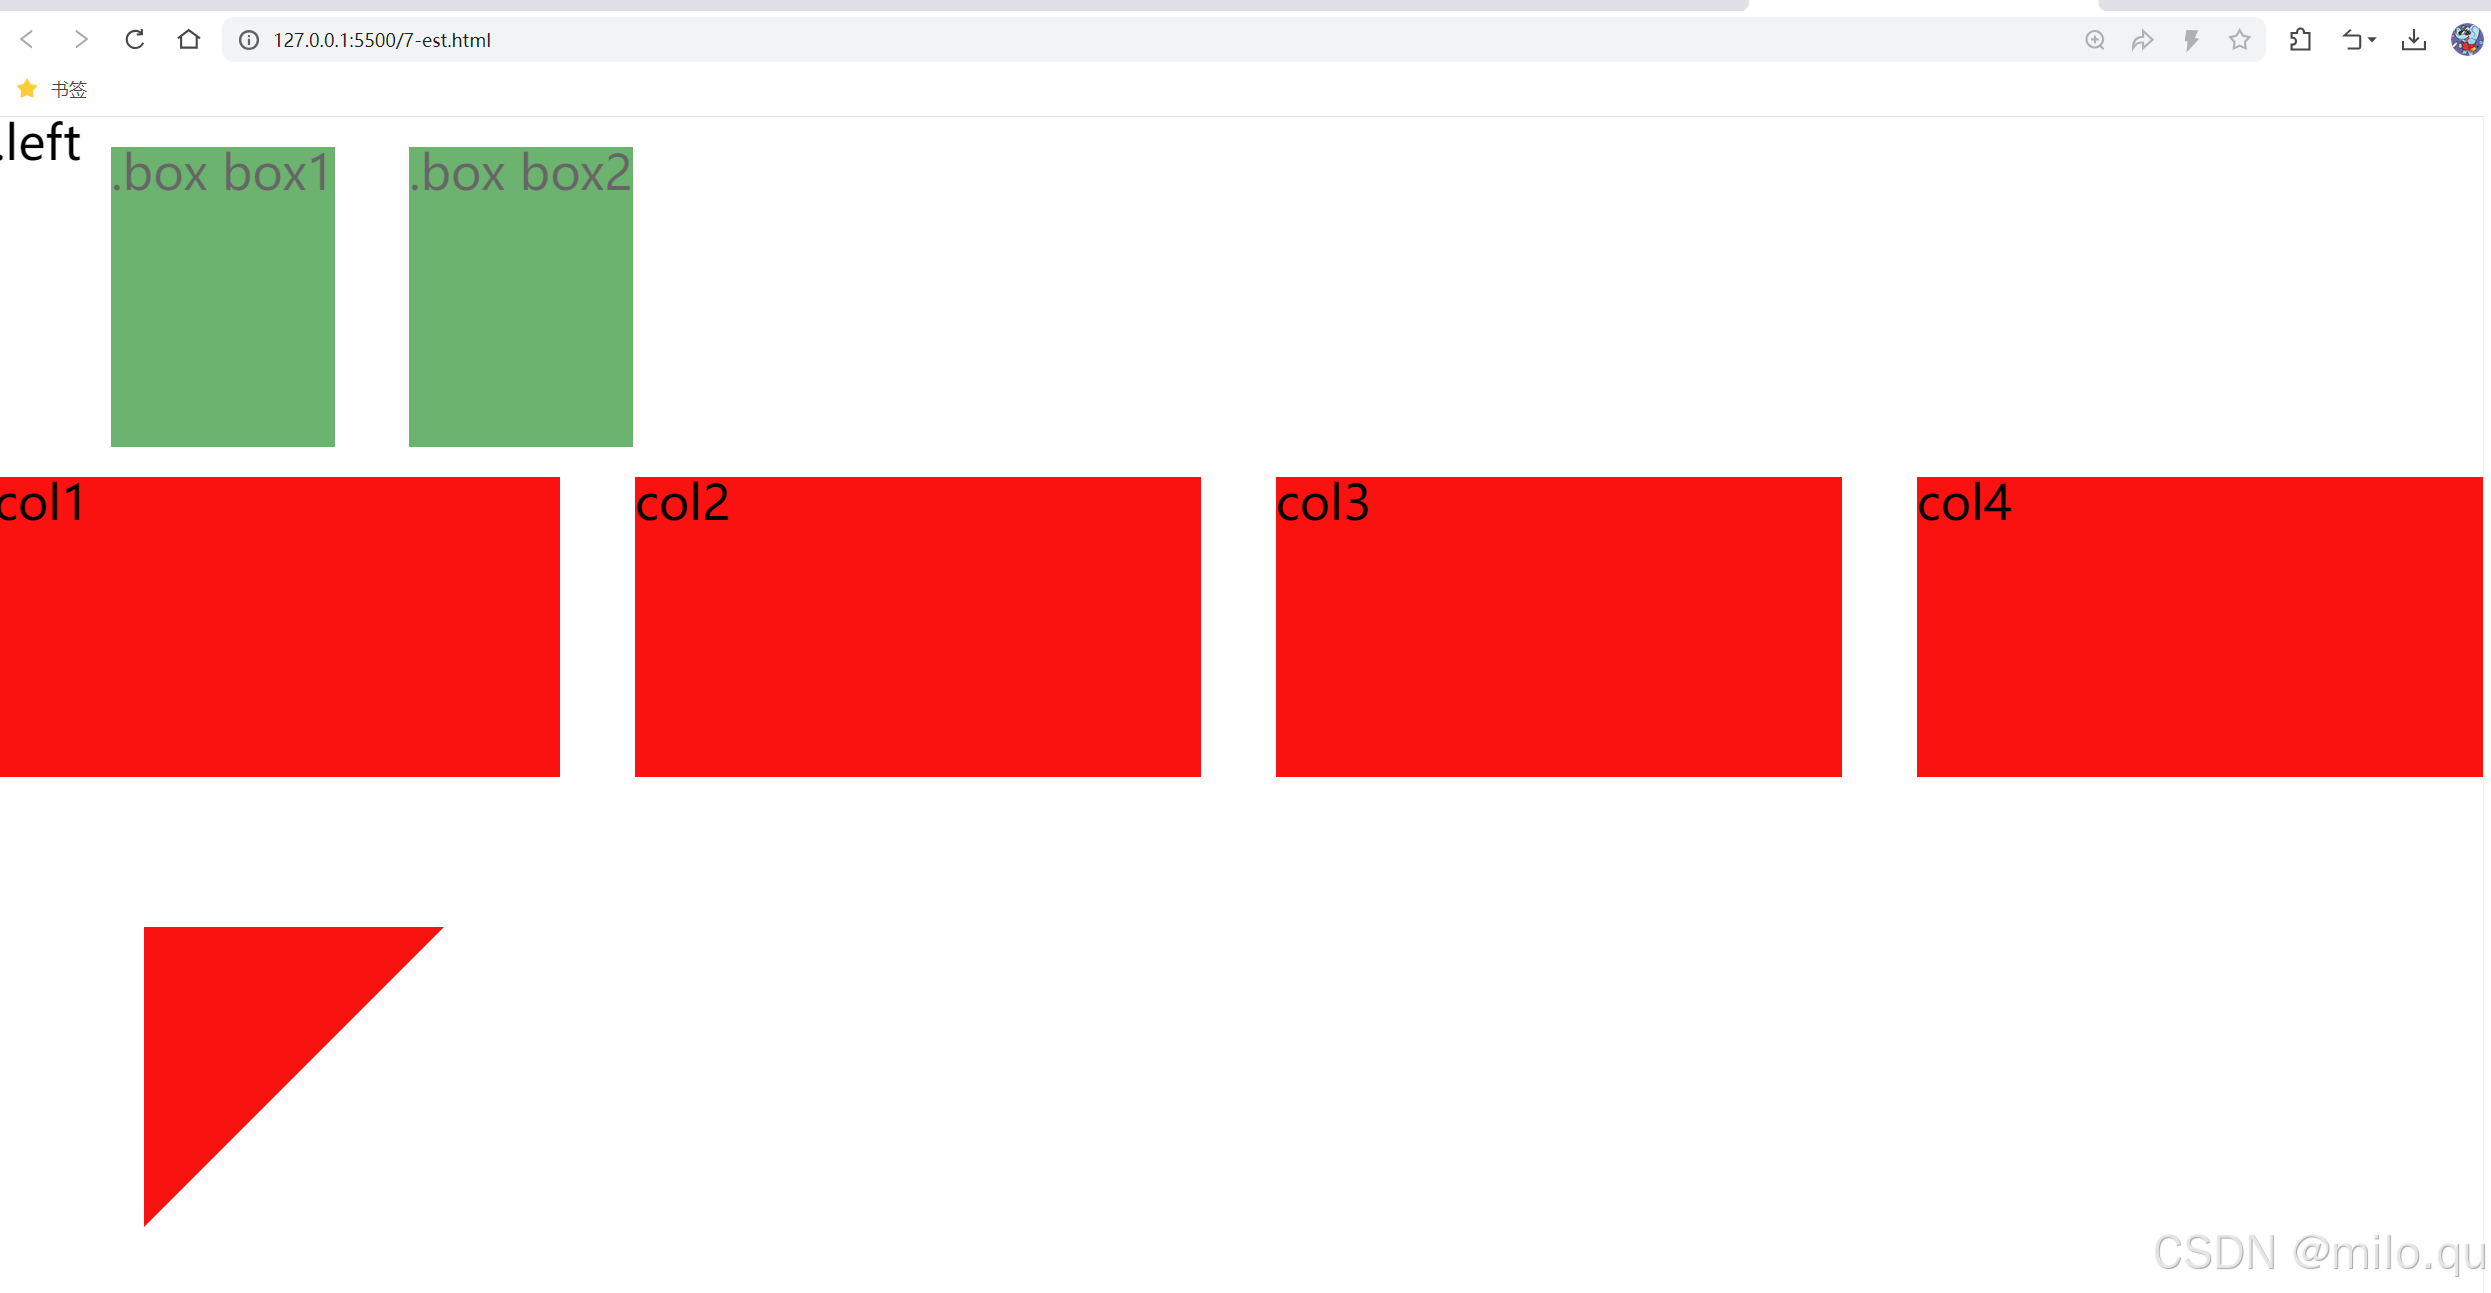
@import "est/all";编译后的CSS:
html,
body,
div,
span,
applet,
object,
iframe,
h1,
h2,
h3,
h4,
h5,
h6,
p,
blockquote,
pre,
a,
abbr,
acronym,
address,
big,
cite,
code,
del,
dfn,
em,
img,
ins,
kbd,
q,
s,
samp,
small,
strike,
strong,
sub,
sup,
tt,
var,
dl,
dt,
dd,
ol,
ul,
li,
fieldset,
form,
label,
legend,
table,
caption,
tbody,
tfoot,
thead,
tr,
th,
td {
  padding: 0;
  margin: 0;
  border: 0;
  outline: 0;
  font-weight: inherit;
  font-style: inherit;
  font-family: inherit;
  font-size: 100%;
  vertical-align: baseline;
}
body {
  line-height: 1;
}
ol,
ul {
  list-style: none;
}
table {
  border-collapse: separate;
  border-spacing: 0;
  vertical-align: middle;
}
caption,
th,
td {
  text-align: left;
  font-weight: normal;
  vertical-align: middle;
}
a img {
  border: none;
}
article,
aside,
details,
figcaption,
figure,
footer,
header,
hgroup,
menu,
nav,
section,
summary,
main {
  display: block;
  padding: 0;
  margin: 0;
  border: 0;
  outline: 0;
  font-weight: inherit;
  font-style: inherit;
  font-family: inherit;
  font-size: 100%;
  vertical-align: baseline;
}
audio,
canvas,
video {
  display: inline-block;
  *display: inline;
  *zoom: 1;
}
audio:not([controls]),
[hidden] {
  display: none;
}
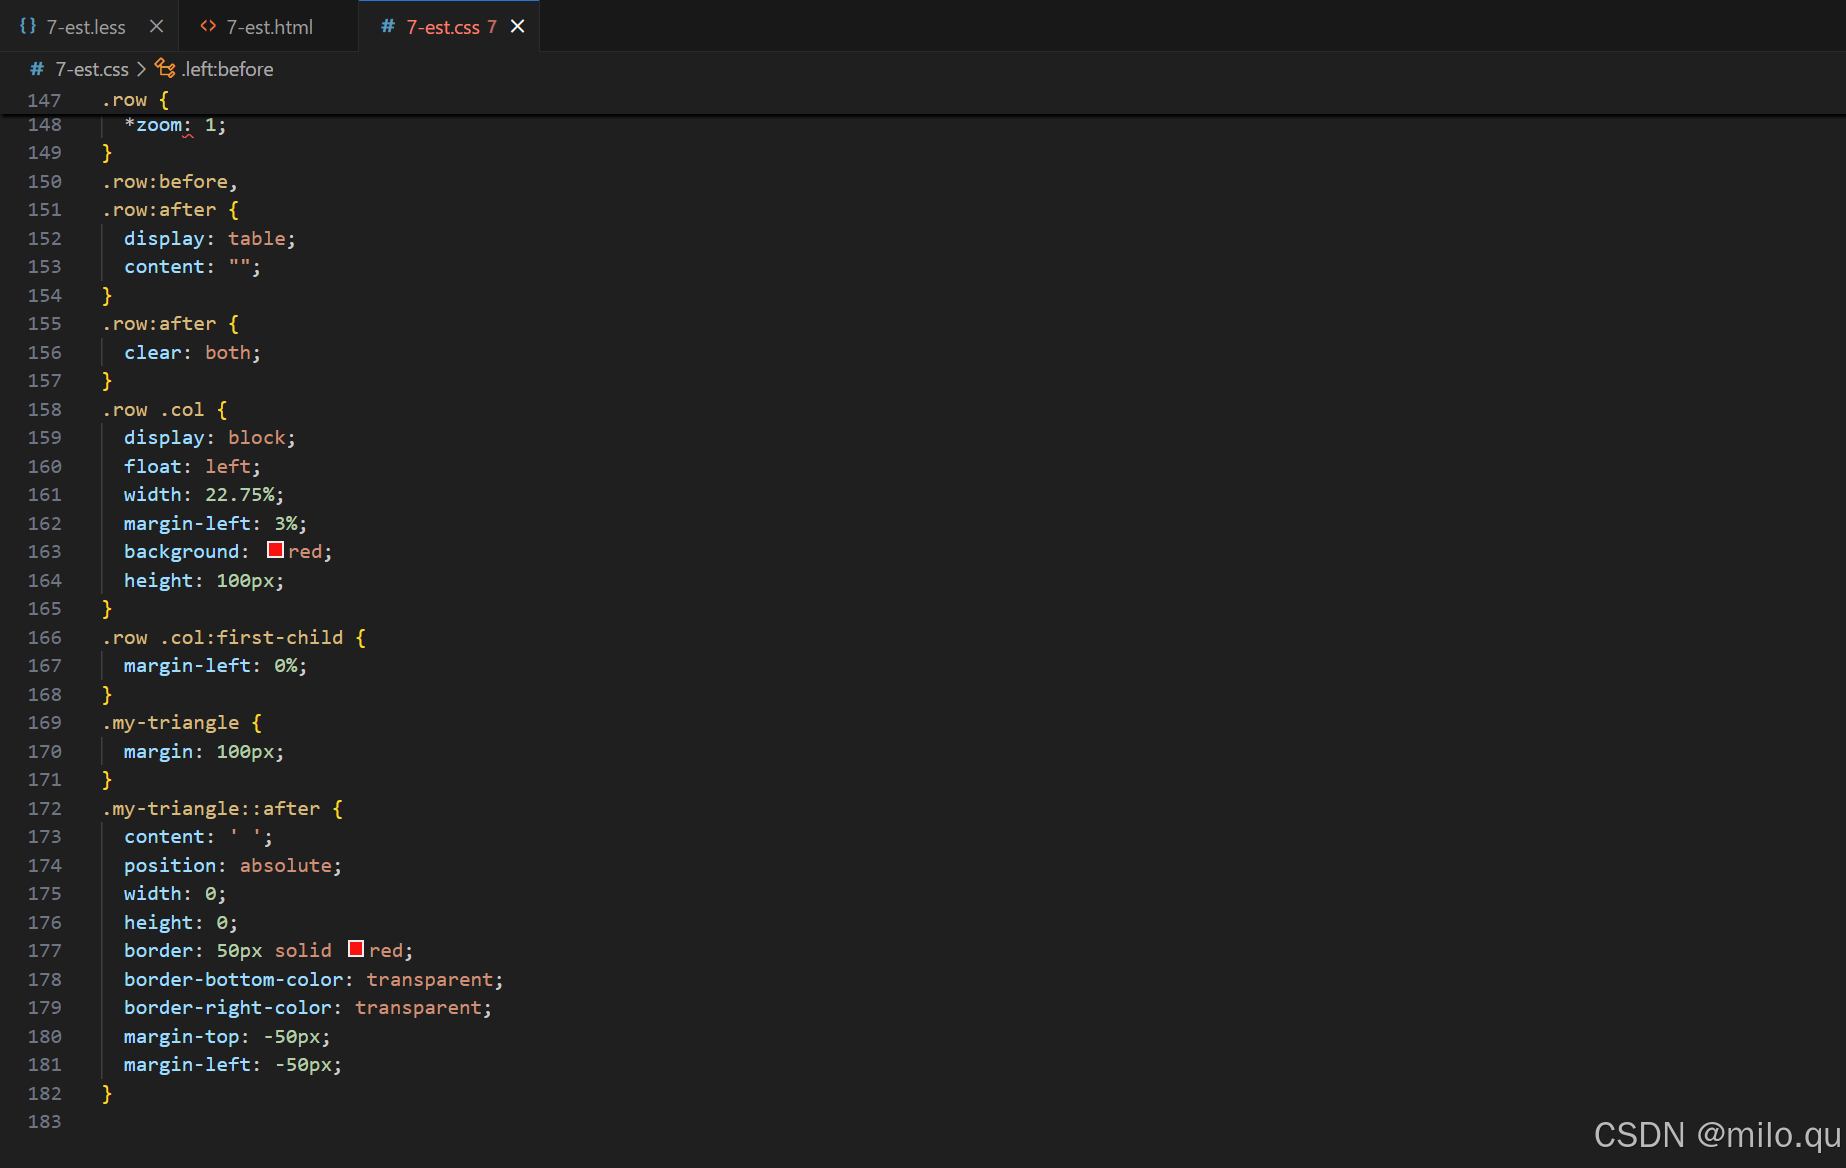
.box {
  display: inline-block;
  *display: inline;
  *zoom: 1;
  opacity: 0.6;
  filter: alpha(opacity=60);
  height: 100px;
  background: green;
  margin: 10px;
}
.left {
  float: left;
  *zoom: 1;
}
.left:before,
.left:after {
  display: table;
  content: "";
}
.left:after {
  clear: both;
}
.row {
  *zoom: 1;
}
.row:before,
.row:after {
  display: table;
  content: "";
}
.row:after {
  clear: both;
}
.row .col {
  display: block;
  float: left;
  width: 22.75%;
  margin-left: 3%;
  background: red;
  height: 100px;
}
.row .col:first-child {
  margin-left: 0%;
}
.my-triangle {
  margin: 100px;
}
.my-triangle::after {
  content: ' ';
  position: absolute;
  width: 0;
  height: 0;
  border: 50px solid red;
  border-bottom-color: transparent;
  border-right-color: transparent;
  margin-top: -50px;
  margin-left: -50px;
}
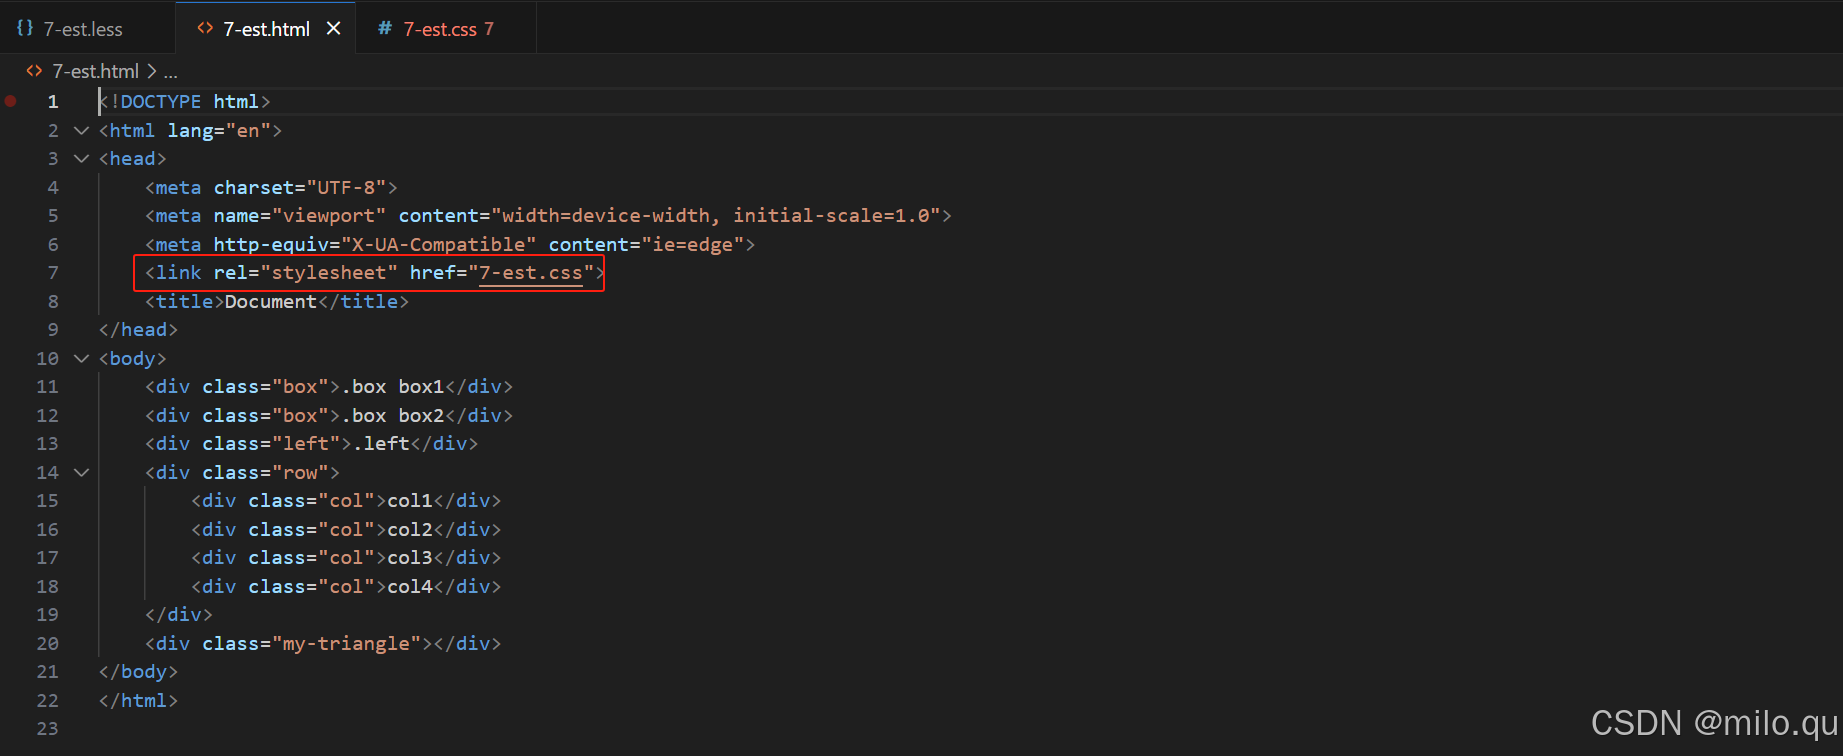
2.html引入的是编译后的CSS:
十五、真题

