一、本文介绍
作为入门性篇章,这里介绍了MHSA注意力在YOLOv8中的使用。包含MHSA的代码、MHSA的使用方法、以及添加以后的yaml文件及运行记录。
二、MHSA原理分析
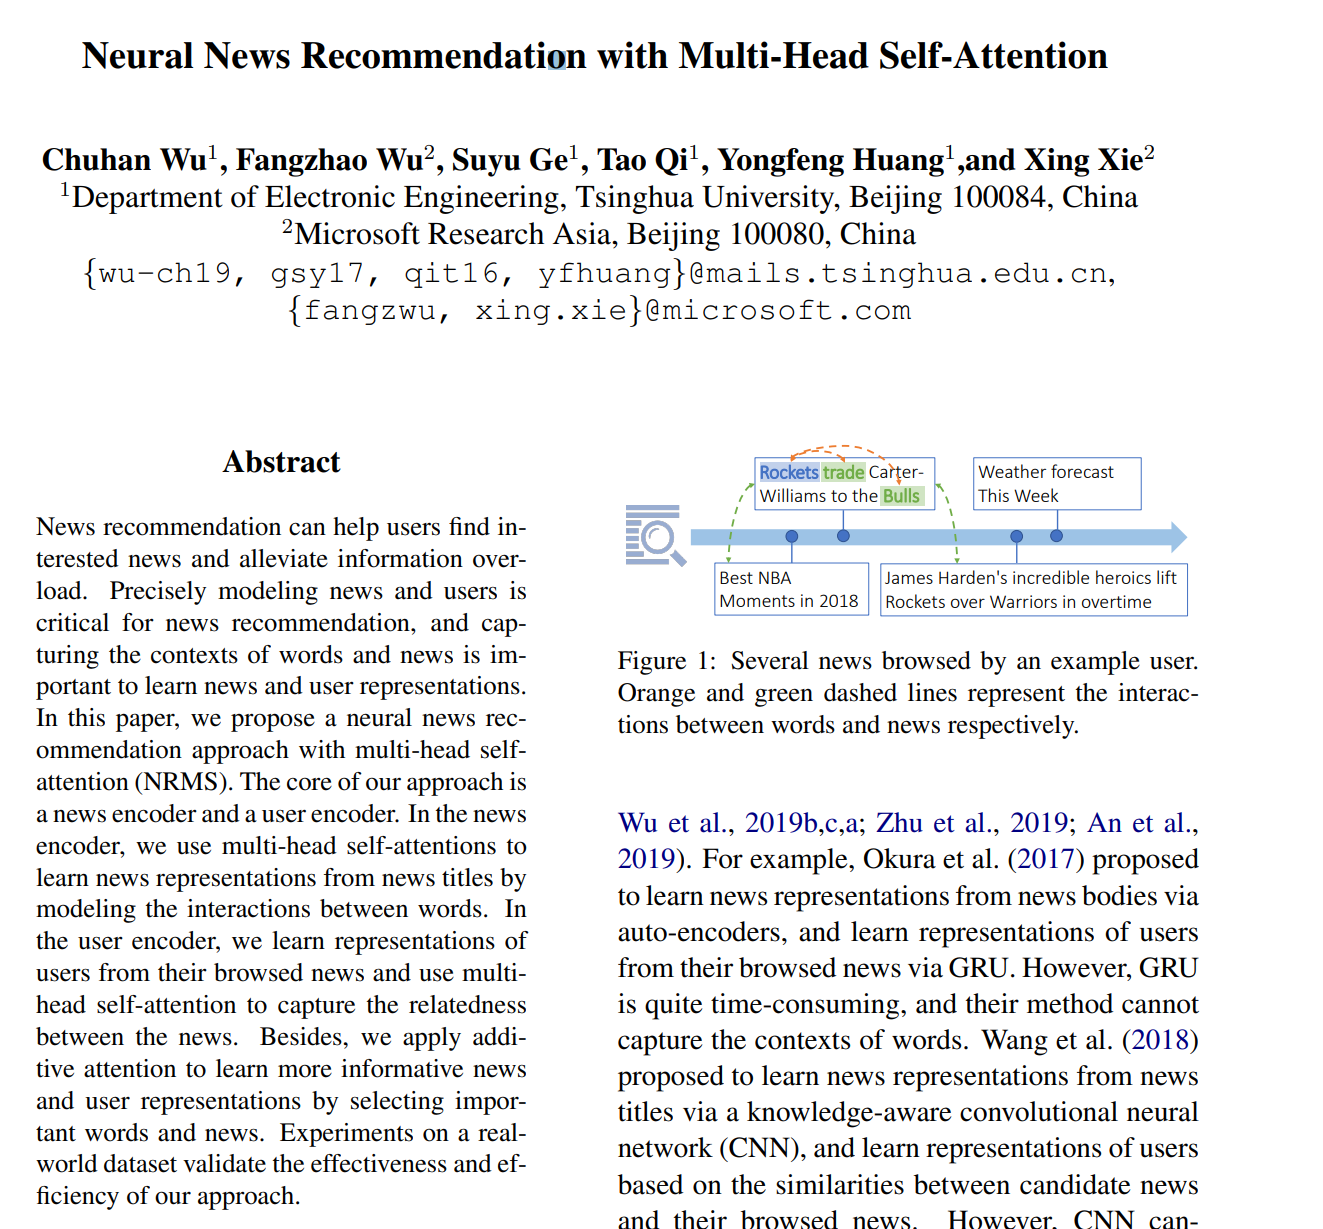
MHSA官方论文地址:MHSA注意力机制文章
MHSA注意力机制(多头注意力机制):
相关代码:
MHSA注意力的代码,如下:
class MHSA(nn.Module):
    def __init__(self, n_dims, width=14, height=14, heads=4, pos_emb=False):
        super(MHSA, self).__init__()

        self.heads = heads
        self.query = nn.Conv2d(n_dims, n_dims, kernel_size=1)
        self.key = nn.Conv2d(n_dims, n_dims, kernel_size=1)
        self.value = nn.Conv2d(n_dims, n_dims, kernel_size=1)
        self.pos = pos_emb
        if self.pos:
            self.rel_h_weight = nn.Parameter(torch.randn([1, heads, (n_dims) // heads, 1, int(height)]),
                                             requires_grad=True)
            self.rel_w_weight = nn.Parameter(torch.randn([1, heads, (n_dims) // heads, int(width), 1]),
                                             requires_grad=True)
        self.softmax = nn.Softmax(dim=-1)

    def forward(self, x):
        n_batch, C, width, height = x.size()
        q = self.query(x).view(n_batch, self.heads, C // self.heads, -1)
        k = self.key(x).view(n_batch, self.heads, C // self.heads, -1)
        v = self.value(x).view(n_batch, self.heads, C // self.heads, -1)
        content_content = torch.matmul(q.permute(0, 1, 3, 2), k)  # 1,C,h*w,h*w
        c1, c2, c3, c4 = content_content.size()
        if self.pos:
            content_position = (self.rel_h_weight + self.rel_w_weight).view(1, self.heads, C // self.heads, -1).permute(
                0, 1, 3, 2)  # 1,4,1024,64

            content_position = torch.matmul(content_position, q)  # ([1, 4, 1024, 256])
            content_position = content_position if (
                    content_content.shape == content_position.shape) else content_position[:, :, :c3, ]
            assert (content_content.shape == content_position.shape)
            energy = content_content + content_position
        else:
            energy = content_content
        attention = self.softmax(energy)
        out = torch.matmul(v, attention.permute(0, 1, 3, 2))  # 1,4,256,64
        out = out.view(n_batch, C, width, height)
        return out
四、YOLOv8中MHSA使用方法
1.YOLOv8中添加MHSA模块:
首先在ultralytics/nn/modules/conv.py最后添加MHSA模块的代码。
2.在conv.py的开头__all__ = 内添加MHSA模块的类别名:
3.在同级文件夹下的__init__.py内添加MHSA的相关内容:(分别是from .conv import MHSA ;以及在__all__内添加MHSA)
4.在ultralytics/nn/tasks.py进行MHSA注意力机制的注册,以及在YOLOv8的yaml配置文件中添加MHSA即可。
首先打开task.py文件,按住Ctrl+F,输入parse_model进行搜索。找到parse_model函数。在其最后一个else前面添加以下注册代码:
 elif m in {CBAM,SEAttention,MHSA}:#自己加的注意力模块
            c1, c2 = ch[f], args[0]
            if c2 != nc:
                c2 = make_divisible(min(c2, max_channels) * width, 8)
            args = [c1, *args[1:]]
然后,就是新建一个名为YOLOv8_MHSA.yaml的配置文件:(路径:ultralytics/cfg/models/v8/YOLOv8_MHSA.yaml)其中参数中nc,由自己的数据集决定。本文测试,采用的coco8数据集,有80个类别。
# Ultralytics YOLO 🚀, AGPL-3.0 license
# YOLOv8 object detection model with P3-P5 outputs. For Usage examples see https://docs.ultralytics.com/tasks/detect

# Parameters
nc: 80  # number of classes
scales: # model compound scaling constants, i.e. 'model=yolov8n.yaml' will call CPAM-yolov8.yaml with scale 'n'
  # [depth, width, max_channels]
  n: [0.33, 0.25, 1024]  # YOLOv8n summary: 225 layers,  3157200 parameters,  3157184 gradients,   8.9 GFLOPs
  s: [0.33, 0.50, 1024]  # YOLOv8s summary: 225 layers, 11166560 parameters, 11166544 gradients,  28.8 GFLOPs
  m: [0.67, 0.75, 768]   # YOLOv8m summary: 295 layers, 25902640 parameters, 25902624 gradients,  79.3 GFLOPs
  l: [1.00, 1.00, 512]   # YOLOv8l summary: 365 layers, 43691520 parameters, 43691504 gradients, 165.7 GFLOPs
  x: [1.00, 1.25, 512]   # YOLOv8x summary: 365 layers, 68229648 parameters, 68229632 gradients, 258.5 GFLOPs

# YOLOv8.0n backbone
backbone:
  # [from, repeats, module, args]
  - [-1, 1, Conv, [64, 3, 2]]  # 0-P1/2
  - [-1, 1, Conv, [128, 3, 2]]  # 1-P2/4
  - [-1, 3, C2f, [128, True]]
  - [-1, 1, Conv, [256, 3, 2]]  # 3-P3/8
  - [-1, 6, C2f, [256, True]]
  - [-1, 1, Conv, [512, 3, 2]]  # 5-P4/16
  - [-1, 6, C2f, [512, True]]
  - [-1, 1, Conv, [1024, 3, 2]]  # 7-P5/32
  - [-1, 3, C2f, [1024, True]]
  - [-1, 1,MHSA, [1024]]
  - [-1, 1, SPPF, [1024, 5]]  # 9

# YOLOv8.0n head
head:
  - [-1, 1, nn.Upsample, [None, 2, 'nearest']]
  - [[-1, 6], 1, Concat, [1]]  # cat backbone P4
  - [-1, 3, C2f, [512]]  # 12

  - [-1, 1, nn.Upsample, [None, 2, 'nearest']]
  - [[-1, 4], 1, Concat, [1]]  # cat backbone P3
  - [-1, 3, C2f, [256]]  # 15 (P3/8-small)

  - [-1, 1, Conv, [256, 3, 2]]
  - [[-1, 13], 1, Concat, [1]]  # cat head P4
  - [-1, 3, C2f, [512]]  # 18 (P4/16-medium)

  - [-1, 1, Conv, [512, 3, 2]]
  - [[-1, 10], 1, Concat, [1]]  # cat head P5
  - [-1, 3, C2f, [1024]]  # 21 (P5/32-large)

  - [[16, 19, 22], 1, Detect, [nc]]  # Detect(P3, P4, P5)
在根目录新建一个train.py文件,内容如下
from ultralytics import YOLO

with warnings.catch_warnings():
    warnings.simplefilter("ignore")
# 加载一个模型
    model = YOLO('ultralytics/cfg/models/v8/YOLOv8_MHSA.yaml')  # 从YAML建立一个新模型
# 训练模型
    results = model.train(data='ultralytics/cfg/datasets/coco8.yaml', epochs=1,imgsz=640,optimizer="SGD")
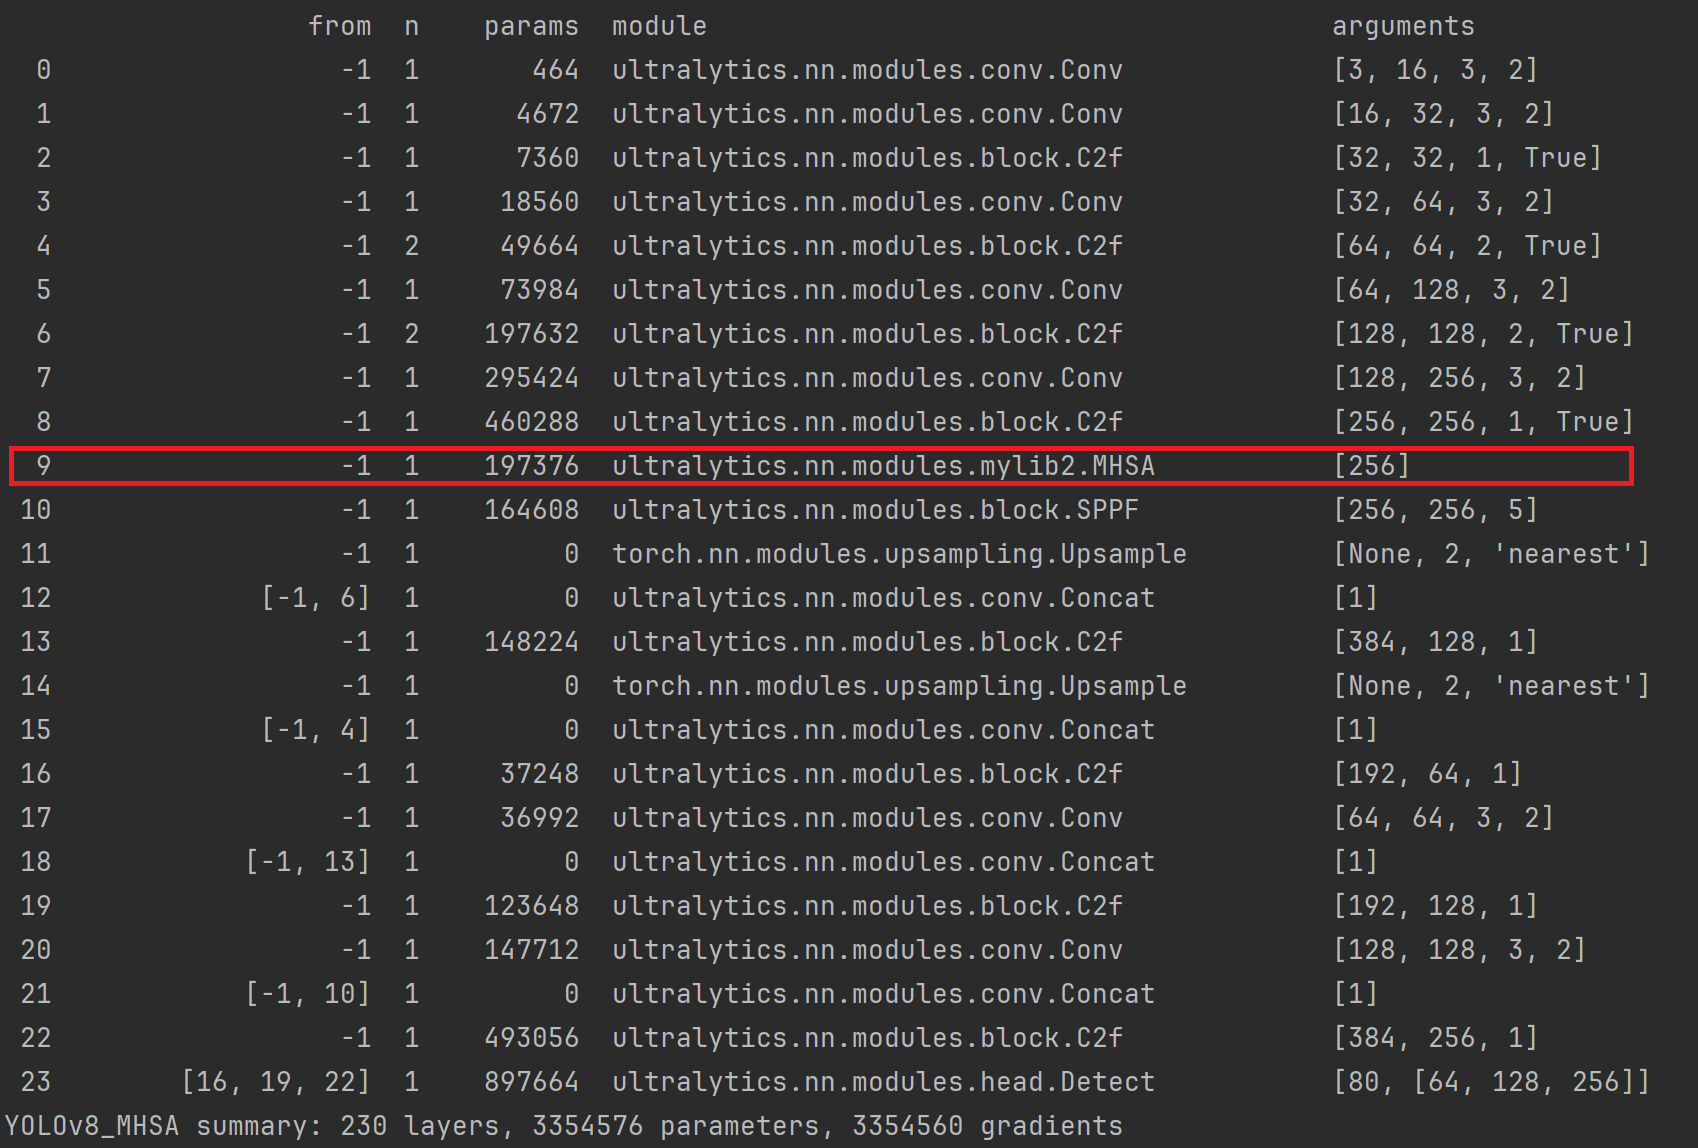
训练输出:
五、总结
以上就是MHSA的使用方式,但具体MHSA注意力机制的具体位置放哪里,效果更好。需要根据不同的数据集做相应的实验验证。希望本文能够帮助你入门YOLO中注意力机制的使用。


