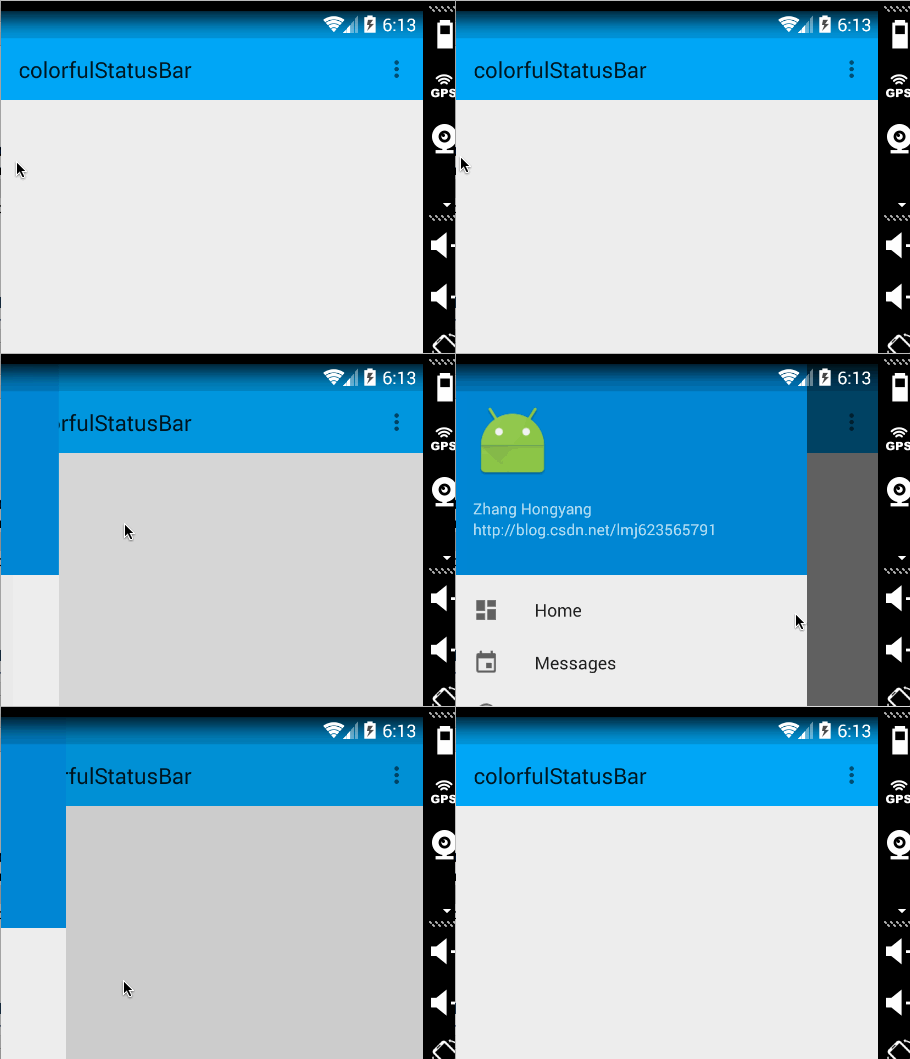
- 4.4 模拟器
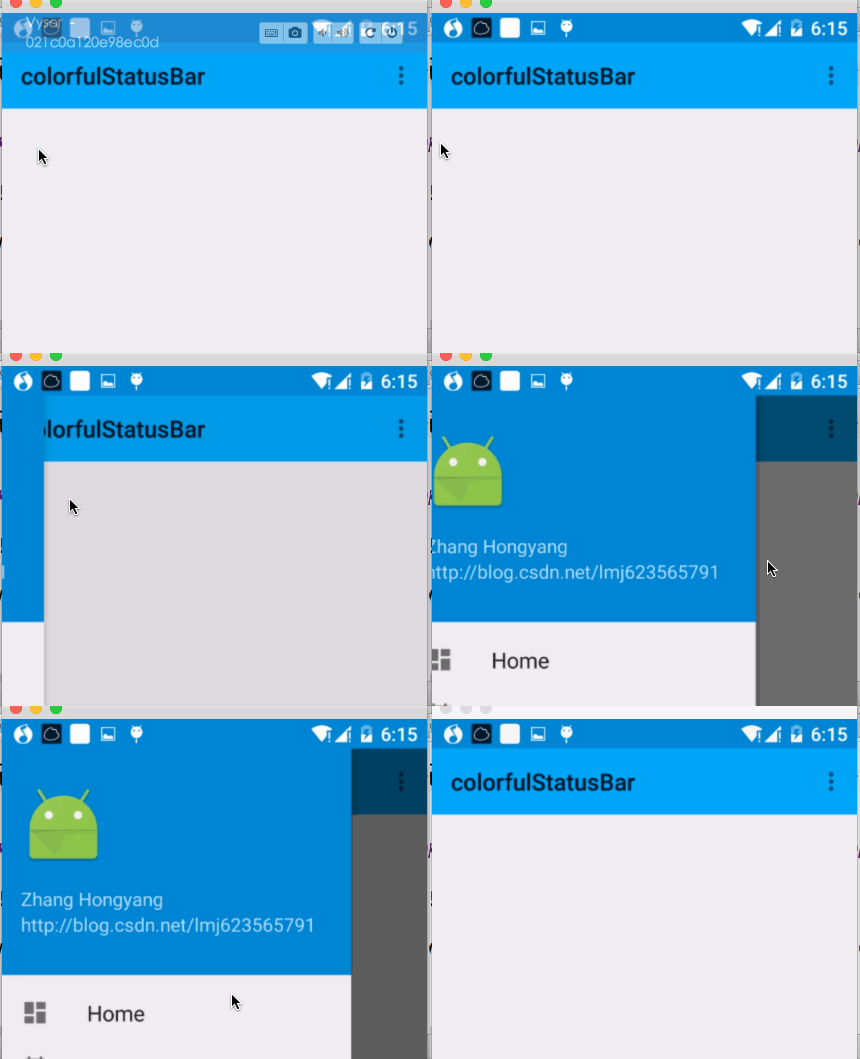
- 5.x 真机
[new]贴个如果顶部是图片的效果图,其实是一样的,为了方便我就放侧栏的顶部了。

稍等,csdn图片服务器异常…
ok,有了效果图之后就开始看实现了。
三、实现半透明状态栏
因为本例使用了NavigationView,所以布局代码稍多,当然如果你不需要,可以自己进行筛减。
注意引入相关依赖:
compile ‘com.android.support:appcompat-v7:22.2.1’
compile ‘com.android.support:support-v4:22.2.1’
compile ‘com.android.support:design:22.2.0’
(一)colors.xml 和 styles.xml
首先我们定义几个颜色:
res/values/color.xml
<?xml version="1.0" encoding="utf-8"?>#FF03A9F4
#FF0288D1
@color/primary_dark
下面定义几个styles.xml
注意文件夹的路径:
values/styles.xml
values-v19
ok,这个没撒说的。注意我们的主题是基于NoActionBar的,android:windowTranslucentStatus这个属性是v19开始引入的。
(二)布局文件
activity_main.xml
<android.support.v4.widget.DrawerLayout
xmlns:android=“http://schemas.android.com/apk/res/android”
xmlns:app=“http://schemas.android.com/apk/res-auto”
xmlns:tools=“http://schemas.android.com/tools”
android:layout_width=“match_parent”
android:layout_height=“match_parent”
<LinearLayout
android:id=“@+id/id_main_content”
android:layout_width=“match_parent”
android:layout_height=“match_parent”
android:orientation=“vertical”>
<android.support.v7.widget.Toolbar
android:id=“@+id/id_toolbar”
android:layout_width=“match_parent”
android:layout_height=“wrap_content”
android:background=“?attr/colorPrimary”
android:fitsSystemWindows=“true”
app:popupTheme=“@style/ThemeOverlay.AppCompat.Light”/>
<TextView
android:id=“@+id/id_tv_content”
android:layout_width=“match_parent”
android:layout_height=“0dp”
android:layout_weight=“1”
android:gravity=“center”
android:text=“HelloWorld”
android:textSize=“30sp”/>
<android.support.design.widget.NavigationView
android:id=“@+id/id_nv_menu”
android:layout_width=“match_parent”
android:layout_height=“match_parent”
android:layout_gravity=“start”
android:fitsSystemWindows=“true”
app:headerLayout=“@layout/header_just_username”
app:menu=“@menu/menu_drawer”
/>
</android.support.v4.widget.DrawerLayout>
DrawerLayout内部一个LinearLayout作为内容区域,一个NavigationView作为菜单。
注意下Toolbar的高度设置为wrap_content。
然后我们的NavigationView中又依赖一个布局文件和一个menu的文件。
header_just_username.xml
<?xml version="1.0" encoding="utf-8"?><RelativeLayout xmlns:android=“http://schemas.android.com/apk/res/android”
android:layout_width=“match_parent”
android:layout_height=“192dp”
android:background=“?attr/colorPrimaryDark”
android:orientation=“vertical”
android:padding=“16dp”
android:fitsSystemWindows=“true”
android:theme=“@style/ThemeOverlay.AppCompat.Dark”>
<TextView
android:id=“@+id/id_link”
android:layout_width=“wrap_content”
android:layout_height=“wrap_content”
android:layout_alignParentBottom=“true”
android:layout_marginBottom=“16dp”
android:text=“http://blog.csdn.net/lmj623565791”/>
<TextView
android:id=“@+id/id_username”
android:layout_width=“wrap_content”
android:layout_height=“wrap_content”
android:layout_above=“@id/id_link”
android:text=“Zhang Hongyang”/>
<ImageView
android:layout_width=“72dp”
android:layout_height=“72dp”
android:layout_above=“@id/id_username”
android:layout_marginBottom=“16dp”
android:src=“@mipmap/ic_launcher”/>
menu的文件就不贴了,更加详细的可以去参考Android 自己实现 NavigationView [Design Support Library(1)]。
大体看完布局文件以后,有几个点要特别注意:
-
ToolBar高度设置为
wrap_content -
ToolBar添加属性
android:fitsSystemWindows="true" -
header_just_username.xml的跟布局RelativeLayout,添加属性
android:fitsSystemWindows="true"
android:fitsSystemWindows这个属性,主要是通过调整当前设置这个属性的view的padding去为我们的status_bar留下空间。
根据上面的解释,如果你不写,那么状态栏和Toolbar就会有挤一块的感觉了,类似会这样:
ok,最后看下代码。
(三)Activity的代码
package com.zhy.colorfulstatusbar;
import android.os.Bundle;
import android.support.v7.app.AppCompatActivity;
import android.support.v7.widget.Toolbar;
public class MainActivity extends AppCompatActivity
{
@Override
protected void onCreate(Bundle savedInstanceState)
{
super.onCreate(savedInstanceState);
setContentView(R.layout.activity_main);
Toolbar toolbar = (Toolbar) findViewById(R.id.id_toolbar);
setSupportActionBar(toolbar);
//StatusBarCompat.compat(this, getResources().getColor(R.color.status_bar_color));
//StatusBarCompat.compat(this);
}
}
没撒说的,就是setSupportActionBar。
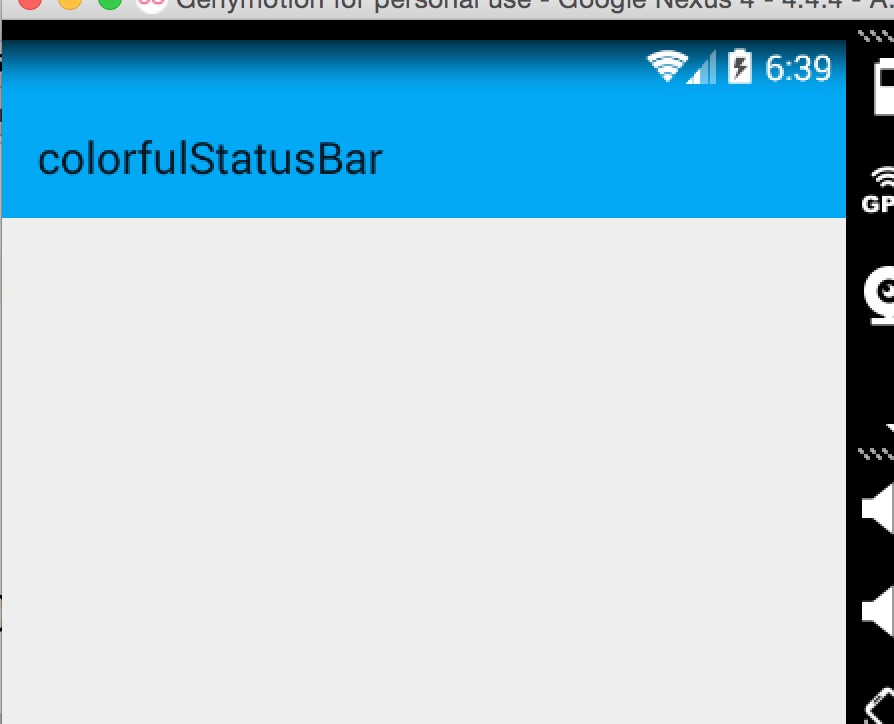
那么现在4.4的效果图是:
其实还不错,有个渐变的效果。
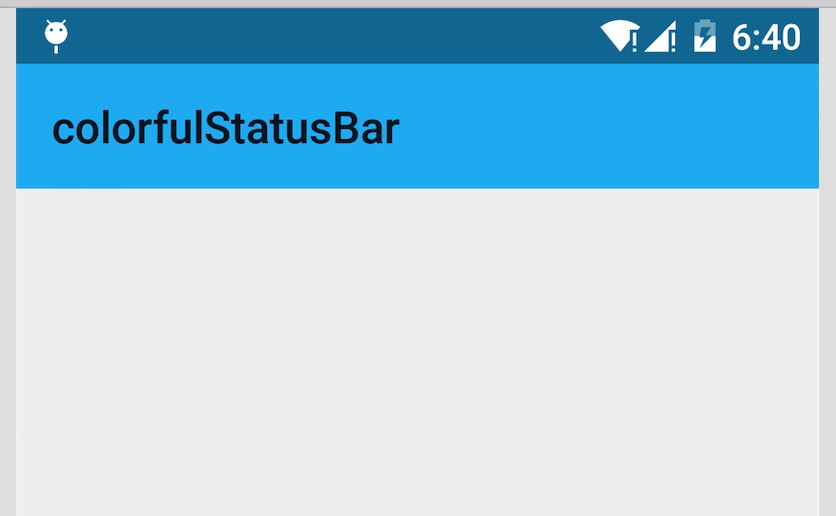
现在5.x的效果:
可以看到5.x默认并非是一个渐变的效果,类似是一个深一点的颜色。
在看看我们md的规范
状态栏应该是一个比Toolbar背景色,稍微深一点的颜色。
这么看来,我们还是有必要去为4.4做点适配工作,让其竟可能和5.x显示效果一致,或者说尽可能符合md的规范。
四、调整4.4的显示方案
那么问题来了?如何做呢?
咱们这么看,4.4之后加入windowTranslucentStatus的属性之后,也就是我们可以用到状态栏的区域了。
既然我们可以用到这块区域,那么我们只要在根布局去设置一个与状态栏等高的View,设置背景色为我们期望的颜色就可以了。
于是有了以下的代码:
package com.zhy.colorfulstatusbar;
import android.annotation.TargetApi;
import android.app.Activity;
import android.content.Context;
import android.graphics.Color;
import android.os.Build;
import android.view.View;
import android.view.ViewGroup;
/**
- Created by zhy on 15/9/21.
*/
public class StatusBarCompat
{
private static final int INVALID_VAL = -1;
private static final int COLOR_DEFAULT = Color.parseColor(“#20000000”);
@TargetApi(Build.VERSION_CODES.LOLLIPOP)
public static void compat(Activity activity, int statusColor)
{
if (Build.VERSION.SDK_INT >= Build.VERSION_CODES.LOLLIPOP)
{
if (statusColor != INVALID_VAL)
{
activity.getWindow().setStatusBarColor(statusColor);
}
return;
自我介绍一下,小编13年上海交大毕业,曾经在小公司待过,也去过华为、OPPO等大厂,18年进入阿里一直到现在。
深知大多数初中级Android工程师,想要提升技能,往往是自己摸索成长或者是报班学习,但对于培训机构动则近万的学费,着实压力不小。自己不成体系的自学效果低效又漫长,而且极易碰到天花板技术停滞不前!
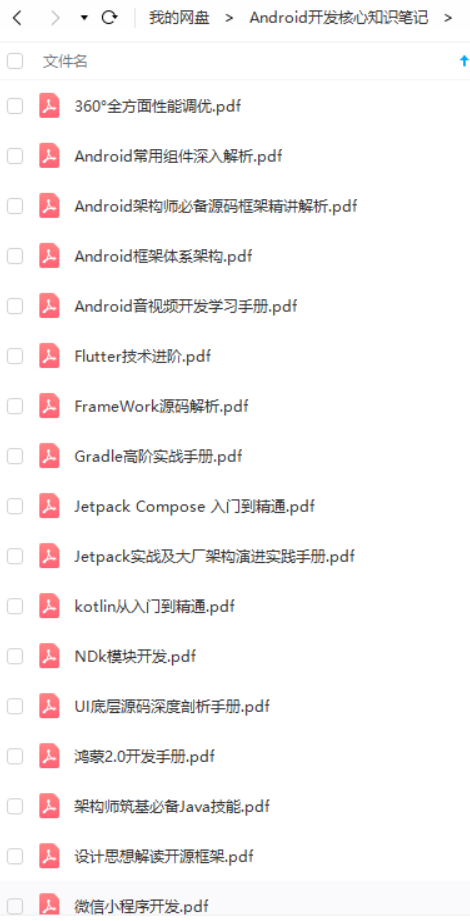
因此收集整理了一份《2024年Android移动开发全套学习资料》,初衷也很简单,就是希望能够帮助到想自学提升又不知道该从何学起的朋友,同时减轻大家的负担。
既有适合小白学习的零基础资料,也有适合3年以上经验的小伙伴深入学习提升的进阶课程,基本涵盖了95%以上Android开发知识点,真正体系化!
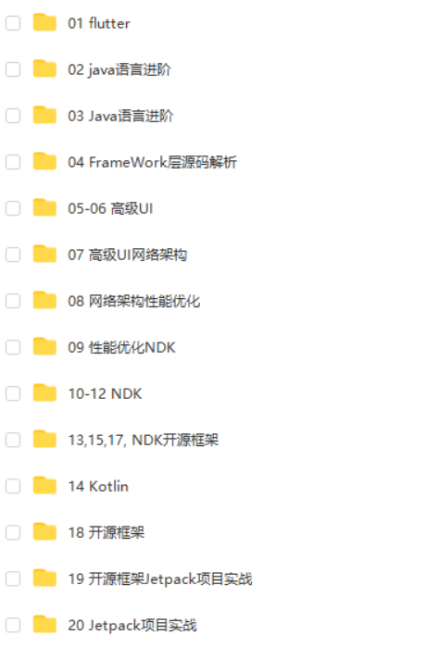
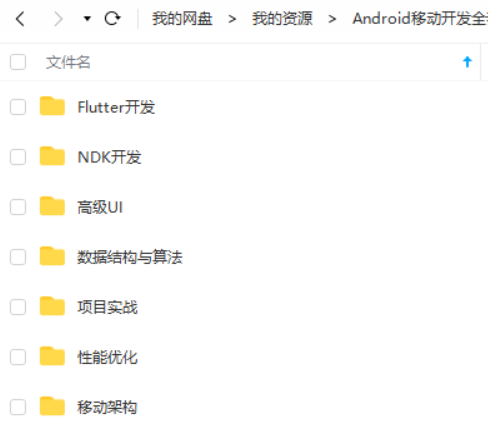
由于文件比较大,这里只是将部分目录截图出来,每个节点里面都包含大厂面经、学习笔记、源码讲义、实战项目、讲解视频,并且会持续更新!
如果你觉得这些内容对你有帮助,可以扫码获取!!(备注:Android)
最后
在这里小编整理了一份Android大厂常见面试题,和一些Android架构视频解析,都已整理成文档,全部都已打包好了,希望能够对大家有所帮助,在面试中能顺利通过。
喜欢本文的话,不妨顺手给我点个小赞、评论区留言或者转发支持一下呗
《互联网大厂面试真题解析、进阶开发核心学习笔记、全套讲解视频、实战项目源码讲义》点击传送门即可获取!
762305179)]
既有适合小白学习的零基础资料,也有适合3年以上经验的小伙伴深入学习提升的进阶课程,基本涵盖了95%以上Android开发知识点,真正体系化!
由于文件比较大,这里只是将部分目录截图出来,每个节点里面都包含大厂面经、学习笔记、源码讲义、实战项目、讲解视频,并且会持续更新!
如果你觉得这些内容对你有帮助,可以扫码获取!!(备注:Android)
[外链图片转存中…(img-4SAwDF7J-1713762305180)]
最后
在这里小编整理了一份Android大厂常见面试题,和一些Android架构视频解析,都已整理成文档,全部都已打包好了,希望能够对大家有所帮助,在面试中能顺利通过。
[外链图片转存中…(img-EuVlgh0w-1713762305181)]
[外链图片转存中…(img-d9kf42ab-1713762305182)]
喜欢本文的话,不妨顺手给我点个小赞、评论区留言或者转发支持一下呗
《互联网大厂面试真题解析、进阶开发核心学习笔记、全套讲解视频、实战项目源码讲义》点击传送门即可获取!
