参考链接
- 工具系列 | Ubuntu18.04安装Openssl-1.1.1_Tinywan的技术博客_51CTO博客
- 密码学专题 openssl编译和安装_MY CUP OF TEA的博客-CSDN博客_openssl 编译安装
下载
编译
- 使用命令sudo tar -xvzf openssl-1.1.1q.tar.gz 解压。
- 使用cd openssl-1.1.1q/进入目录
- 使用./config生成MakeFile,不加任何参数,默认的安装位置为:/usr/local/bin/openssl
- 使用 make 进行编译
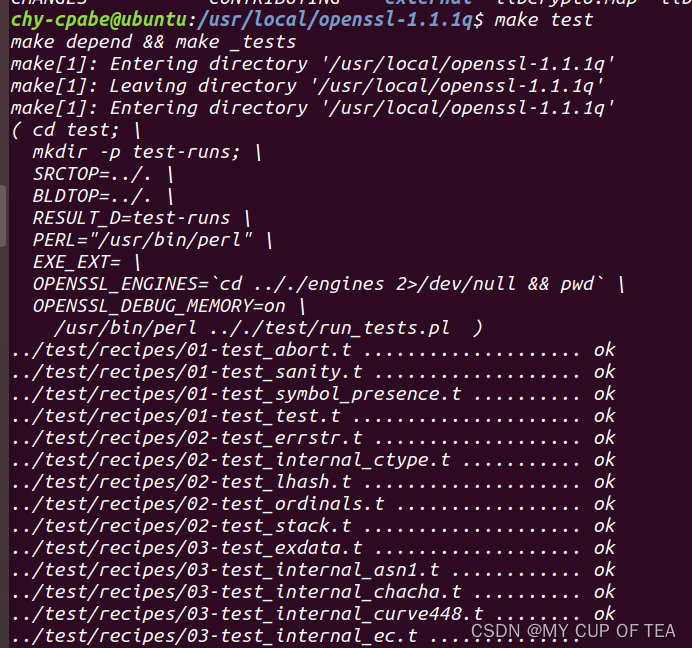
- 不放心的话可以使用make tset检查一下(可选步骤)
- 使用sudo make install进行安装,这里一定要选择root用户的权限执行。
 备份与替换
备份与替换
- 到上一步openssl就算安装好了,但是还无法使用,需要通过软链接的方式将新旧版本就行替换,依次运行下列命令。
- sudo mv /usr/bin/openssl /usr/bin/openssl.old //将旧版本的openssl进行备份
- sudo ln -s /usr/local/bin/openssl /usr/bin/openssl //将新版本的openssl进行软链接
- cd /etc/ //进入etc目录
- su //下一步一定要切换到root用户
- echo "/usr/local/lib" >> ld.so.conf //将openssl的安装路径加入配置中
- ldconfig //重新加载配置
- 使用openssl进行验证
补充
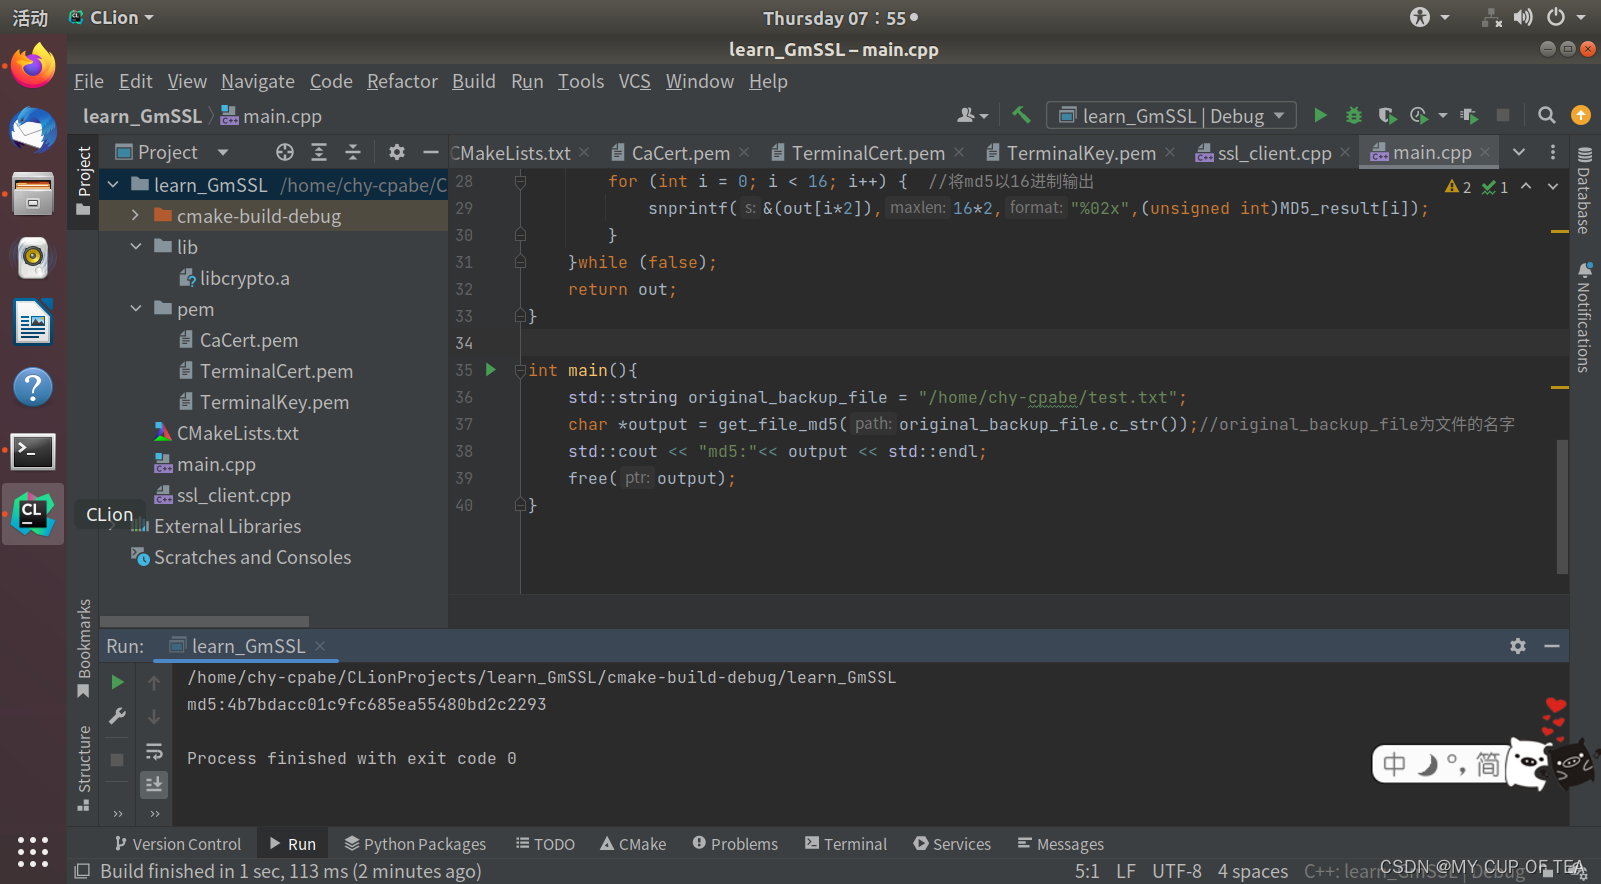
- 使用clion编写代码,测试是否可以引入openssl的库文件
- 参考链接
- clion中链接openssl库_MY CUP OF TEA的博客-CSDN博客_clion openssl
- 使用开源的openssl的md5头文件,实现对于文件的md5代码_MY CUP OF TEA的博客-CSDN博客
代码
#include "openssl/md5.h"
#include <iostream>
#include <fstream>
#include <iomanip>

//#define MAX_DATA_BUFF = 1024;
//#define MD5_LENGTH = 16
char* get_file_md5(const char * path){
    char *out = (char *)malloc(33); //输出
    std::ifstream file(path,std::ios::in|std::ios::binary);//打开文件
    unsigned char MD5_result[16];
    do {
        if(file.fail()){
            std::cout<<"open file failure!"<<std::endl;
            break;
        }
        MD5_CTX md5_ctx;
        MD5_Init(&md5_ctx);
        char data_Buff[1024];
        while (!file.eof()){
            file.read(data_Buff,1024);//读取文件
            int length = file.gcount();
            if (length){
                MD5_Update(&md5_ctx,data_Buff,length);//将当前文件加入并且更新MD5
            }
        }
        MD5_Final(MD5_result,&md5_ctx); //获取MD5
        for (int i = 0; i < 16; i++) {  //将md5以16进制输出
            snprintf(&(out[i*2]),16*2,"%02x",(unsigned int)MD5_result[i]);
        }
    }while (false);
    return out;
}

int main(){
    std::string original_backup_file = "/home/chy-cpabe/test.txt";
    char *output = get_file_md5(original_backup_file.c_str());//original_backup_file为文件的名字
    std::cout << "md5:"<< output << std::endl;
    free(output);
}- 将执行结果和使用命令行计算得到的结果进行对比验证


