1. vscode中设置C++版本的ROS2用户代码片段
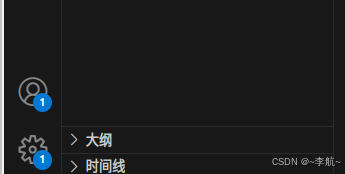
1) 找到vscode 下的设置选项,选择用户代码片段
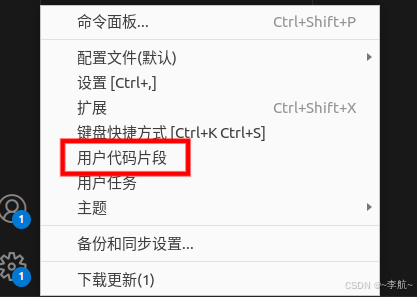
2) 选择用户代码片段后,会弹出选择框,如下图,输入C++,选择 cpp.json

配置好的文件
进入如下文件,下图为本人配置的代码片段模版文件
{
	// Place your snippets for cpp here. Each snippet is defined under a snippet name and has a prefix, body and
	// description. The prefix is what is used to trigger the snippet and the body will be expanded and inserted. Possible variables are:
	// $1, $2 for tab stops, $0 for the final cursor position, and ${1:label}, ${2:another} for placeholders. Placeholders with the
	// same ids are connected.
	// Example:
	// "Print to console": {
	// 	"prefix": "log",
	// 	"body": [
	// 		"console.log('$1');",
	// 		"$2"
	// 	],
	// 	"description": "Log output to console"
	// }

	"Print to console": {
		"prefix": "ros2_node_cpp",
		"body": [
				"/*",
				"	 需求:订阅发布方发布的消息,并在终端输出。",
				"	 流程:",
				"		1.包含头文件;",
				"		2.初始化ROS2客户端;",
				"		3.自定义节点类;",
				"		3-1.创建订阅方;",
				"		3-2.解析并输出数据。",
				"		4.调用spain函数,并传入节点对象指针;",
				"		5.资源释放。",
				"*/",
				"// 1.包含头文件",
				"#include \"rclcpp/rclcpp.hpp\"",
				"",
				"// 3.自定义节点类",
				"class MyNode: public rclcpp::Node{",
				"public:",
				"	MyNode():Node(\"mynode_node_cpp\"){",
				"		",
				"		",
				"	}",
				"};",
				"",
				"int main(int argc, char const *argv[])",
				"{",
				"	// 2.初始化ROS2客户端;",
				"	rclcpp::init(argc,argv);",
				"	// 4.调用spain函数,并传入节点对象指针;",
				"	rclcpp::spin(std::make_shared<MyNode>());",
				"	// 5.资源释放。",
				"	rclcpp::shutdown();",
				"	return 0;",
				"}",
		],
		"description": "ros2 main func"
	}
}
配置方法:
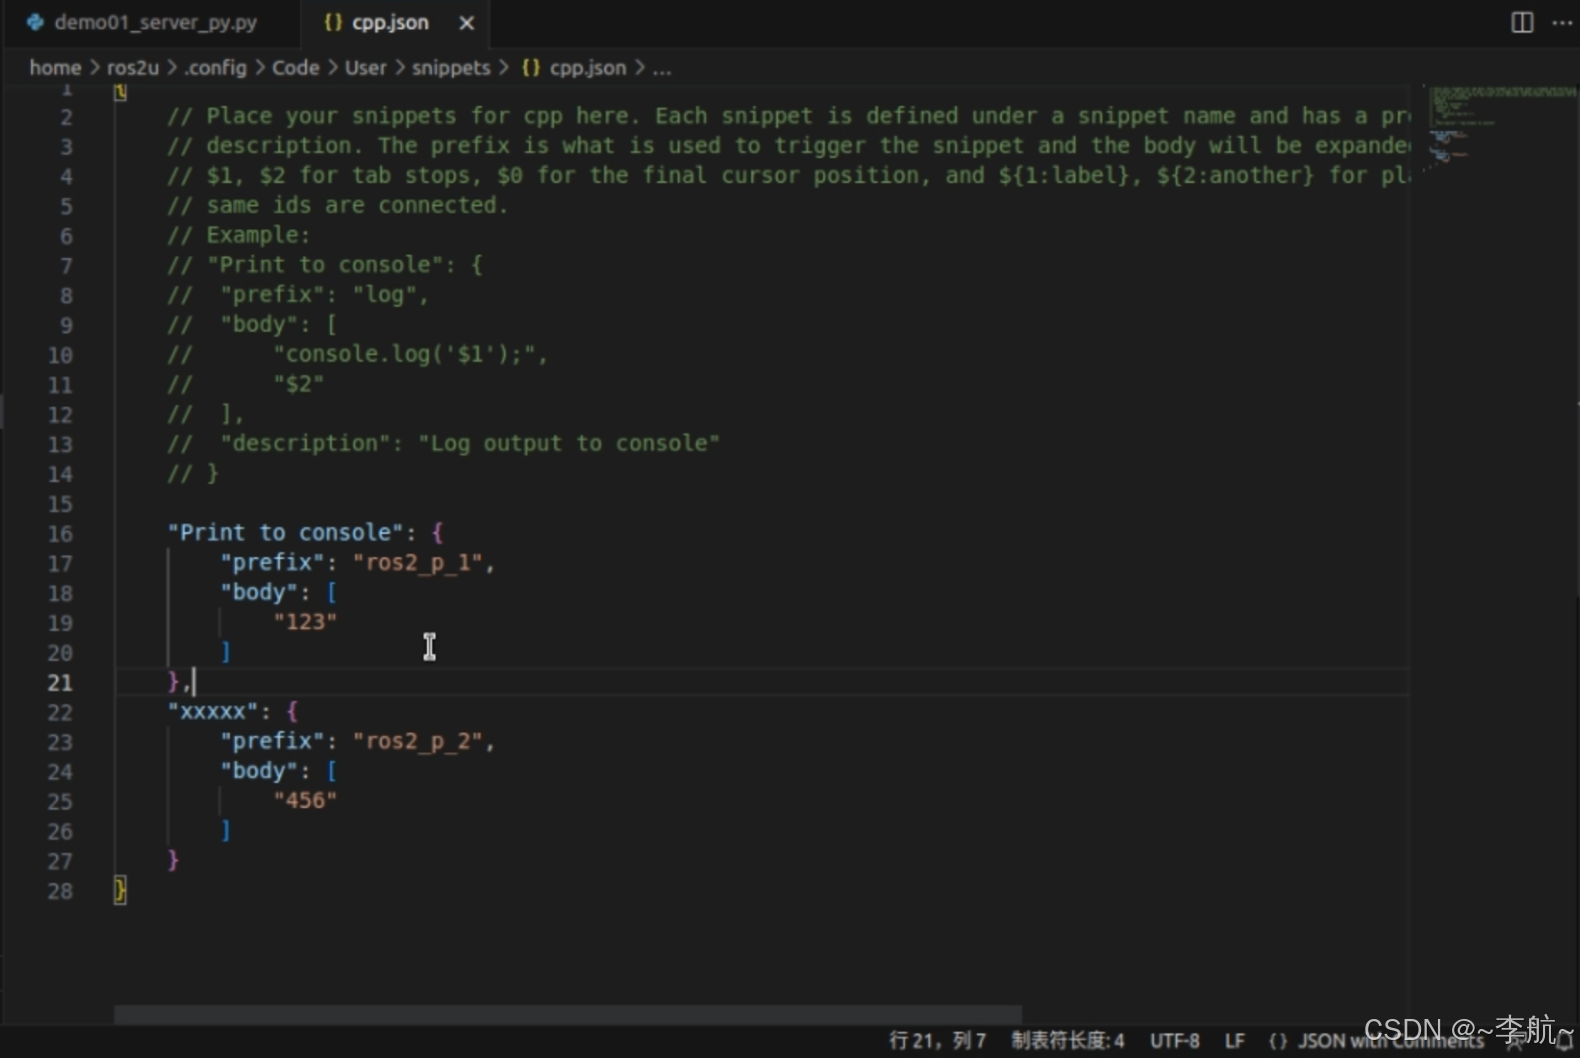
把提前准备好的代码,复制到"body"的 [ ] 中,修改"prefix": 后的名字为“ros2_node_cpp”, 再修改最后一行“description”:后的描述 为“ros2 main func”
然后也是最关键的部分,把上述代码的每一行(包括:空行)都用 " " 双引号包裹起来, 每一行的末尾加上逗号 , (一定是英文的符号),对于文件中原本自带的双引号,则原来的双引号前加上\ 如下所示:
"#include \"rclcpp/rclcpp.hpp\"",如果代码仍然显示为报错的红色,则按住FN + F 键 弹出一个窗口,把 " " tab 制表符,换成四个空格,如图所示:
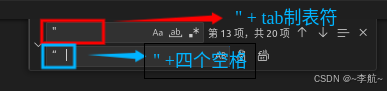
然后选择全部替,保存此文件,即可
具体使用演示
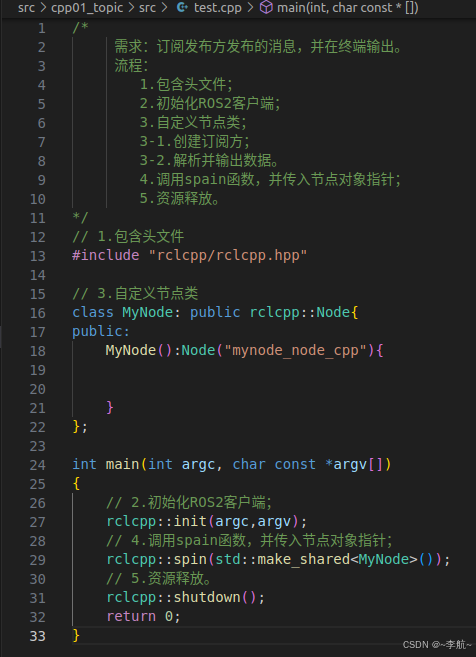
在工作空间中的功能包的src下,新建一个.cpp文件,如test.cpp
输入如下,选择ros2_node_cpp 然后即可显示出我们配置好的文件模版,选择并按下enter键即可,无需手写

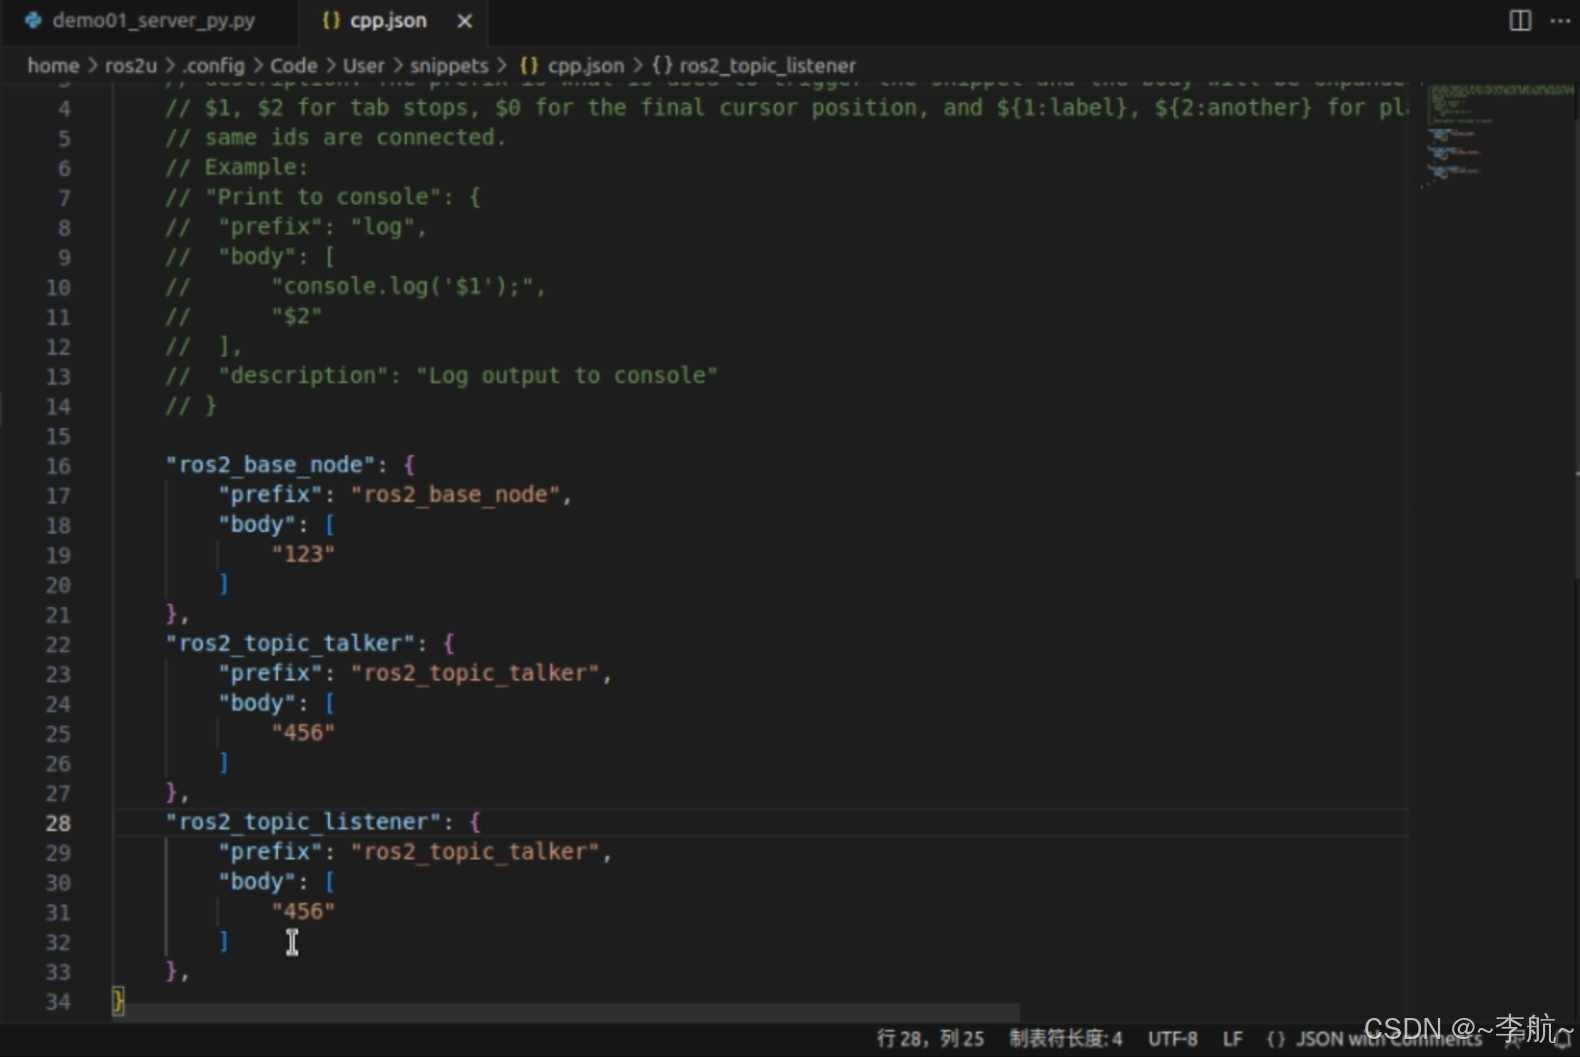
上述为配置单个代码片段的方法,在一个cpp.json文件中配置多个代码片段方法,如下所示:
只需要在大括号后加上 逗号,就可以继续设置下一个代码片段
2. vscode中设置python版本的ROS2用户代码片段
在设置中选择用户代码片段后 输入python 即可,选择相应的文件 具体操作方法同方C++
配置好的文件
{
// Place your snippets for python here. Each snippet is defined under a snippet name and has a prefix, body and
// description. The prefix is what is used to trigger the snippet and the body will be expanded and inserted. Possible variables are:
// $1, $2 for tab stops, $0 for the final cursor position, and ${1:label}, ${2:another} for placeholders. Placeholders with the
// same ids are connected.
// Example:
// "Print to console": {
// "prefix": "log",
// "body": [
// "console.log('$1');",
// "$2"
// ],
// "description": "Log output to console"
// }
"Print to console": {
"prefix": "ros2_node_py",
"body": [
"\"\"\"",
"需求:以某个固定频率发送文本“hello world!”,文本后缀编号,每发布一条,编号+1.",
"流程:",
" 1.导包",
" 2.初始化ROS2客户端",
" 3.自定义节点类",
" 3-1.创建消息发布方",
" 3-2.创建定时器",
" 3-3.组织并发布消息",
" 4.调用spin函数,传入自定义类对象",
" 5.释放资源",
"",
"\"\"\"",
"# 1.导包",
"import rclpy",
"from rclpy.node import Node",
"",
"",
"# 3.自定义节点类",
"class MyNode(Node):",
" def __init__(self):",
" super().__init__(\"mynode_node_py\")",
"",
"",
"",
"def main():",
" # 2.初始化ROS2客户端",
" rclpy.init()",
" # 4.调用spin函数,传入自定义类对象",
" rclpy.spin(MyNode())",
" # 5.释放资源",
" rclpy.shutdown()",
"",
"if __name__ == '__main__':",
" main()",
],
"description": "ros2 node func"
}
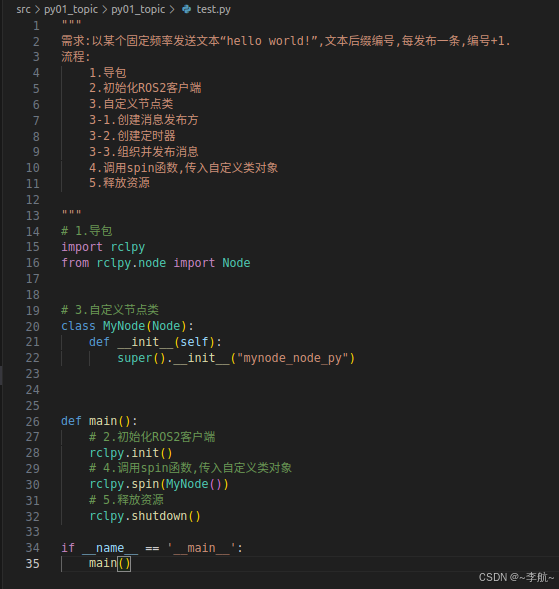
}具体使用演示

3. vscode 中设置package.xml文件的用户代码片段
在设置中选择用户代码片段后 输入xml 即可,选择相应的文件 具体操作方法同方C++
配置好的文件
{
// Place your snippets for xml here. Each snippet is defined under a snippet name and has a prefix, body and
// description. The prefix is what is used to trigger the snippet and the body will be expanded and inserted. Possible variables are:
// $1, $2 for tab stops, $0 for the final cursor position, and ${1:label}, ${2:another} for placeholders. Placeholders with the
// same ids are connected.
// Example:
// "Print to console": {
// "prefix": "log",
// "body": [
// "console.log('$1');",
// "$2"
// ],
// "description": "Log output to console"
// }
"Print to console": {
"prefix": "ros2_package_xml",
"body": [
"",
"<!-- 编译依赖 -->",
"<build_depend>rosidl_default_generators</build_depend>",
"<!-- 执行依赖 -->",
"<exec_depend>rosidl_default_runtime</exec_depend>",
"<!-- 声明当前包所属的功能包组 -->",
"<member_of_group>rosidl_interface_packages</member_of_group>",
"",
],
"description": "ros2 package xml"
}
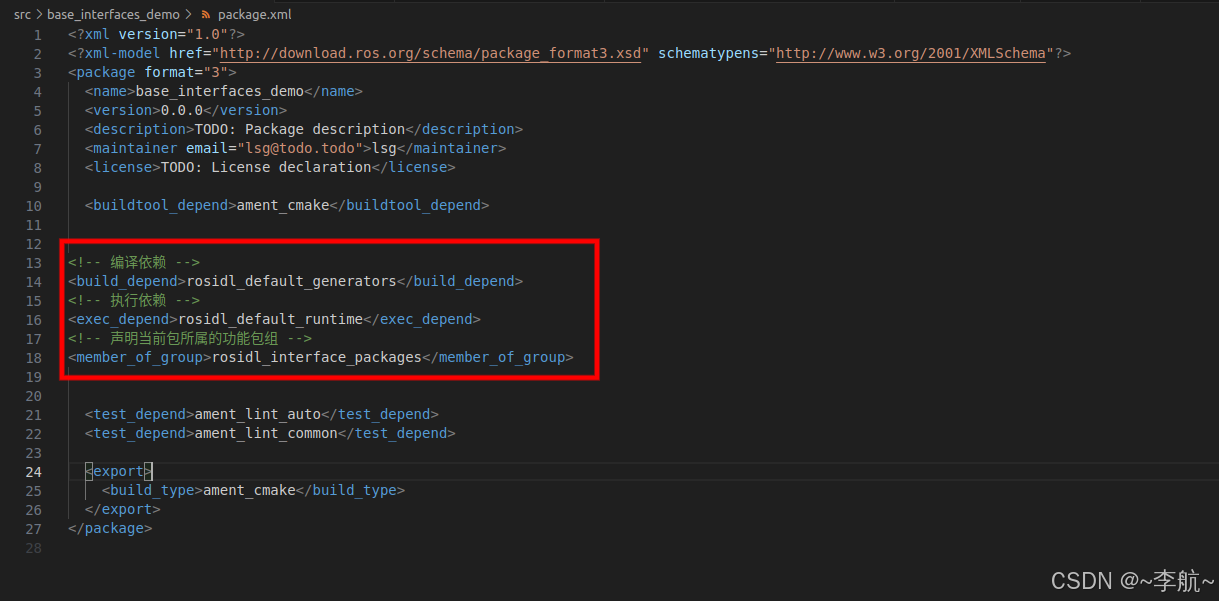
}因为这些依赖比较长,很容易记错,手写很容易出错,所以这部分可配置成用户代码片段
具体使用演示
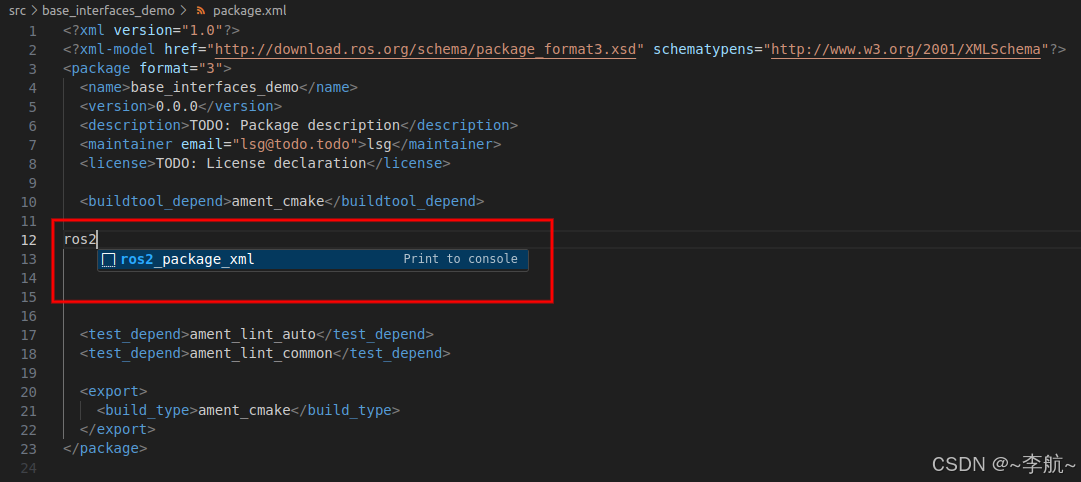
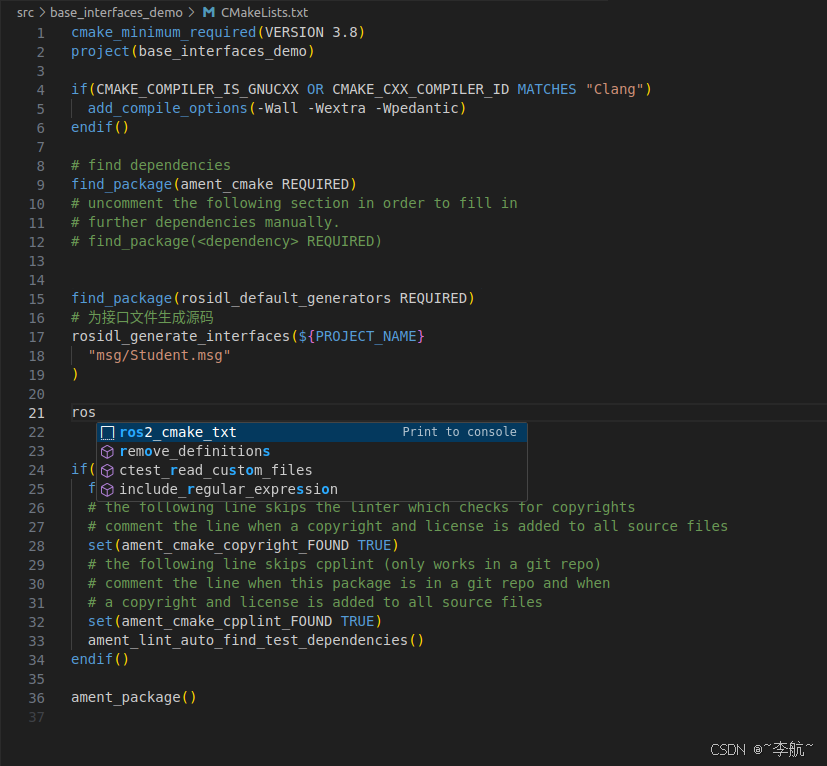
4. vscode 中设置 cmakelists.txt 文件的用户代码片段
在设置中选择用户代码片段后 输入 cmake 即可,选择相应的文件 具体操作方法同方C++
配置好的文件
{
	// Place your snippets for cmake here. Each snippet is defined under a snippet name and has a prefix, body and
	// description. The prefix is what is used to trigger the snippet and the body will be expanded and inserted. Possible variables are:
	// $1, $2 for tab stops, $0 for the final cursor position, and ${1:label}, ${2:another} for placeholders. Placeholders with the
	// same ids are connected.
	// Example:
	// "Print to console": {
	// 	"prefix": "log",
	// 	"body": [
	// 		"console.log('$1');",
	// 		"$2"
	// 	],
	// 	"description": "Log output to console"
	// }

	"Print to console": {
		"prefix": "ros2_cmake_txt",
		"body": [
				"",
				"find_package(rosidl_default_generators REQUIRED)",
				"# 为接口文件生成源码",
				"rosidl_generate_interfaces(${PROJECT_NAME}",
				"\"msg/Student.msg\"",
				")",
				"",
		],
		"description": "ros2 cmake txt"
	}
}