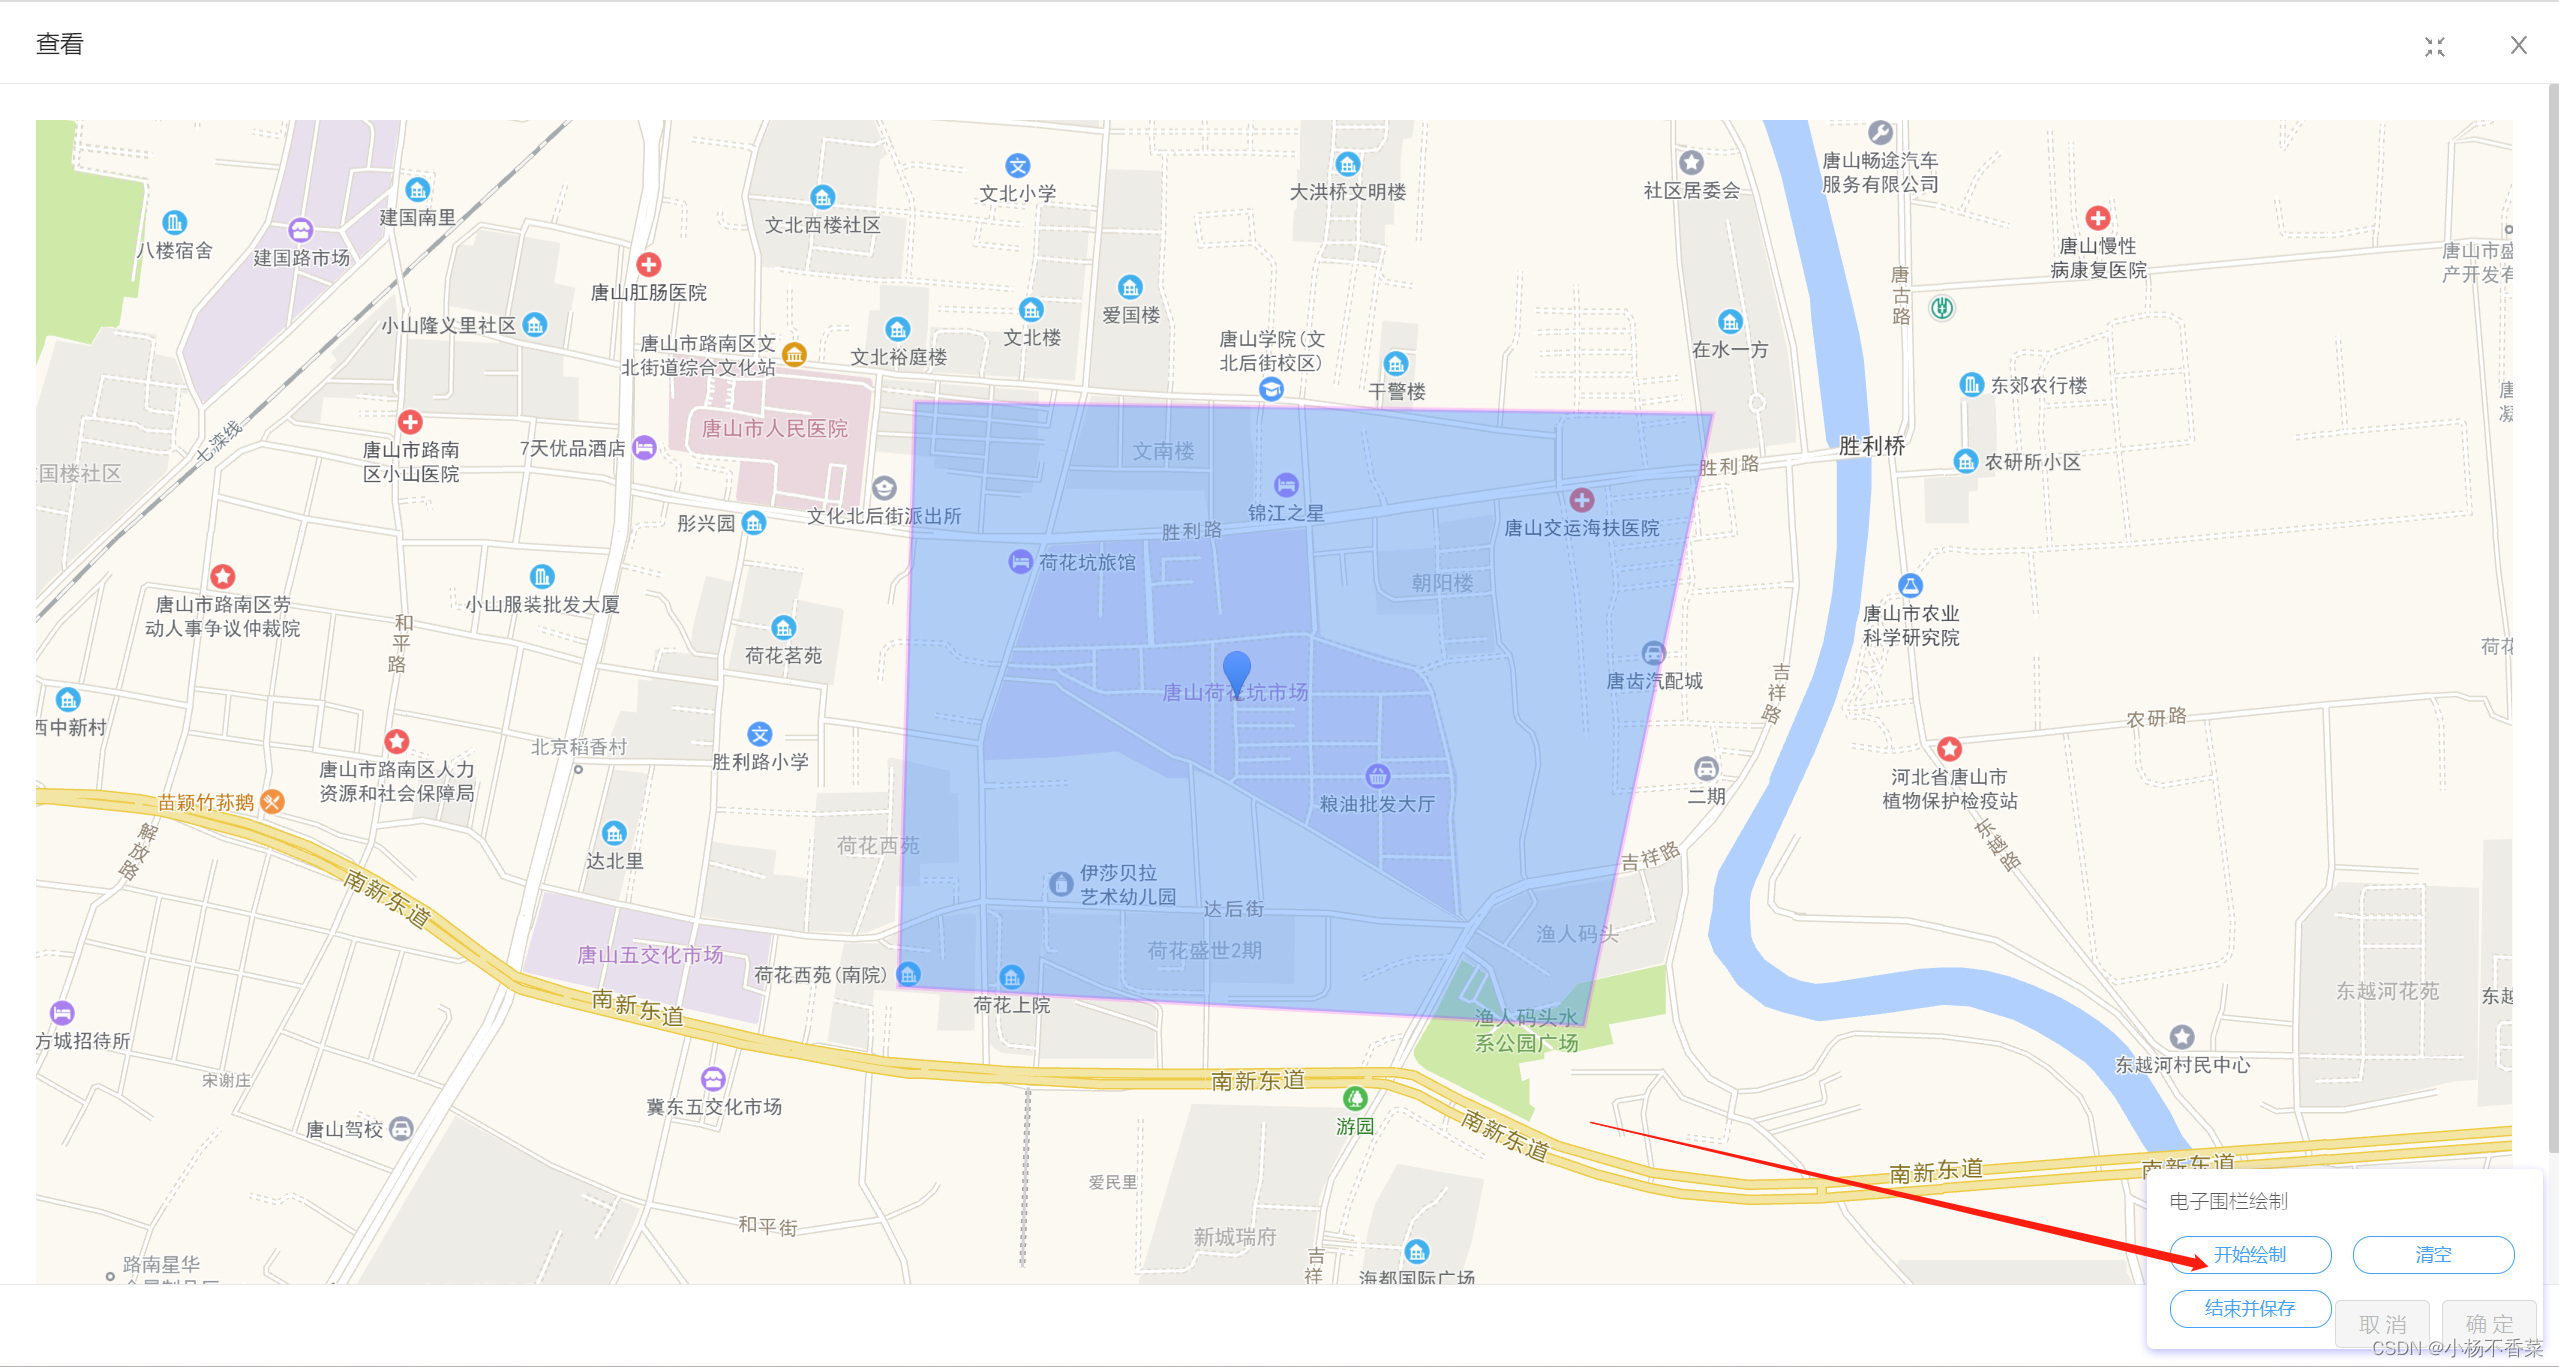
最近项目上电子围栏功能,就是地图上限定的区域内实现限行功能,用我们身边的事物来举例,共享单车的限行、限停区域就是电子围栏。由此可见,电子围栏最基础的做法就是在地图上实现多边形覆盖物。
效果图大概如下:
1.在public/index.html中加入:
<script src="https://webapi.amap.com/maps?v=1.4.15&key=您申请的key值&callback=init"></script>
2.放置地图极控制功能
3.初始化地图

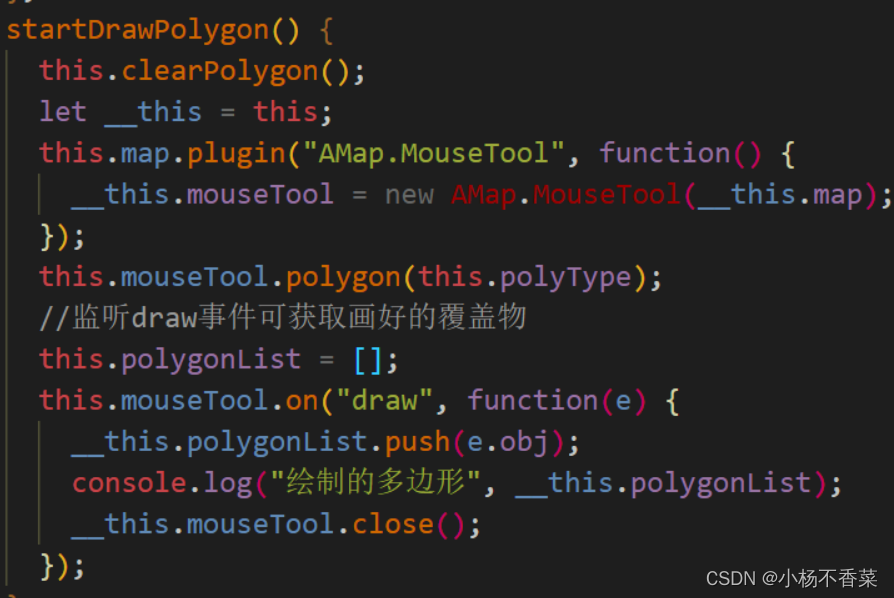
4.绘制多边形
如果需要一次绘制多个矢量图,可以删除 __this.mouseTool.close()这一行,并在 “结束并保存” 按钮功能里实现。
其余函数功能的实现,参见完整代码:
<template>
<div>
<div id="container"></div>
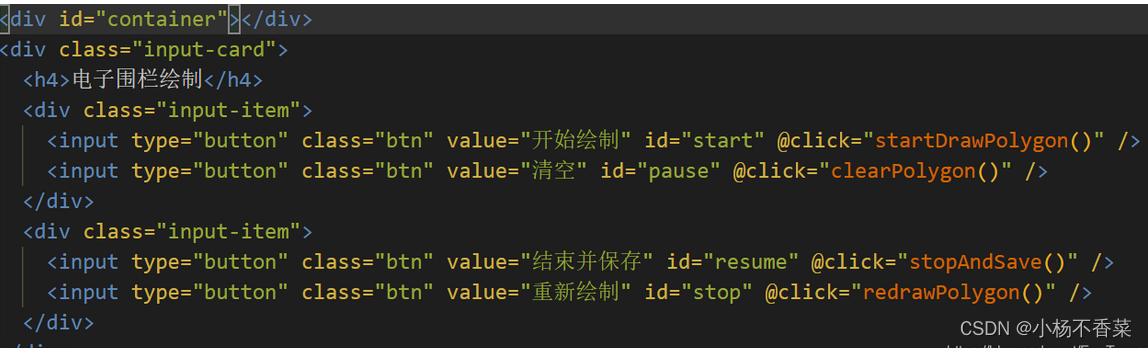
<div class="input-card">
<h4>电子围栏绘制</h4>
<div class="input-item">
<input type="button" class="btn" value="开始绘制" id="start" @click="startDrawPolygon()" />
<input type="button" class="btn" value="清空" id="pause" @click="clearPolygon()" />
</div>
<div class="input-item">
<input type="button" class="btn" value="结束并保存" id="resume" @click="stopAndSave()" />
<input type="button" class="btn" value="重新绘制" id="stop" @click="redrawPolygon()" />
</div>
</div>
</div>
</template>
<script>
export default {
mounted() {
this.$nextTick(() => {
this.initMap();
});
},
data() {
return {
map: null,
mouseTool: null,
polyType: {
strokeColor: "#FF33FF",
strokeOpacity: 1,
strokeWeight: 4,
strokeOpacity: 0.2,
fillColor: "#1791fc",
fillOpacity: 0.4,
// 线样式还支持 'dashed'
strokeStyle: "solid"
// strokeStyle是dashed时有效
// strokeDasharray: [30,10],
},
polygonList: [],
savedPolygon: []
};
},
methods: {
initMap() {
this.map = new AMap.Map("container", {
resizeEnable: true,
center: [114.459779, 38.087936],
zoom: 16
});
},
startDrawPolygon() {
this.clearPolygon();
let __this = this;
this.map.plugin("AMap.MouseTool", function() {
__this.mouseTool = new AMap.MouseTool(__this.map);
});
this.mouseTool.polygon(this.polyType);
//监听draw事件可获取画好的覆盖物
this.polygonList = [];
this.mouseTool.on("draw", function(e) {
__this.polygonList.push(e.obj);
console.log("绘制的多边形", __this.polygonList);
__this.mouseTool.close();
});
},
stopAndSave() {
// this.mouseTool.close();
let savedPolygon = [];
for (let i = 0; i < this.polygonList.length; i++) {
console.log(this.polygonList[i].getOptions());
let op = this.polygonList[i].getOptions();
let routePath = [];
op.path.forEach(item => {
routePath.push([item.lng, item.lat]);
});
let savearr = {
path: routePath,
strokeColor: op.strokeColor,
strokeOpacity: op.strokeOpacity,
fillOpacity: op.fillOpacity,
fillColor: op.fillColor,
zIndex: op.zIndex
};
this.savedPolygon.push(savearr);
}
let save = JSON.stringify(this.savedPolygon);
console.log("savedPolygon", save);
// 模拟数据库存取
sessionStorage.setItem("savedPolygon", save);
},
clearPolygon() {
// this.map.remove(this.polygonList);
this.polygonList = [];
this.map.clearMap(); // 清除地图上的所有覆盖物
},
// 用保存的数据重新绘制多边形并添加事件
redrawPolygon() {
let __this = this;
// 用浏览器模拟数据库存取
let savedPolygon = JSON.parse(sessionStorage.getItem("savedPolygon"));
console.log("重绘多边形数据", savedPolygon);
if (savedPolygon == null) return;
for (let i = 0; i < savedPolygon.length; i++) {
var polygon = new AMap.Polygon(savedPolygon[i]);
this.map.add(polygon);
}
}
}
};
</script>
<style lang="less" scoped>
@import url("https://a.amap.com/jsapi_demos/static/demo-center/css/demo-center.css");
#container {
width: 100%;
height: 500px;
}
.input-card .btn {
margin-right: 1.2rem;
width: 9rem;
}
.input-card .btn:last-child {
margin-right: 0;
}
</style>
完整代码可以直接复制使用,注意!!!!需要将高德地图key换成自己申请的key!!
最后,启动项目直接运行 ok了