1. 基础组件编写
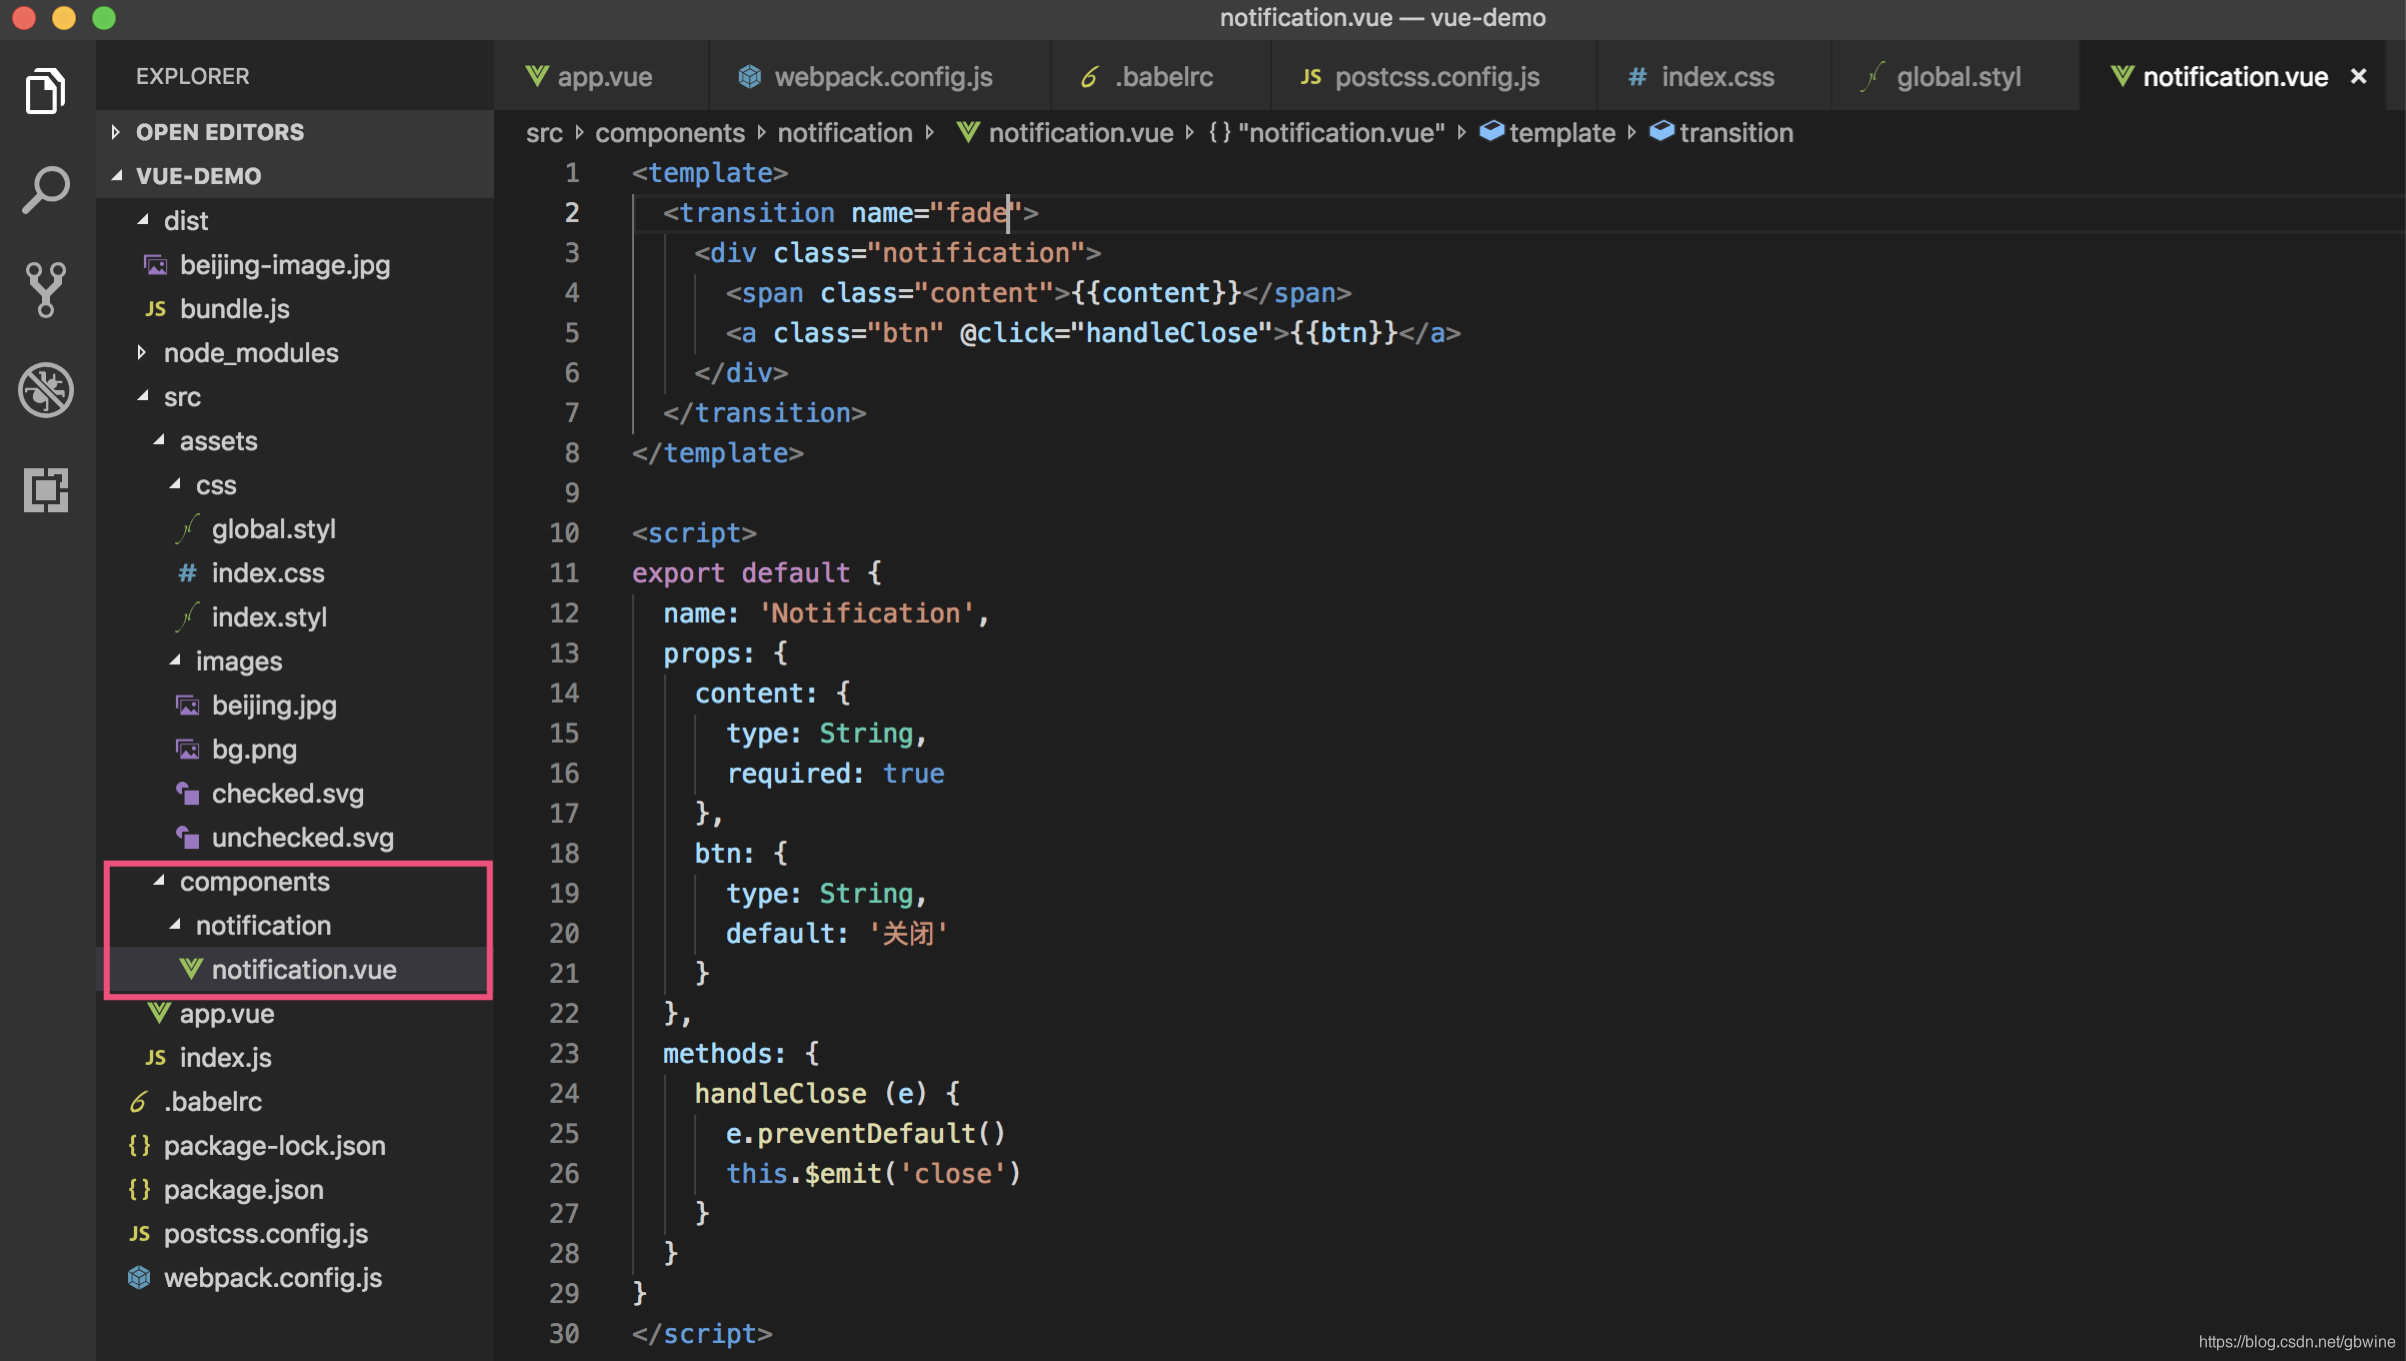
1.1 组件目录结构
1.2 组件文件代码
<template>
  <transition name="fade">
    <div class="notification" :style="style">
      <span class="content">{
  {content}}</span>
      <a class="btn" @click="handleClose">{
  {btn}}</a>
    </div>
  </transition>
</template>

<script>
export default {
  name: 'Notification',
  props: {
    content: {
      type: String,
      required: true
    },
    btn: {
      type: String,
      default: '关闭'
    }
  },
  computed: {
    style () {
      return {}
    }
  },
  methods: {
    handleClose (e) {
      e.preventDefault()
      this.$emit('close')
    }
  }
}
</script>

<style lang="stylus" scoped>
.notification
  display flex
  background-color #303030
  color rgba(255, 255, 255, 1)
  align-items center
  padding 20px
  position fixed
  min-width 280px
  box-shadow 0px 3px 5px -1px rgba(0, 0, 0, 0.2), 0px 6px 10px 0px rgba(0, 0, 0, 0.8)
  flex-wrap wrap
  transition all .3s
  .content
    padding 0
  .btn
    color #ff4081
    padding-left 24px
    margin-left auto
    cursor pointer
</style>
1.3 组件使用的过渡效果样式代码
html, body{
  margin: 0
  padding: 0
  width: 100%
  height: 100%
}

body{
  background-image: url(../images/beijing.jpg)
  background-size: cover
  background-position: center
  font: 14px/1.5 tahoma,arial,'Hiragino Sans GB','\5b8b\4f53',sans-serif
  color: #4d4d4d
  -webkit-font-smoothing: antialiased // 这个属性可以使页面上的字体抗锯齿,使用后字体看起来会更清晰舒服
  font-weight: 300
}

.fade-enter-active, .fade-leave-active{
  transition: opacity .5s
}
.fade-enter, .fade-leave-to{
  opacity: 0
}
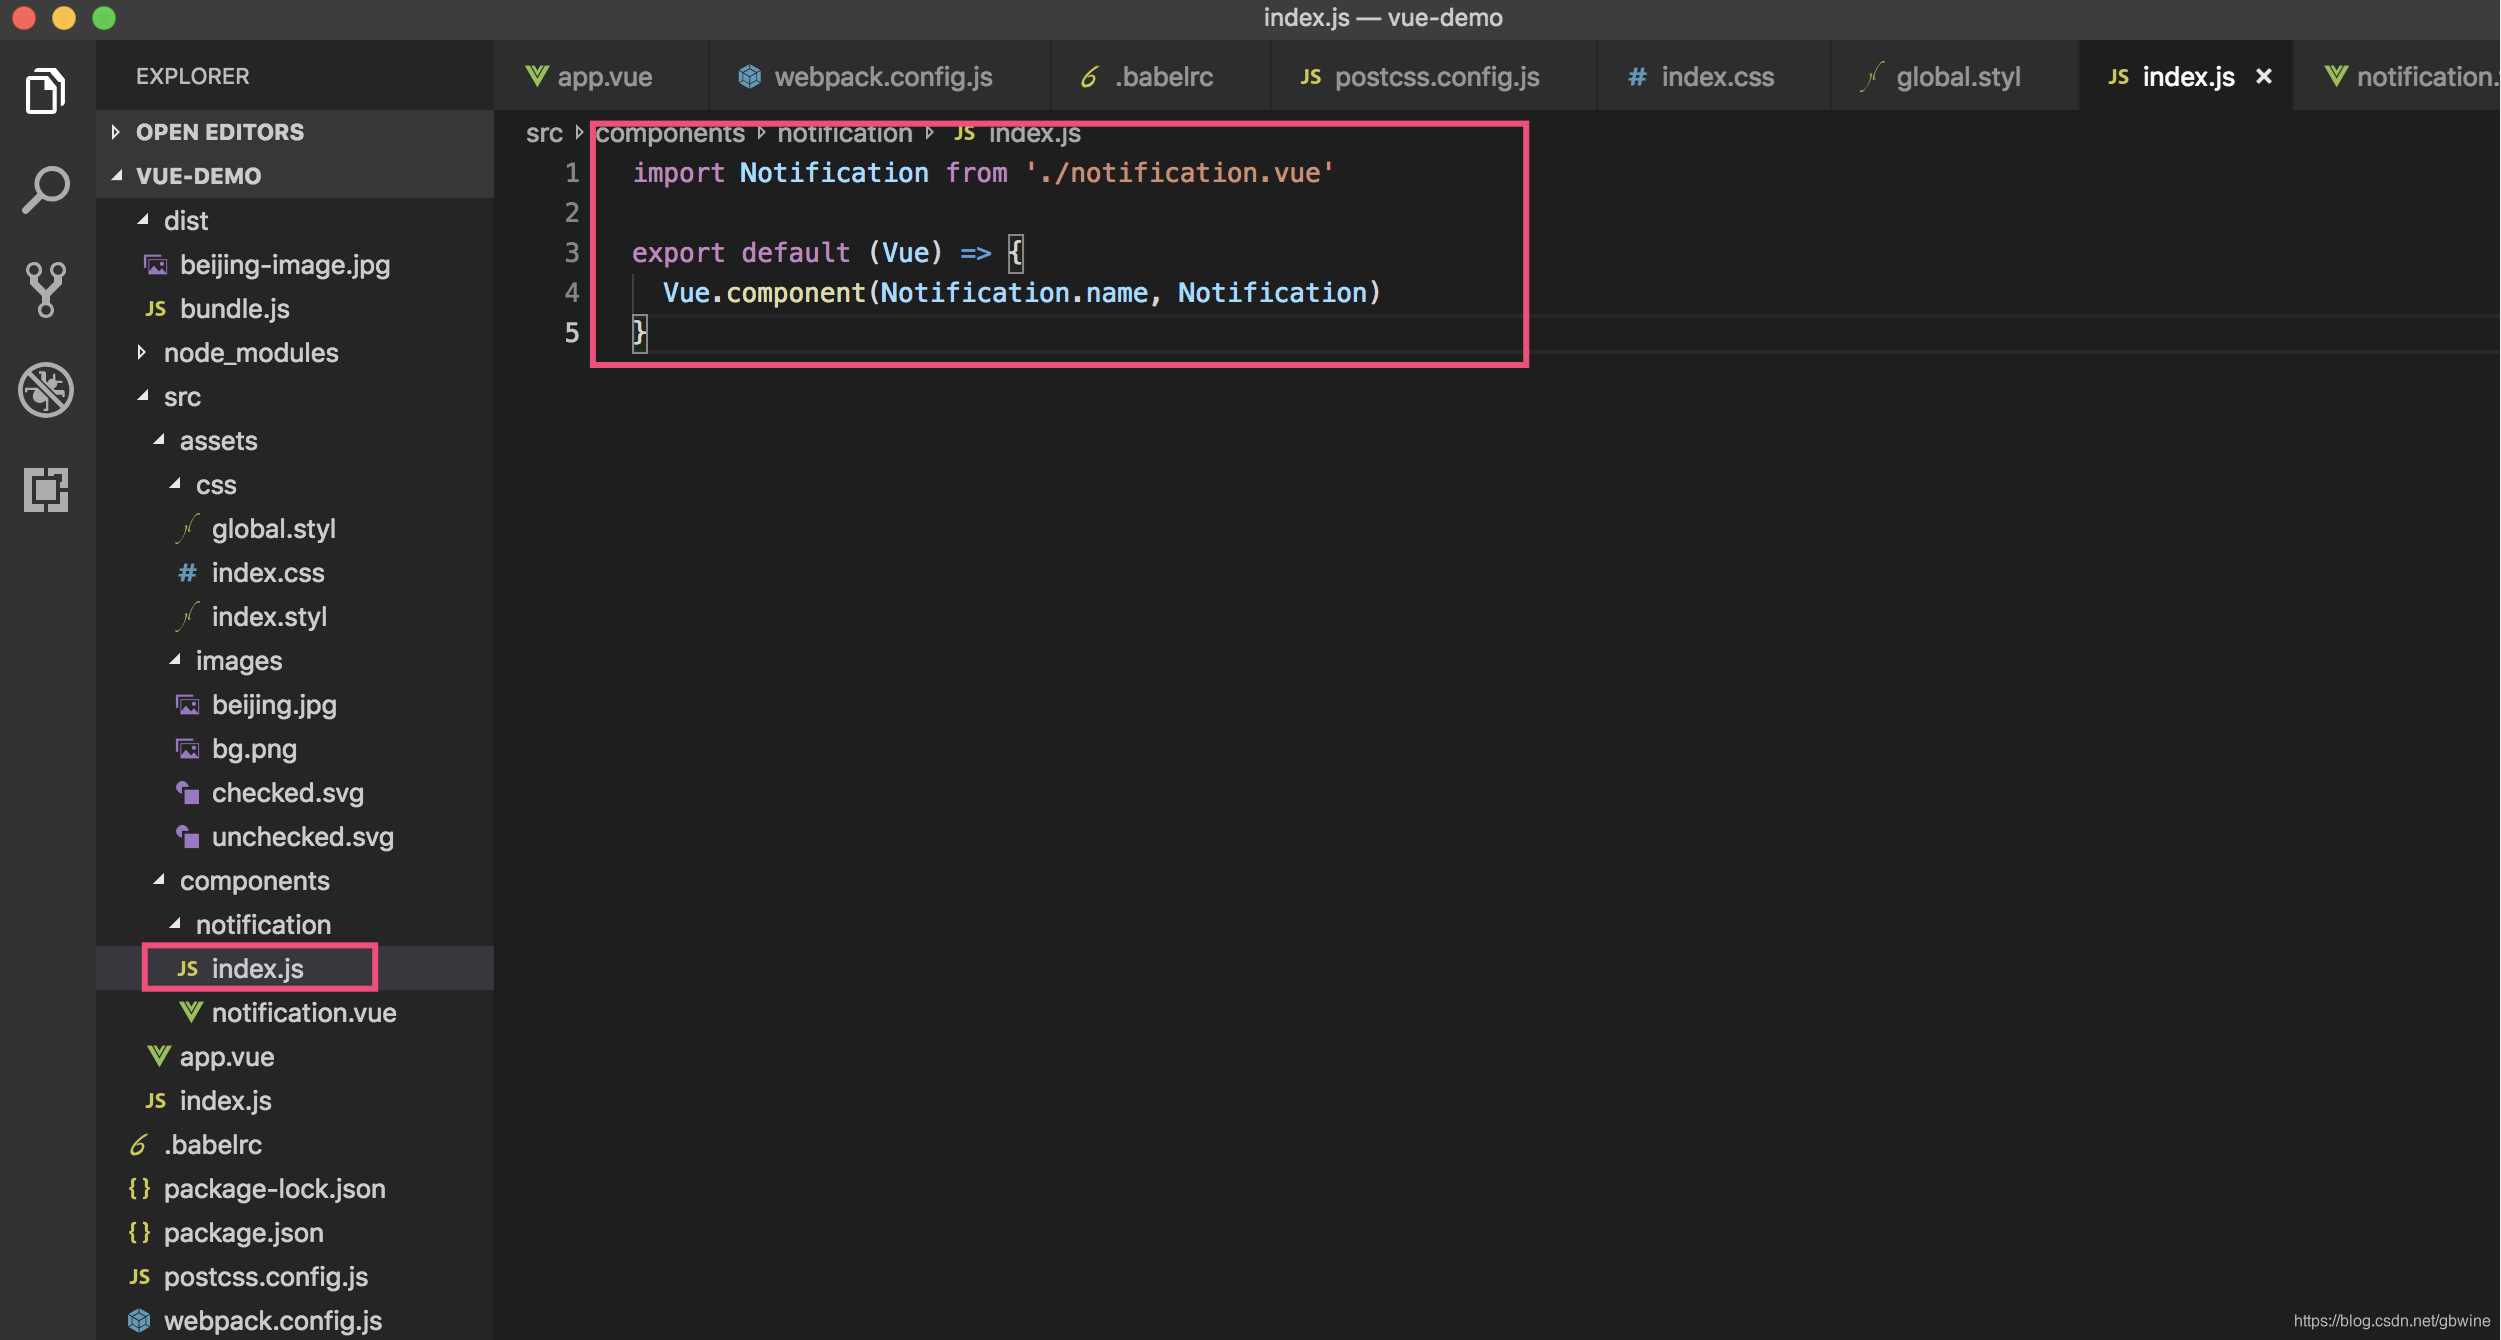
1.4 如果我们直接使用这个编写好的组件,只能是我们在编写一个Vue组件的时候引用这个Notification的组件把它写在模版里面,把它去显示出来,我们这里作为一个全局通用型组件,而且我们可以把它发布到第三方去使用的组件,所以我们这里会为其提供一个类似于Vue插件的使用方法。
友情提醒:我们在定义组件的时候最好都给组件定义一个name,因为我们去编写一个组件库,我们会有非常多的组件要注册到全局的Vue的组件里面,这个时候如果没有一个name,那么每个组件注册的时候都需要用字符串去写name,这个维护性是非常不好的,如果你在组

