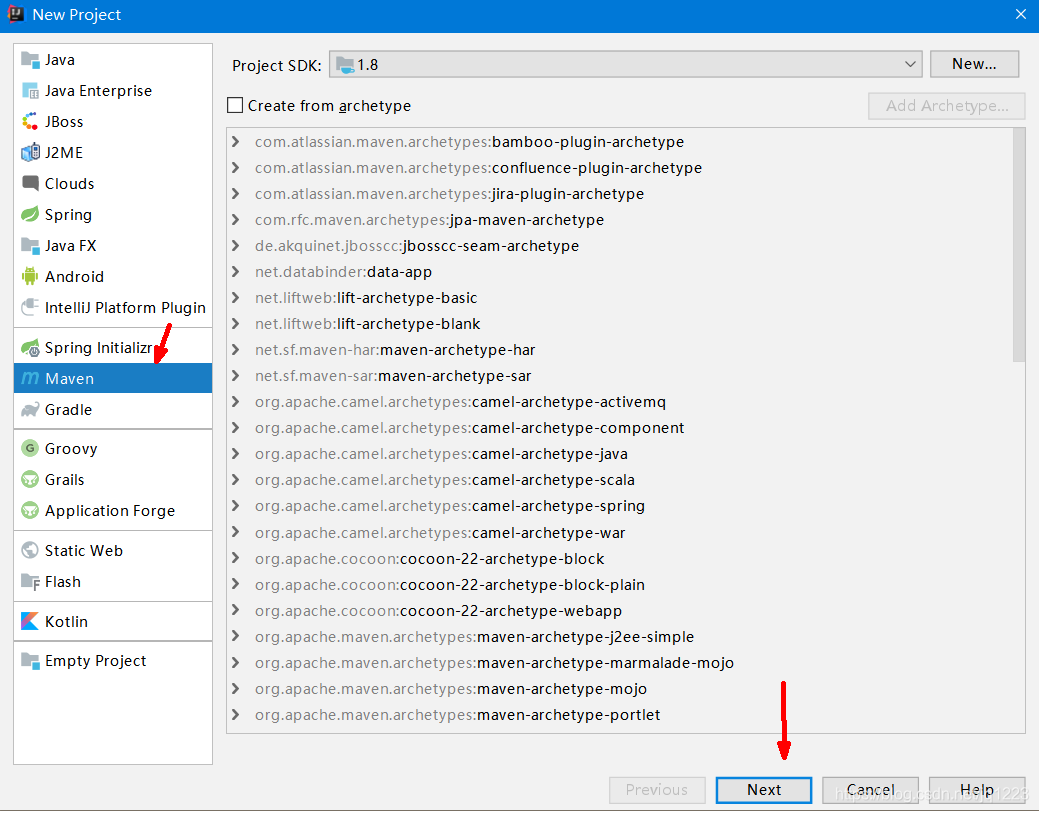
首先创建一个Maven项目,什么都不要选,下一步
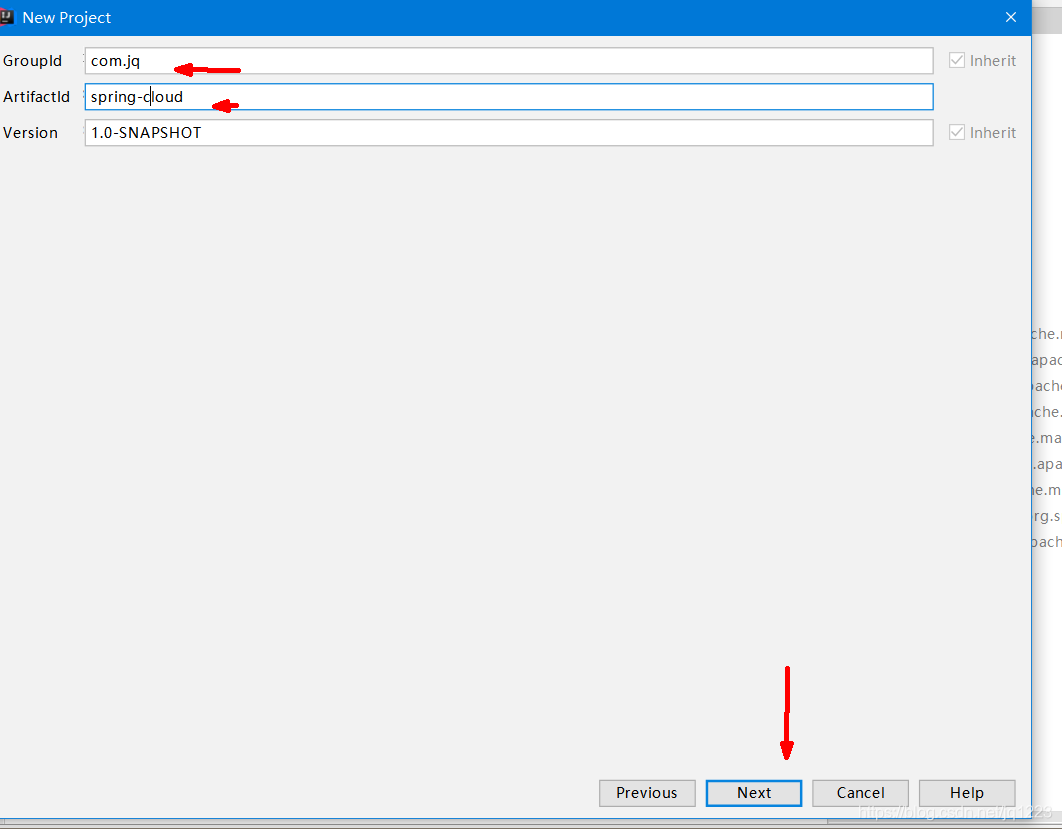
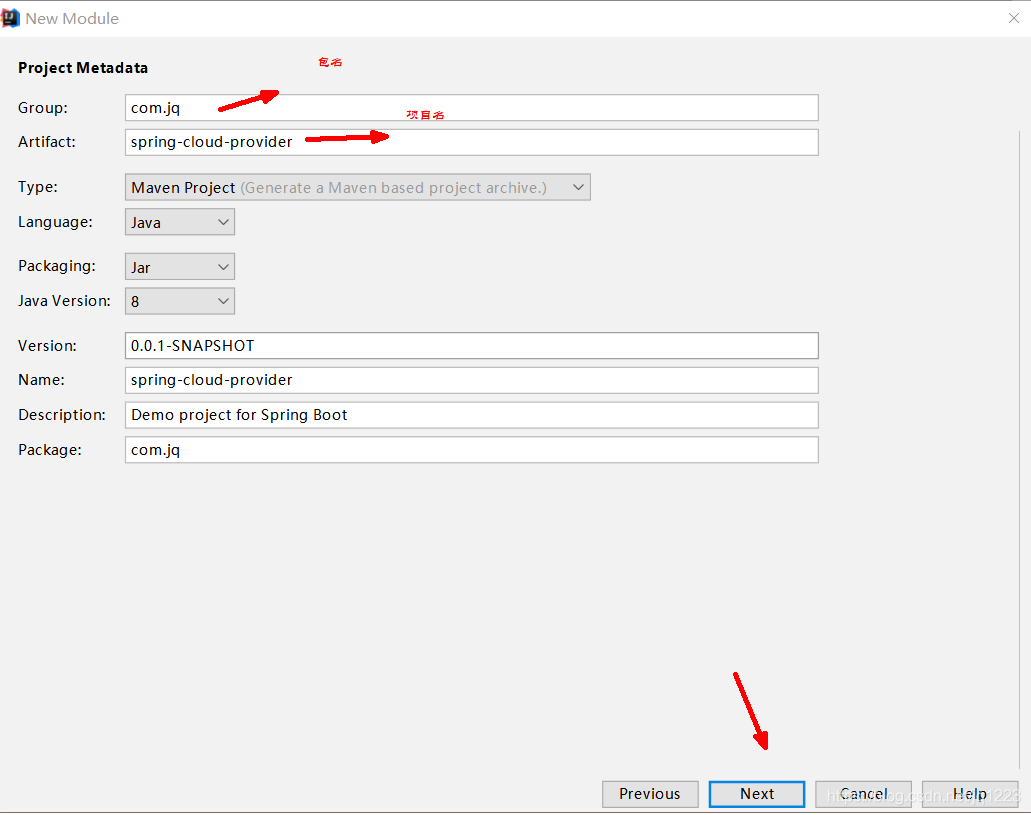
选择包名和项目名
开始常见创建
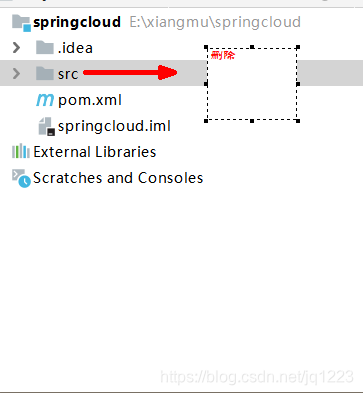
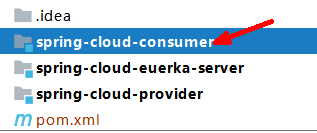
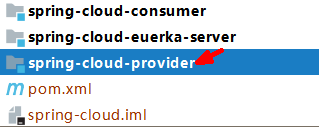
创建好将src目录删除,开始创建子项目
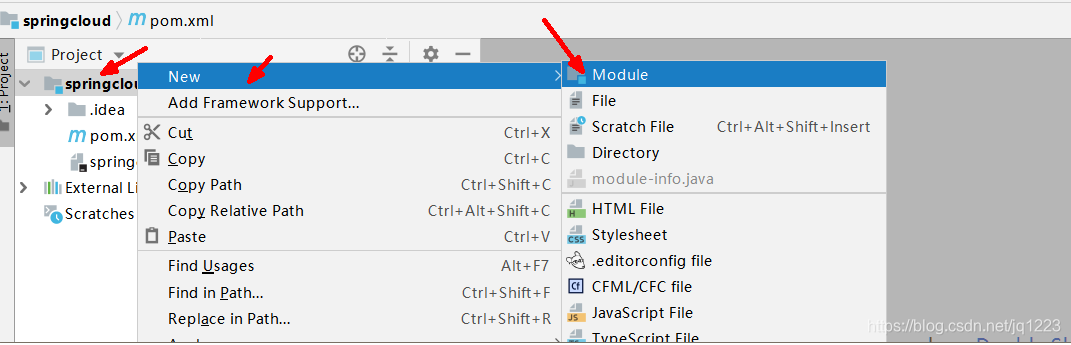
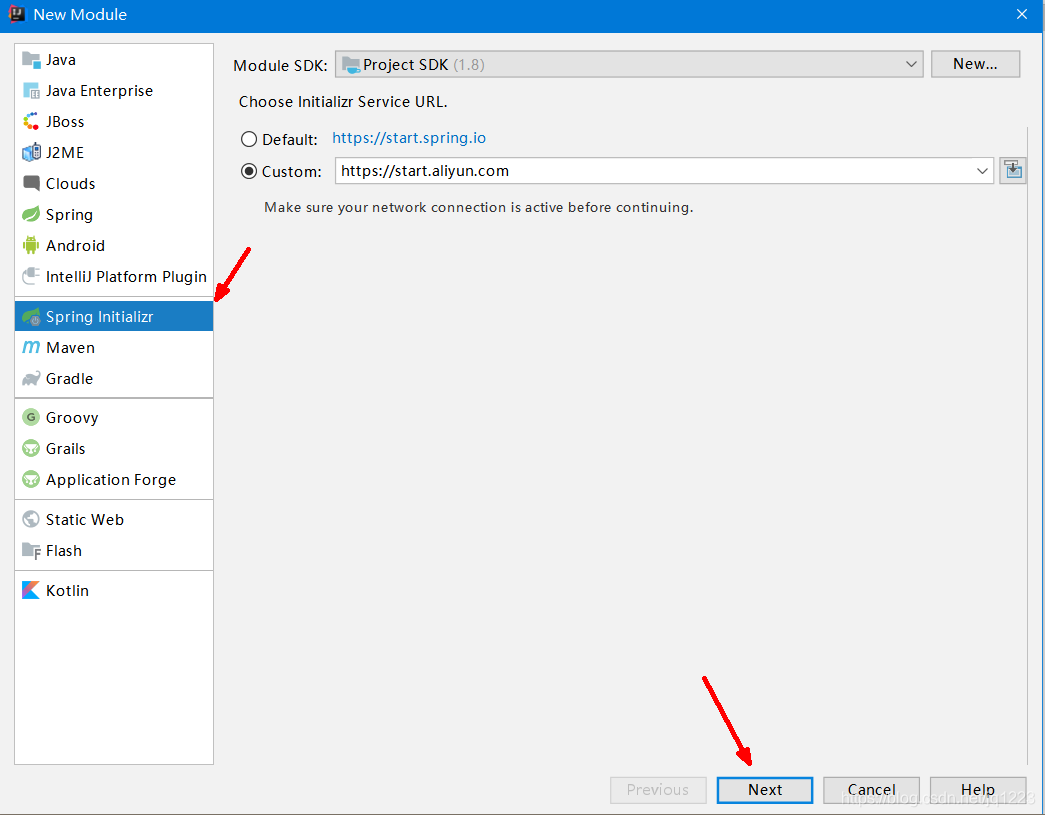
开始创建springboot子项目
选择spring initalizr
创建3个子项目开始配置jar包和文件


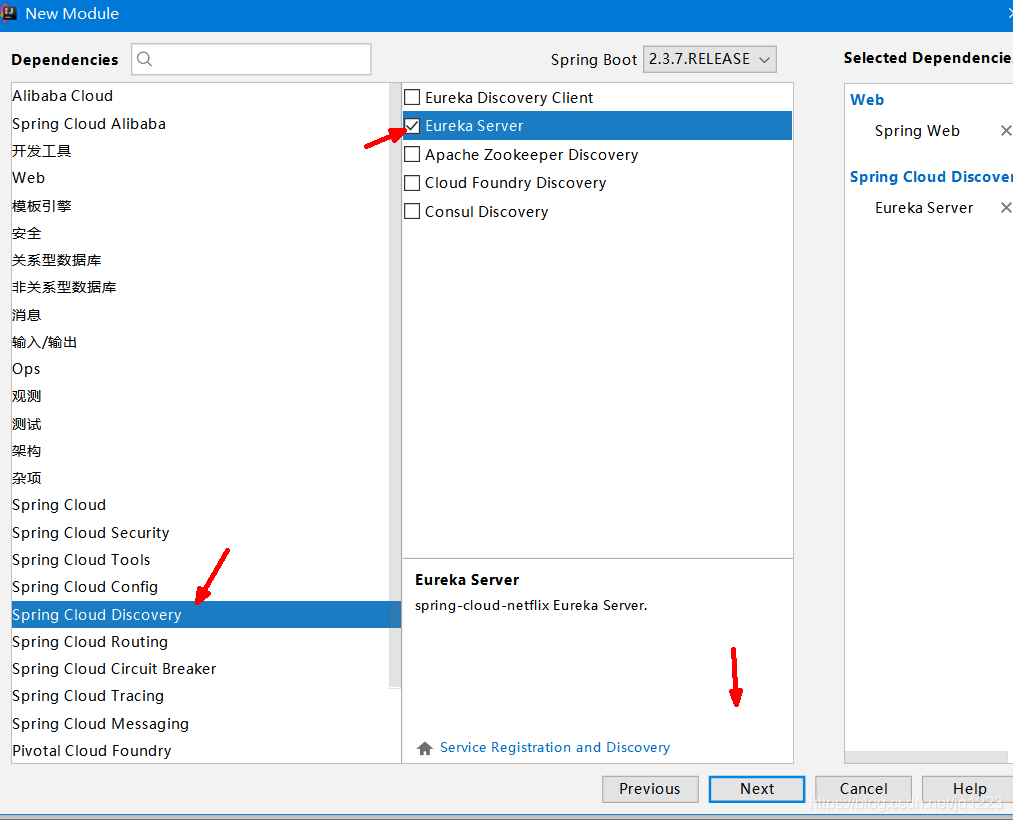
在pom文件中选择spring-boot 2.1.2.RELEASE 和spring-cloud Greenwich.RELEASE版本整合
  <properties>
        <java.version>1.8</java.version>
        <project.build.sourceEncoding>UTF-8</project.build.sourceEncoding>
        <project.reporting.outputEncoding>UTF-8</project.reporting.outputEncoding>
        <spring-boot.version>2.1.2.RELEASE</spring-boot.version>
        <spring-cloud.version>Greenwich.RELEASE</spring-cloud.version>
    </properties>
    <dependencies>
       // 此为消费者
        <dependency>
            <groupId>org.springframework.cloud</groupId>
            <artifactId>spring-cloud-starter-netflix-eureka-server</artifactId>
        </dependency>
       </dependencies>
此为供应者
<dependencies>
    <dependency>
            <groupId>org.springframework.cloud</groupId>
            <artifactId>spring-cloud-starter-netflix-eureka-client</artifactId>
        </dependency>
</dependencies>
配置和测试
在provider项目application.properties配置
# 应用名称
spring.application.name=spring-cloud-provider
# 应用服务 WEB 访问端口
server.port=9090
#配置服务名称和注册中心地址
eureka.client.service-url.defaultZone=http://localhost:9092/eureka,http://localhost:9093/eureka
#每间隔 2s,向服务端发送一次心跳,证明自己依然"存活"
eureka.instance.lease-renewal-interval-in-seconds=2
#告诉服务端,如果我 10s 之内没有给你发心跳,就代表我故障了,将我踢出掉
eureka.instance.lease-expiration-duration-in-seconds=10
创建一个Controller进行测试
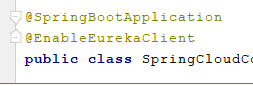
并且在springboot启动类上加@EnableEurekaClient
通过添加@EnableEurekaClient 注解来表明自己是一个 eureka 客户端,让我的服务消费者可以使用 eureka 注册中心
package com.jq.controller;
import org.springframework.web.bind.annotation.RequestMapping;
import org.springframework.web.bind.annotation.RestController;
@RestController
public class HelloController {
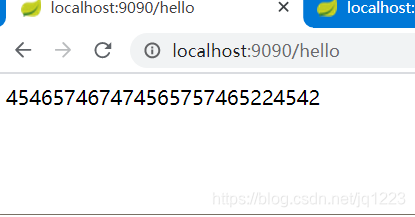
@RequestMapping("hello")
public String hello(){
return "454657467474565757465224542";
}
}
测试结果
在consumer项目application.properties配置
# 应用名称
spring.application.name=spring-cloud-consumer
# 应用服务 WEB 访问端口
server.port=9091
#指定服务注册中心的位置
eureka.client.service-url.defaultZone=http://localhost:9092/eureka,http://localhost:9093/eureka
新建一个Controller
package com.jq.controller;
import org.springframework.beans.factory.annotation.Autowired;
import org.springframework.web.bind.annotation.RequestMapping;
import org.springframework.web.bind.annotation.RestController;
import org.springframework.web.client.RestTemplate;
@RestController
public class ConsumerController {
@Autowired
private RestTemplate restTemplate;
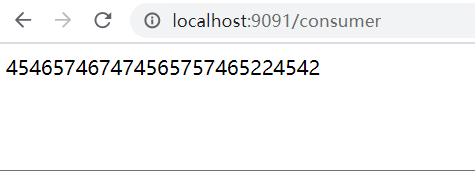
@RequestMapping("consumer")
public String consumer(){
return restTemplate.getForEntity("http://SPRING-CLOUD-PROVIDER/hello",String.class).getBody();
}
}
新建config包 实体化RestTemplate
package com.jq.config;
import org.springframework.cloud.client.loadbalancer.LoadBalanced;
import org.springframework.context.annotation.Bean;
import org.springframework.context.annotation.Configuration;
import org.springframework.web.client.RestTemplate;

@Configuration
public class Template {
    @LoadBalanced
    @Bean
    public RestTemplate restTemplate(){
        return new RestTemplate();
    }
}
结果展示:
在server项目application.properties配置
# 应用名称
spring.application.name=spring-cloud-euerka-server
# 应用服务 WEB 访问端口
server.port=9092
#设置该服务注册中心的 hostname
eureka.instance.hostname=eureka9092
#不需要去检索其他服务+
eureka.client.fetch-registry=false
#这是服务注册中心,不需要注册自己
eureka.client.register-with-eureka=false
#指定服务注册中心的位置
eureka.client.service-url.defaultZone=http://eureka9092:9092/eureka
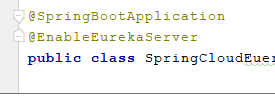
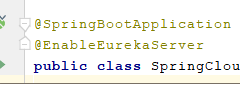
在 Spring Boot 的入口类上添加一个@EnableEurekaServer 注解,用于开启 Eureka 注册中心服务端
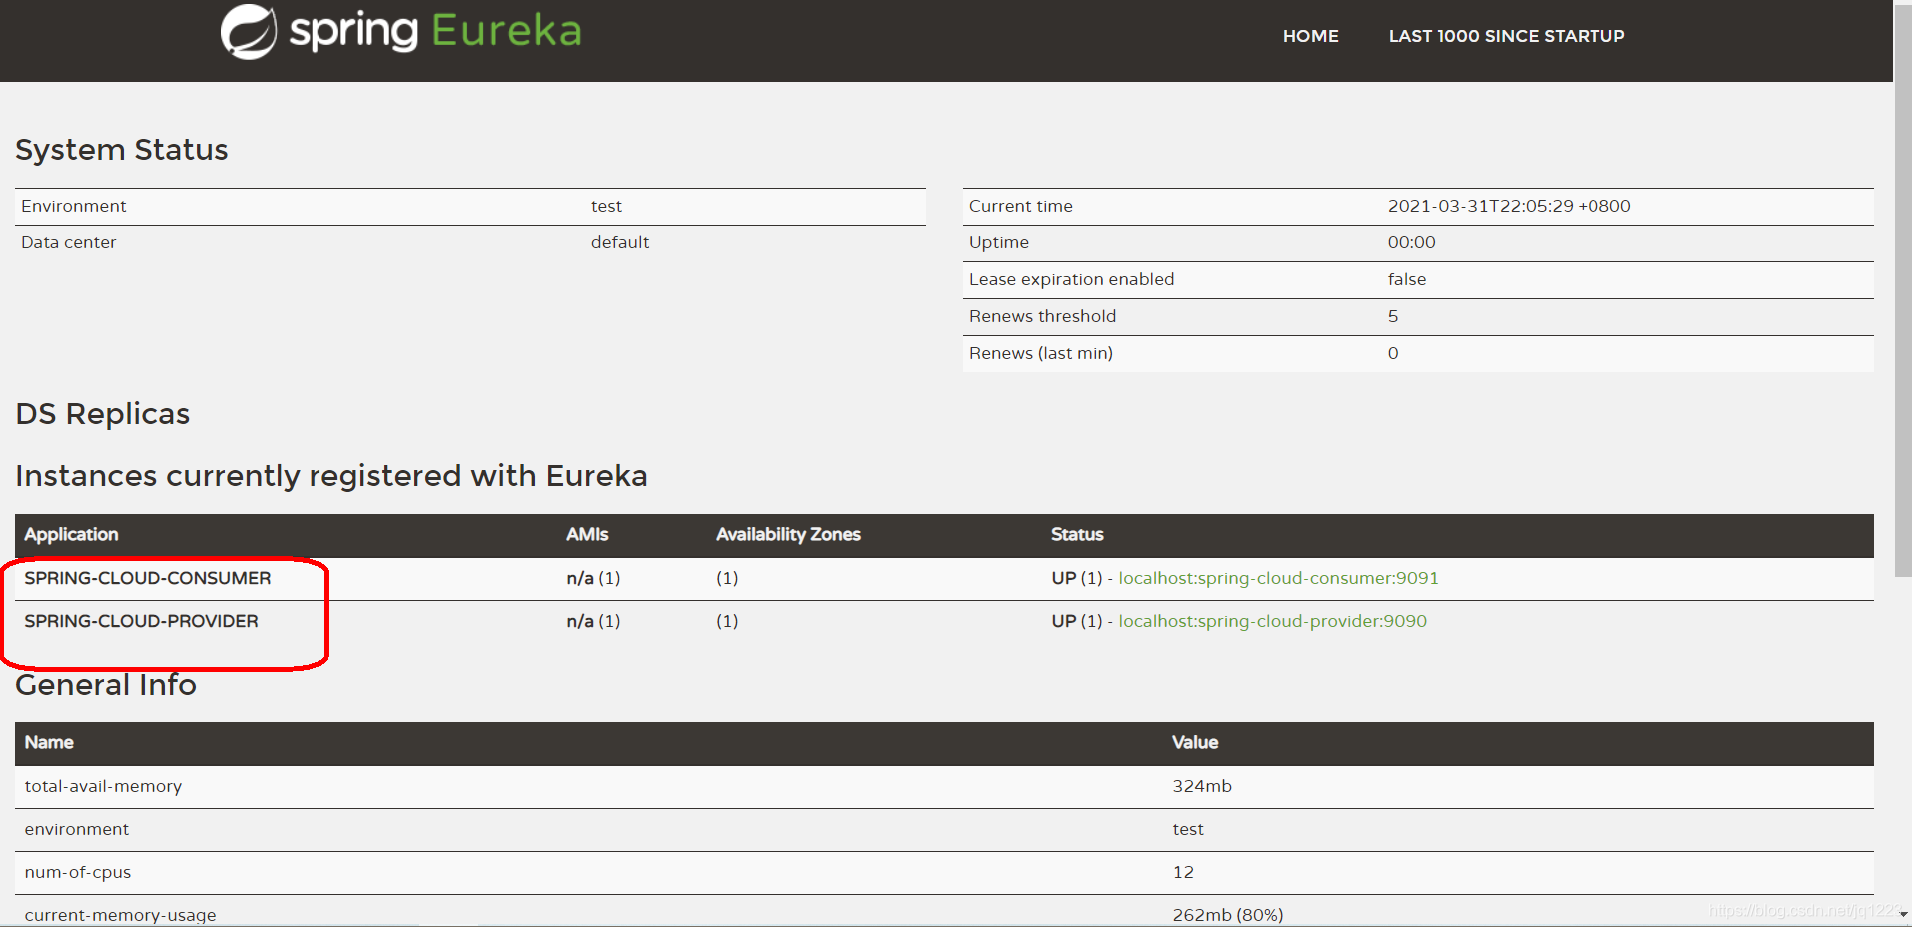
效果:
Eureka 注册中心高可用集群搭建
然后在本地 hosts 文件配置:C:\Windows\System32\drivers\etc\hosts
127.0.0.1 eureka9092
127.0.0.1 eureka9093
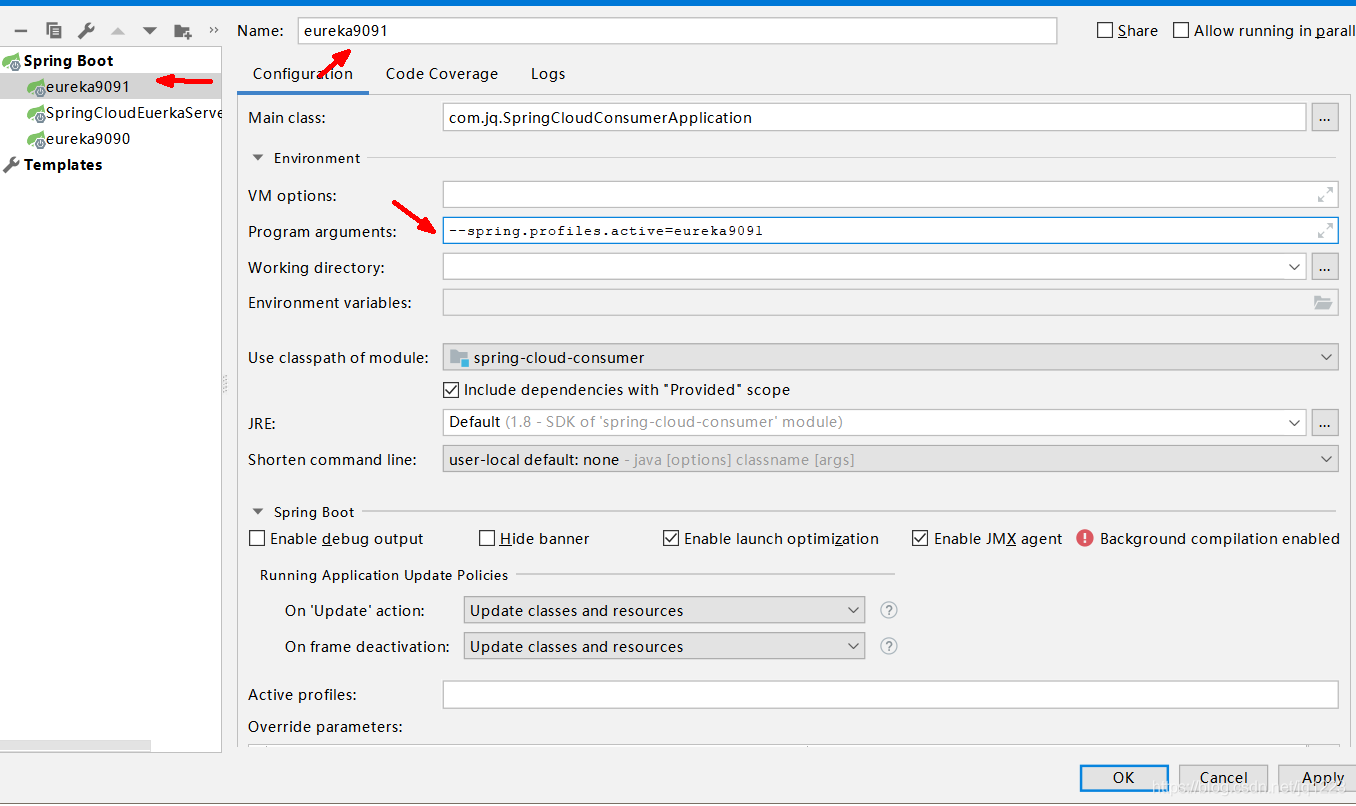
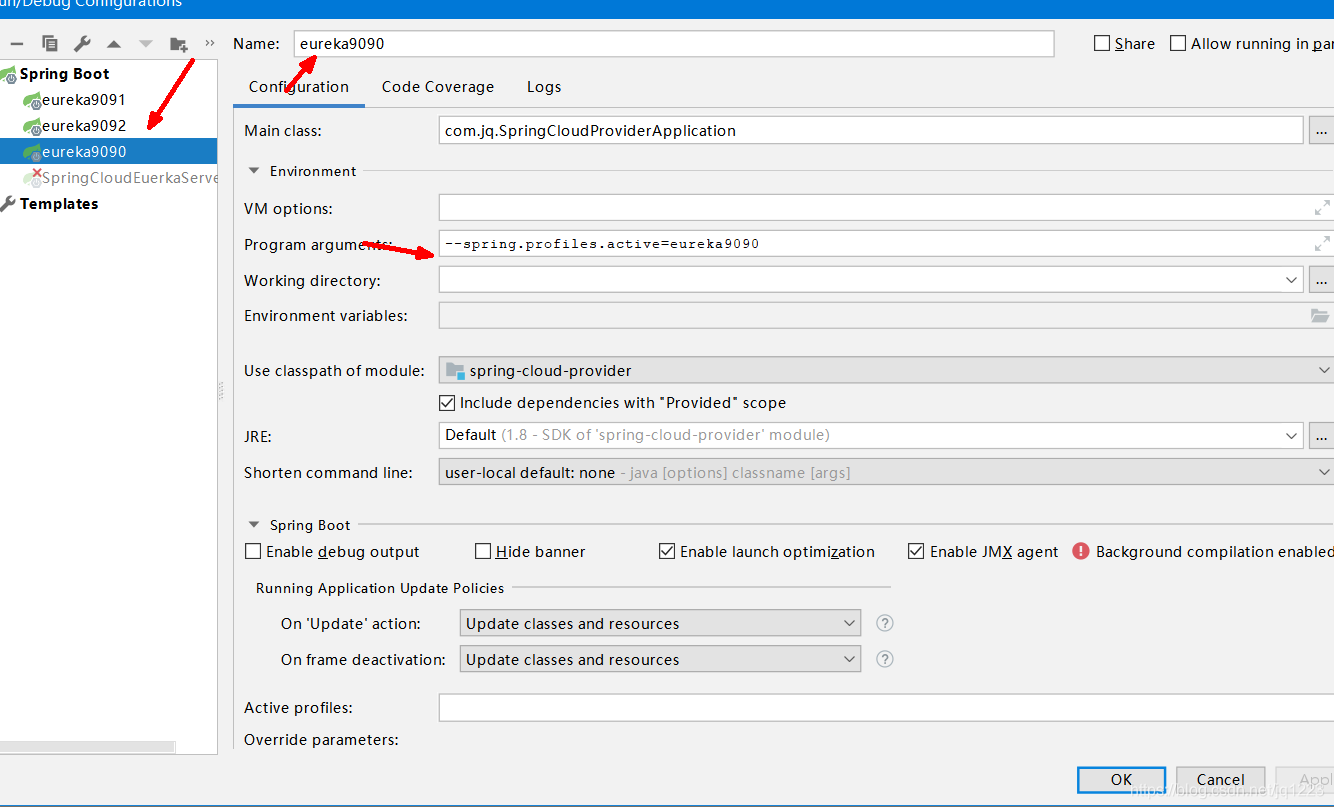
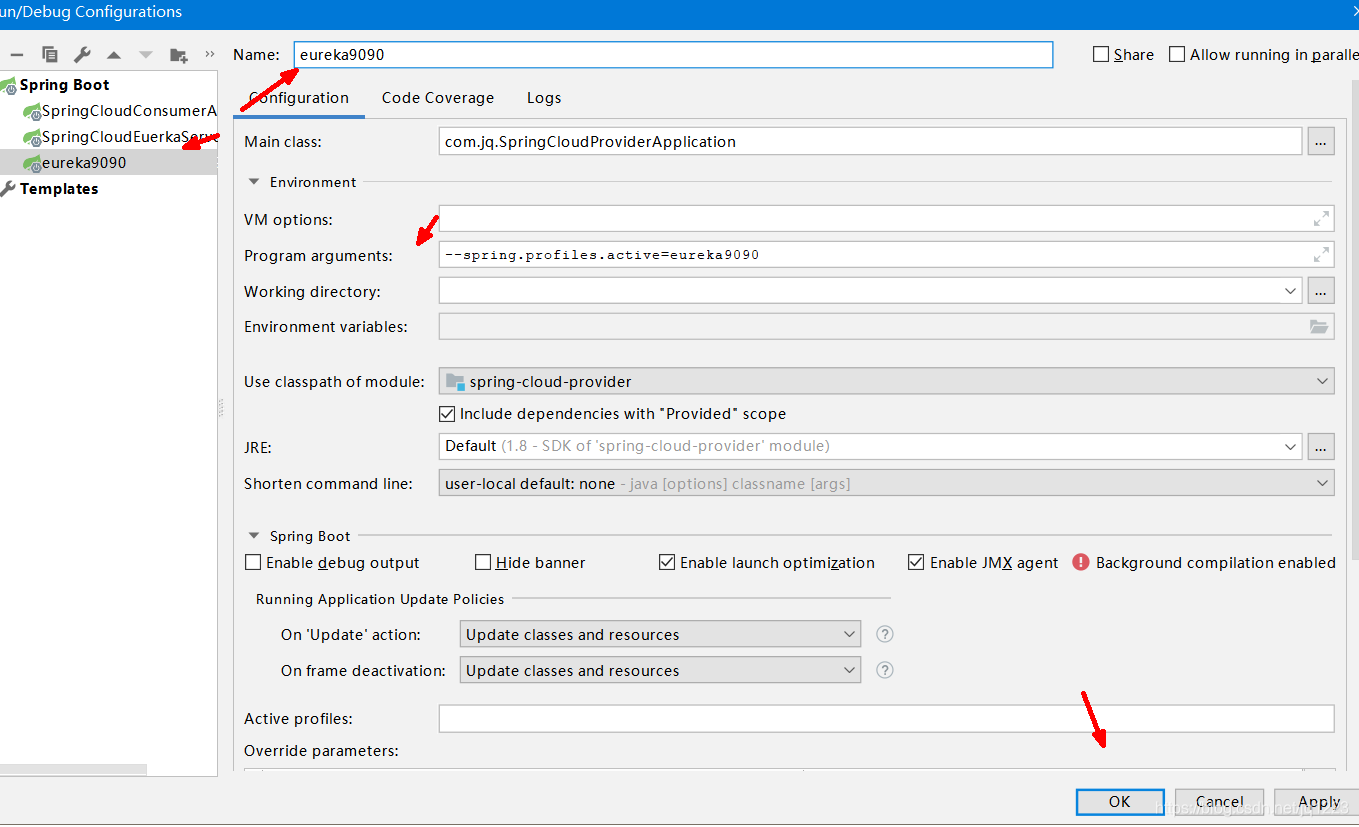
运行时,在运行配置项目 Program Arguments 中配置:
–spring.profiles.active=eureka9092
–spring.profiles.active=eureka9093