环境
- Qt5.11.1、MinGW32、Windows 10 x64
下载mqtt官网源码准备
官方地址:https://codereview.qtproject.org/admin/repos/qt%2Fqtmqtt
移植MQTT模块
目前Qt5.11中已经提供了类似TCP或者UDP的MQTT类,但是想要在低于此版本的Qt中使用MQTT协议,就需要自行编译开源MQTT消息服务EMQTT为Qt提供的QMQTT源码。
1. 下载qmqtt源码
https://github.com/emqx/qmqtt
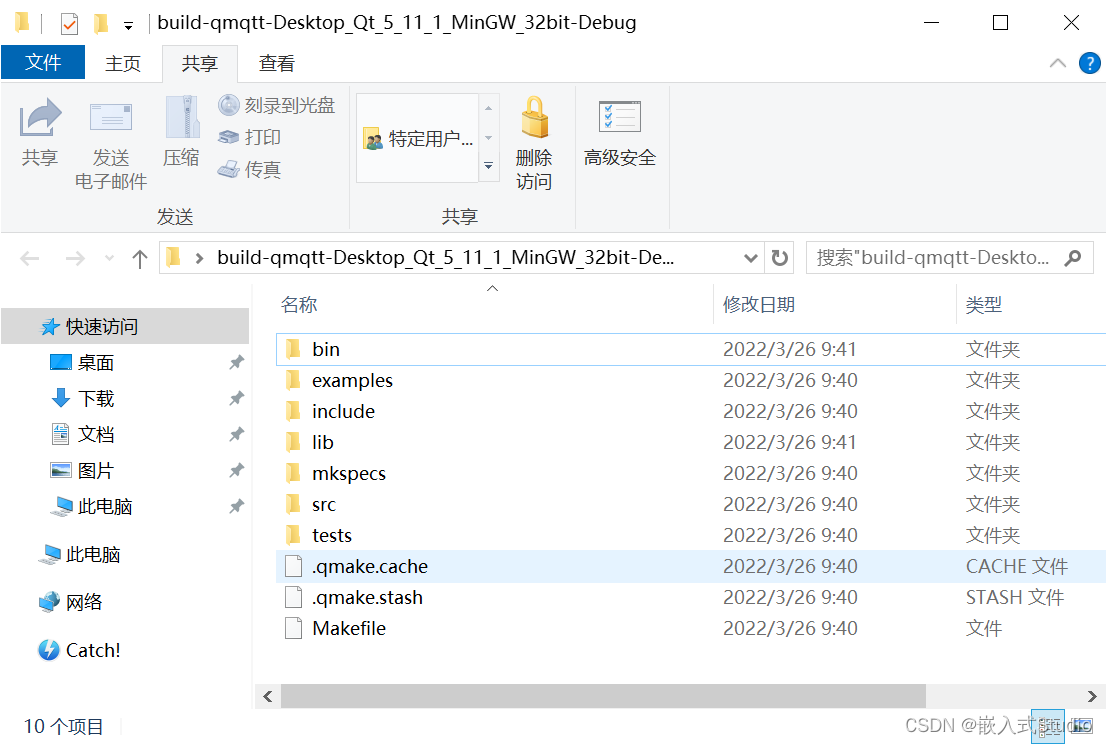
2. 编译qmqtt源码、编译完成后在编译生成的文件夹会生成一个Debug目录,如下图所示:
3. 新建一个工程,打开新工程的目录文件夹,将上一步官方旧工程新生成的编译文件Debug目录下的“include“文件夹、”lib“文件夹复制到新建的工程目录,将qmqtt源码文件夹下”src/mqtt“文件夹复制到新建的工程目录。新建的工程文件夹如下图所示:

4. 工程配置在Qt中打开新建的工程,在.pro文件中加入
QT += network
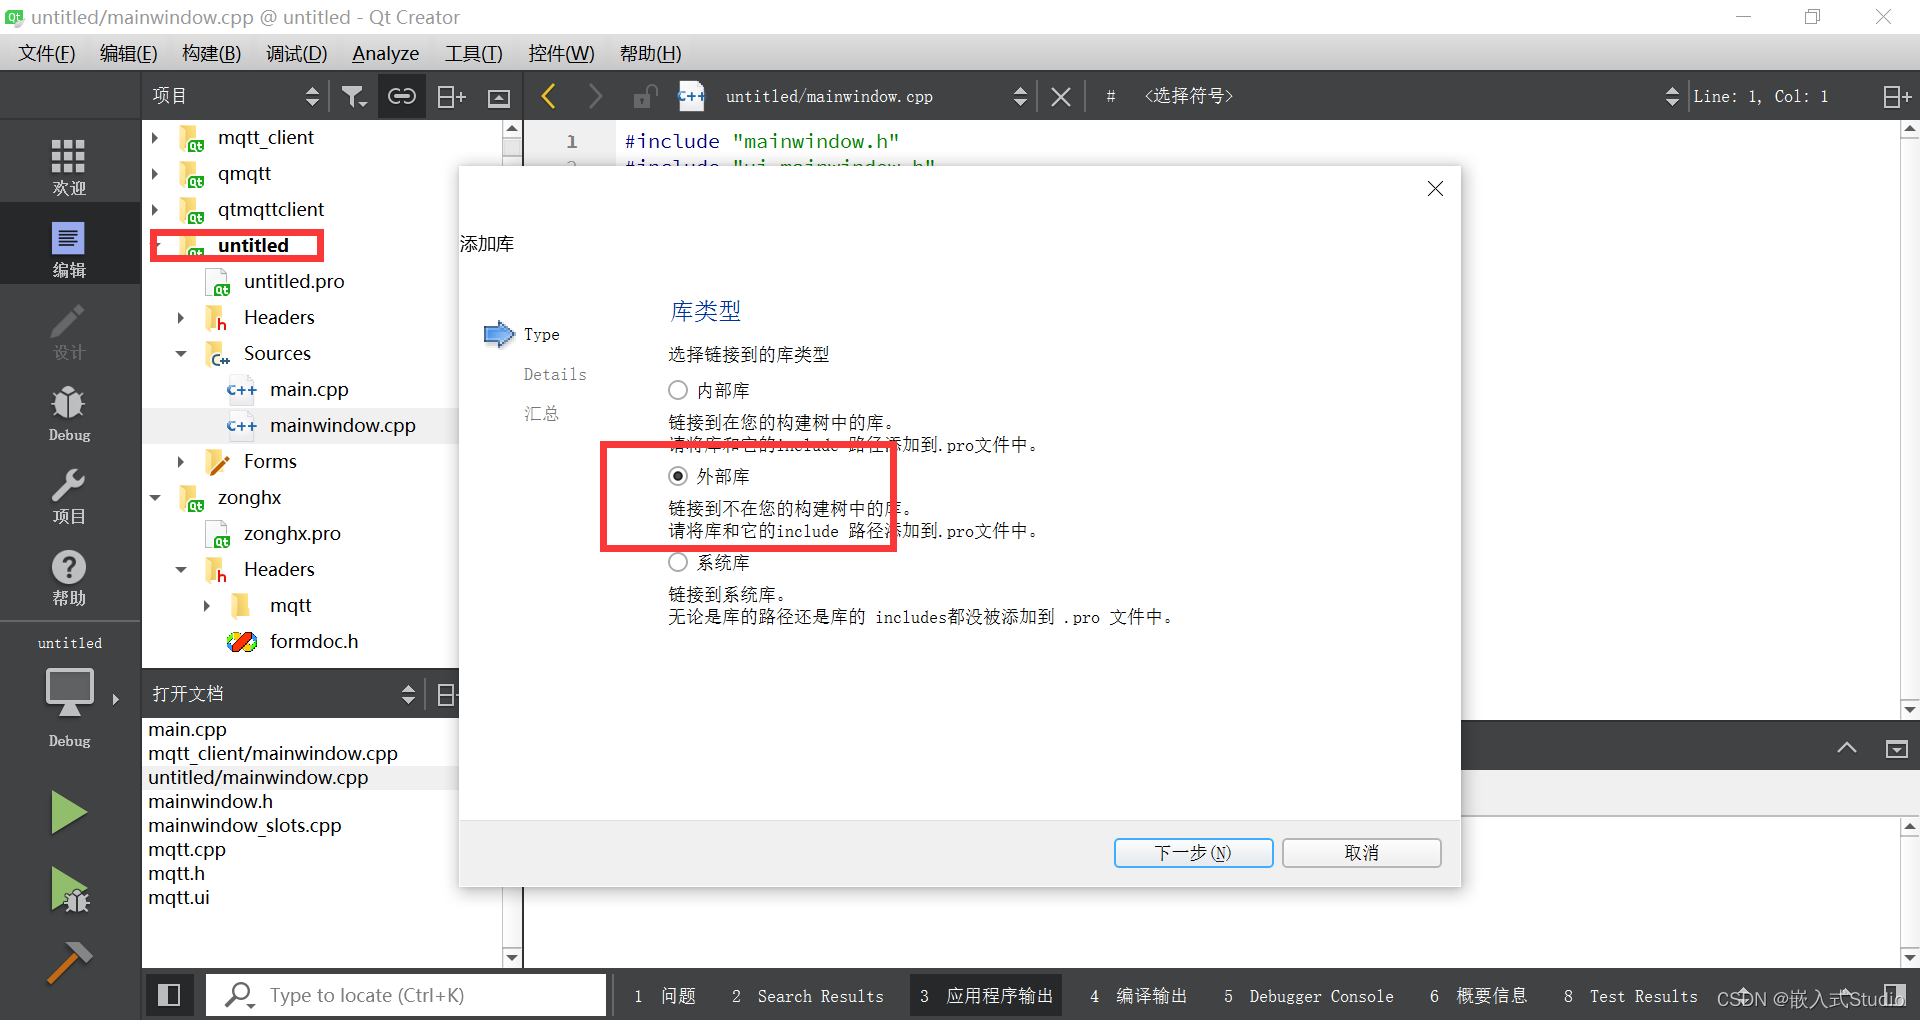
右键点击工程 -> 添加库,选择外部库
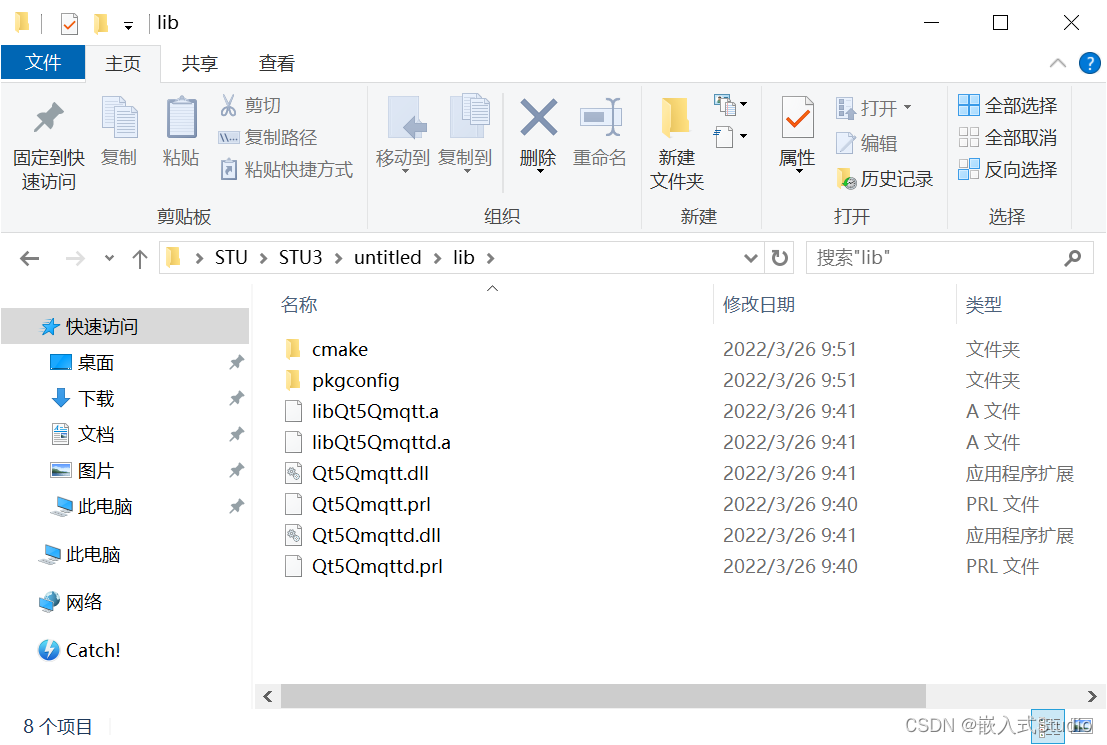
点击下一步,点击“浏览”,定位到工程目录下的lib文件夹
选择.a文件添加2个.o文件
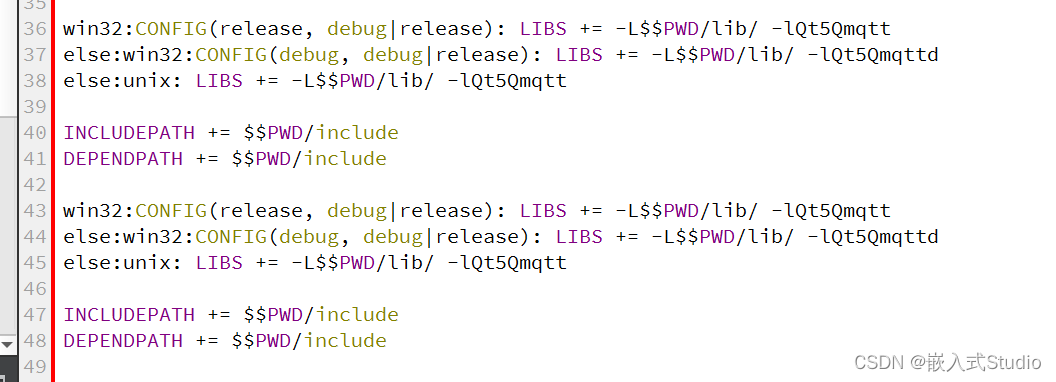
添加好了工程文件生成如图
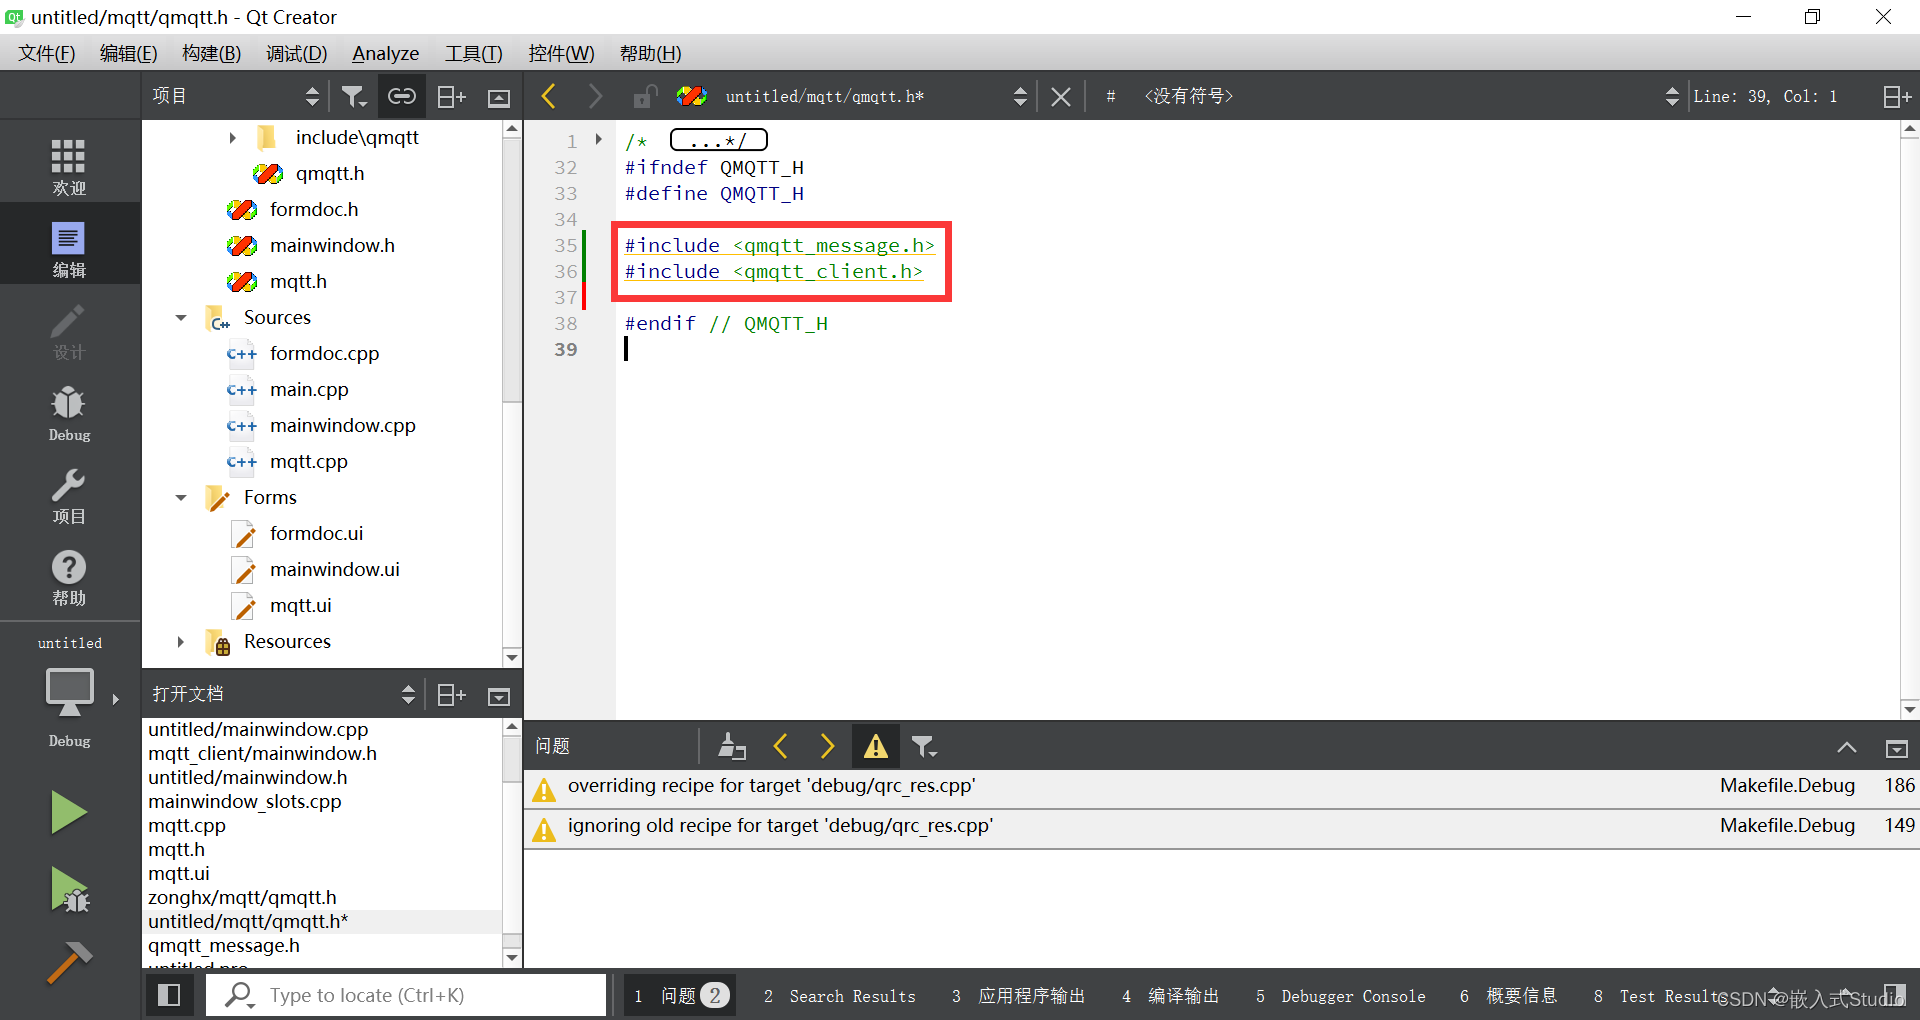
在mainwindow.h中加入头文件引用
#include "mqtt/qmqtt.h"
编译工程,编译中会有报错提示,定位到错误位置,错误为两处头文件的引用,将两处#include <qmqtt_global.h>均改为#include "qmqtt_global.h"即可成功编译
跳转到里面修改最后编译成功这就是最小的mqtt官方库。后面引进其他工程按照这个方法添加就好了
编写MQTT模块
在mainwindow.h中定义MQTT事件的槽函数:
// 槽函数定义
private slots:
    void onMQTT_Connected();
    void onMQTT_Subscribed(const QString &topic);
    void onMQTT_Received(const QMQTT::Message &message);
新建MQTT客户端并连接槽函数:
QMQTT::Client *client;
client = new QMQTT::Client(QHostAddress("127.0.0.1"), 1883);
client->connectToHost();
connect(client, SIGNAL(connected()), this, SLOT(onMQTT_Connected()));
connect(client, SIGNAL(subscribed(const QString &)), this, SLOT(onMQTT_Subscribed(QString)));
connect(client, SIGNAL(received(const QMQTT::Message &)), this, SLOT(onMQTT_Received(QMQTT::Message)));
MQTT槽函数的实现:
// 成功连接到MQTT服务器
void MainWindow::onMQTT_Connected(){}
// 成功订阅主题
void MainWindow::onMQTT_Subscribed(const QString &topic)
{
    ui->plainTextEdit->appendPlainText(topic);
}
// 接收到消息
void MainWindow::onMQTT_Received(const QMQTT::Message &message)
{
    ui->plainTextEdit->appendPlainText(message.topic());
    ui->plainTextEdit->appendPlainText(message.payload());
}
订阅主题:
QString topicSub = "test";
quint8 qosSub = 0;
client->subscribe(topicSub, qosSub);
发布主题:
QString topicPub = "test";
QString messagePub = "123";
QMQTT::Message msg(0, topicPub.toLatin1(), messagePub.toLatin1());
client->publish(msg);
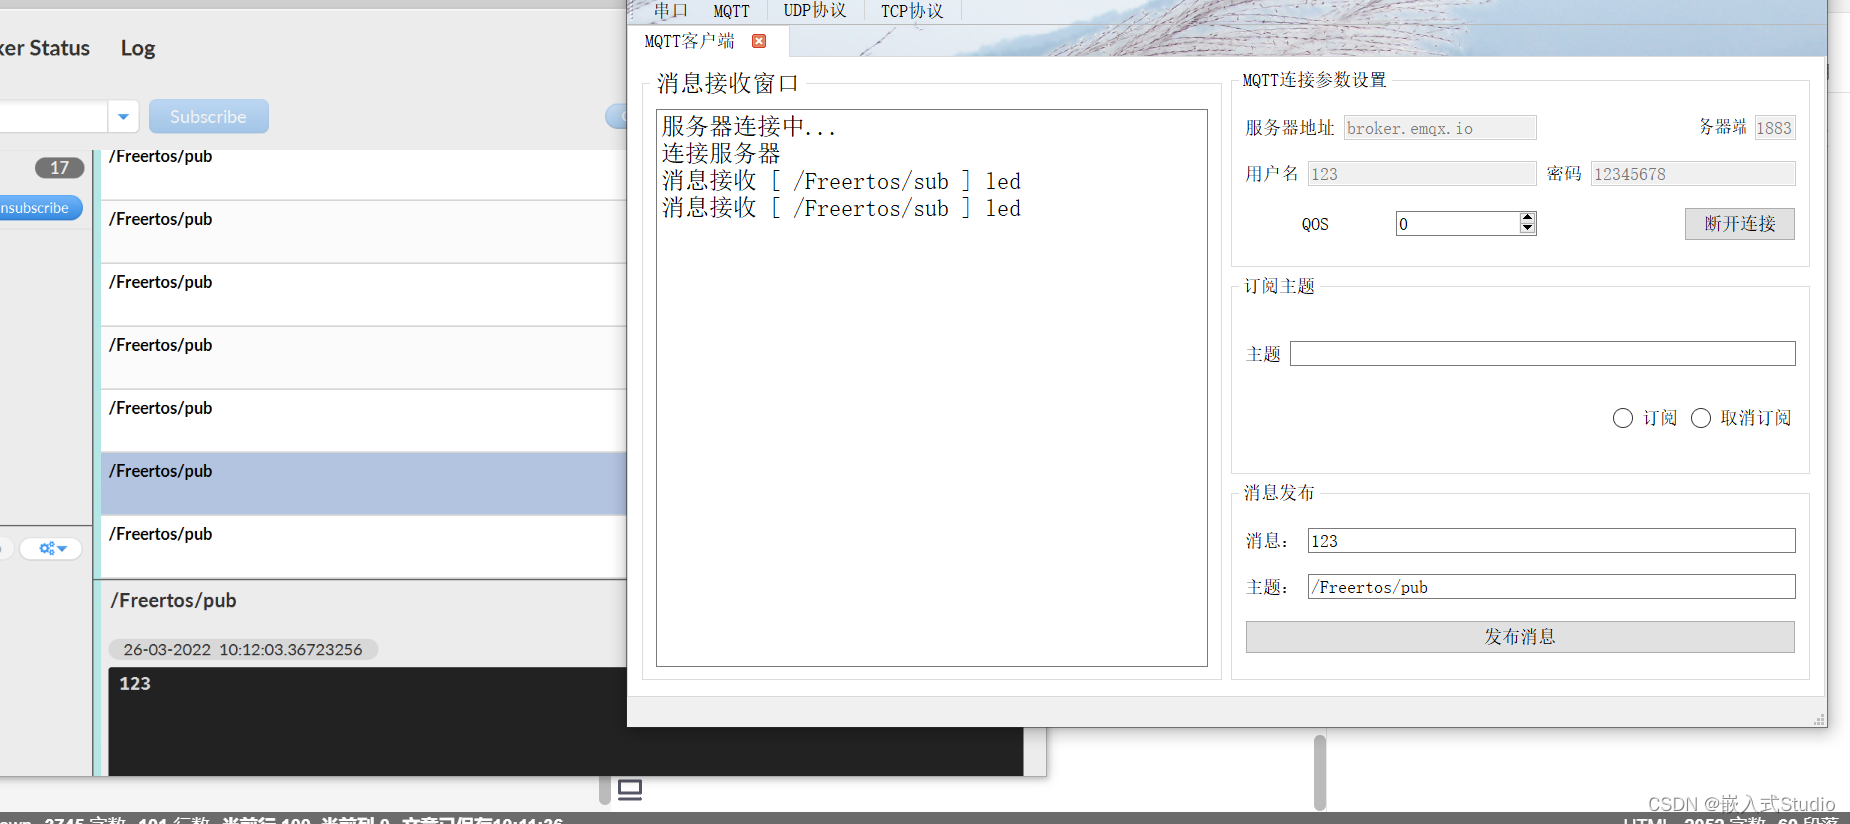
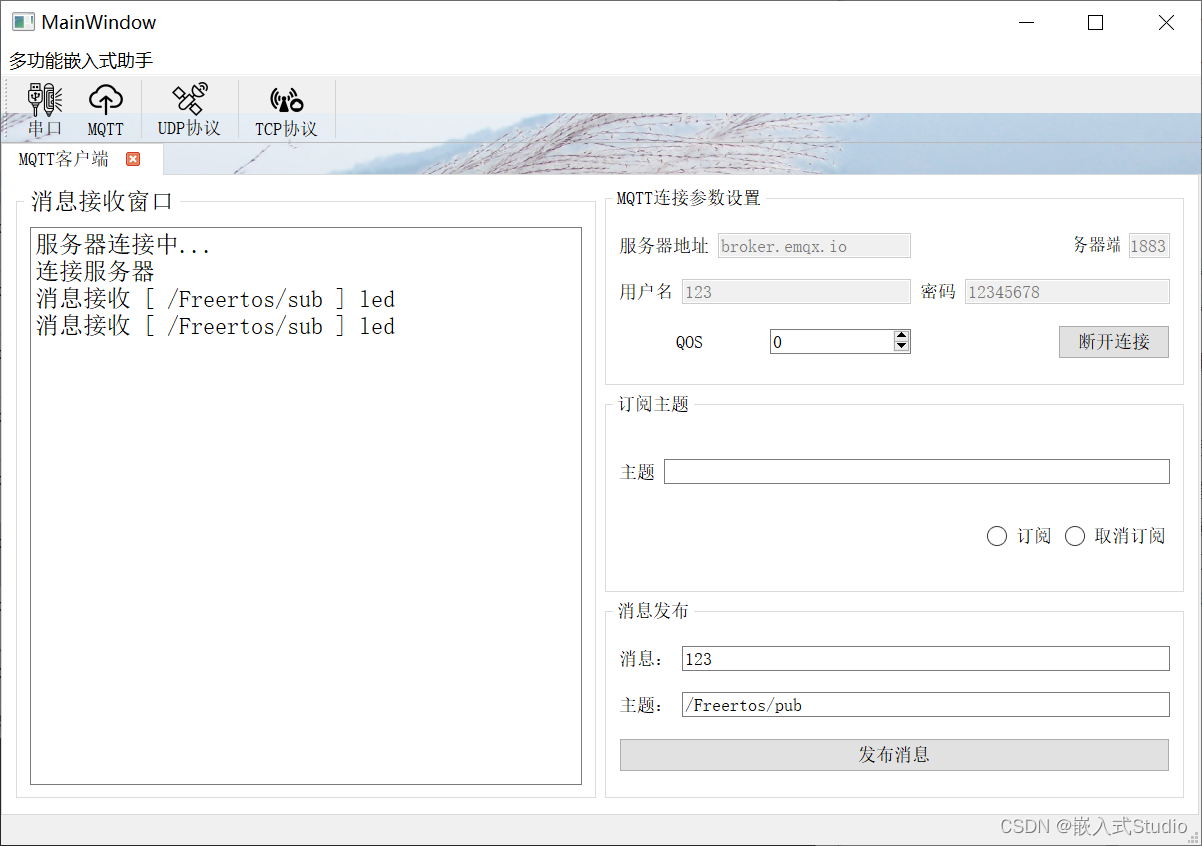
MQTT客户端测试
需要工程的留下邮箱,看见会发